manuals.online logo
Brands
  1. Home
  2. •
  3. Brands
  4. •
  5. Philips
  6. •
  7. Iron
  8. •
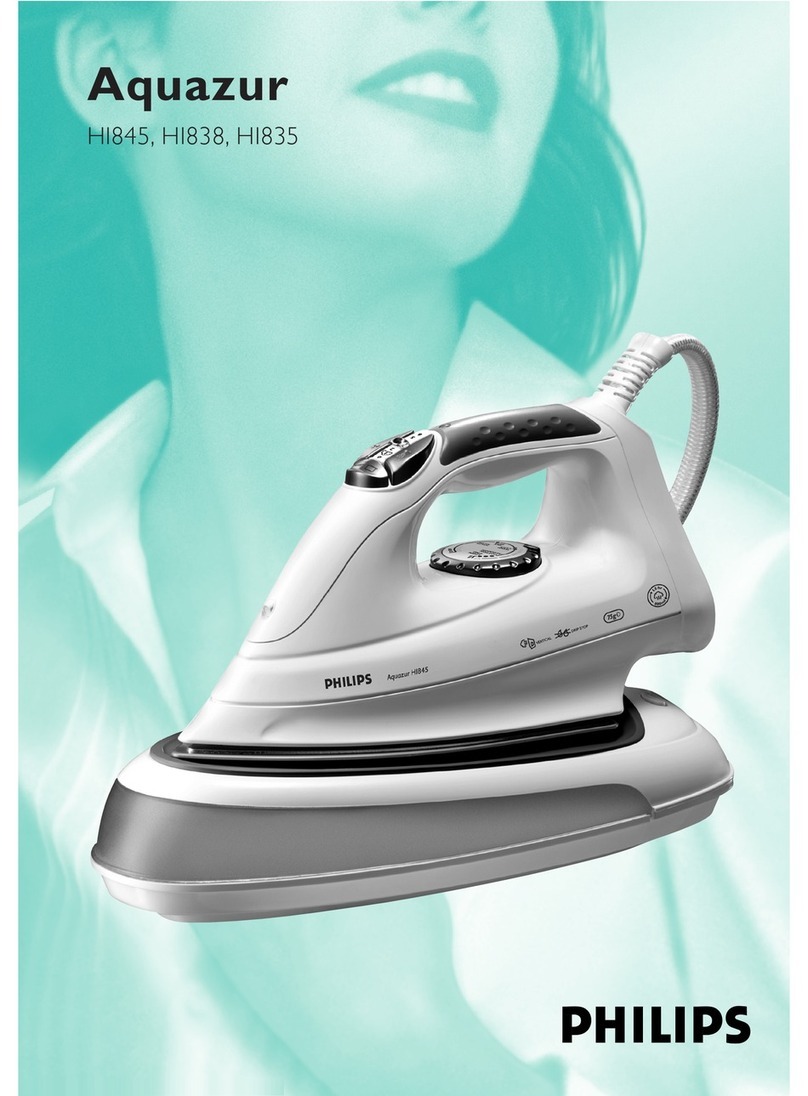
  9. Philips Aquazur HI838 User manual

Philips Aquazur HI838 User manual

ServiceManual
Philips Domestic Appliances and Personal Care
Published by Philips Domestic Appliances and Personal Care Printed in the Netherlands © Copyright reserved Subject to modification
Steam Iron Aquazur
HI 838
PRODUCT INFORMATION
IRON
* Pilot light
* Water spray
* Steam output : variable steam control position 0 = dry ironing
position 1 = 15 g/min
position 2 = 25 g/min
position 3 = 35 g/min
shot-of-steam function = 0.4 ml/shot.
* Vertical steam position
* Drip stop to prevent water from escaping from the appliance
when the temperature dial is set to its lowest position
* Anodilium soleplate
STAND
* Heat-resistant rubber tray
* Contents boiler : 0.9 litre when uspended from ironing boarding;
content allows the user to iron for more than
one hour without refilling
* Anti-scale cassette + separate self-clean button
4322 277 00923
02/04
TECHNICAL DATA
Voltage : 100V, 110-127V, 220-240V
Power consumption : 1200W at 100V
1300W at 120V
1650W at 220V
Frequency : 50-60 Hz
Soleplate Temperature : 205° ± 20° C
Length of cord : 1.7m
Length of water hose : 1.7m
This product meets the requirement regarding
interference suppression on radio and television.
DISASSEMBLY ADVICE IRON
DIAL 1
RATTLE SPRING 11
BACK PLATE 104
SWIVEL 105, 106
HOSE 37
remove SCREW A
remove BACK PLATE 104
remove CORD CLAMPING
remove CONNECTIONS
HOSE
INLAY 4
CONTROL BUTTONS 6
SPRAY NOZZLE 7
PILOT LIGHT 5
remove SCREW A
remove BACK PLATE 104
remove CORD CLAMPING
remove INLAY 4
DOSING UNIT 8
SLIDE UNIT 9
remove SCREW A
remove BACK PLATE 104
remove CORD CLAMPING
remove INLAY 4
remove SCREW B 2x
HANDLE 10
+ TRIGGER
+ TRIGGER SPRING
SPRAY UNIT 12
SELF-CLEAN
ACTUATOR 19
remove SCREW A
remove BACK PLATE 104
remove CORD CLAMPING
remove SCREWS HOSE,
LAMP
remove CONNECTIONS
HOSE
remove SCREW C 3x
MICROSWITCH 14
WATER TANK 17
HOUSING
MICROSWITCH 15
BASE PLATE 20
HEAT SHIELD 21
SOS UNIT 13
THERMOSTAT 25
remove SCREW A
remove BACK PLATE 104
remove CORD CLAMPING
remove INLAY 4
remove SCREW C 3x
remove SCREW D 1x
remove SCREW E 2x
TYPE PLATE 28
COVER 22
SOLEPLATE 26
SPACER 23
ANTI-DRIP VALVE 131
remove SCREW A
remove BACK PLATE 104
remove CORD CLAMPING
remove INLAY 4
remove SCREW C 3x
remove SCREW D 1x
remove SCREW E 2x
remove SCREW F 3x
Replacement Thermostat see fig.1-4
1
2
3
4
2x
M2,5
PARTS LIST + ELECTRIC CIRCUIT + EXPLODED VIEW IRON
Pos Description Consist of Service code
1
2
3
4
5
Dial
Backplate
Swivel
Inlay (prtd)
Pilot light
101, 102, 103
104, 105, 106
105, 106
4239 022 53560
4239 022 53570
4239 022 53580
4239 021 06940
4822 134 10094
6
7
8
9
10
Control knobs set
Spray nozzle
Dosing unit
Slide unit
Handle
109, 110, 111
112, 113
111, 114, 115, 116
117, 118, 119
4239 022 53590
4822 360 10441
4822 310 11158
9965 000 00167
4239 022 53600
11
12
13
14
15
Rattle spring (5 pcs)
Spray unit
SOS unit
Micro switch
Housing micro switch
4822 310 11021
4239 020 95850
4822 530 10496
4822 277 11797
4822 441 12368
16
17
18
19
20
Tube
Water tank
Sealing set
Self cleaning actuator
Base plate
4822 310 11162
4822 418 10366
4822 310 11163
4822 310 11164
4822 464 10435
21
22
23
24
25
Heat shield
Cover
Spacer
Anti drip stop
Thermostat
4822 466 11998
4822 442 00989
4822 532 13035
4822 310 11165
4822 282 10315
26
27
28
Soleplate 100 V
Soleplate 110-127 V
Soleplate 220-240 V
Pin
Typeplate
4239 020 98580
4239 020 96200
4239 020 95730
4822 535 10469
4239 021 06920
NOTES :
- Parts, with numbers from 100 and higher, cannot be ordered separately.
- For standardisation reasons :
Dial (1) : English / Spanish language only
Suction tubes stand : Only 27 cm long tubes will be supplied
Rattle spring (11) : 5 pieces will be supplied when ordered
Spacer (23) : 3 pieces will be supplied when ordered
After the product has been repaired, it should function properly and has to meet
the safety requirements as laid down and officially established at this moment.
LAMP
PUMP
FUSE
ELEMENT
DIAL
4
103
102
118
11
101
117
22
26
23
131
124
109
110
27 2
5
11
1
126
125
C
F
F
5
13
17
122
123
130
127
128
129
12
116
1
8
11
15
1
10
27 25
119
111
106
28
126
125
104
115
112
113
14
7
120
121
20
21
114
A
B
C
F
5105
D
E
Screws : d x 1
A3.5 x 12
B2.5 x 10 (2x)
C3.5 x 14
D3.5 x 13
E3.5 x 13 (2x)
FM4 x 12 (3x)
EXPLODED VIEW + PARTS LIST + DISASSEMBLY ADVICE STAND
A
Disassembly Advice
To open THE STAND
remove SCREW H 3x
remove SCREW I
Pos Description Consist of Service code
30
31
32
33
34
Stand
Cassette
Damper
Release buttons
Filling sealing
132, 133
4239 021 07030
4822 480 10225
4822 466 11996
4239 022 53610
4822 532 13034
35
36
37
38
Cover stand print
Rubber mat
Hose 100-127 V
Hose 220-240 V
Cordset EU
4239 021 07020
4239 015 54630
4822 320 12425
4822 320 12383
4822 321 11427
39
Cordset UK
Cordset Italy
Cordset PRC
Cordset flat pin
Pump 110-127 V
4822 321 11435
4822 321 11436
4822 321 11437
4822 123 11438
4822 360 10415
40
41
42
Pump 220-240 V
Cord clip
Rubber stud
Suction tube
4822 360 10411
4822 401 11193
4822 466 12023
4822 530 10501
36
35
40
41
42
39
32
30
34
132
37
31
133
38
H
I
Screws : d x 1
H3.5 x 13 (3x)
I2.5 x 10
ADJUSTMENT AND CONTROLS + POSSIBLE COMPLAINTS
ADJUSTMENT AND CONTROLS
Thermostat :
Thermostat 25, fitted to the solplate 26 has already been adjusted by the supplier and secured by glue.
To avoid mal-function of the iron, NEVER re-adjust the thermostat.
Adjustment thermostat 25, supplied as a spare part.
N.B. Before starting to adjust the thermostat, make sure that a gap exists between the lower tip of the ceramic insulating pin
and the real-off bracket. See fig. 1.
Connect the connecting strips to an Ohm-meter.
Set the thermostat stopper to the position as indicated in fig. 2.
Turn the adjusting screw (R) clockwise or anti-clockwise until the Ohm-meter indicates ”0”.
(The contacts are closed)
Then turn the adjusting screw clockwise until the Ohm-meter indicates !and the contacts have only just been opened.
You hear a “click”.
While loosely turning the thermostat stopper, check if the thermostat switches in the position as indicated in fig. 2.
After the thermostat has been adjusted, adjust the real-off bracket.
Set the thermostat stopper in the position shown in fig. 3.
The thermostat contacts are closed. (Ohm-meter indicates “0”)
Turn the set-screw S clockwise until the contacts have only just been opened.
The Ohm-meter indicates !.
Secure the adjusting screws with a glue.
After adjusting the thermostat, always check the temperature of the soleplate, with the dial set to MAX. position (205° ±25°C)
For location of testing point, see fig. 4.
The temperature must be measured, after the iron has been connected to the mains for at least 15 min.
The max. temperature shall not be higher than 230°C.
POSSIBLE COMPLAINTS
The pump (39) makes noise.
This problem has been solved with effect from week 9806:
1) rubber stud (41) has been added;
2) a rim of plastic has been removed, see fig. 5.
When the appliance was made before week 9806, this problem can be solved by removing the plastic rim as indicated in fig. 5
and adding rubber stud (41).
The pump (39) doesn’t pump water.
This problem may occur when the cover of the stand (35) has buckled, which causes the cassette (31) to be lifted, see fig. 6.
When the cassette is pressed down, the pump functions properly again.
With effect from week 9814, this problem has been solved by adding the extra screw I (Ø 2.5 x 10) and a stud in the stand (30).
With appliances produced before week 9814, the stand (30) has to be replaced and a hole must be drilled in the cover (35),
see fig. 7.
The release button (132) sticks.
The length of the release button has been changed with effect from week 9814.
1234
45 -50
R
85 -90
S
Test-
point
x
35
30
31
6
35
75
41
Other Philips Iron manuals

Philips GC5036/20 User manual

Philips

Philips GC5036/20 User manual

Philips GC6360 User manual

Philips

Philips GC6360 User manual

Philips GC3800 series User manual

Philips

Philips GC3800 series User manual

Philips PerfectCare PSG71 Series User manual

Philips

Philips PerfectCare PSG71 Series User manual

Philips GC4620 User manual

Philips

Philips GC4620 User manual

Philips GC2086/30 User manual

Philips

Philips GC2086/30 User manual

Philips GC3500 series User manual

Philips

Philips GC3500 series User manual

Philips GC3640 User manual

Philips

Philips GC3640 User manual

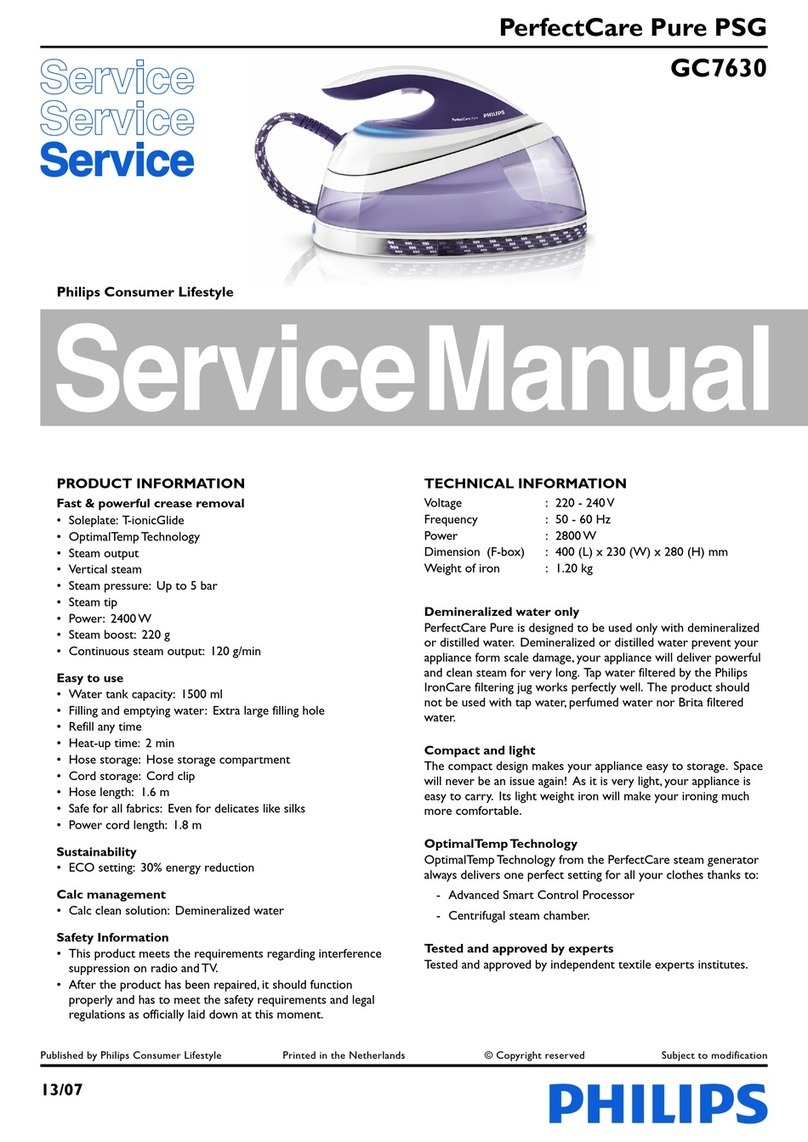
Philips PerfectCare Pure PSG GC7630 User manual

Philips

Philips PerfectCare Pure PSG GC7630 User manual

Philips GC3500 series User manual

Philips

Philips GC3500 series User manual

Philips PerfectCare Aqua GC8615 User manual

Philips

Philips PerfectCare Aqua GC8615 User manual

Philips GC4506/21 User manual

Philips

Philips GC4506/21 User manual

Philips PerfectCare Aqua GC8635 User manual

Philips

Philips PerfectCare Aqua GC8635 User manual

Philips HI5918/20 User manual

Philips

Philips HI5918/20 User manual

Philips GC4860 User manual

Philips

Philips GC4860 User manual

Philips GC9682 User manual

Philips

Philips GC9682 User manual

Philips GC8721/30 User manual

Philips

Philips GC8721/30 User manual

Philips GC9655/50 User manual

Philips

Philips GC9655/50 User manual

Philips GC7240 Building instructions

Philips

Philips GC7240 Building instructions

Philips GC3592 User manual

Philips

Philips GC3592 User manual

Philips GC3232/02 User manual

Philips

Philips GC3232/02 User manual

Philips GC4243/02 User manual

Philips

Philips GC4243/02 User manual

Philips GC1800 SERIES User manual

Philips

Philips GC1800 SERIES User manual

Philips PerfectCare 7000 Series User manual

Philips

Philips PerfectCare 7000 Series User manual

Popular Iron manuals by other brands

Breville VIN143 user manual

Breville

Breville VIN143 user manual

Fagor PLC-809CC Instructions for use

Fagor

Fagor PLC-809CC Instructions for use

Morphy Richards TURBOSTEAM RN40630 MUK REV2 instructions

Morphy Richards

Morphy Richards TURBOSTEAM RN40630 MUK REV2 instructions

UFESA STEAM ULTRA instruction manual

UFESA

UFESA STEAM ULTRA instruction manual

Braun Eloxal FreeStyle SI 6240 user manual

Braun

Braun Eloxal FreeStyle SI 6240 user manual

Sinbo SSI 2868 instruction manual

Sinbo

Sinbo SSI 2868 instruction manual

Saturn ST-CC0234 manual

Saturn

Saturn ST-CC0234 manual

LauraStar Magic Evolution operating instructions

LauraStar

LauraStar Magic Evolution operating instructions

ECG NZ 210 Travel instruction manual

ECG

ECG NZ 210 Travel instruction manual

MPM MZE-04/C user manual

MPM

MPM MZE-04/C user manual

Rowenta DA1510 manual

Rowenta

Rowenta DA1510 manual

Vitek VT-8301 instruction manual

Vitek

Vitek VT-8301 instruction manual

Grundig SIS 9870 user manual

Grundig

Grundig SIS 9870 user manual

BOMANN CB 740 Instruction manual & guarantee

BOMANN

BOMANN CB 740 Instruction manual & guarantee

Arzum COMFY MOVE AR6023 instruction manual

Arzum

Arzum COMFY MOVE AR6023 instruction manual

TEFAL Ultimate 250 manual

TEFAL

TEFAL Ultimate 250 manual

Livoo DOM482 user manual

Livoo

Livoo DOM482 user manual

Monster IS 56 HS instruction manual

Monster

Monster IS 56 HS instruction manual

manuals.online logo
manuals.online logoBrands
  • About & Mission
  • Contact us
  • Privacy Policy
  • Terms and Conditions

Copyright 2025 Manuals.Online. All Rights Reserved.