manuals.online logo
Brands
  1. Home
  2. •
  3. Brands
  4. •
  5. Philips
  6. •
  7. Vacuum Cleaner
  8. •
  9. Philips FC8761/01 User manual

Philips FC8761/01 User manual

This manual suits for next models

5

Other Philips Vacuum Cleaner manuals

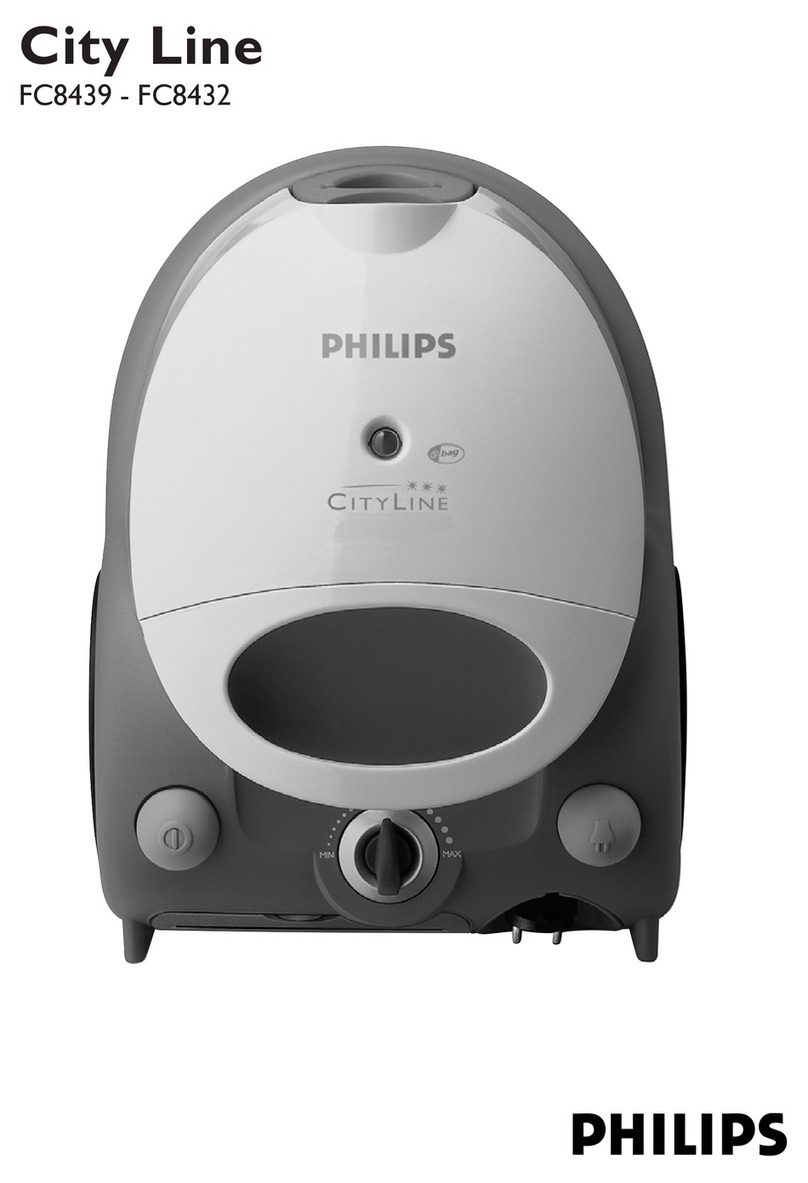
Philips FC8430/02 User manual

Philips

Philips FC8430/02 User manual

Philips City Line Helsinki FC8408 User manual

Philips

Philips City Line Helsinki FC8408 User manual

Philips HomeRun FC9910 User manual

Philips

Philips HomeRun FC9910 User manual

Philips FC9555/09 User manual

Philips

Philips FC9555/09 User manual

Philips FC8220/31 User manual

Philips

Philips FC8220/31 User manual

Philips HR6983/01 User manual

Philips

Philips HR6983/01 User manual

Philips FC8589 User manual

Philips

Philips FC8589 User manual

Philips Specialist II User manual

Philips

Philips Specialist II User manual

Philips FC6090 User manual

Philips

Philips FC6090 User manual

Philips SmallStar FC8234/01 User manual

Philips

Philips SmallStar FC8234/01 User manual

Philips Essence 5000 Series User manual

Philips

Philips Essence 5000 Series User manual

Philips FC8660 User manual

Philips

Philips FC8660 User manual

Philips FC9186 User manual

Philips

Philips FC9186 User manual

Philips FC8950 User manual

Philips

Philips FC8950 User manual

Philips FC9236 User manual

Philips

Philips FC9236 User manual

Philips Easy Clean FC8738 User manual

Philips

Philips Easy Clean FC8738 User manual

Philips FC8189/01 User manual

Philips

Philips FC8189/01 User manual

Philips HR 8368 User manual

Philips

Philips HR 8368 User manual

Philips FC6149/01 User manual

Philips

Philips FC6149/01 User manual

Philips FC8209/01 User manual

Philips

Philips FC8209/01 User manual

Philips MiniVac FC6048/01 User manual

Philips

Philips MiniVac FC6048/01 User manual

Philips FC6054 User manual

Philips

Philips FC6054 User manual

Philips FC8913/01 User manual

Philips

Philips FC8913/01 User manual

Philips FC8269 - FC8250 User manual

Philips

Philips FC8269 - FC8250 User manual

Popular Vacuum Cleaner manuals by other brands

Shark KD400WM owner's guide

Shark

Shark KD400WM owner's guide

Shark CORDLESS SV780_N 14 user manual

Shark CORDLESS

Shark CORDLESS SV780_N 14 user manual

Kenmore KW3030 user manual

Kenmore

Kenmore KW3030 user manual

AMiO YF-101 user manual

AMiO

AMiO YF-101 user manual

Beko VRT 94929 VI user manual

Beko

Beko VRT 94929 VI user manual

Shark CORDLESS SV780 Series quick start guide

Shark CORDLESS

Shark CORDLESS SV780 Series quick start guide

Lumme LU-3203 instruction manual

Lumme

Lumme LU-3203 instruction manual

Melissa 640-040/051 instruction manual

Melissa

Melissa 640-040/051 instruction manual

Makita DVC152L instruction manual

Makita

Makita DVC152L instruction manual

Bosch BSN1 instruction manual

Bosch

Bosch BSN1 instruction manual

King Canada 8560LST Service manual & parts list

King Canada

King Canada 8560LST Service manual & parts list

EUFY RoboVac 11c+ owner's manual

EUFY

EUFY RoboVac 11c+ owner's manual

Panasonic MC-E4101 Service manual

Panasonic

Panasonic MC-E4101 Service manual

Panasonic MC-V9658 operating instructions

Panasonic

Panasonic MC-V9658 operating instructions

Bosch BGB 2 Series instruction manual

Bosch

Bosch BGB 2 Series instruction manual

Hoover dog & cat TURBO manual

Hoover

Hoover dog & cat TURBO manual

FGE Far Tools NET UP 20 manual

FGE

FGE Far Tools NET UP 20 manual

MARIMEX SPA VAC user manual

MARIMEX

MARIMEX SPA VAC user manual

manuals.online logo
manuals.online logoBrands
  • About & Mission
  • Contact us
  • Privacy Policy
  • Terms and Conditions

Copyright 2025 Manuals.Online. All Rights Reserved.

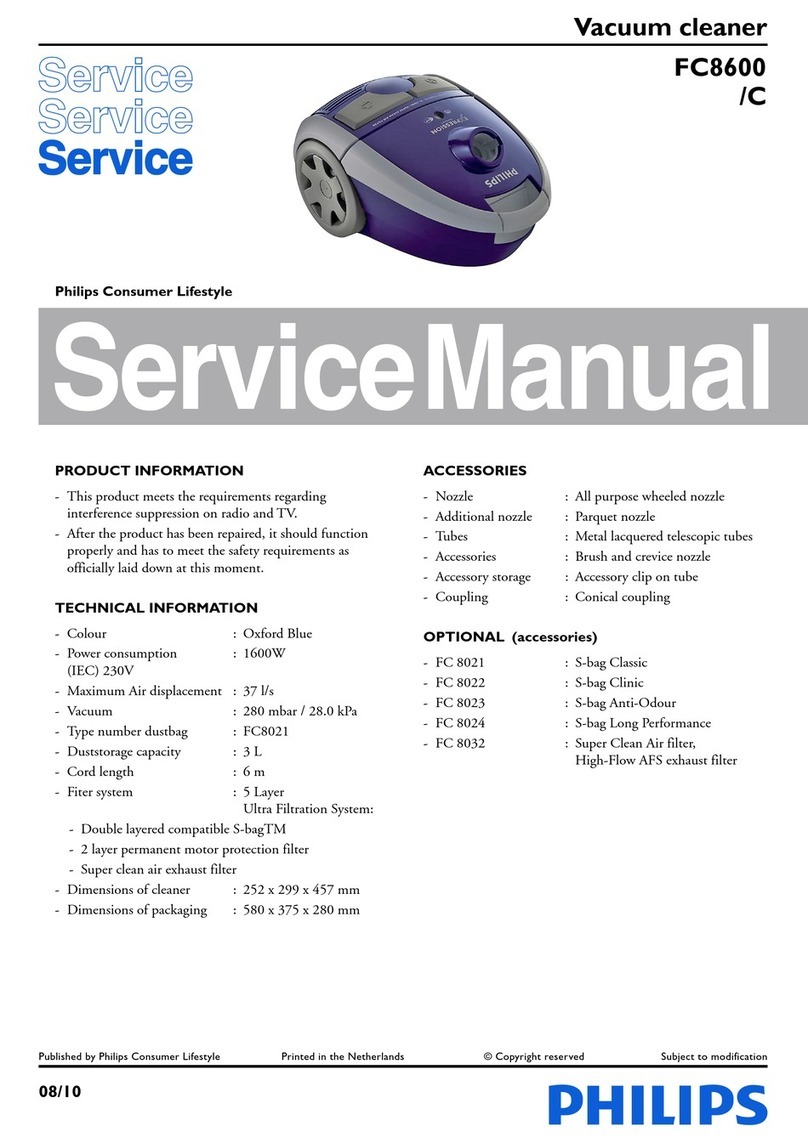
Пылесосы Philips FC8761/01 PowerPro, FC8767/02
AnimalCare, FC8764/01 PowerPro, FC8767/01 AnimalCare:
Инструкция пользователя
Register your product and get support at
www.philips.com/welcome
FC8769-FC8760
ENGLISH 4
✁✂✄☎✆✝✞✟
18
✠✡☛☞✌✍✎
32
✡✡✏☞✌
46
✑✒✓✎☞✏✔✌
59
✕✎✖✗✎✒
73
✘✙✚✙✘✛✙
87
✜✎☞✓✌✡☛✢
101
✜✌✡☞✢✓✌☛✔✎✌
114
✣✤✜✏✔✌
128
✒✤✕ ✍✦
142
✆✧✝✝✞✟★
156
✏✜✤✓✡✍✏✔✗
170
✏✜✤✓✡✍☛✠✌✍✎
184
✏✒✣✏✔✌
198
✧✞✆☎✩✪✝✫✞☎
212
PowerPro
1
✶
✤✶
4
✁✂✄☎ ✆✝ ✞✆✟✠☎ ✟✠✡
Introduction 4
General description 4
Important 5
Preparing for use 6
Using the appliance 10
Cleaning and maintenance 10
Storage 15
Ordering accessories 16
Environment 16
Guarantee and service 16
Troubleshooting 16
☛✟✠☞✆✌✍✞✠✎✆✟
Congratulations on your purchase and welcome to Philips!To fully
✏✑✒✑✓✔ ✕✖✗✘ ✔✙✑ ✚✛✜✜✗✖ ✔ ✔✙✢✔ ✣✙✤ ✤✜✚ ✗✕✕✑✖ ✚✦ ✖✑✧✤✚✔✑✖ ★✗✛✖ ✜✖✗✩✛✪✔
at www.philips.com/welcome.
✫☎✟☎☞✁✄ ✌☎✡✞☞✎✬✠✎✆✟ ✭✮✎✯✰ ✱✲
✱ ✳✗✢✘ ✓ ✔✑✖ ✴✏ ✛✑✵
2
✶✢✤✒ ✓ ✔✑✖
3
✷✛✜✑✖ ✸ ✑✢✒ ✹✤✖ ✺✻✣✹ ✓ ✔✑✖
4Filter grille
5Cord rewind button
6Top handle
7Suction power knob
8On/off button
9Parking slot
✱✼
Mains plug
✱✱
Dust bucket lid
✱✽
Dust bucket release button
✱✾
Dust bucket with handle
✱✿
Detachable cover
✱❀
Hose connection opening
✱❁
Hose connection
✱❂
Hose connection release buttons
✱❃
Handgrip
✱❄
Swivel wheel
✽✼
Storage slot
✽✱
Type plate
22
✸✗✘✏✤✒✢✔✤✗✒ ✒✗❅❅
✑ ✴✚✜✑✪✤✓✪ ✔★✜✑✚ ✗✒ ★✵
23 Rocker switch
24
✹✑✖✗✷✑✢ ✒✗❅❅
✑ ✴✚✜✑✪✤✓✪ ✔★✜✑✚ ✗✒ ★✵
25 Rocker switch
26 Rocker switch
27
❆
✖✤ ✹✪✔✤❇
✑ ✒✗❅❅
✑ ✴✚✜✑✪✤✓✪ ✔★✜✑✚ ✗✒ ★✵
28
❆
✛✖✏✗ ✒✗❅❅
✑ ✴✚✜✑✪✤✓✪ ✔★✜✑✚ ✗✒ ★✵
29 Polishing pads
✾✼ ✷✛✜✑✖ ✣✢✖❈✛✑✔ ✒✗❅❅
✑ ✴✚✜✑✪✤✓✪ ✔★✜✑✚ ✗ ✒ ★✵
✾✱
Parking ridge
32
✸✖✑
❇✤✪✑ ✒✗❅ ❅
✑ ✴✚✜✑✪✤✓✪ ✔★✜✑✚ ✗ ✒ ★✵
ENGLISH
33
✁✂✄✄ ☎✆✝✝✄✞ ✟✠✡✞☛☞✌☛ ✍ ✎✡✞✠ ✆☎✄✎✏
34 Accessory clip
35 Telescopic tube with easy-release button
36
✑✒ ✓✠✔ ☎✆✝✝✄✞ ✟✠✡✞☛ ☞ ✌☛ ✍ ✎✡✞✠ ✆ ☎✄✎✏
37 Rear wheel
✕✖✗✘✙✚✛✜✚
Read this user manual carefully before you use the appliance and save it for
future reference.
✢✛✜✣✤✙
-
✞✦✞✒ ✠✓☛✧ ✓✡ ★✂✍✞✒ ✆✒ ✂☎✎ ✆✍✔✞✒ ✄ ☞✩✓☞✪✫ ✞✦✞✒ ✠✓☛✧ ✓✡ ✬✂✁✁✂✭✄✞
substances and do not suck up ashes until they are cold.
✮✛✙✜✯✜✣
- Check if the voltage indicated on the appliance corresponds to the
local mains voltage before you connect the appliance.
- Do not use the appliance if the plug, the mains cord or the appliance
itself is damaged.
- If the mains cord is damaged, you must have it replaced by Philips, a
✠✞✒ ✦ ☞☛✞ ☛✞☎✍✒✞ ✂✓✍✔✆✒ ☞✠✞✪ ✭✎ ✰✔☞✄☞✡✠ ✆✒ ✠ ☞✁☞✄✂✒ ✄✎ ✩✓✂✄☞✌✞✪ ✡✞✒ ✠✆☎✠ ☞☎
order to avoid a hazard.
- This appliance can be used by children aged 8 or above and by
persons with reduced physical, sensory or mental capabilities, or lack of
experience and knowledge, if they have been given instructions in safe
use of the appliance and supervision to establish safe use and if they
have been made aware of the hazards involved.
- Do not allow children to play with the appliance.
- Children are only allowed to empty and clean the dust bucket and
☛✄✞✂☎ ✆✒ ✒✞✡✄✂☛✞ ✍ ✔✞ ✌✄✍✞✒ ✠ ✓☎✪✞✒ ✠✓✡✞✒ ✦☞✠☞✆☎✫
- Do not point the hose, the tube or any other accessory at the eyes
or ears nor put it in your mouth when it is connected to the vacuum
cleaner and the vacuum cleaner is switched on.
- The plug must be removed from the socket-outlet before cleaning or
maintaining the appliance.
- Do not clean any parts of the appliance in the dishwasher.
-
✱✂✧✞ ✠✓✒✞ ✍ ✔✞ ✁✂☞☎ ✌✄✍✞✒ ✂☎✪ ✍ ✔✞ ✲✆✂✁ ✌✄✍✞✒ ✂✒✞ ☛✆✁✡✄✞✍✞✄✎ ✪✒ ✎ ✭✞✲✆✒✞
you place them back into the appliance after cleaning.
✳✛✴✚✯✘✜
-
✵✔✞☎ ✎✆✓ ✓✠✞ ✍✔✞ ✂✡✡✄☞✂☎☛✞ ✍✆ ✦✂☛✓✓✁ ✂✠✔✞✠✶ ✌☎✞ ✠✂☎✪✶ ✄☞✁✞ ✶ ☛ ✞ ✁✞☎✍
✪✓✠✍ ✂☎✪ ✠ ☞✁ ☞✄✂✒ ✠ ✓✭✠✍✂☎☛✞✠✶ ✍✔✞ ✡✆✒✞✠ ✆ ✲ ✍✔✞ ✲✆ ✂✁ ✌✄✍✞✒ ✭✞☛✆✁✞
clogged. If you notice a strong decrease in suction power, clean the
✲✆✂✁ ✌✄✍✞✒✫
-
✷☎✄✎ ✓✠✞ ✍ ✔✞ ✆✒ ☞✸ ☞☎✂✄ ✰✔☞✄☞✡✠ ✌✄✍✞✒ ✠✶ ✪✆ ☎✆✍ ✂✍✍✞✁✡✍ ✍✆ ✁✂✧✞ ✂☎✎ ✆✲ ✍ ✔✞
✌✄✍✞✒ ✠ ✎✆✓✒✠✞✄✲✫
-
✞✦✞✒ ✓✠✞ ✍ ✔✞ ✂✡✡✄☞✂☎☛✞ ★ ☞✍✔✆✓✍ ✂☎✎ ✆✲ ✍✔✞ ✌✄✍✞✒ ✠ ✫ ✹✔☞✠ ✪✂✁✂✸✞✠ ✍✔✞
motor and shortens the life of the appliance.
- Do not suck up large objects as this may cause the air passage in the
tube or hose to become obstructed.
- The appliance does not work if the dust bucket or the dust bucket lid
is not properly placed.
-
✺
✆✒ ✍ ✔✞ ✭✞✠✍ ✡✞✒✲✆✒ ✁✂☎☛✞✶ ☛✄✞✂☎ ✭✆✍✔ ✍✔✞ ✁✂☞☎ ✌✄✍✞✒ ✂☎✪ ✲✆✂✁ ✌✄✍✞✒ ✂✍
least 4 times per year.
ENGLISH 5
- Do not remove any of the rubber sealings.
- Do not clean any of the rubber sealings with cleaning detergent.
- You should not rinse the dust bucket under the tap. If you accidentally
did this anyway, make sure that you remove and dry the detachable
cover before you put the dust bucket back into the appliance.
- During vacuum cleaning, especially in rooms with low air humidity,
your vacuum cleaner builds up static electricity. As a result you can
experience electric shocks when you touch the tube or other steel
parts of your vacuum cleaner.These shocks are not harmful to you and
do not damage the appliance.To reduce this inconvenience we advise
you:
1 to discharge the appliance by frequently holding the tube against other
✁✂✄☎ ✆✝✞✁✟✂✠ ✡☛ ✂☞✁ ✌✆✆ ✍✎✆✌ ✁✏✄✑☎✁ ☎ ✁✒✠ ✆✎ ✄ ✂✄✝☎✁ ✆✌ ✟ ☞✄ ✡✌✓ ✌ ✄✔✡✄✂✆✌
✁✂✟✕✖✗
2 to raise the air humidity level in the room by placing water in the room.
✘✆✌ ✁✏✄✑☎ ✁ ✓ ✙✆✚ ✟✄ ☛ ☞✄☛✒ ✟ ✆☛✂✄✡☛✁✌ ✠ ✛☎☎✁✔ ✜✡✂ ☞ ✜✄✂✁✌ ✎✌✆ ✙✆✚✌
✌✄ ✔✡✄✂✆✌ ✠ ✆✌ ✑☎✄✟✁ ✝✆✜☎✠ ✛ ☎☎ ✁ ✔ ✜ ✡✂☞ ✜✄ ✂✁✌ ✆ ☛ ✆✌ ☛✁✄✌ ✙✆✚✌ ✌ ✄ ✔✡✄✂✆✌ ✠✕
✢✣✤ ✦✧★✩✪✫✬✤✦✭ ✮✤✣✯✰ ✱✢✲✳✴
This Philips appliance complies with all standards regarding electromagnetic
✛✁☎✔✠ ✍✵ ✶✘✖✕ ✷✎ ☞✄☛✔☎✁✔ ✑✌✆✑ ✁✌ ☎✙ ✄☛✔ ✄✟✟✆✌✔✡☛✒ ✂✆ ✂☞✁ ✡☛✠✂✌ ✚✟✂✡✆☛✠ ✡☛ ✂☞✡✠
✚✠✁✌ ✄ ☛✚✄☎✓ ✂☞✁ ✄✑✑☎ ✡✄☛✟✁ ✡ ✠ ✠✄✎✁ ✂✆ ✚✠✁ ✝✄ ✠✁✔ ✆☛ ✠✟✡✁☛✂✡✛✟ ✁✸✡✔✁☛✟✁
available today.
✹✧✤✺✪✧✭✬ ✫ ✻★✧ ✼✰✤
✽★✰✤
1 To connect the hose, insert it into the hose connection opening until
it snaps into place (‘click’).
2 To disconnect the hose, press the release buttons (1) and pull the
hose out of the hose connection opening (2).
ENGLISH6
✁✂✄☎✆✝✞
1 To connect the tube to the handgrip of the hose, insert the handgrip
into the tube. Fit the spring-loaded lock button into the opening in
the tube until it snaps into place (‘click’).
- To disconnect the tube, push the easy-release button and pull the
handgrip out of the tube.
✟✠✡✠☛☞✌✞✝☞ ✍✎✏✠
1 Move the tube lock up or down to adjust the tube length so that
the handgrip is at hip level.
✑✌✂✂✠☞✍✝✂☎ ✍✒✠ ✂ ✌✓✓✡✠☛
- To connect the nozzle or an accessory to the tube, insert the tube
into the nozzle or accessory. Fit the spring-loaded lock button into the
✔✕✖✗✘✗✙ ✘✗ ✚✛✖ ✗✔✜✜✢✖ ✔✣ ✤ ✖✦✦✔✣ ✧ ★✗✚✘✢ ✘ ✚ ✦✗✤✕✦ ✘✗✚✔ ✕✢✤ ✖ ✩✪ ✢✘ ✫✬✭✮
Note:You can also connect the nozzle or accessories directly to the handgrip.
✯✠✆✌✰✠✁✡ ✂✌✓✓✡✠ ✱☛✞✠☞✝✲☞ ✍✳✞✠☛ ✌✂✡✳✴
✵✛✖ ✶✖✣✔✷✖✤✢ ✗✔✜✜✢✖ ✘ ✦ ✦✕✖ ✘✤ ✢✢✧ ✸✖✦✘✙✗✖✸ ✚✔ ✣✖✤ ✛ ✸✖✖✕✖✣ ✘✗ ✚✔ ✹✔✔✣
✣✖✺✘ ✖✦ ✤✗✸ ✤✣✕✖ ✚✦ ✚✔ ✤✕✚★✣✖ ✻✔✣✖ ✸★✦✚ ✤✗✸ ✹ ★✼✼ ✤✚ ✖✤ ✛ ✦✚✣✔✫✖ ✮
-
✽✦✖ ✚✛✖ ✛✤✣✸ ✹✔✔✣ ✦✖✚✚✘✗✙ ✚✔ ✢✖✤✗ ✛✤✣✸ ✹✔✔✣ ✦ ✩✼✔✣ ✘✗✦✚✤✗ ✖ ✚✘✢✖✸✾
✕✤✣✿★✖✚✖✸✾ ✢✤✻✘✗✤✚✖✸ ✤✗ ✸ ✢✘✗✔✢✖★✻✖✸ ✹✔ ✔ ✣ ✘✗✙✭❀ ✕ ★✦✛ ✚✛✖ ✣✔ ✫✖✣ ✦❁✘ ✚ ✛
on top of the nozzle with your foot to make the brush strip come out
of the housing.
ENGLISH 7
- Use the carpet setting to clean carpets: push the rocker switch again to
make the brush strip disappear into the nozzle housing.
✁✂✄☎✆✂✝✞ ✟✠✡✡☛✞ ☞✌ ✍ ✞☎✂✎☎ ✆ ✏ ✍✞✌ ✠✟☛✏✑
✒✓✔ ✒✕ ✖✗✘✙✖✚✔ ✛✜✢✢✣✔ ✖✤ ✦✧✣✙✖ ★✩✧✕ ✩✜✤✔ ✛✜✢✢✣✔ ✪✜✕ ✘ ✕✩✔✙✤ ✛✫ ✓ ✕✫ ✬✜ ✜ ✕ ✤✭
- The side brushes catch more dust and dirt at the sides of the nozzle
and allow you to clean better along furniture and other obstacles.
- The opening at the front of the nozzle allows you to vacuum larger
particles.
1
✮✯ ✰✱✲✳✴ ✵✳✶✷ ✸✯✯✶✹✺ ✻✼✹ ✵ ✽✵✲ ✶✯✰✾✲✶ ✹✿❀✽✰✵ ✯✴ ✽✯✻ ✯❁ ✽✵✲ ✴✯❂❂✱✲
with your foot.
,
✮✵✲ ❃✶✼✹ ✵ ✹✽✶❀✻ ❁✯✶ ✰✱✲✳✴❀✴❄ ✵✳✶✷ ✸✯✯✶✹ ✰✯❅✲✹ ✯✼✽ ✯❁ ✽✵✲ ✵✯✼✹❀✴❄❆
At the same time, the wheel is lifted to prevent scratching and to
increase manoeuvrability.
2 To clean carpets, push the rocker switch again.
,
✮✵✲ ❃✶✼✹ ✵ ✹✽✶❀✻ ✷❀✹✳✻✻✲✳✶✹ ❀✴✽✯ ✽ ✵✲ ✴✯❂❂✱✲ ✵✯✼✹❀✴❄ ✳✴✷ ✽✵✲ ✿✵✲✲✱ ❀✹
lowered automatically.
ENGLISH8
✁✂✄☎✆✝✞☎✁✆ ✆✁✟✟✠✡ ☛☞ ✌✡✍☎✎✍ ✞✏✌✡☞ ✁✆✠✏✑
✒✓✔ ✕✖✗✘✙✚✛✜✙✖✚ ✚✖✢✢✣✔ ✕✛✚ ✘✔ ✤ ✔✦ ✖✚ ✔ ✙✜✓✔✧ ✕✛✧ ★✔✜ ✖✧ ✓ ✛✧ ✦ ✩✖✖✧ ✪
1
✫✬ ✭✮✯✰✱ ✲✰✳✴ ✵✬✬✳✶✷ ✸✹✶ ✲ ✺✲✯ ✳✬✭✻✯✳ ✶✼✽✺✭✲ ✬✱ ✺✬✸ ✬✾ ✺✲✯ ✱✬✿✿✮✯
with your foot.
,
✫✲✯ ❀✳✹✶ ✲ ✶✺✳✽✸ ✾✬✳ ✭✮✯✰✱✽✱❁ ✲✰✳✴ ✵✬✬✳✶ ✭✬❂✯✶ ✬✹✺ ✬✾ ✺✲✯ ✱✬✿✿✮✯
housing.
2 To clean carpets, push the rocker switch again.
,
✫✲✯ ❀✳✹✶ ✲ ✶✺✳✽✸ ✴✽✶✰✸✸✯✰✳✶ ✽✱✺✬ ✺ ✲✯ ✱✬✿✿✮✯ ✲✬✹✶✽✱❁❃
❄✡❅☎✍✡ ✆✁✟✟✠✡❆ ☞✂✝✠✠ ✆✁✟✟✠✡ ✝✆❇ ✄❄❈☞❉ ✆✁✟✟✠✡ ☛☞ ✌✡✍☎✎✍ ✞✏✌✡☞
✁✆✠✏✑
1
❊✬✱✱✯✭✺ ✺ ✲✯ ✶❂✰✮✮ ✱✬✿✿✮✯✷ ✭✳✯❋✽✭✯ ✱✬ ✿ ✿✮✯ ✬✳ ❀✳✹✶ ✲ ✱✬✿✿✮✯ ✴✽✳✯✭✺✮● ✺✬
the handgrip or to the tube.
1 Use the crevice nozzle to clean narrow corners or hard-to-reach
places.
2 Use the small nozzle to clean small areas, e.g. the seats of chairs and
sofas.
3 Use the brush nozzle to clean computers, bookshelves etc.
❍✍✍✡☞☞✁❄✏ ✍✠☎✌
1 Snap the accessory clip onto the tube.
2
■✱✰✸ ✺✲✯ ✭✳✯❋✽✭✯ ✺✬✬✮✷ ✺✲✯ ✶❂✰✮✮ ✱✬✿✿✮✯ ✰✱✴ ✺✲✯ ❀✳✹✶✲ ✱✬ ✿ ✿✮✯ ✬✱✺✬
the clip.
ENGLISH 9