Introduction
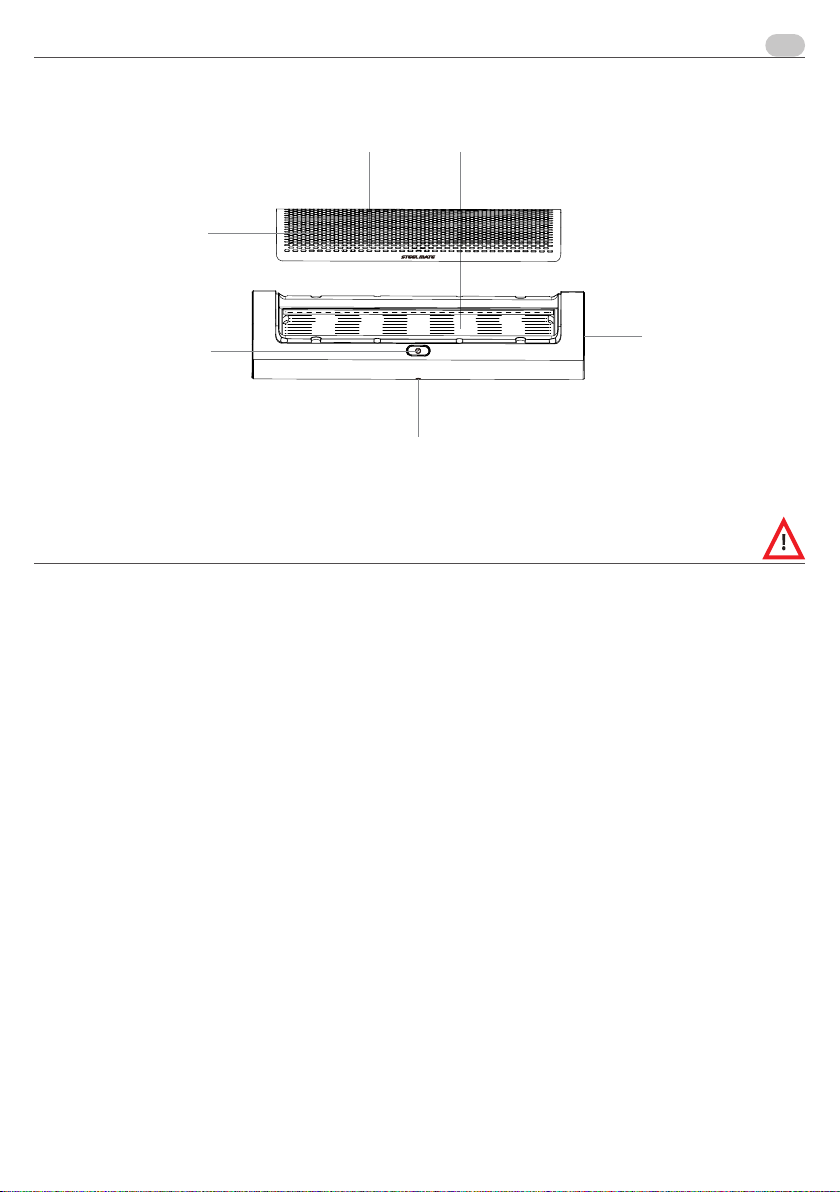
FilterFilter cover
Sensor
Air outlet
Inlet
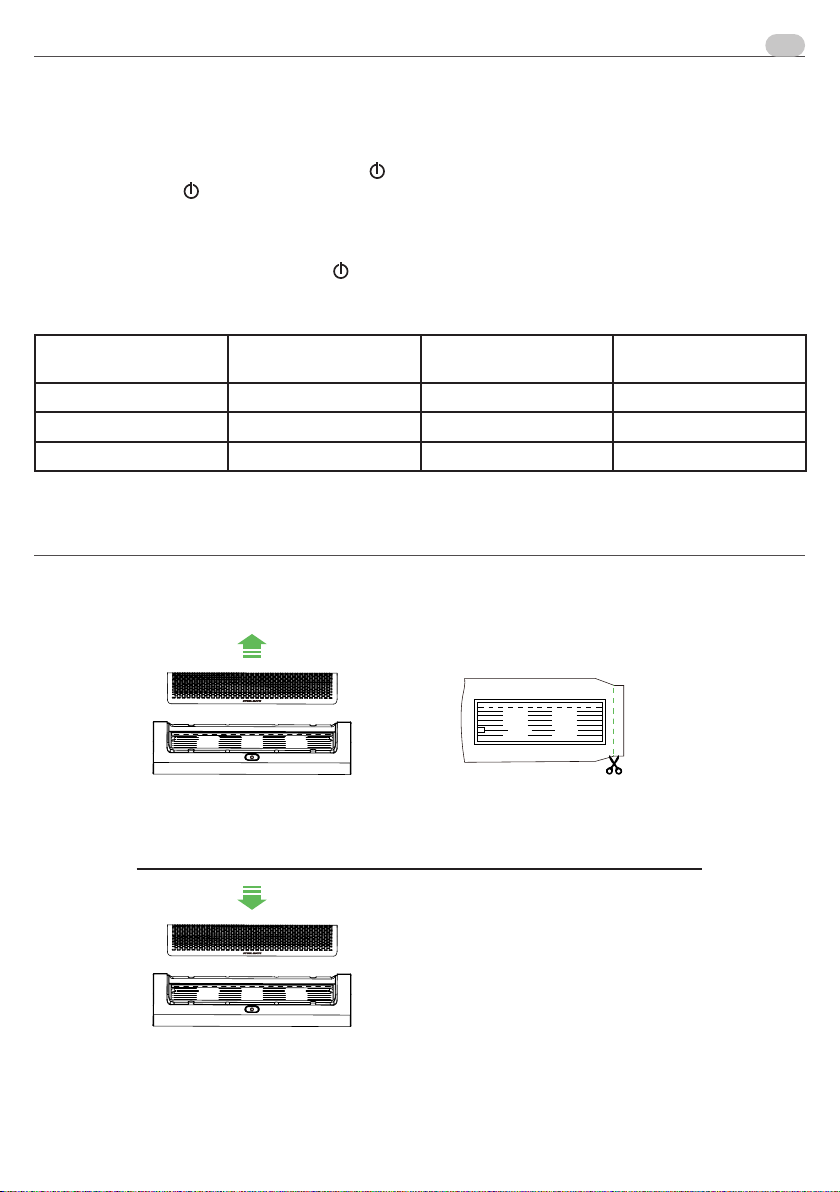
On/off key
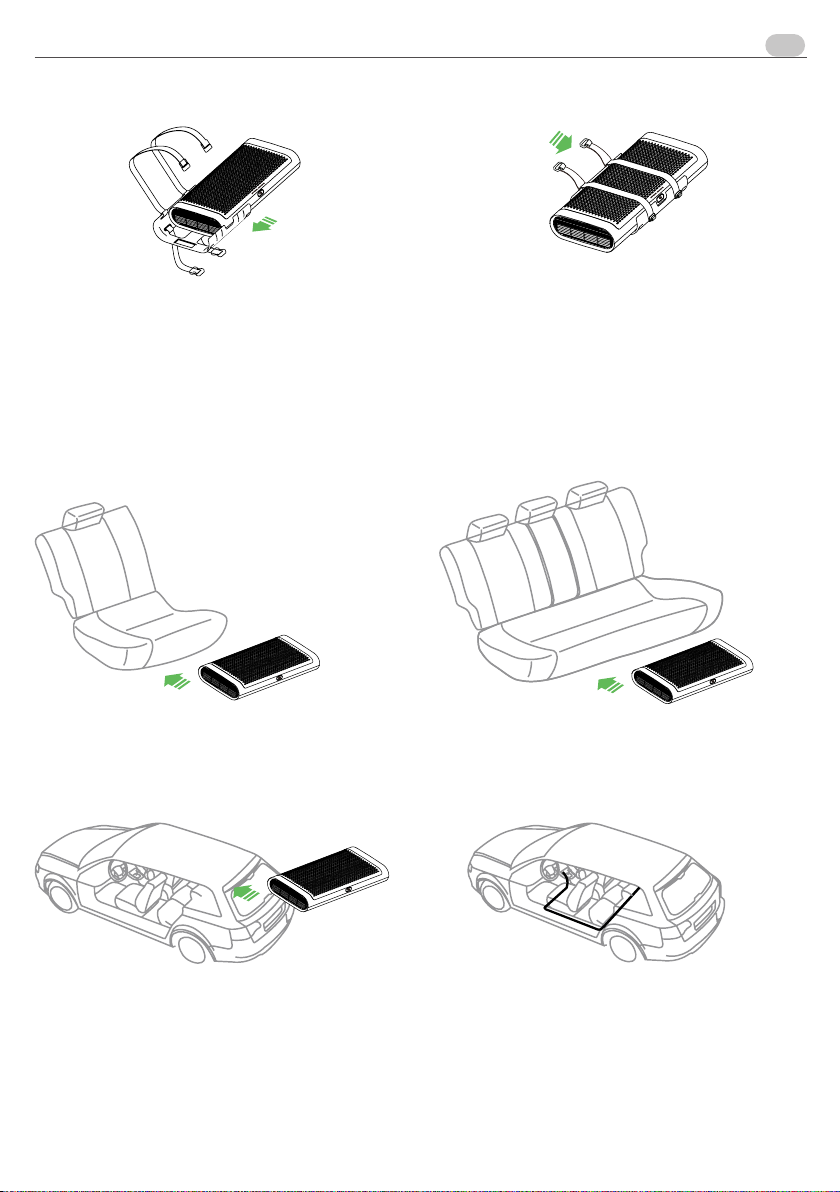
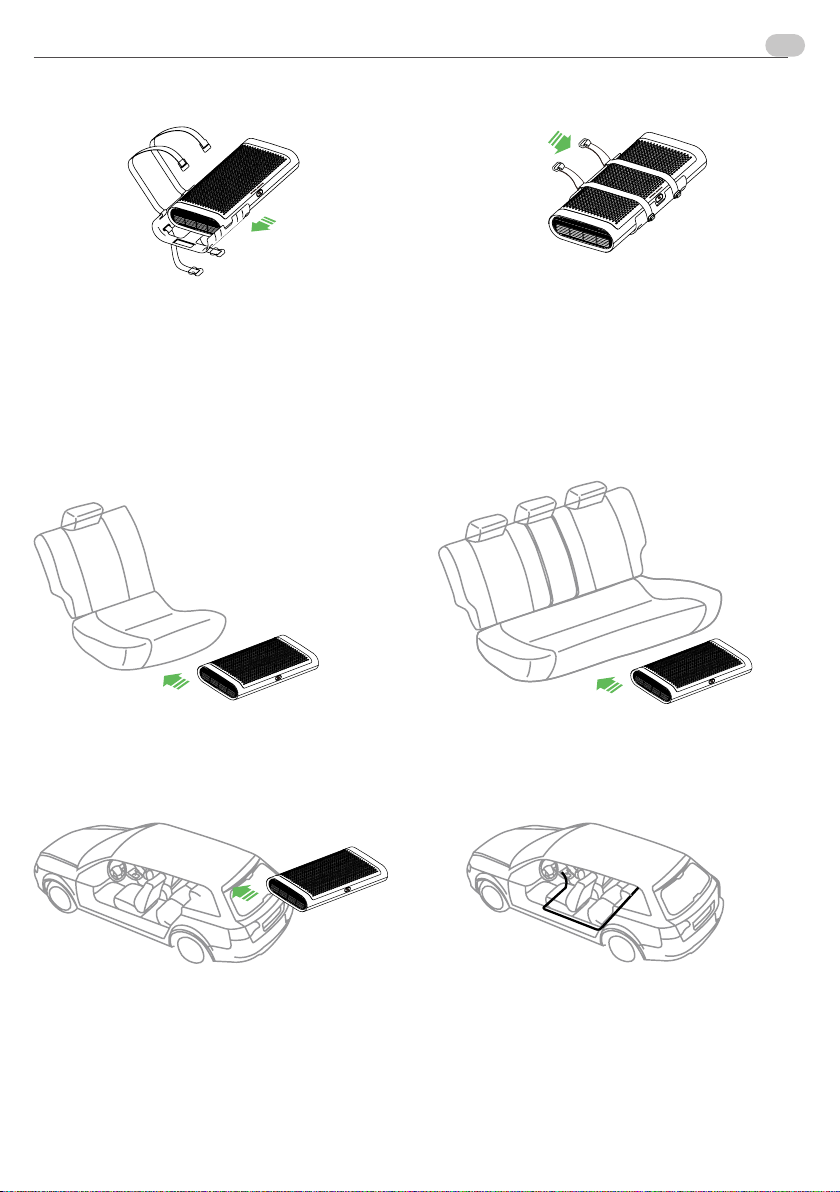
Package Contents: Purifier x 1, Bracket x 1, Wiring x1, Instructions x1.
Security Alerts
The air purifier 04972 filters and purifies the air ensuring an optimal anion concentration. It detects air quality with
high sensitivity sensors and effectively removes harmful particles thanks to 3-level filtration.
The air purifier 04972 filters and purifies the air ensuring an optimal anion concentration. It detects the quality air
with high-sensitivity sensors and effectively removes harmful particles thanks to the 3 filtering levels.
- Do not use the device at very high temperatures or in an environment filled with gas.
- Do not disassemble the product or use metal tools to avoid electric shock.
- The power supply from the car socket must be 12 V dc otherwise the device may be damaged.
- Use the original car adapter. The manufacturer is not responsible for any damage caused to the device by the use
of non-original adapters.
- The use of the device is forbidden in hazardous, flammable places or environments filled with gas, such as gas
stations.
- When running, the device may emit “squeaks” or micro sounds, they are corona discharges, a normal phenome-
non.
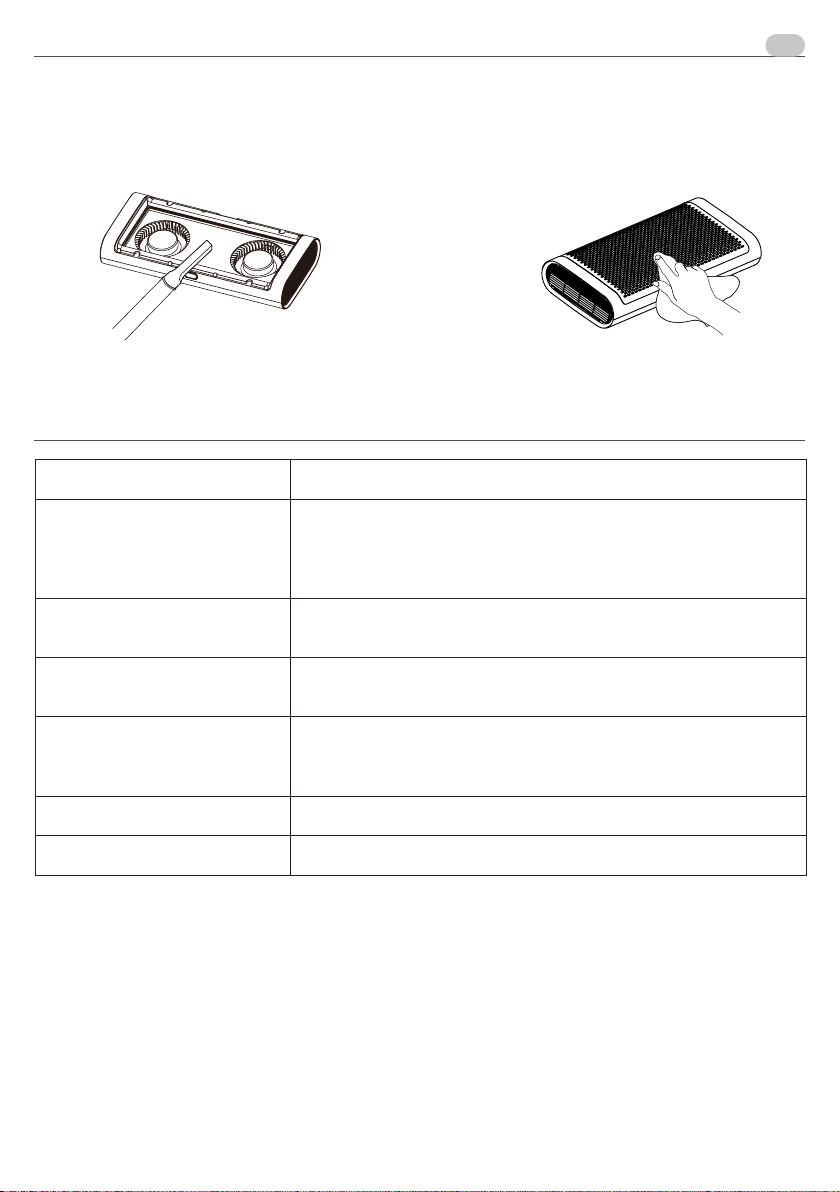
- Do not get the product wet in any way. Always disconnect the power supply when cleaning.
- Do not place the device in the airbag deployment area or other areas where it may affect a safe driving.
- Disconnect the power supply before opening the cover.
- This is not a toy! Do not allow children to play with the device.
- Do not set the device while driving, if necessary pull over before performing any operation.
- In case of malfunction, contact your dealer, do not disassemble the product yourself.
Notes:
- When the device is running, you may notice a slight odor, similar to that emitted from the ground during rain, it is
a natural phenomenon due to negative ions acting.
- Keep air inlets and outlets clear. Do not cover with other objects otherwise the functioning will be reduced.
- For quick cleaning, keep the car windows closed.
6 7
EN
6