manuals.online logo
Brands
  1. Home
  2. •
  3. Brands
  4. •
  5. Photon Focus
  6. •
  7. Digital Camera
  8. •
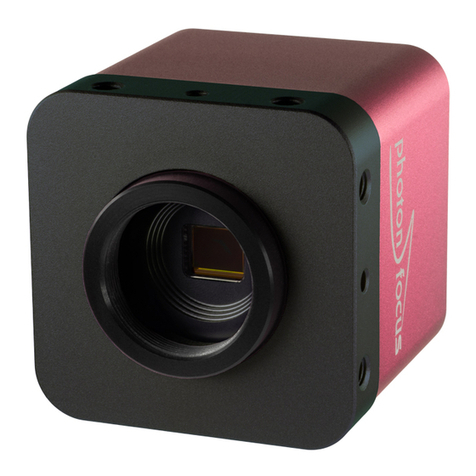
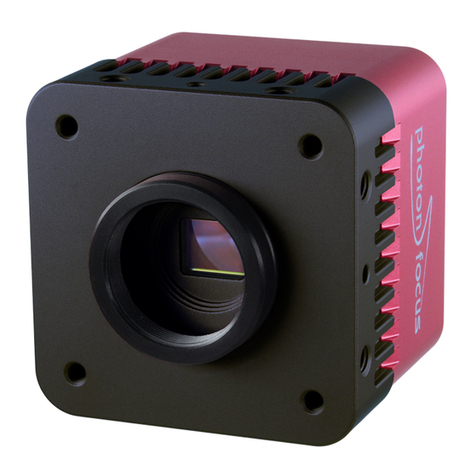
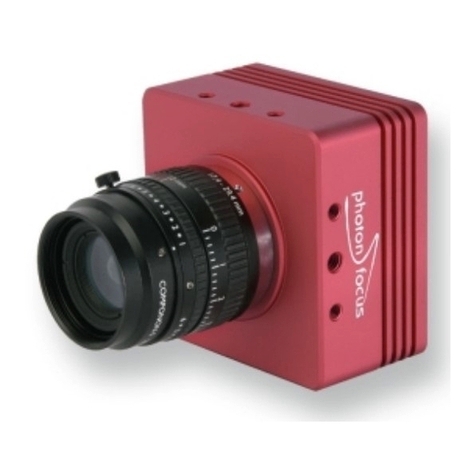
  9. Photon Focus MV1-D3360-G2 Series User manual

Photon Focus MV1-D3360-G2 Series User manual

MAN071 03/2015 V1.0
Photonfocus
MV1-D3360-G2 Camera Series
CMOS camera with GigE interface
All information provided in this manual is believed to be accurate and reliable. No
responsibility is assumed by Photonfocus AG for its use. Photonfocus AG reserves the right to
make changes to this information without notice.
Reproduction of this manual in whole or in part, by any means, is prohibited without prior
permission having been obtained from Photonfocus AG.
2
1
Preface
1.1 About Photonfocus
The Swiss company Photonfocus is one of the leading specialists in the development of CMOS
image sensors and corresponding industrial cameras for machine vision.
Photonfocus is dedicated to making the latest generation of CMOS technology commercially
available. Active Pixel Sensor (APS) and global shutter technologies enable high speed and
high dynamic range (120 dB) applications, while avoiding disadvantages like image lag,
blooming and smear.
Photonfocus’ product range is complemented by custom design solutions in the area of camera
electronics and CMOS image sensors.
Photonfocus is ISO 9001 certified. All products are produced with the latest techniques in order
to ensure the highest degree of quality.
1.2 Contact
Photonfocus AG, Bahnhofplatz 10, CH-8853 Lachen SZ, Switzerland
Sales Phone: +41 55 451 00 00 Email: [email protected]
Support Phone: +41 55 451 00 00 Email: [email protected]
Table 1.1: Photonfocus Contact
1.3 Sales Offices
Photonfocus products are available through an extensive international distribution network
and through our key account managers. Contacts to our key account managers can be found
at www.photonfocus.com.
1.4 Further information
Photonfocus reserves the right to make changes to its products and documenta-
tion without notice. Photonfocus products are neither intended nor certified for
use in life support systems or in other critical systems. The use of Photonfocus
products in such applications is prohibited.
Photonfocus is a trademark and LinLog®is a registered trademark of Photonfo-
cus AG. CameraLink®and GigE Vision®are a registered mark of the Automated
Imaging Association. Product and company names mentioned herein are trade-
marks or trade names of their respective companies.
3
1 Preface
Reproduction of this manual in whole or in part, by any means, is prohibited
without prior permission having been obtained from Photonfocus AG.
Photonfocus can not be held responsible for any technical or typographical er-
rors.
1.5 Legend
In this documentation the reader’s attention is drawn to the following icons:
Important note
Alerts and additional information
Attention, critical warning
✎
Notification, user guide
4
2
Introduction
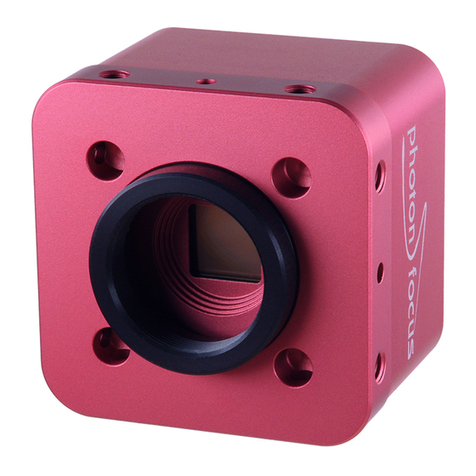
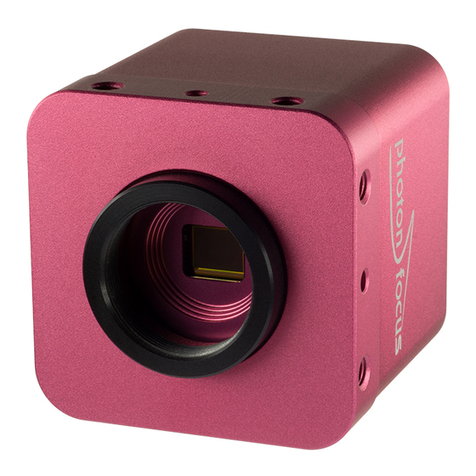
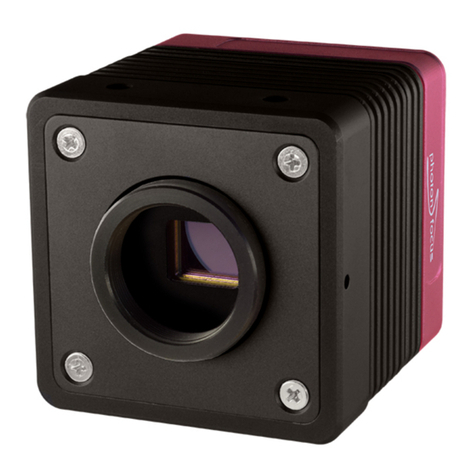
This manual describes standard Photonfocus D3360 series cameras that have a Gigabit Ethernet
(GigE) interface. The cameras contain a CMV8000 sensor from CMOSIS. The Photonfocus D3360
GigE series has the following camera model families:
DR1 cameras DR1 cameras use a proprietary coding algorithm to double the maximal frame
rate compared to a standard GigE camera over one GigE cable.
D-cameras Standard area scan cameras.
There are camera models in every camera family with the following sensor types:
Monochrome Standard monochrome sensor
Color Color sensor
2.1 Camera Naming convention
The naming convention of the D3360 camera series is summarized in Fig. 2.1.
Figure 2.1: Camera naming convention
Prefix1 DR1 cameras have DR1 as Prefix1, whereas the other cameras have MV1 as Prefix1.
Prefix2 Camera family specifier. The following specifiers are used in this manual: "D":
standard area scan cameras (digital).
Sensor width All cameras covered in this manual use sensors with a width of 3360 pixels.
Sensor height This indication is optional to avoid ambiguity. The DR1 and D-cameras use the 8
MPix CMV8000 sensor and don’t have a height indication.
Sensor type Available sensor types are: "C": color cameras. Cameras without sensor type
specifier have a standard monochrome sensor.
Camera speed The camera speed is usually the product of the camera interface clock in MHz
and the number of parallel interface channels (taps).
Interface type All cameras covered by this manual have a GigE interface denoted by "G2".
Interface resolution Maximal resolution (bit width) of the camera interface.
5
2 Introduction
2.2 Camera list
A list of all cameras covered in this manual is shown in Table 2.1 (see also Table 4.2).
Abbreviated camera names are used in this manual to increase readability. The following
abbreviations are used (see also Table 2.1):
D3360 camera series All cameras covered in this manual
D-camera Cameras that don’t have a line scan mode and don’t have Double Rate feature.
These cameras have Prefix2="D" (see also Fig. 2.1).
DR1 camera Camera that use a proprietary coding algorithm to double the maximal frame rate
compared to a standard GigE camera over one GigE cable.
D-xxx D-cameras with camera speed = xxx, e.g. D-96.
Color Cameras that have a color sensor.
Name Resolution Camera Family Abbreviation NIR Color
MV1-D3360-96-G2-10 8 MPix D-camera D-96 no no
MV1-D3360C-96-G2-10 8 MPix D-camera D-96 no yes
DR1-D3360-192-G2-8 8 MPix DR1 camera DR1-192 no no
DR1-D3360C-192-G2-8 8 MPix DR1 camera DR1-192 no yes
Table 2.1: Camera models covered by this manual
6
3
How to get started (GigE G2)
3.1 Introduction
This guide shows you:
• How to install the required hardware (see Section 3.2)
• How to install the required software (see Section 3.3) and configure the Network Adapter
Card (see Section 3.4 and Section 3.5)
• How to acquire your first images and how to modify camera settings (see Section 3.6)
• A Starter Guide [MAN051] can be downloaded from the Photonfocus support page. It
describes how to access Photonfocus GigE cameras from various third-party tools.
3.2 Hardware Installation
The hardware installation that is required for this guide is described in this section.
The following hardware is required:
• PC with Microsoft Windows OS (XP, Vista, Windows 7)
• A Gigabit Ethernet network interface card (NIC) must be installed in the PC. The NIC
should support jumbo frames of at least 9014 bytes. In this guide the Intel PRO/1000 GT
desktop adapter is used. The descriptions in the following chapters assume that such a
network interface card (NIC) is installed. The latest drivers for this NIC must be installed.
• Photonfocus GigE camera.
• Suitable power supply for the camera (see in the camera manual for specification) which
can be ordered from your Photonfocus dealership.
• GigE cable of at least Cat 5E or 6 with shielding.
Photonfocus GigE cameras can also be used under Linux.
Photonfocus GigE cameras work also with network adapters other than the Intel
PRO/1000 GT. The GigE network adapter should support Jumbo frames.
Do not bend GigE cables too much. Excess stress on the cable results in transmis-
sion errors. In robots applications, the stress that is applied to the GigE cable is
especially high due to the fast movement of the robot arm. For such applications,
special drag chain capable cables are available.
The following list describes the connection of the camera to the PC (see in the camera manual
for more information):
7
3 How to get started (GigE G2)
1. Remove the Photonfocus GigE camera from its packaging. Please make sure the following
items are included with your camera:
• Power supply connector
• Camera body cap
If any items are missing or damaged, please contact your dealership.
2. Connect the camera to the GigE interface of your PC with a shielded GigE cable of at least
Cat 5E or 6.
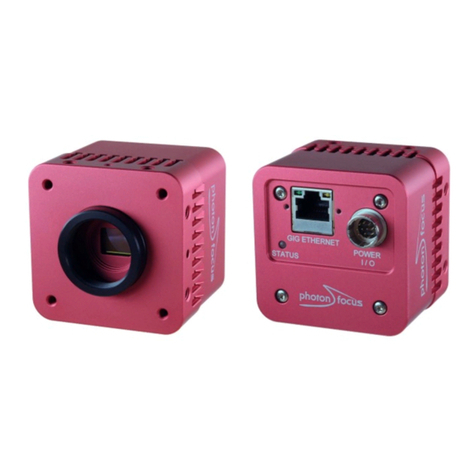
Et h e r n e t J a c k ( R J 4 5 )
P o w e r S u p p l y
a n d I / O C o n n e c t o r
S t a t u s L E D
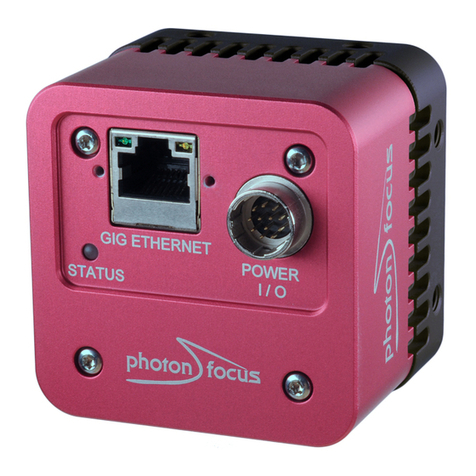
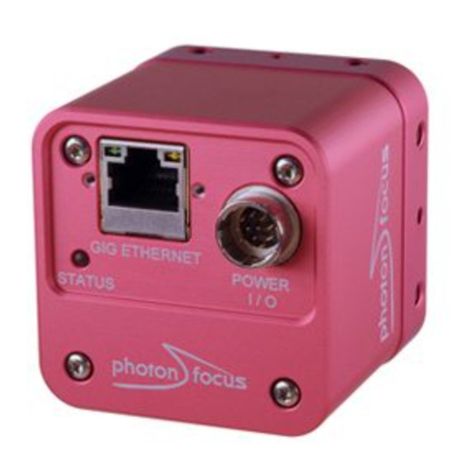
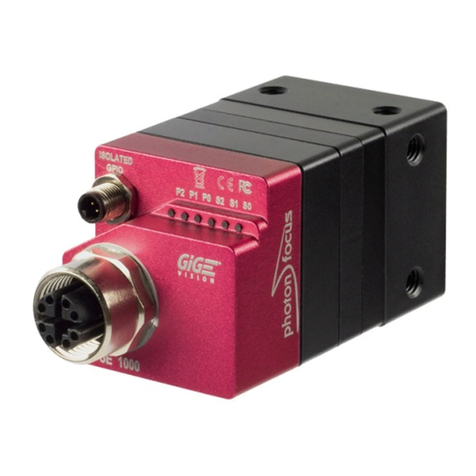
Figure 3.1: Rear view of the Photonfocus GigE camera series with power supply and I/O connector, Ethernet
jack (RJ45) and status LED
3. Connect a suitable power supply to the power plug. The pin out of the connector is
shown in the camera manual.
Check the correct supply voltage and polarity! Do not exceed the operating
voltage range of the camera.
A suitable power supply can be ordered from your Photonfocus dealership.
4. Connect the power supply to the camera (see Fig. 3.1).
.
8
3.3 Software Installation
This section describes the installation of the required software to accomplish the tasks
described in this chapter.
1. Install the latest drivers for your GigE network interface card.
2. Download the latest eBUS SDK installation file from the Photonfocus server.
You can find the latest version of the eBUS SDK on the support (Software Down-
load) page at www.photonfocus.com.
3. Install the eBUS SDK software by double-clicking on the installation file. Please follow the
instructions of the installation wizard. A window might be displayed warning that the
software has not passed Windows Logo testing. You can safely ignore this warning and
click on Continue Anyway. If at the end of the installation you are asked to restart the
computer, please click on Yes to restart the computer before proceeding.
4. After the computer has been restarted, open the eBUS Driver Installation tool (Start ->
All Programs -> eBUS SDK -> Tools -> Driver Installation Tool) (see Fig. 3.2). If there is
more than one Ethernet network card installed then select the network card where your
Photonfocus GigE camera is connected. In the Action drop-down list select Install eBUS
Universal Pro Driver and start the installation by clicking on the Install button. Close the
eBUS Driver Installation Tool after the installation has been completed. Please restart the
computer if the program asks you to do so.
Figure 3.2: eBUS Driver Installation Tool
5. Download the latest PFInstaller from the Photonfocus server.
6. Install the PFInstaller by double-clicking on the file. In the Select Components (see Fig. 3.3)
dialog check PF_GEVPlayer and doc for GigE cameras. For DR1 cameras select additionally
DR1 support and 3rd Party Tools. For 3D cameras additionally select PF3DSuite2 and SDK.
.
3.3 Software Installation 9
3 How to get started (GigE G2)
Figure 3.3: PFInstaller components choice
10
3.4 Network Adapter Configuration
This section describes recommended network adapter card (NIC) settings that enhance the
performance for GigEVision. Additional tool-specific settings are described in the tool chapter.
1. Open the Network Connections window (Control Panel -> Network and Internet
Connections -> Network Connections), right click on the name of the network adapter
where the Photonfocus camera is connected and select Properties from the drop down
menu that appears.
Figure 3.4: Local Area Connection Properties
.
3.4 Network Adapter Configuration 11
3 How to get started (GigE G2)
2. By default, Photonfocus GigE Vision cameras are configured to obtain an IP address
automatically. For this quick start guide it is recommended to configure the network
adapter to obtain an IP address automatically. To do this, select Internet Protocol (TCP/IP)
(see Fig. 3.4), click the Properties button and select Obtain an IP address automatically
(see Fig. 3.5).
Figure 3.5: TCP/IP Properties
.
12
3. Open again the Local Area Connection Properties window (see Fig. 3.4) and click on the
Configure button. In the window that appears click on the Advanced tab and click on Jumbo
Frames in the Settings list (see Fig. 3.6). The highest number gives the best performance.
Some tools however don’t support the value 16128. For this guide it is recommended to
select 9014 Bytes in the Value list.
Figure 3.6: Advanced Network Adapter Properties
.
3.4 Network Adapter Configuration 13
3 How to get started (GigE G2)
4. No firewall should be active on the network adapter where the Photonfocus GigE camera
is connected. If the Windows Firewall is used then it can be switched off like this: Open
the Windows Firewall configuration (Start -> Control Panel -> Network and Internet
Connections -> Windows Firewall) and click on the Advanced tab. Uncheck the network
where your camera is connected in the Network Connection Settings (see Fig. 3.7).
Figure 3.7: Windows Firewall Configuration
.
14
3.5 Network Adapter Configuration for Pleora eBUS SDK
Open the Network Connections window (Control Panel -> Network and Internet Connections ->
Network Connections), right click on the name of the network adapter where the Photonfocus
camera is connected and select Properties from the drop down menu that appears. A
Properties window will open. Check the eBUS Universal Pro Driver (see Fig. 3.8) for maximal
performance. Recommended settings for the Network Adapter Card are described in Section
3.4.
Figure 3.8: Local Area Connection Properties
.
3.5 Network Adapter Configuration for Pleora eBUS SDK 15
3 How to get started (GigE G2)
3.6 Getting started
This section describes how to acquire images from the camera and how to modify camera
settings.
1. Open the PF_GEVPlayer software (Start -> All Programs -> Photonfocus -> GigE_Tools ->
PF_GEVPlayer) which is a GUI to set camera parameters and to see the grabbed images
(see Fig. 3.9).
Figure 3.9: PF_GEVPlayer start screen
.
16
2. Click on the Select / Connect button in the PF_GEVPlayer . A window with all detected
devices appears (see Fig. 3.10). If your camera is not listed then select the box Show
unreachable GigE Vision Devices.
Figure 3.10: GEV Device Selection Procedure displaying the selected camera
3. Select camera model to configure and click on Set IP Address....
Figure 3.11: GEV Device Selection Procedure displaying GigE Vision Device Information
.
3.6 Getting started 17
3 How to get started (GigE G2)
4. Select a valid IP address for selected camera (see Fig. 3.12). There should be no
exclamation mark on the right side of the IP address. Click on Ok in the Set IP Address
dialog. Select the camera in the GEV Device Selection dialog and click on Ok.
Figure 3.12: Setting IP address
5. Finish the configuration process and connect the camera to PF_GEVPlayer .
Figure 3.13: PF_GEVPlayer is readily configured
6. The camera is now connected to the PF_GEVPlayer. Click on the Play button to grab
images.
An additional check box DR1 appears for DR1 cameras. The camera is in dou-
ble rate mode if this check box is checked. The demodulation is done in the
PF_GEVPlayer software. If the check box is not checked, then the camera out-
puts an unmodulated image and the frame rate will be lower than in double
rate mode.
18
If no images can be grabbed, close the PF_GEVPlayer and adjust the Jumbo
Frame parameter (see Section 3.3) to a lower value and try again.
Figure 3.14: PF_GEVPlayer displaying live image stream
7. Check the status LED on the rear of the camera.
✎
The status LED light is green when an image is being acquired, and it is red when
serial communication is active.
8. Camera parameters can be modified by clicking on GEV Device control (see Fig. 3.15). The
visibility option Beginner shows most the basic parameters and hides the more advanced
parameters. If you don’t have previous experience with Photonfocus GigE cameras, it is
recommended to use Beginner level.
Figure 3.15: Control settings on the camera
3.6 Getting started 19
3 How to get started (GigE G2)
9. To modify the exposure time scroll down to the AcquisitionControl control category (bold
title) and modify the value of the ExposureTime property.
20

This manual suits for next models

4

Other Photon Focus Digital Camera manuals

Photon Focus MV1-D4096 Series User manual

Photon Focus

Photon Focus MV1-D4096 Series User manual

Photon Focus MV3-D640I-M01-144-G2-12 User manual

Photon Focus

Photon Focus MV3-D640I-M01-144-G2-12 User manual

Photon Focus MV1-D1312I CameraLink User manual

Photon Focus

Photon Focus MV1-D1312I CameraLink User manual

Photon Focus MV0 CMOSIS Series User manual

Photon Focus

Photon Focus MV0 CMOSIS Series User manual

Photon Focus MV8-D8424-G01-GT User manual

Photon Focus

Photon Focus MV8-D8424-G01-GT User manual

Photon Focus Gpixel MV8 Series User manual
Photon Focus

Photon Focus Gpixel MV8 Series User manual

Photon Focus MV-D1024E CameraLink Series User manual

Photon Focus

Photon Focus MV-D1024E CameraLink Series User manual

Photon Focus MV1-D1280-L01-3D05 Series User manual

Photon Focus

Photon Focus MV1-D1280-L01-3D05 Series User manual

Photon Focus MV1-D3360-160-CL Series User manual

Photon Focus

Photon Focus MV1-D3360-160-CL Series User manual

Photon Focus MV0 3D06 Series User manual

Photon Focus

Photon Focus MV0 3D06 Series User manual

Photon Focus MV2-D1280-640 User manual

Photon Focus

Photon Focus MV2-D1280-640 User manual

Photon Focus MV4 Series User manual

Photon Focus

Photon Focus MV4 Series User manual

Photon Focus D/L-2048 User manual

Photon Focus

Photon Focus D/L-2048 User manual

Photon Focus Python MV0-D1280-O01-3D06-288-G2 User manual

Photon Focus

Photon Focus Python MV0-D1280-O01-3D06-288-G2 User manual

Photon Focus MV-D752-28 User manual

Photon Focus

Photon Focus MV-D752-28 User manual

Photon Focus MV1-D1024E User manual

Photon Focus

Photon Focus MV1-D1024E User manual

Photon Focus MV1-D2048-3D03 Series User manual

Photon Focus

Photon Focus MV1-D2048-3D03 Series User manual

Photon Focus Luxima MV4-D1280-L01-G2 User manual

Photon Focus

Photon Focus Luxima MV4-D1280-L01-G2 User manual

Photon Focus MV1-D3360 Series User manual

Photon Focus

Photon Focus MV1-D3360 Series User manual

Photon Focus CameraLink MV1-D1280 User manual
Photon Focus

Photon Focus CameraLink MV1-D1280 User manual

Photon Focus MV1-D1312(IE)-G2 User manual
Photon Focus

Photon Focus MV1-D1312(IE)-G2 User manual

Photon Focus MV1-D1280-L01-1280-G2-12 User manual

Photon Focus

Photon Focus MV1-D1280-L01-1280-G2-12 User manual

Photon Focus MV1-D1312-3D02 Series User manual

Photon Focus

Photon Focus MV1-D1312-3D02 Series User manual

Photon Focus MV1-D1280 Series User manual
Photon Focus

Photon Focus MV1-D1280 Series User manual

Popular Digital Camera manuals by other brands

FujiFilm FinePix S3Pro Service manual

FujiFilm

FujiFilm FinePix S3Pro Service manual

Praktica MTL5 Instructions for use

Praktica

Praktica MTL5 Instructions for use

FujiFilm X-H2S manual

FujiFilm

FujiFilm X-H2S manual

Samsung HZ50W Manual Del Usuario

Samsung

Samsung HZ50W Manual Del Usuario

Olympus CAMEDIA C-5000 Zoom quick start guide

Olympus

Olympus CAMEDIA C-5000 Zoom quick start guide

Samsung DIGIMAX 4500 user manual

Samsung

Samsung DIGIMAX 4500 user manual

Pentax K-r operating manual

Pentax

Pentax K-r operating manual

MAROM-X ELITE user manual

MAROM-X

MAROM-X ELITE user manual

Omron ZFX-S instruction sheet

Omron

Omron ZFX-S instruction sheet

FujiFilm FinePix S2800HD Series owner's manual

FujiFilm

FujiFilm FinePix S2800HD Series owner's manual

Code 3 CAMA06-000/01 instructions

Code 3

Code 3 CAMA06-000/01 instructions

Kodak DCS 720x Quick setup guide

Kodak

Kodak DCS 720x Quick setup guide

Sony Alpha DSLR-A350 Service manual

Sony

Sony Alpha DSLR-A350 Service manual

Nikon Autofocus Speedlight SB-22 instruction manual

Nikon

Nikon Autofocus Speedlight SB-22 instruction manual

Vivitar Vivicam 7028 user manual

Vivitar

Vivitar Vivicam 7028 user manual

Kodak EasyShare C633 user guide

Kodak

Kodak EasyShare C633 user guide

Panasonic DMC-ZS25K owner's manual

Panasonic

Panasonic DMC-ZS25K owner's manual

Olympus EVOLT E-300 quick guide

Olympus

Olympus EVOLT E-300 quick guide

manuals.online logo
manuals.online logoBrands
  • About & Mission
  • Contact us
  • Privacy Policy
  • Terms and Conditions

Copyright 2025 Manuals.Online. All Rights Reserved.