manuals.online logo
Brands
  1. Home
  2. •
  3. Brands
  4. •
  5. Physio Logic
  6. •
  7. Thermometer
  8. •
  9. Physio Logic DiGiPro User manual

Physio Logic DiGiPro User manual

016-625
Features:
• For use orally, rectally or underarm
• Accurate within 0.1°C / 0.2°F
• Displays in Celsius
• Memory recall / display of last reading
• Soft beep signals peak temperature
• Waterproof / washable for easy cleaning
• Auto shut-off for extended battery life
• Includes storage case
Note:
Note: The patient’s mouth must remain closed during the measurement for to
ensure the most accurate reading. Opening the mouth could result in an extended
measurement time and may affect the reading.
Taking a rectal temperature
Approximate measurement time: 30 seconds.
Note: Rectal temperatures are an appropriate and reliable method for infants and
small children. Otherwise, this method should only be used when it is impossible
or impractical to take an oral or axillary temperature.
. Apply a water-soluble lubricant to the tip and insert the probe to a MAXIMUM
of 1/2” (1.25 cm) into the rectum.
Note: The t
Note: Rectal temperatures are generally 0.6°C (1.0°F) higher than oral readings.
Taking an axillary temperature (under the arm)
Approximate measurement time: 101 seconds.
Wipe the underarm with a dry towel.
2.
4. Position the arm across the chest so the probe tip is well covered by the arm.
This also insures the probe is not affected by the room's air.
Note: Axillary temperatures are generally 0.6°C (1.0°F) lower than oral readings.
The temperature reading may increase - even after the “°C” has stopped
flashing - if the thermometer is moved into a warmer place. If this happens,
allow a few seconds for the thermometer to re-stabilize and show the
final reading.
1. Press the ON/OFF button to turn the unit on.
The unit will show the displays indicated on
the left and a °C symbol will start flashing,
which means it is now taking readings.
2
3. Once the “°C” symbol on the display has stopped flashing (usually within 60
seconds), the peak stable temperature will be indicated.
emperature reading may increase - even after the °C has stopped
flashing - if the thermometer is moved into a warmer place. If this happens,
allow a few seconds for the thermometer to re-stabilize and show the
final reading.
1.
Press the ON/OFF button to turn the unit on.
The unit will show the displays indicated on
the left and a °C symbol will start flashing,
which means it is now taking readings.
3. Place the probe tip under the arm so the tip is touching the skin, with the
thermometer perpendicular to the body.
5. Once the °C symbol on the display has stopped flashing (usually within 60
seconds), the peak stable temperature will be indicated.
Note: The temperature reading may increase even after the “°C” has stopped
flashing if the thermometer is moved into a warmer place. If this happens,
allow a few seconds for the thermometer to re-stabilize and show the
final reading.
To turn the unit off
Press the ON/OFF button. However, the unit will automatically shut off after
approximately 10 minutes if it is not turned off manually.
To recall memory
To recall memory of the last reading, hold the ON/OFF button for approx. 2
seconds when turning the thermometer on.
General care
1. Clean the thermometer before and after each use.
2. Store the unit in the protective case when it is not in use.
3. Do not bite the probe.
4. Do not store the unit where it will be exposed to direct sunlight, dust or
humidity. Avoid extreme temperatures.
5. Dropping or subjecting the thermometer to strong shocks should be avoided.
6. Do not attempt to disassemble the unit.
7. The thermometer should only be used under the supervision of an adult.
8. The patient should not walk, run or talk during temperature taking.
Specifications
Display: Liquid Crystal Display
Display resolution: 4 Digits (1/10th of a degree increments)
Measurement range: 32°C to 44°C
Accuracy: 0.1°C to 35.0°C
and 39.0°C
± 0.2°C otherwise
Average measurement time: Oral: 60 seconds, rectal: 30 seconds,
axillary: 101 seconds
Tone: Thermometer beeps softly when activated and
deactivated. A series of four beeps signal
when peak temperature is reached
Memory: Displays last measured temperature
Battery: One, 1.55V, alkaline Manganese battery LR41 or
UCC 192
Battery life: Approximately 90 hours of continuous operation
or approx. 18 months of 10 minutes per day
Automatic shut-off: After approximately 10 minutes
Ambient operating temperature: 0°C to 50°C (humidity: 10 % ~ 83 %)
Dimensions: 12.6 cm x 1.8 cm x 1.0 cm
Weight : 7 grams with battery inside, approximately
Specifications are subject to change without notice.
For further questions or comments, visit www.amgphysiologic.com
Cleaning instructions
Clean the thermometer with one of the solutions listed below, then store it in
its plastic case. Any other cleaning method may damage the thermometer.
1. Press the ON/OFF button to turn the unit on.
The unit will show the displays indicated on
the left and a °C symbol will start flashing,
which means it is now taking readings.
3. Once the °C symbol on the display has stopped flashing (usually within 60
seconds), the peak stable temperature will be indicated.
How to take the patient’s temperature
1. Clean and disinfect the thermometer according to the instructions provided
above.
2. Decide whether the measurement will be oral, rectal or underarm.
3. If desired, place sterile probe cover on the tip of the thermometer (not
necessary)
Note: Measurement time may vary based on the selected site.
Taking an oral temperature
Approximate measurement time: 60 seconds.
Note: Drinking hot or cold fluids, exercising,
smoking or performing other activities may raise
or lower your temperature. It is important for the
patient to relax for approximately 5 minutes,
mouth closed, prior to taking a reading.
2. Place the probe tip under the tongue as near as possible to the heat pocket,
close the patient’s mouth and avoid moving the unit.
TM
®
Thank you for purchasing the Physio Logic DiGiPro
Thermometers. Please read the following instructions to achieve
the most accurate temperature readings and safe operation.
REV. 1 0506 P/N 804-039
User Guide
Digital Clinical Thermometer
HEAT
POCKET
HEAT
POCKET
TM
Solution Dilution Method
Isopropyl Alcohol (IPA) 70% - 90% Wipe with soaked cloth
Ethanol 70% - 80% Wipe with soaked cloth
(do not soak unit)
Sodium Hypochlorite 0.02% - 0.05%
Gluconate Chlorhexidine 0.1 % - 0.5%
Benzethonium Chloride 0.1% Soak for up to 30 minutes
Benzalkonium Chloride 0.1%
Glutaraldehyde 0.5% - 2%
Alkylpolyaminoethylglycine 0.05% - 0.2%
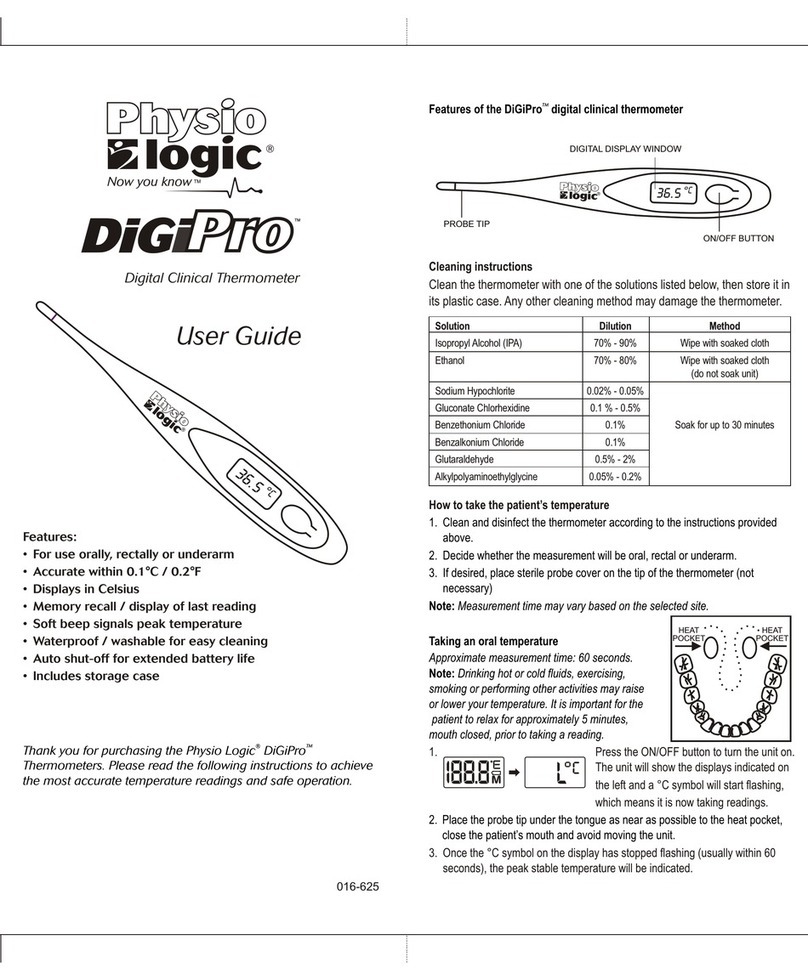
PROBE TIP
ON/OFF BUTTON
DIGITAL DISPLAY WINDOW
TM
Features of the DiGiPro digital clinical thermometer
016-625
Features:
• For use orally, rectally or underarm
• Accurate within 0.1°C / 0.2°F
• Displays in Celsius
• Memory recall / display of last reading
• Soft beep signals peak temperature
• Waterproof / washable for easy cleaning
• Auto shut-off for extended battery life
• Includes storage case
Note:
Note: The patient’s mouth must remain closed during the measurement for to
ensure the most accurate reading. Opening the mouth could result in an extended
measurement time and may affect the reading.
Taking a rectal temperature
Approximate measurement time: 30 seconds.
Note: Rectal temperatures are an appropriate and reliable method for infants and
small children. Otherwise, this method should only be used when it is impossible
or impractical to take an oral or axillary temperature.
. Apply a water-soluble lubricant to the tip and insert the probe to a MAXIMUM
of 1/2” (1.25 cm) into the rectum.
Note: The t
Note: Rectal temperatures are generally 0.6°C (1.0°F) higher than oral readings.
Taking an axillary temperature (under the arm)
Approximate measurement time: 101 seconds.
Wipe the underarm with a dry towel.
2.
4. Position the arm across the chest so the probe tip is well covered by the arm.
This also insures the probe is not affected by the room's air.
Note: Axillary temperatures are generally 0.6°C (1.0°F) lower than oral readings.
The temperature reading may increase - even after the “°C” has stopped
flashing - if the thermometer is moved into a warmer place. If this happens,
allow a few seconds for the thermometer to re-stabilize and show the
final reading.
1. Press the ON/OFF button to turn the unit on.
The unit will show the displays indicated on
the left and a °C symbol will start flashing,
which means it is now taking readings.
2
3. Once the “°C” symbol on the display has stopped flashing (usually within 60
seconds), the peak stable temperature will be indicated.
emperature reading may increase - even after the °C has stopped
flashing - if the thermometer is moved into a warmer place. If this happens,
allow a few seconds for the thermometer to re-stabilize and show the
final reading.
1.
Press the ON/OFF button to turn the unit on.
The unit will show the displays indicated on
the left and a °C symbol will start flashing,
which means it is now taking readings.
3. Place the probe tip under the arm so the tip is touching the skin, with the
thermometer perpendicular to the body.
5. Once the °C symbol on the display has stopped flashing (usually within 60
seconds), the peak stable temperature will be indicated.
Note: The temperature reading may increase even after the “°C” has stopped
flashing if the thermometer is moved into a warmer place. If this happens,
allow a few seconds for the thermometer to re-stabilize and show the
final reading.
To turn the unit off
Press the ON/OFF button. However, the unit will automatically shut off after
approximately 10 minutes if it is not turned off manually.
To recall memory
To recall memory of the last reading, hold the ON/OFF button for approx. 2
seconds when turning the thermometer on.
General care
1. Clean the thermometer before and after each use.
2. Store the unit in the protective case when it is not in use.
3. Do not bite the probe.
4. Do not store the unit where it will be exposed to direct sunlight, dust or
humidity. Avoid extreme temperatures.
5. Dropping or subjecting the thermometer to strong shocks should be avoided.
6. Do not attempt to disassemble the unit.
7. The thermometer should only be used under the supervision of an adult.
8. The patient should not walk, run or talk during temperature taking.
Specifications
Display: Liquid Crystal Display
Display resolution: 4 Digits (1/10th of a degree increments)
Measurement range: 32°C to 44°C
Accuracy: ± 0.1°C in the 35°C to 42°C range
± 0.2°C otherwise
Average measurement time: Oral: 60 seconds,
rectal: 30 seconds,
axillary: 101 seconds
Tone: Thermometer beeps softly when activated and
deactivated. A series of four beeps signal
when peak temperature is reached
Memory: Displays last measured temperature
Battery: One, 1.55V, alkaline Manganese battery LR41 or
UCC 192
Battery life: Approximately 90 hours of continuous operation
or approx. 18 months of 10 minutes per day
Automatic shut-off: After approximately 10 minutes
Ambient operating temperature: 0°C to 50°C (humidity: 10 % ~ 83 %)
Dimensions: 12.6 cm x 1.8 cm x 1.0 cm
Weight : 7 grams with battery inside, approximately
Specifications are subject to change without notice.
For further questions or comments, visit www.amgphysiologic.com
Cleaning instructions
Clean the thermometer with one of the solutions listed below, then store it in
its plastic case. Any other cleaning method may damage the thermometer.
1. Press the ON/OFF button to turn the unit on.
The unit will show the displays indicated on
the left and a °C symbol will start flashing,
which means it is now taking readings.
3. Once the °C symbol on the display has stopped flashing (usually within 60
seconds), the peak stable temperature will be indicated.
How to take the patient’s temperature
1. Clean and disinfect the thermometer according to the instructions provided
above.
2. Decide whether the measurement will be oral, rectal or underarm.
3. If desired, place sterile probe cover on the tip of the thermometer (not
necessary)
Note: Measurement time may vary based on the selected site.
Taking an oral temperature
Approximate measurement time: 60 seconds.
Note: Drinking hot or cold fluids, exercising,
smoking or performing other activities may raise
or lower your temperature. It is important for the
patient to relax for approximately 5 minutes,
mouth closed, prior to taking a reading.
2. Place the probe tip under the tongue as near as possible to the heat pocket,
close the patient’s mouth and avoid moving the unit.
TM
®
Thank you for purchasing the Physio Logic DiGiPro
Thermometers. Please read the following instructions to achieve
the most accurate temperature readings and safe operation.
REV. 1 0506 P/N 804-039
User Guide
Digital Clinical Thermometer
HEAT
POCKET
HEAT
POCKET
TM
Solution Dilution Method
Isopropyl Alcohol (IPA) 70% - 90% Wipe with soaked cloth
Ethanol 70% - 80% Wipe with soaked cloth
(do not soak unit)
Sodium Hypochlorite 0.02% - 0.05%
Gluconate Chlorhexidine 0.1 % - 0.5%
Benzethonium Chloride 0.1% Soak for up to 30 minutes
Benzalkonium Chloride 0.1%
Glutaraldehyde 0.5% - 2%
Alkylpolyaminoethylglycine 0.05% - 0.2%
PROBE TIP
ON/OFF BUTTON
DIGITAL DISPLAY WINDOW
TM
Features of the DiGiPro digital clinical thermometer

Other Physio Logic Thermometer manuals

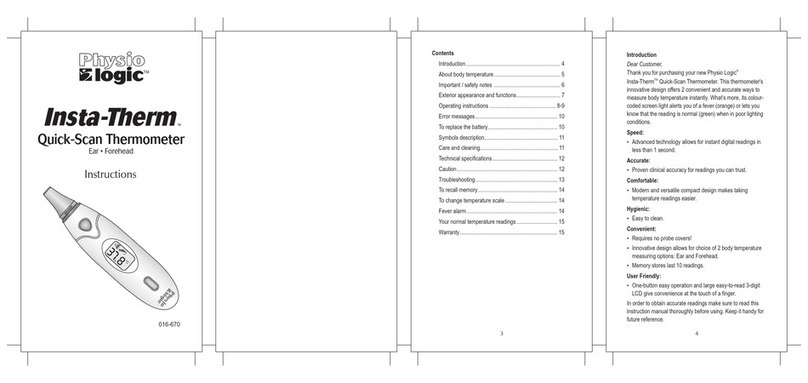
Physio Logic Insta-Therm User manual

Physio Logic

Physio Logic Insta-Therm User manual

Physio Logic QuickScan 016-670 User manual

Physio Logic

Physio Logic QuickScan 016-670 User manual

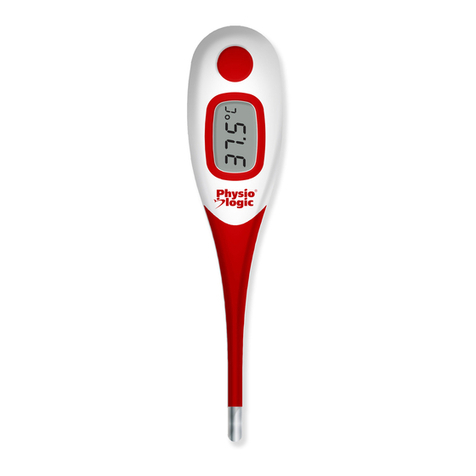
Physio Logic Accuflex User manual

Physio Logic

Physio Logic Accuflex User manual

Physio Logic Accuflex PRO Plus User manual

Physio Logic

Physio Logic Accuflex PRO Plus User manual

Physio Logic Insta-Therm User manual

Physio Logic

Physio Logic Insta-Therm User manual

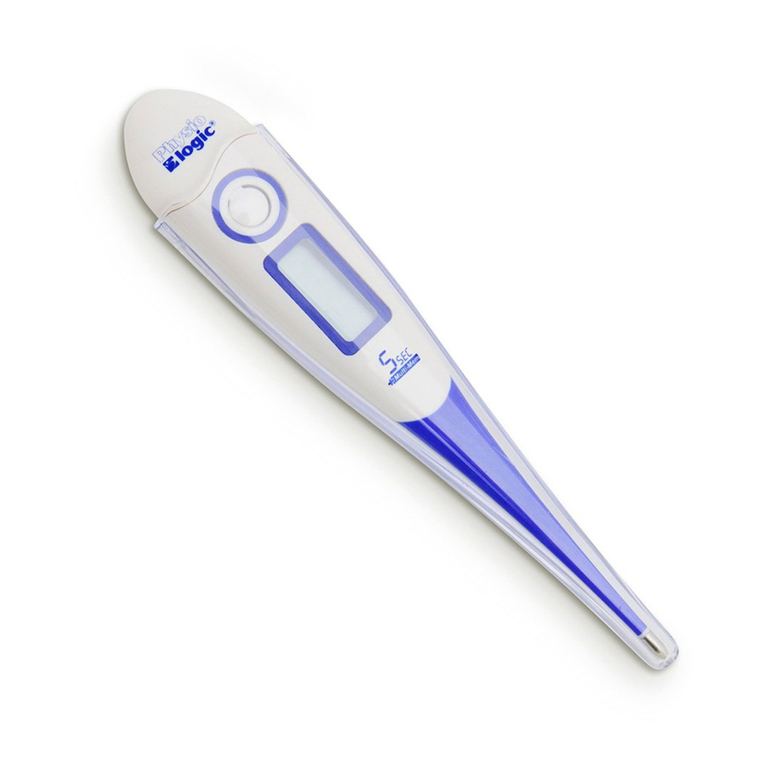
Physio Logic Accuflex Pro User manual

Physio Logic

Physio Logic Accuflex Pro User manual

Physio Logic Accuflex 5 VU User manual

Physio Logic

Physio Logic Accuflex 5 VU User manual

Physio Logic Accuflexpro User manual

Physio Logic

Physio Logic Accuflexpro User manual

Physio Logic Accuflex 5 User manual

Physio Logic

Physio Logic Accuflex 5 User manual

Physio Logic ProScan 016-660 User manual

Physio Logic

Physio Logic ProScan 016-660 User manual

Physio Logic Accuflex Pro User manual

Physio Logic

Physio Logic Accuflex Pro User manual

Physio Logic DiGiPro User manual

Physio Logic

Physio Logic DiGiPro User manual

Popular Thermometer manuals by other brands

Omega CL25 user guide

Omega

Omega CL25 user guide

Levenhuk Wezzer SN10 user manual

Levenhuk

Levenhuk Wezzer SN10 user manual

Fluke CNX t3000 Calibration manual

Fluke

Fluke CNX t3000 Calibration manual

Fieldpiece ST4 Operator's manual

Fieldpiece

Fieldpiece ST4 Operator's manual

Clas Ohlson RS3010 operating instructions

Clas Ohlson

Clas Ohlson RS3010 operating instructions

Taylor 505 instruction manual

Taylor

Taylor 505 instruction manual

General IRT659K user manual

General

General IRT659K user manual

Brookstone Always Perfect manual

Brookstone

Brookstone Always Perfect manual

SATO KEIRYOKI SK-8700 instruction manual

SATO KEIRYOKI

SATO KEIRYOKI SK-8700 instruction manual

Duratool D03129 quick start guide

Duratool

Duratool D03129 quick start guide

miniland thermoadvanced easy manual

miniland

miniland thermoadvanced easy manual

Zenith 8888 instruction manual

Zenith

Zenith 8888 instruction manual

Pacer PT200S quick start guide

Pacer

Pacer PT200S quick start guide

Extech Instruments 42570 user manual

Extech Instruments

Extech Instruments 42570 user manual

Dostmann Thermo Jack 5020-0553 instruction manual

Dostmann

Dostmann Thermo Jack 5020-0553 instruction manual

Omega Engineering HH-2100 Series operating instructions

Omega Engineering

Omega Engineering HH-2100 Series operating instructions

TES TES-1307 instruction manual

TES

TES TES-1307 instruction manual

Weiss Instruments VARI-ANGLE DVU Installation, operating and maintenance instructions

Weiss Instruments

Weiss Instruments VARI-ANGLE DVU Installation, operating and maintenance instructions

manuals.online logo
manuals.online logoBrands
  • About & Mission
  • Contact us
  • Privacy Policy
  • Terms and Conditions

Copyright 2025 Manuals.Online. All Rights Reserved.