Item # DRM653 / 7849 Page 2
FEATURES/BENEFITS (Continued)
• Corrosion and chemically resistant / No metal parts coming in contact with
liquids being pumped.
• Tilt back frame / Allows drum to be filled with materials without having to move
drum away from compactor.
• Safety interlock / Won't run unless the unit is in the locked upright position.
• One minute cycle time / Compacts quickly and saves time.
• Compacts as many as 6 drums into 1 / Reduces waste stream and disposal costs.
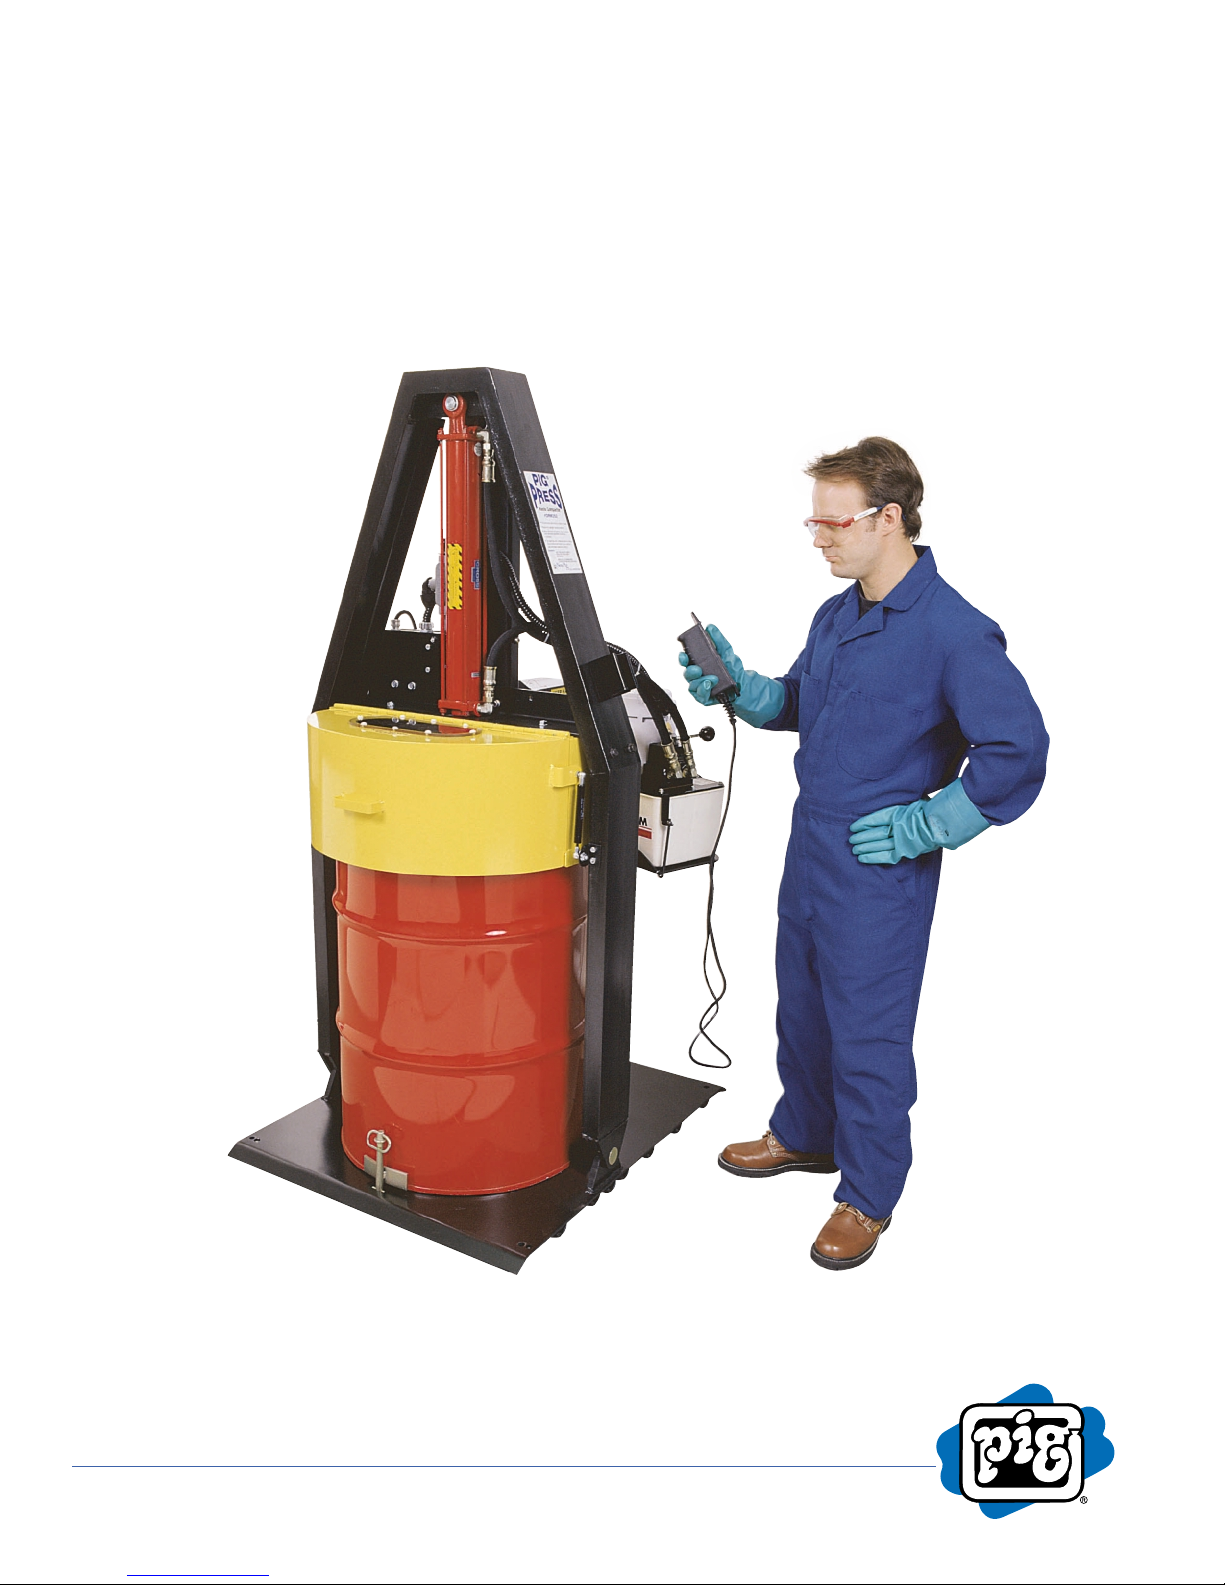
• Hand Remote Control / Easy operation.
• Automatic shut off / Unit will only run when the button is depressed.
• Drain holes in the ram plate / Allows liquid collected on the top of the ram
plate to drain back into the drum when the plate is lifted.
• Raised steel base plate under drum / Prevents the bottom of the drum from bowing
under the pressure of compaction.
• Mounting holes in the base plate / Allows permanent mounting to floor.
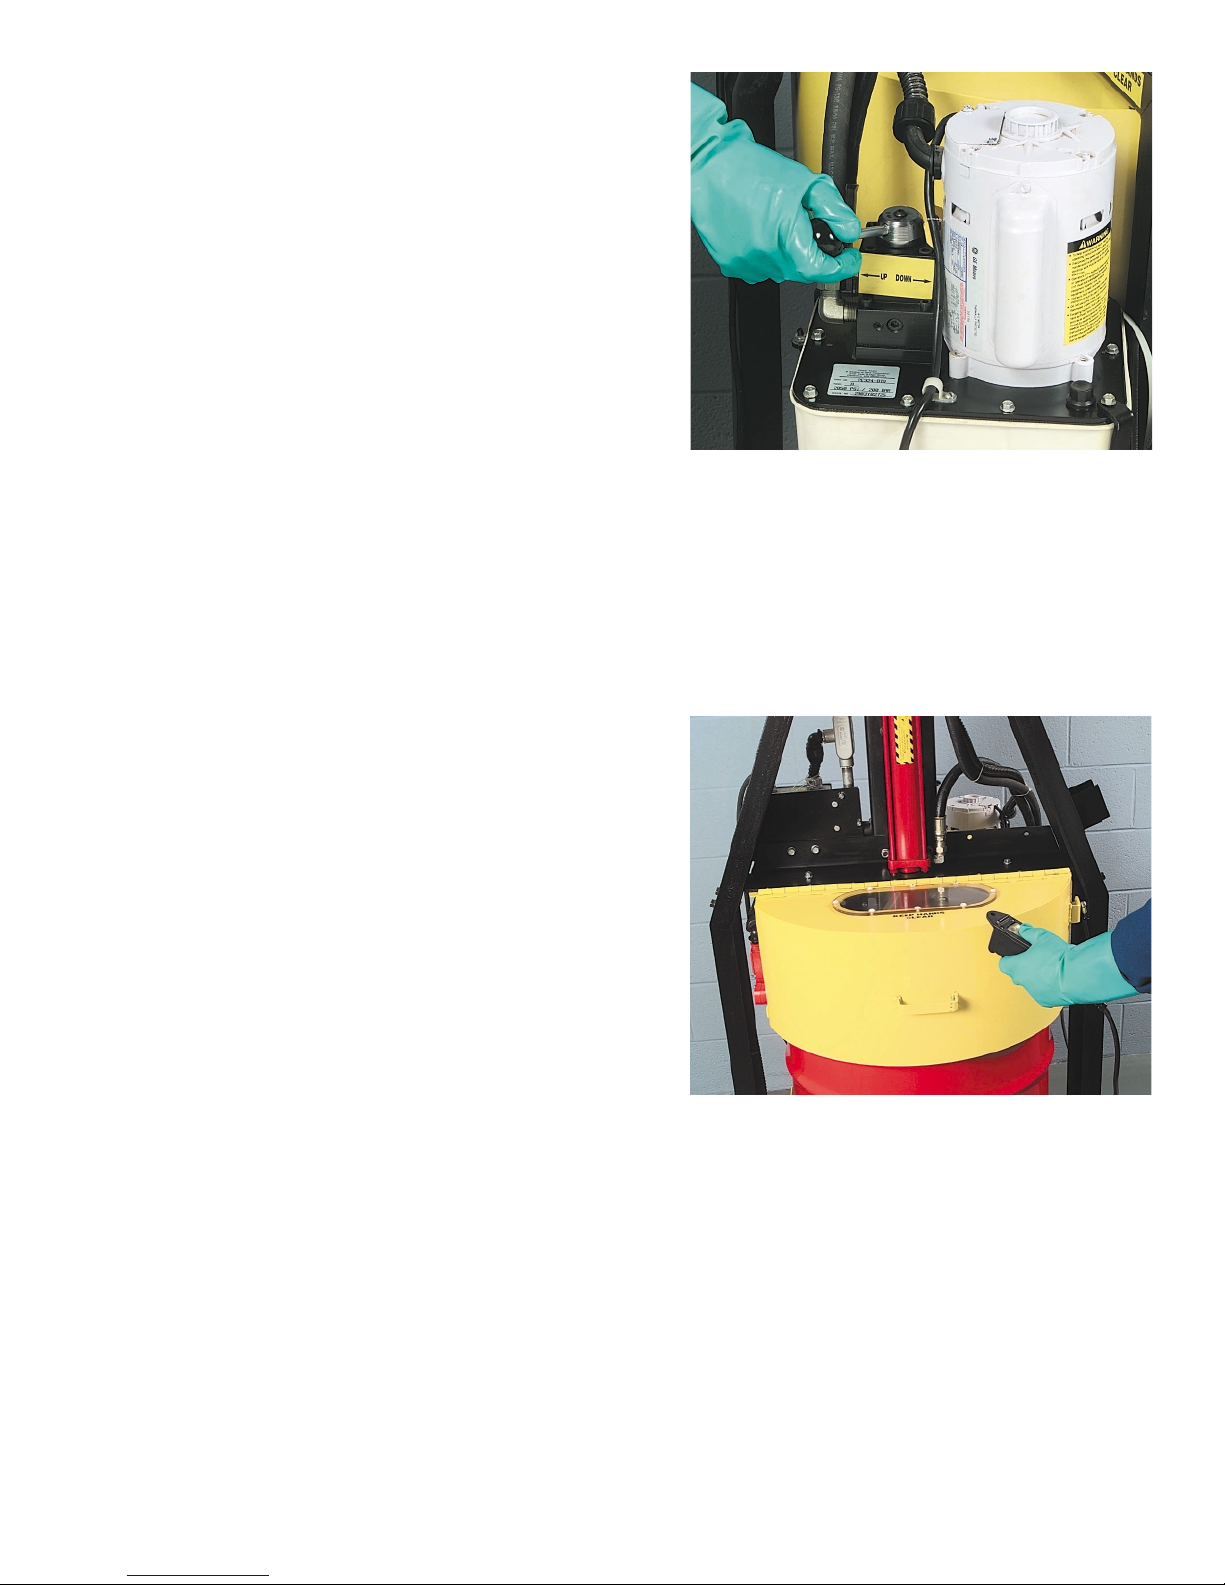
• View port on ram guard / Allows the user to safely view what is happening in the
drum without opening the lid.
APPLICATIONS
Designed to assist in waste minimization programs by allowing the user to fit more soft waste in each disposal
drum. Designed to compact absorbents, rags, paper filters and trash. * The unit is NOT for use with metal,
flammables, wood or other hard materials or crushing steel drums.
Rev. 10/01/97
10