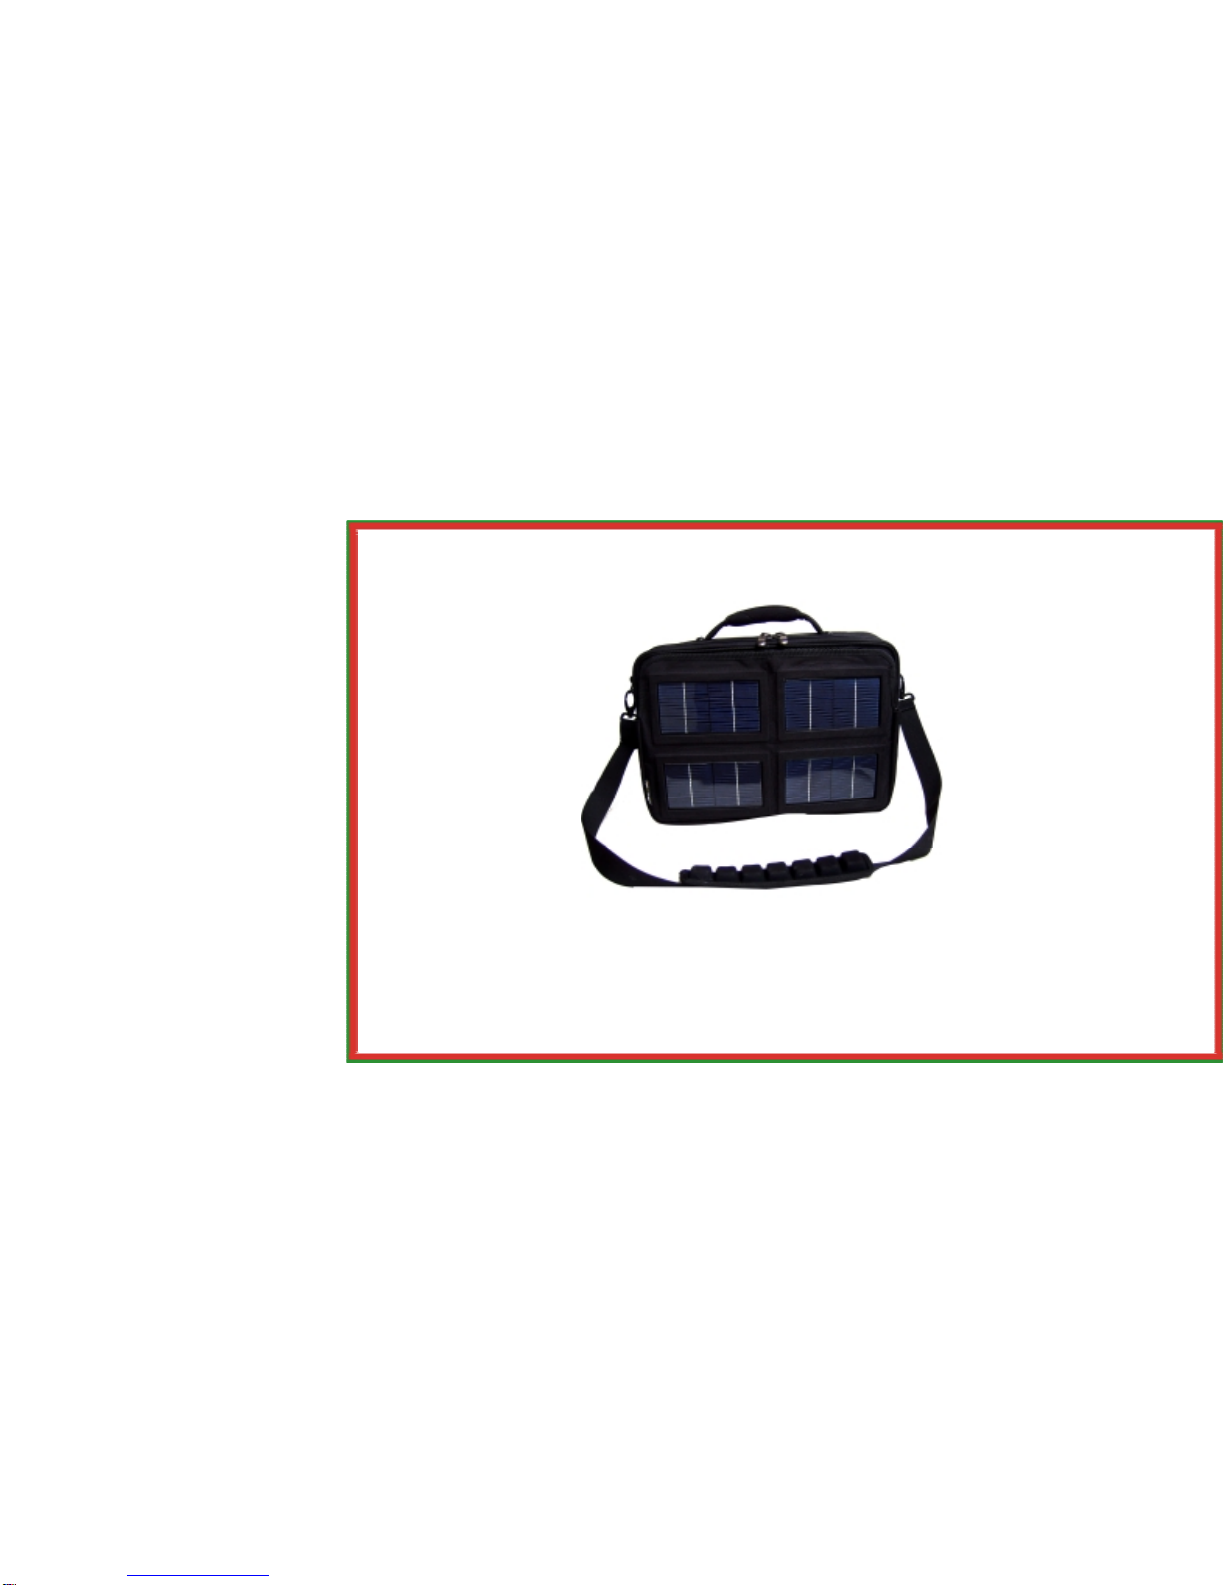
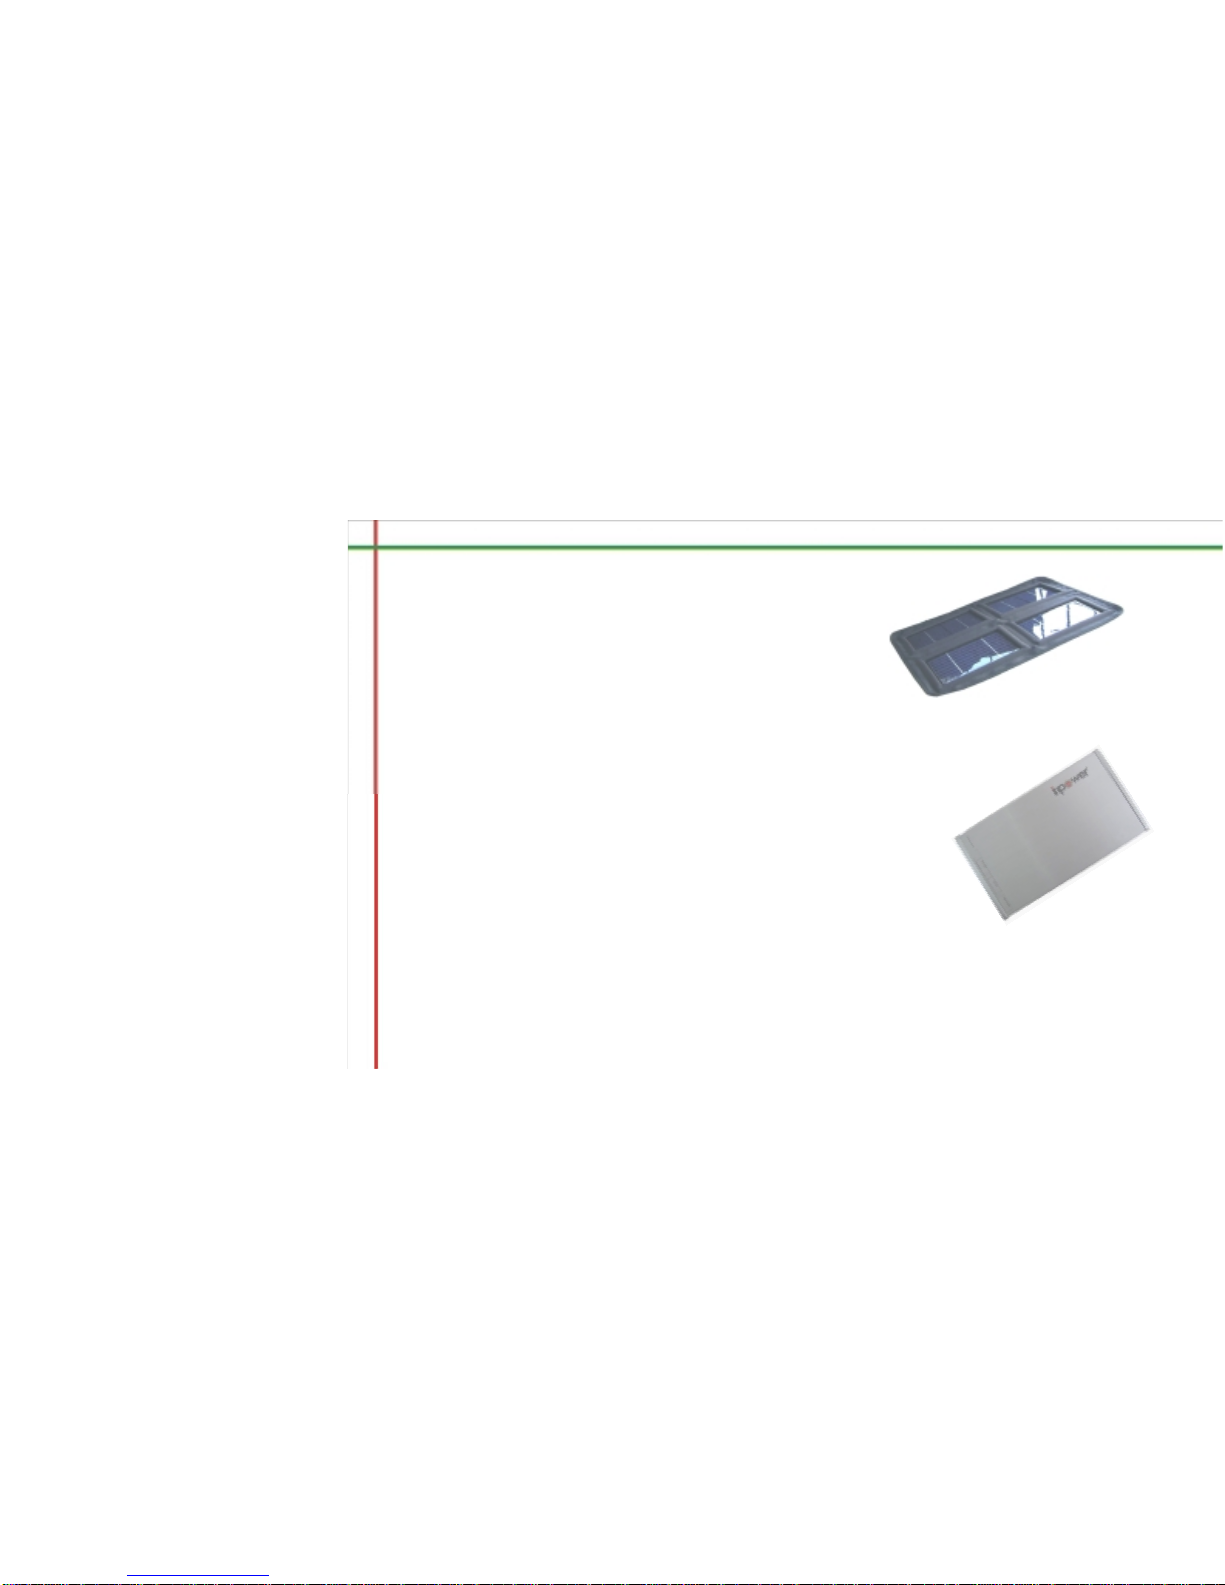
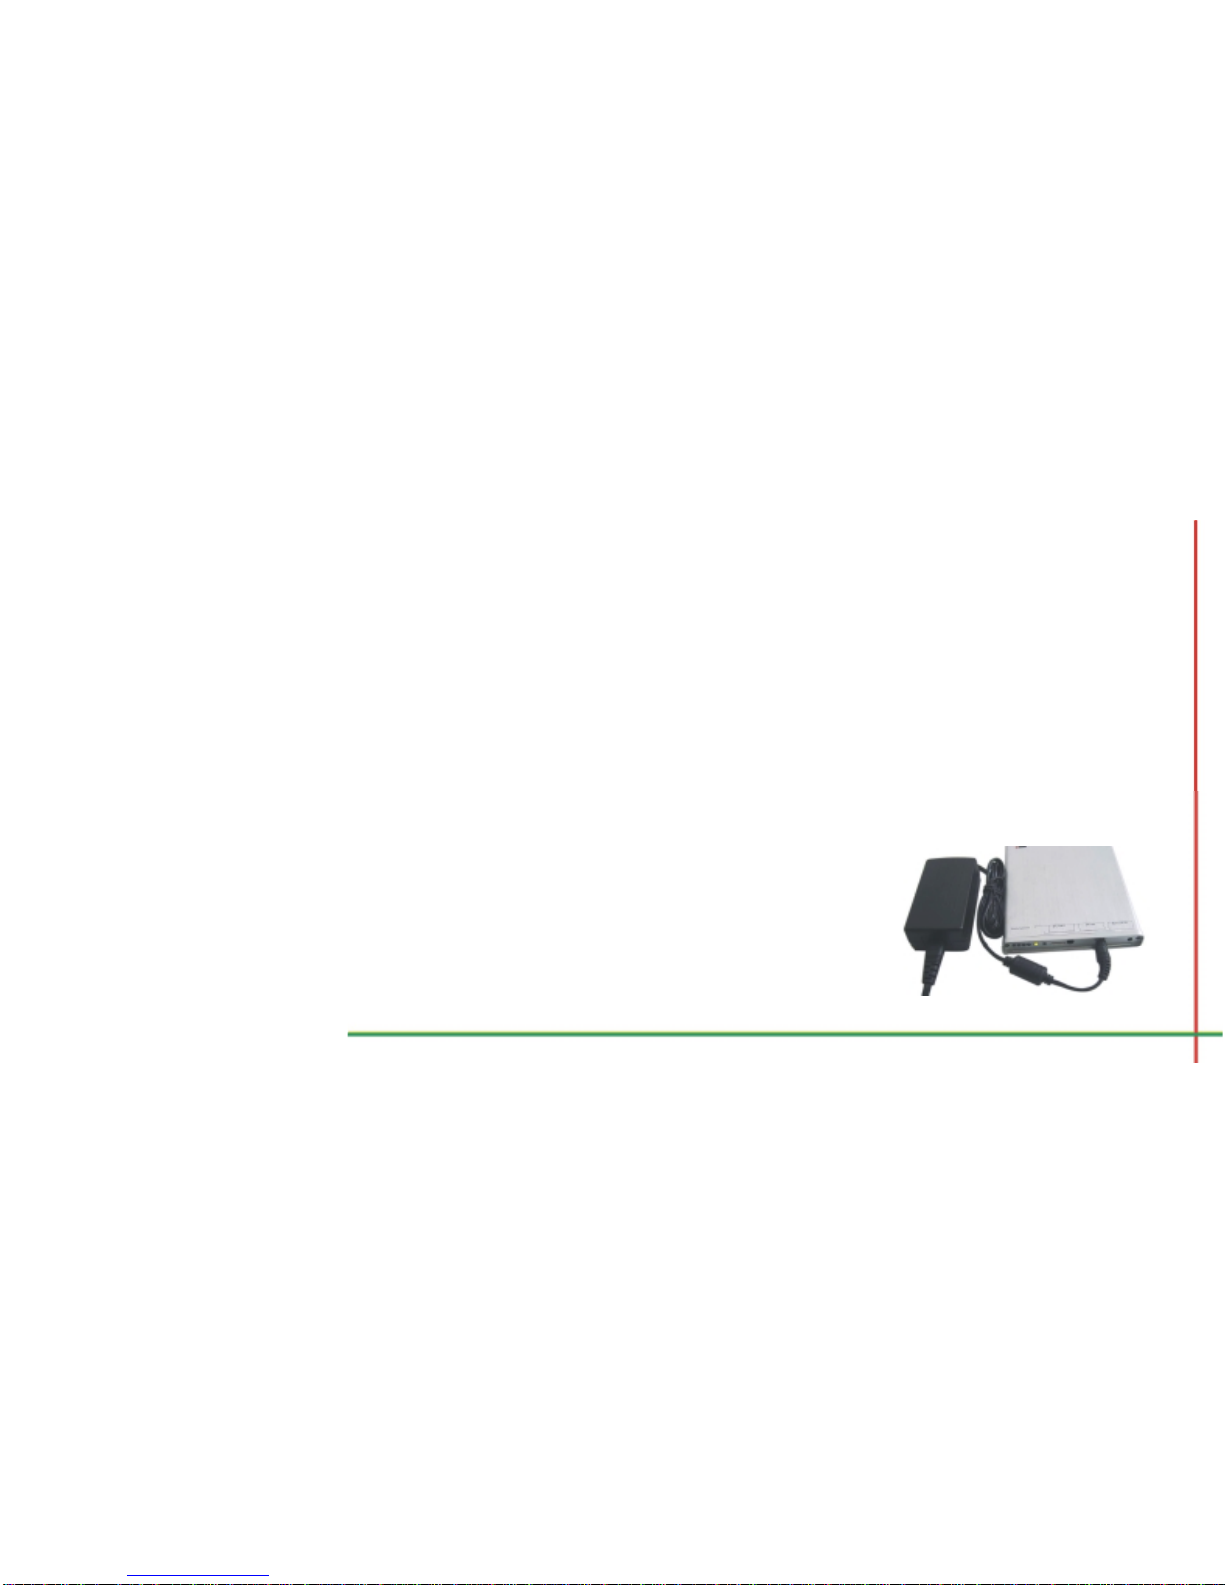
Pioneer DreamBook Solar UPS Battery Bag User manual

Pioneer DreamBook Solar UPS Battery Bag

Structure:
The Solar panel is detached to notebook carry
bag by a zipper.
The Solar panel (4 pcs) links
to the UPS battery - including full set of adapters.
Can be folded up when not in use and stored into
the computer bag for protection.

Features:
3ways charging system—Power can be
stored by A/C adapter; by car adapter (12V) and by solar
power. It backs up your gear when travelling at
anytime, anywhere when in need of any urgent power.
Detachable system --- The solar panels are able to
be detached. When powers are needed, the panels can be
taken off from the bag to be charged, while the user can
keep all their gear by their side, still within the bag. When
the charging is completed, the solar panels can be
reattached to the bag as a stylish computer bag.

In - Switch multi-voltage system - The UPS battery uses a sim card
system that allows the user to select high and precise various voltage outputs, ranging
from 4.5 V to 21 V, with coverage to light and high loading items including: mobile, iPod,
PSP, camera, portable radio, CD and DVD players, mp4, UMPC, laptop, lighting systems
and more.
Power can be inputted within the voltages of
12 V to 24 V using the card adapter and the
user's
original
adapter. E.g. Laptop adapter.

(1) Specification:
UPS Battery size: 200 x 115 x 17 mm
Solar panel size: 90 x 160 mm (4pcs)
Solar charging current: 255mA
Solar output: 30V
AC / Car plug input: 12V – 24V
Battery type: Li-ion battery
Battery: 40 Watt
Voltage: 4.5V - 20V (adjusted by the in-switch card)
Output current: Max. 2A
Operation temp.: 0-45
Battery life: over 500 times
Solar panel

(2) Accessories:
2.1 AC adapter 12V
2.2 Car adapter 12V (optional)
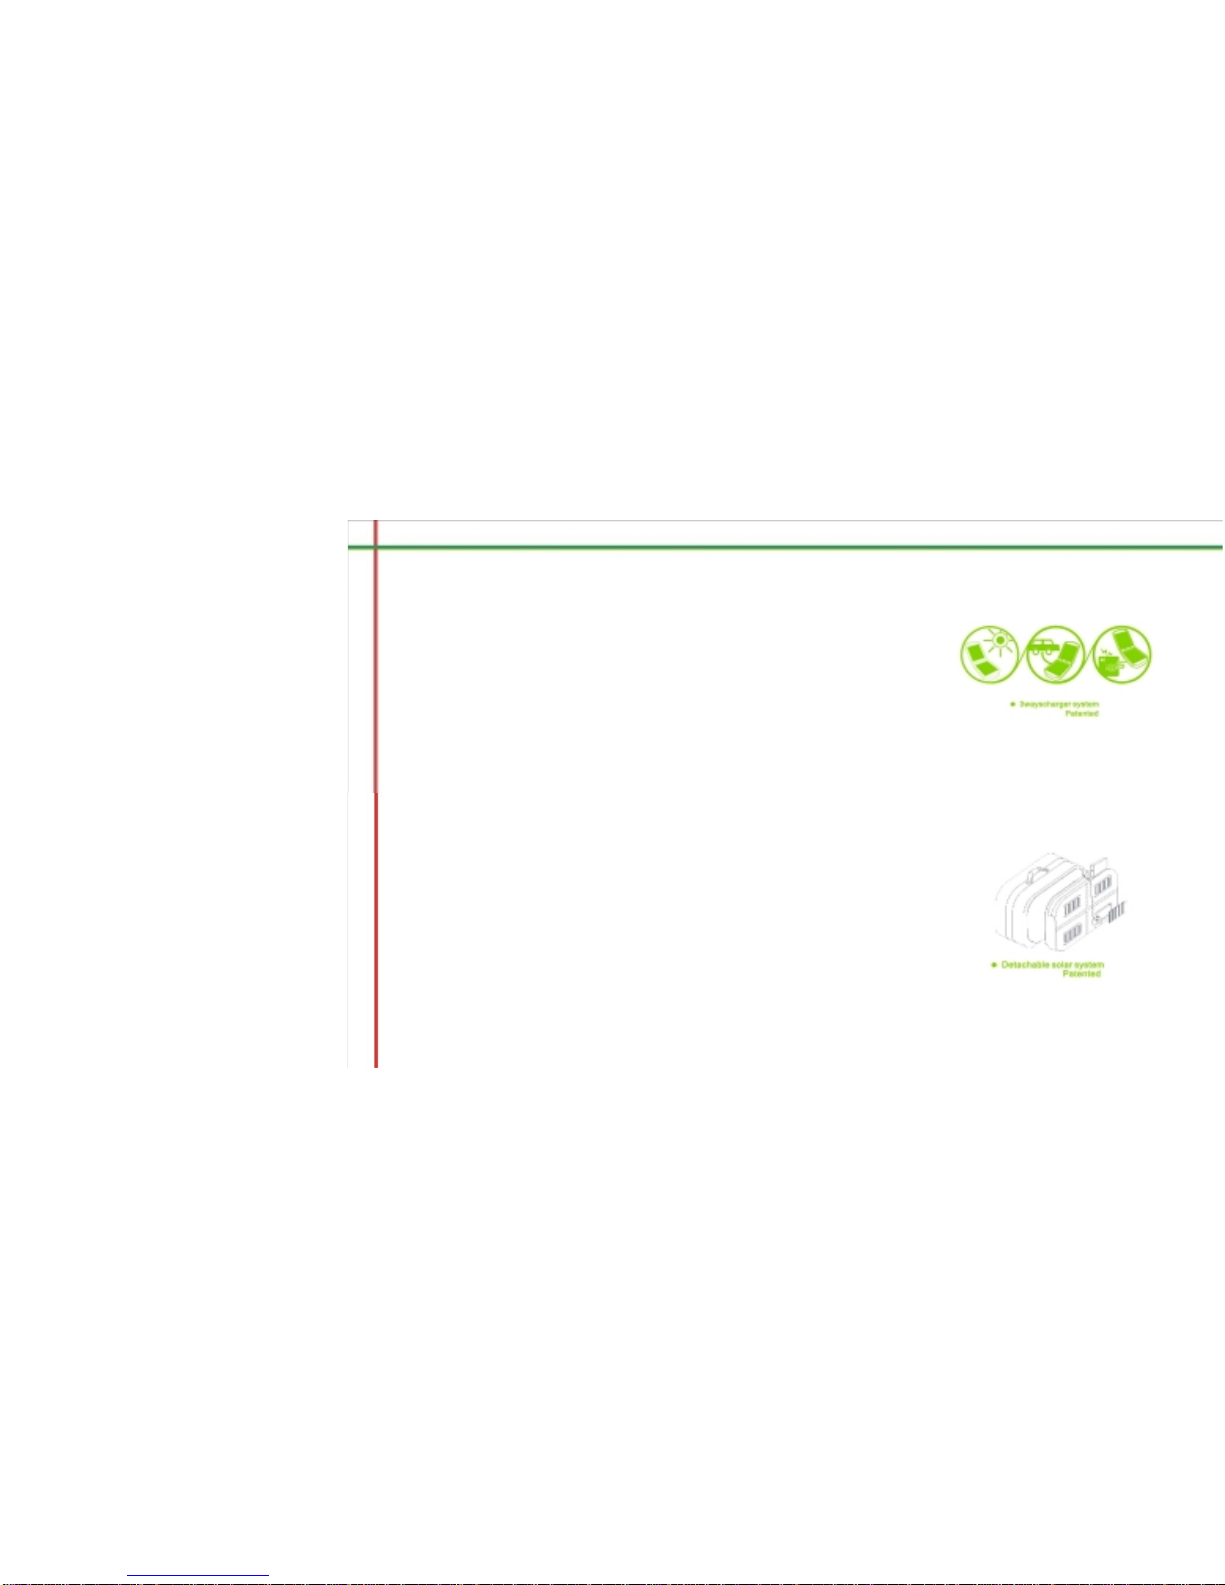
2.3 In-Switch card - 8 cards -refer to the In-Switch card table
2.4 Laptop cable connector
2.5 Laptop adapter (M-type / F-type) – 9pcs
2.5a,2.5b,2.5c and more -refer to adapter table
2.6 Mobile cable connector
2.6a Low voltage adapter
2.7 Mobile cable - 4 cables (Nokia, Motorola, Sony Ericssion and Samsung)
2.8 USB converse cable (iPod, iPhone and other products)
2.9 Multi-function cable (PSP, Bluetooth, DVD, Camera and other products)
2.10 NDS cable


(3) UPS Battery-Digram keys:
1. Solar input socket
2. AC/ car power input socket
3. DCoutputsocket
4. In-Switch card socket
5. Solar input LED
6. AC/ car input LED
7. Battery level indicator- shown when in output mode.

(4) How to charge:
4.1 Solar:
Take off the solar panel from the main case.
Connect the plug of the solar panel
with the UPS battery. Position the unit for the
best sunlight.
The unit will automatically charge when the solar panel senses sunlight. The
input LED will be flashing in red.
When the unit is fully charged, the input LED will turn off automatically.
It takes around 9 hours to fully charge the unit; however, this depends on the
sunlight condition. It's possible to power a laptop for a short time if the panels
are only exposed to sunlight for 1.5 hours.

4.2 AC/Car Adapter
Plug the AC / Car adapter (Optional accessories 2.1 / 2.2) into the DC input
socket of the UPS battery and connect the other side to the wall / car power
socket.
When charging, the AC/DC input LED will be flashing yellow.
When the unit is fully charged, the AC/DC input LED will automatically turn off.
It takes around 2 hours to fully charge the unit.
Option : if power input by user A/C adapter
+F type e.g.19v take one hour

(5) Charging your gadgets with UPS Battery
UPS BATTERY is compatible for various gadgets such as mobile phone, DC, DV,
laptops and so on. Before charging your gadgets by UPS BATTERY, please make sure
that you recognize the voltage that your gadgets belong to and then choose
the right in-switch card for your gadgets. (See the following data):
In-Switch card –voltage Gadget Voltage
4.5V power to 3.7 battery or Equals to 4.5v
5.5V-6V 5.5v-6v (e.g. mobile phone, PSP , ipod, NDS, mp3 , mp4 ...)
9V power to 7.4v DV/DC battery or Equals as 9v size battery
12V Equals to 12v size battery and UMPC,12V DV battery,12v lighting…
14V Equals to 14v battery and laptops under 15v
16V 16V
18V 18V
20V 20V (e.g. laptops)

5.1 Charging your Laptops:
::
:
Choose Laptop cable connector (accessory 2.4 ) and plug it into the power
socket of the UPS battery.
Select the appropriate adapter (accessory2.5 ) for your laptop. Plug it into
to your laptop and connect to the Laptop cable connector (accessory2.4 ).
Select the appropriate In-Switch card (accessory2.3 ) that’s suitable for the
laptop and plug it in to the card socket.
When the In Switch card has been inserted into the UPS battery, the 4 LED lights
are shown to indicate the battery level. When only 2 LED lights are on, then it
indicates that the power is insufficient. The LED light will automatically turn off
when the power runs out.
**Remarks: Please charge the laptop for a minimum of 15 minutes before using the laptop.

5.2 Charging your gadgets (except Laptops)
Choose mobile cable connector (accessory 2.6 ) and plug it into the power
output socket of the UPS battery.
Select the appropriate adapter (accessories2.7-2.10 ) for your gadget and plug
it into to your gadget and connect to the mobile cable connector (accessory
2.6 ).
**Remarks: To charge low voltage gadgets such as mobile phone, mp3 and
certain brands of DC's, the low voltage adapter (accessory 2.6a ) should
be used and connected to the mobile cable connector (accessory2.6 ) and the
adapter (accessories 2.7 - 2.10)for your gadget.

Select the appropriate In-Switch card (accessory2.3 ) that is suitable
for your gadget and plug it in to the card socket.
When the In Switch card is inserted into the socket, the 4 LED lights indicate the
battery level. When the charging is completed, the LED lights will turn off
automatically.

After completion of the steps (5.1) & (5.2):
The unit will start charging and the output LED will be flashing in green and the
battery level indicator shows the battery level.
When your gadget is fully charged, the unit stops charging automatically.
Remove the In-Switch card to avoid losing power of the UPS battery.
When the battery level indicator shows one or less LED light, it indicated there is
insufficient power. Thus, it should be recharged.

(6) Charging /Discharging Tables
Charging Tables:
Solar around9hours (depending on lighting conditions)
AC -12V around 2 hours
Input
Car -12V around 2 hours
Optional input: User’s original adapter and F-Type adapter (e.g. 19v)-around 1 hour.
Discharging Tables:
Laptop
(
((
(Hour)
))
)
DV Battery
(
((
(Hour)
))
)
Mobile phone
(
((
(Hour)
))
)
iPod/iPhone
(
((
(Hour)
))
)
PSP/NDS
(Hour)
Output
Around 2 hours**
Full charged
1 hour*
Full charged
1hour*
Full charged
1.5 hours*
Full charged
1.5 hours*
* Charging times may vary.

(7) Connector
Part No. Dimension Picture Part No. Dimension Picture Part No. Dimension Picture
2.5A 2.06X5.51
MM 2.5D 3.39X5.58
MM 2.5G 4.28X6.09
MM
2.5B 1.59X4.1
MM 2.5E 2.47X5.56
MM 2.5H 5.11X7.39
MM
2.5C 1.76X4.81
MM 2.5F 2.99X6.55
MM 2.5I 1.34X3.53
MM
2.4 1.93X5.52
MM


Table of contents
Popular UPS manuals by other brands

Phasak
Phasak KRYPTOS INTERACTIVE manual

Tripp Lite
Tripp Lite SmartOnline SU5000RT4U-IMS Specification sheet

Tripp Lite
Tripp Lite SmartOnline 220/230/240V Input/Output owner's manual

Delta
Delta Ultron DPM Series user manual

Tripp Lite
Tripp Lite SMART1000LCDTAA quick guide

Tripp Lite
Tripp Lite SmartOnline SU1500XL Specifications