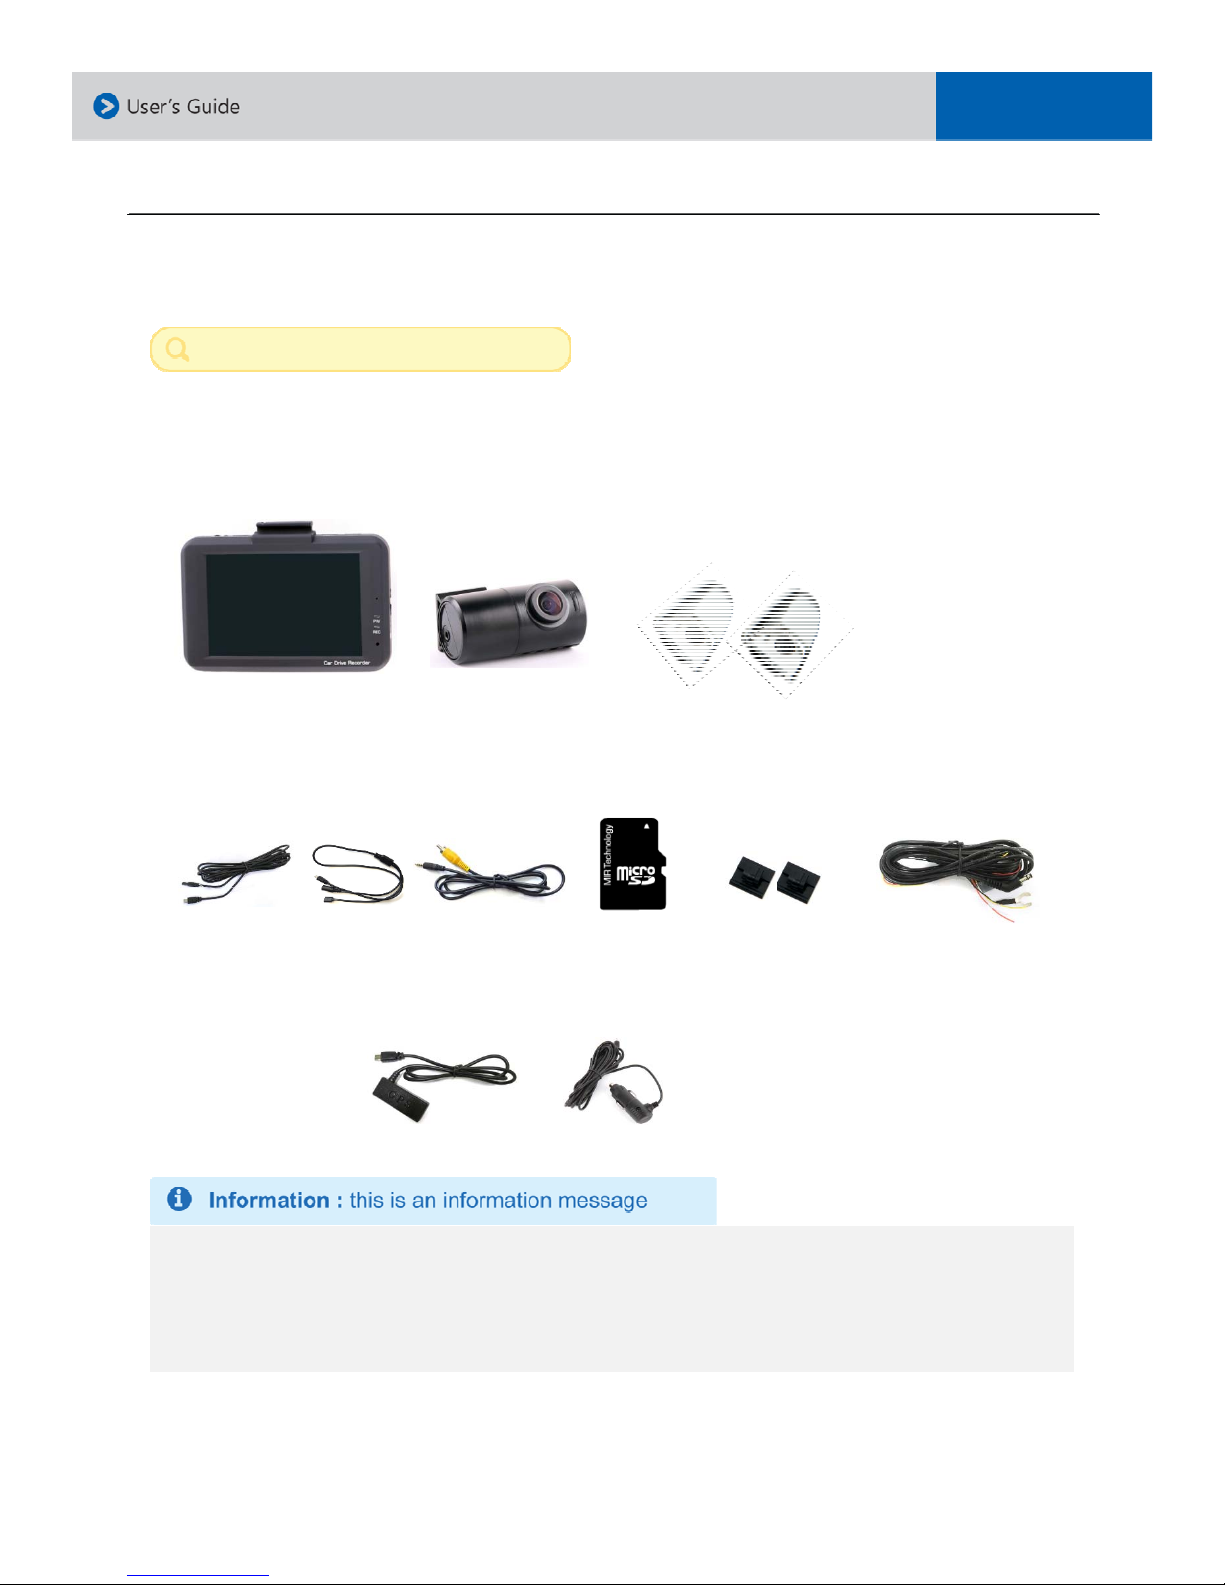
1. Product Information
Warranty and Safeguards
Before implementing the device, record on to a micro SD card for 5 to 10 minutes as a trial recording
then check to make sure that it recorded properly.
Using other type of power source than the one that is supplied will void the product warranty. Please note
that alternative power sources could cause a fire and damage the product.
Consult an installations expert if you intend on using direct power connection to the vehicle’s battery. The
product warranty will be void in the event of an installation mishap by a non-authorized dealer.
The warranty does not cover claims related to mishandling, tampering and / or disassembling of the
product.
Altering and disassembling of the product may result in a fire or electric shock. Disassembling the product
will void the warranty. Inquire with your associate in the event the product needs repair work or a checkup.
Do not store the product in extreme high or low weather conditions. Exposure to sunlight for a long
period of time could cause the product to malfunction.
Refrain from using liquid cleaners or chemicals to clean the device. Using a cloth to wipe down the
product will suffice.
Product warranty will be void if you use an micro SD card other than the one supplied or recommended.
Saving files other than the device’s recorded files on to the micro SD card, may cause a camera error.
Do not use the micro SD card with other applicable products such as a portable navigation system or a
digital camera, as this may cause an error to the already existing recorded files.
Do not remove the micro SD card from its slot until after the power has been completely turned off, as
this will damage the camera.
Removing the micro SD card prior to all the LED lights shutting off may not save the last recorded file.
Do not try to change the settings of the product while driving, as it may cause a fatal accident.
Stop operating the product immediately if you notice smoke or burning smell, as it may result in a fire or
electric shock. Please contact your local dealer or supplier.
Clean the area of the windshield prior to mounting the camera.
Please not that cold weather may temporarily weaken the strength of the adhesive.
The product is designed to be installed inside the vehicle. Any damage caused by placing the device
outside your vehicle, or damage due to misuse of the product will void the warranty.
For additional information regarding your warranty and after warranty servicing of your product, please
contact your dealer or supplier.
3