Planktovie FISHGUN D1 User manual

2019
PLANKTOVIE
Marseille
01/07/2019
FISHGUN D1 USER GUIDE
Congratulations, you have just acquired a FISHGUN D1, which
we hope will bring you entire satisfaction. This user manual
will help you get the most out of your FISHGUN.
The FISHGUN D1 is a semi-automatic dry feed dispenser
specially developed for aquatic facilities and aquaculture
nurseries.

Page 1sur 14
Table of contents
Table of contents..................................................................................................................................... 1
I. Description ...................................................................................................................................... 2
1.1. Components ............................................................................................................................ 2
1.2. Descriptive schemes:.................................................................................................................... 2
II. Navigation and programming.............................................................................................................. 3
2.1. Choosing a mode of use ............................................................................................................... 3
2.2. Selecting a menu .......................................................................................................................... 3
2.2.1. General menu........................................................................................................................ 3
2.2.3. Battery................................................................................................................................... 4
2.2.4. Sleep...................................................................................................................................... 5
2.2.5. Light....................................................................................................................................... 5
III. Installation of the tube....................................................................................................................... 5
IV. Docking to the fish tank ..................................................................................................................... 5
V. Filling the tube..................................................................................................................................... 6
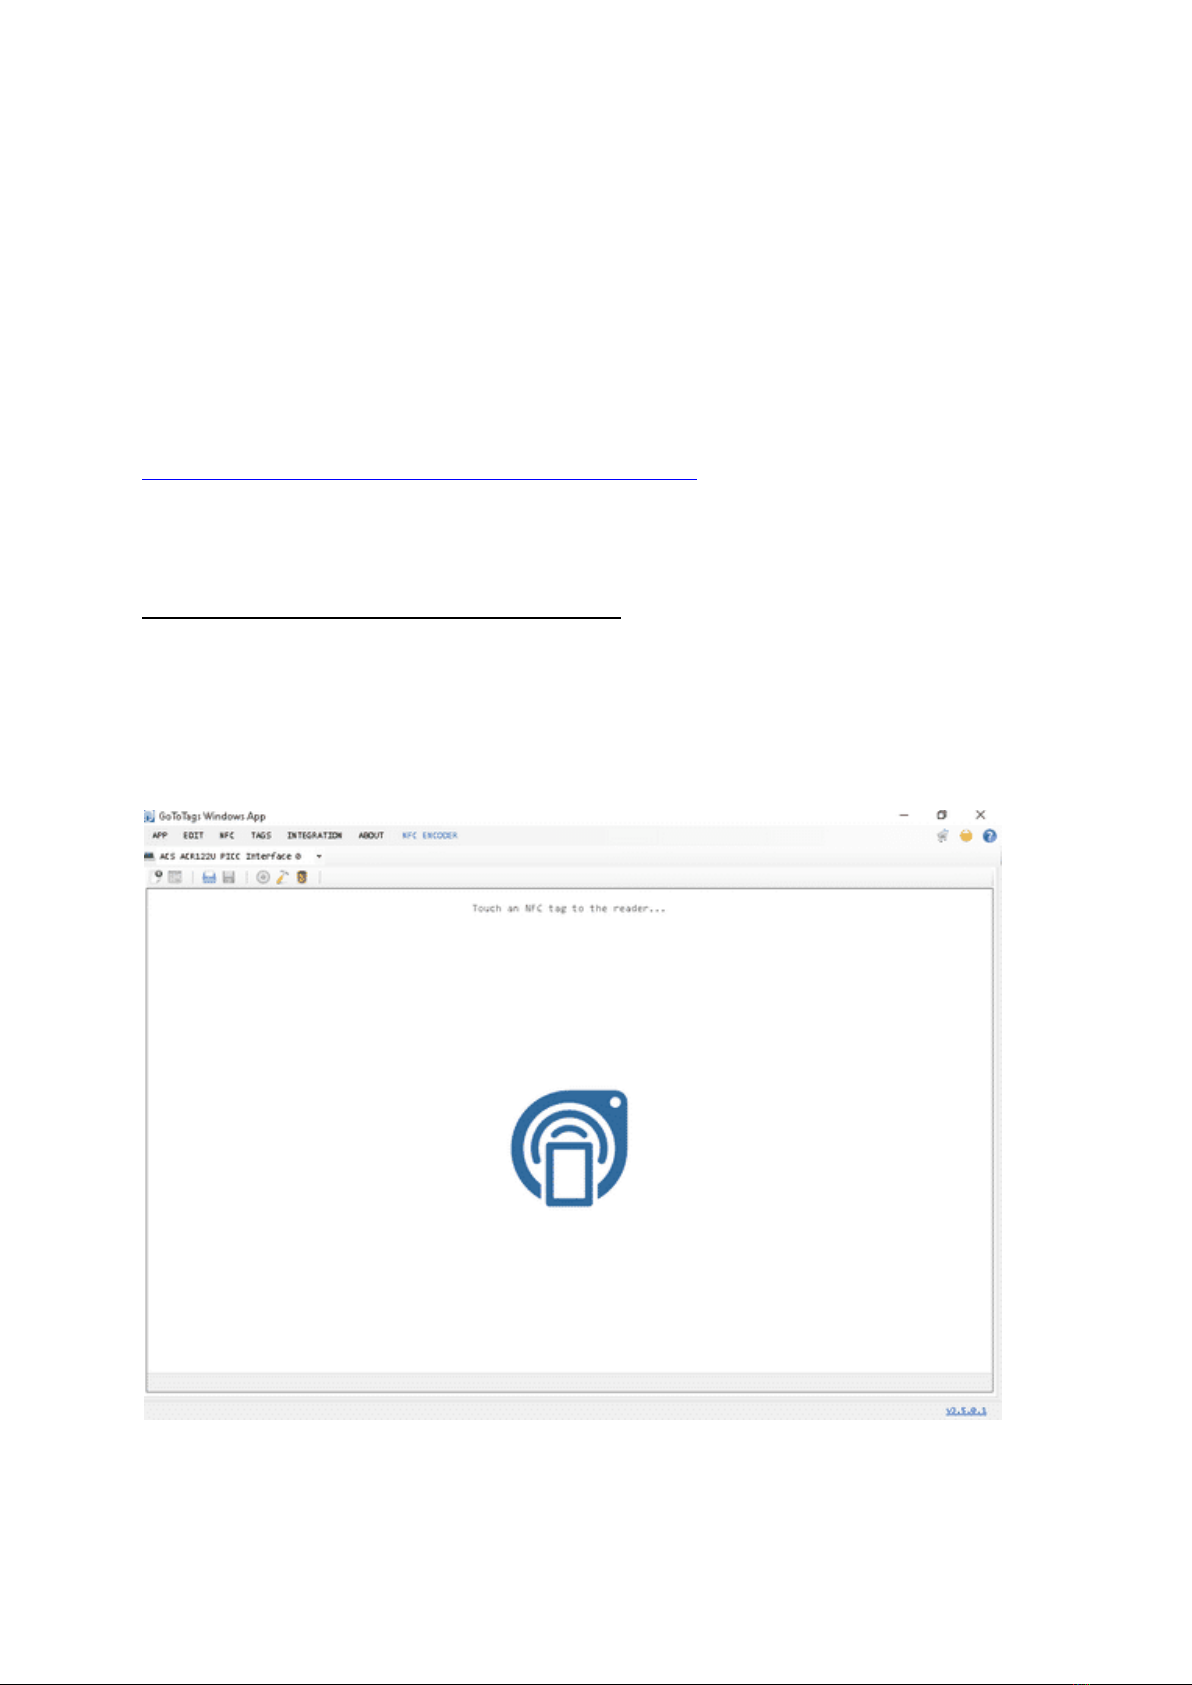
VI. Programming the NFC tag.................................................................................................................. 7
6.1. NFC Reader/writer....................................................................................................................... 7
6.2. The NFC Tools app...................................................................................................................... 11
VII. Charging .......................................................................................................................................... 12
VIII. Warranty ........................................................................................................................................ 13
IX. Maintenance .................................................................................................................................... 13
X. Security.............................................................................................................................................. 13
XI. Troubleshooting ............................................................................................................................... 14
XII. Specifications................................................................................................................................... 14

Page 2sur 14
I. Description
1.1. Components
- An ergonomic handle for easy and effortless use
- A digital screen for better control of operations,
- A technological system to deliver dry feed (powders, grains, etc.) by means of
vibrations,
- Interchangeable 50 ml conical tubes for different types and sizes of dry food ranging
from 150 μm to 600 μm,
- An induction charger for better security and robustness,
- An RFID scanner to identify aquariums and deliver the right amount of feed to
zebrafish.
Weight: 0.5kg
Brand: Planktovie
1.2. Descriptive schemes:

Page 3sur 14
II.Navigation and programming
Before using your FISHGUN, the battery must be charged to a voltage of at least 3000
mV.
2.1. Choosing a mode of use
Press any button to activate the FISHGUN, then use the scroll buttons (< >) to view
the 3 operating modes:
-Manual
-Fixed, this mode
-RFID (automatic)
2.2. Selecting a menu
To select the menu, press the ✔button > 2 seconds. Press either scroll arrow to view
the menus "general", "time per dose", "battery", "sleep", "light".
Press the ✔button to confirm your choice.
2.2.1. General menu
Once the general menu is selected, use the buttons to navigate to the mode you wish
to modify, then press the ✔button to confirm your choice.
2.2.1.1. Fixed mode
When fixed mode is selected, enter the number of individuals to feed. While operating
in Fixed mode, the FISHGUN D1 will always deliver the same amount of feed for the
specified number of individuals.

Page 4sur 14
2.2.1.2. Time per dose
This mode allows you to enter the vibration (dosing) time of the FISHGUN D1, in order
to deliver feed for each individual tank. The time is entered in milliseconds (ms), so the
FISHGUN D1 will deliver the amount of feed needed (shown in the table below). It then
becomes possible to know how long the FISHGUN D1 should vibrate for each
individual to feed. For the total amount of feed to be distributed, refer to the summary
table on our website: https://planktovie.biz/en/protocols/nutritional-solutions/Then
divide the total quantity of feed to be distributed per individual, per feeding, by the value
from Table 1 below, and enter this value as the vibration time.
TABLE 1: Quantity of feed delivered each ms
Gemma Micro ZF (µm)
300
500
Diameter of the
aperture (mm)
2,8
2,8
Quantity of feed
delivered (mg/ms)
0,04
0,11
NOTE 1: For better dosing precision, for each drilled tube verify the weight of feed that
is delivered for each ms of vibration.
NOTE 2: For foods with particle size less than 300 μm, FISHGUN D1 can be used with
tubes drilled with a 2 mm diameter aperture, with reduced dosing accuracy. Certain
feeds may be susceptible to clogging.
NOTE 3: Typically, each drilled conical tube can be used for about 1 million doses
before being replaced, to guarantee the dosing values presented in the table
Example 1: Feeding adult fish.
Typically, one adult zebrafish (Danio rerio) should receive 30 mg of GEMMA Micro 500
each day. To dispense this, amount the FISHGUN D1 should vibrate for 30 ¸ 0.11 =
272 ms. Enter this value in the "Time per unit" of FISHGUN D1.
Example 2: Feeding post-larvae (30 days post-fertilization).
If a zebrafish (Danio rerio) post-larva is to receive 7 mg of GEMMA Micro 300 each
day, the FISHGUN D1 should vibrate for 7 ¸ 0.04 = 175 ms to dispense this amount.
Enter this value in the "Time per unit" of FISHGUN D1.
2.2.3. Battery
This submenu allows you to view the remaining battery voltage by selecting "Voltage".
Select "Low th.” (voltage threshold) to enter a value (in mv) below which the low battery
symbol will be displayed on the LCD screen. By default, this value is set to 3000 mv,
which corresponds to the minimum voltage ensuring optimal accuracyof the FISHGUN
D1.

Page 5sur 14
2.2.4. Sleep
Scroll to “Delay” to enter the idle time (min) after which the FISHGUN D1 will enter
sleep mode.
Turn off the FISHGUN D1 by scrolling to "Enter" and pressing ✔to confirm.
2.2.5. Light
This submenu allows you to set the color ("Color") and intensity ("Delivery") of the
indicator light at the front of the FISHGUN D1, that confirms each delivery of feed.
When the "Color" submenu is selected, these choices are available: Red, Magenta,
Yellow, White, Blue, Green, Cyan, or None.
In the "delivery" sub-menu, you can choose the intensity of a value of 1-100%.
III. Installation of the tube
Remove the capon the conical bottom of the tube
and position the filled tube on the tube holder,
taking care to place the graduations upward so
that the dispensing aperture points downward.
Next, select the distribution mode.
IV. Docking to the fish tank
Position the FISHGUN D1 dispensing aperture over the aquarium’s feeding port,
making sure to place the triggering fork on the feeding port (TECNIPLAST).
For optimal reading of the RFID code, it is important to position the RFID antenna on
the front of the FISHGUN D1 close to the NFC tag.

Page 6sur 14
V. Filling the tube
Refer to Table 1 above to determine which tube to use according to the size of the feed
micro pellets.
Fill the tube using a spatula or other clean and dry tool. We recommend adding a small
desiccant pouch above the feed to keep it dry, in order to prevent clogging, microbial
growth, and to retard oxidation.
After use, replace the cap on the conical bottom of the tube, and store it at +4°C.

Page 7sur 14
VI. Programming the NFC tag
For programming NFC tags, two solutions are possible for you:
1/ Planktovie solution: Using an NFC reader/writer available on Planktovie’s website
2/ Using a cell phone or tablet and downloading the NFC Tools app
6.1. NFC Reader/writer
Planktovie offers the possibility to use an NFC reader/writer available on its website:
https://planktovie.biz/en/product/nfc-reader-encoder/
Please follow these few steps for using properly your NFC reader/writer
1. Download and install the free software "Gototags" available at the following link:
https://gototags.com/windows-app/download/
2. Connect your NFC reader/writer via USB to your computer and launch the Gototags
software.
3. The following software window opens:

Page 8sur 14
4. Program a tag by entering the "Add a New Record" icon: Then enter the "Plain text"
submenu.
5. Enter in the text box, the number of fish you want to encode on the NFC tag.

Page 9sur 14
6. Wait until the software validates the new data, then press OK.
7. Then, the text data is saved in the box.
8. Click on the "Encode NFC Tags" icon.

Page 10 sur 14
9. A window opens, affix a blank NFC tag to the NFC reader/writer.
10. Wait until the software confirms that the NFC tga is properly encoded.

Page 11 sur 14
Your NFC tag is now ready for reading by the FISHGUN. For encoding a new blank
NFC tag with the same number, proceed to step 9. Otherwise, you only need to erase
the data entered in the box using the "Clear all records" icon.
To erase the encoded content on an NFC tag, click on the red trash icon "Erase NFC
Tags".
Then as for writing, a window will open. Affix the tag to deprogram on the box and wait
until the software confirms the deprogramming.
6.2. The NFC Tools app
Download the NFC Tools
Compatible phones for reading RFID tags
After having downloaded the NFC tools application available on Apple store or Wak
Dev website (https://www.wakdev.com/apps/nfc-tools-pc-mac.html) you will be able to
use your cell phone, or any other compatible device for writing and reading your NFC
tags. Devices equipped with NFC are, for example, Android, BlackBerry, Windows
Phones, etc. All compatible phones are listed on the NFCWorld website
(https://www.nfcw.com/nfc-phones-list/).
On Android devices, the NFC function is activated in the ''Wireless and networks''
settings, on the BlackBerry in the ''Manage connections'' section. On Windows Phones,
the function is already activated but maybe deactivated in the ''Touch + Send'' settings.
Apple devices contain a low-power Bluetooth 4.0 contactless technology (BLE -
Bluetooth Low Energy) introducedon iOS7 with the iBeacon system, that allows ranges
greater than the NFC (up to 50 m) and hands-free use. To read RFID tags a minimum
IOS 11 version is required, compatible with iPhones 7 or higher.

Page 12 sur 14
VII. Charging
Ensure that the FISHGUN is correctly positioned on its charger.
In order to optimize the use of the FISHGUN D1, make sure that the battery level is
not below 3000 mV before each use. If the level is below this threshold, it is necessary
to charge it by placing it on the charging station.
Check that the FISHGUN is correctly installed on the charger and that the charging
indicator light is illuminated (blue), indicating that charging is in progress.
The FISHGUN in charge quickly reaches the threshold of 3600 mV, which is sufficient
for optimum use. For a full charge, wait 1 to 2 hours, the light will turn green.
.

Page 13 sur 14
VIII. Warranty
We warranty your product against any defects in material and workmanship, under
normal conditions of use. In the event a product is found to be defective during the
one-year warranty period, we repair or replace the defective product, at our option. The
warranty period begins on the day of purchase. For validation of the warranty, proof of
purchase must be provided.
The following are excluded from the warranty:
1. Incorrect use of the device causing a malfunction.
2. the device is repaired or modified by an unauthorized person.
3. Damage affected by a disaster.
4. Poor maintenance causing damage.
5. Use of reagent or sample causing corrosion; 6. Accidental damage or overload.
7. Consumables such as NFC tag, etc.
To obtain warranty support, you may contact our local technical support. Our technical
support will attempt to diagnose and correct the problem. If the problem cannot be
rectified, our technical support will ask you to return the product. You will be asked to
furnish proof of purchase to confirm that the product is still under warranty.
IX. Maintenance
Replace conical tubes every million doses (about every 2 months of use for a mid-size
zebrafish facility (20,000 fish).
X. Security
To avoid danger, you should observe the following rules:
- If you find any visible damage, please do not switch on
- Be sure not to expose the FISHGUN to any acid, alkali, or volatile solvents
- Temperature changes or mechanical wear may increase the dosing volume error.
You must stop any operation immediately if the equipment is damaged. The equipment
may be damaged when the following situations occur:
- There is visual damage.
- The product suddenly does not work.

Page 14 sur 14
XI. Troubleshooting
Symptoms
Possible causes
Solution
Feed does not flow, or not
regularly
Feed can clog when its water
content reaches a certain
threshold, making flow
irregular
Change the feed; keep a
pouch of dry desiccant in the
tube
RFID reading is not
performed correctly
Incorrect positioning of the
FISHGUN D1
Position the RFID antenna
parallel to the aquarium. Be
sure to place the NFC tag just
under the feeding port, so it
can be read by the RFID
antenna
The dispensing aperture of
the conical tube is enlarged
About every 2 months, the
feed inside the conical tube
and damages the orifice
Replace the conical tube
XII. Specifications
Model: FISHGUN-D1; vibrator: Z7AL2B1692082
Typical drilled tube life: 1 million doses (about every 2 months of use for a typical
facility of 10 000 fish)
Adapter:
- input: AC 100-240V 50-60Hz 1.0A max
- output: DC 12V 1A; DC24V 1.9A
Power supply: 12W
Precision: 5%
Working environment: temperature 0-70°C
Storage environment:
- humidity : 10%-90% (non-condensable)
- temperature : -20°C-85°C
Dimensions (L x W x H) : 12.5 x 5.5 x 16 cm
Weight: 222 g
Table of contents
Other Planktovie Dispenser manuals