2
INTRODUCTION
A video is available on our wooden pools website www.woodenpools.net, the lm shows a
project from start to nish and is an informative guide to compliment this book. For detailed
instructions please primarily use this book. You are advised to watch the entire video and
read the whole book before starting your project.
In the event of any problems please contact your dealer immediately. Warranty claims may
be aected if there is a delay in reporting a problem or if these instructions have not been
followed.
Recommendations for storage after delivery
• Do not store the timber in direct sunlight or under a dark cover as this may
cause distortion which will make installation extremely dicult.
• Assemble the structure as soon as possible after receipt.
• Assemble the structure in one go, preferably in the morning while temperatures
are cool.
• If a timber product must be stored, then use a cool well-ventilated place,
sheltered from the rain and sun.
• Components that are damaged cracked or distorted due to incorrect storage
and/or handling will not be covered by the warranty.
• Please ensure the liner is stored in a warm environment before installation.
In the pre-assembly period wood is sensitive to variations in temperature and humidity. It is
therefore necessary that you take precautions immediately after delivery.
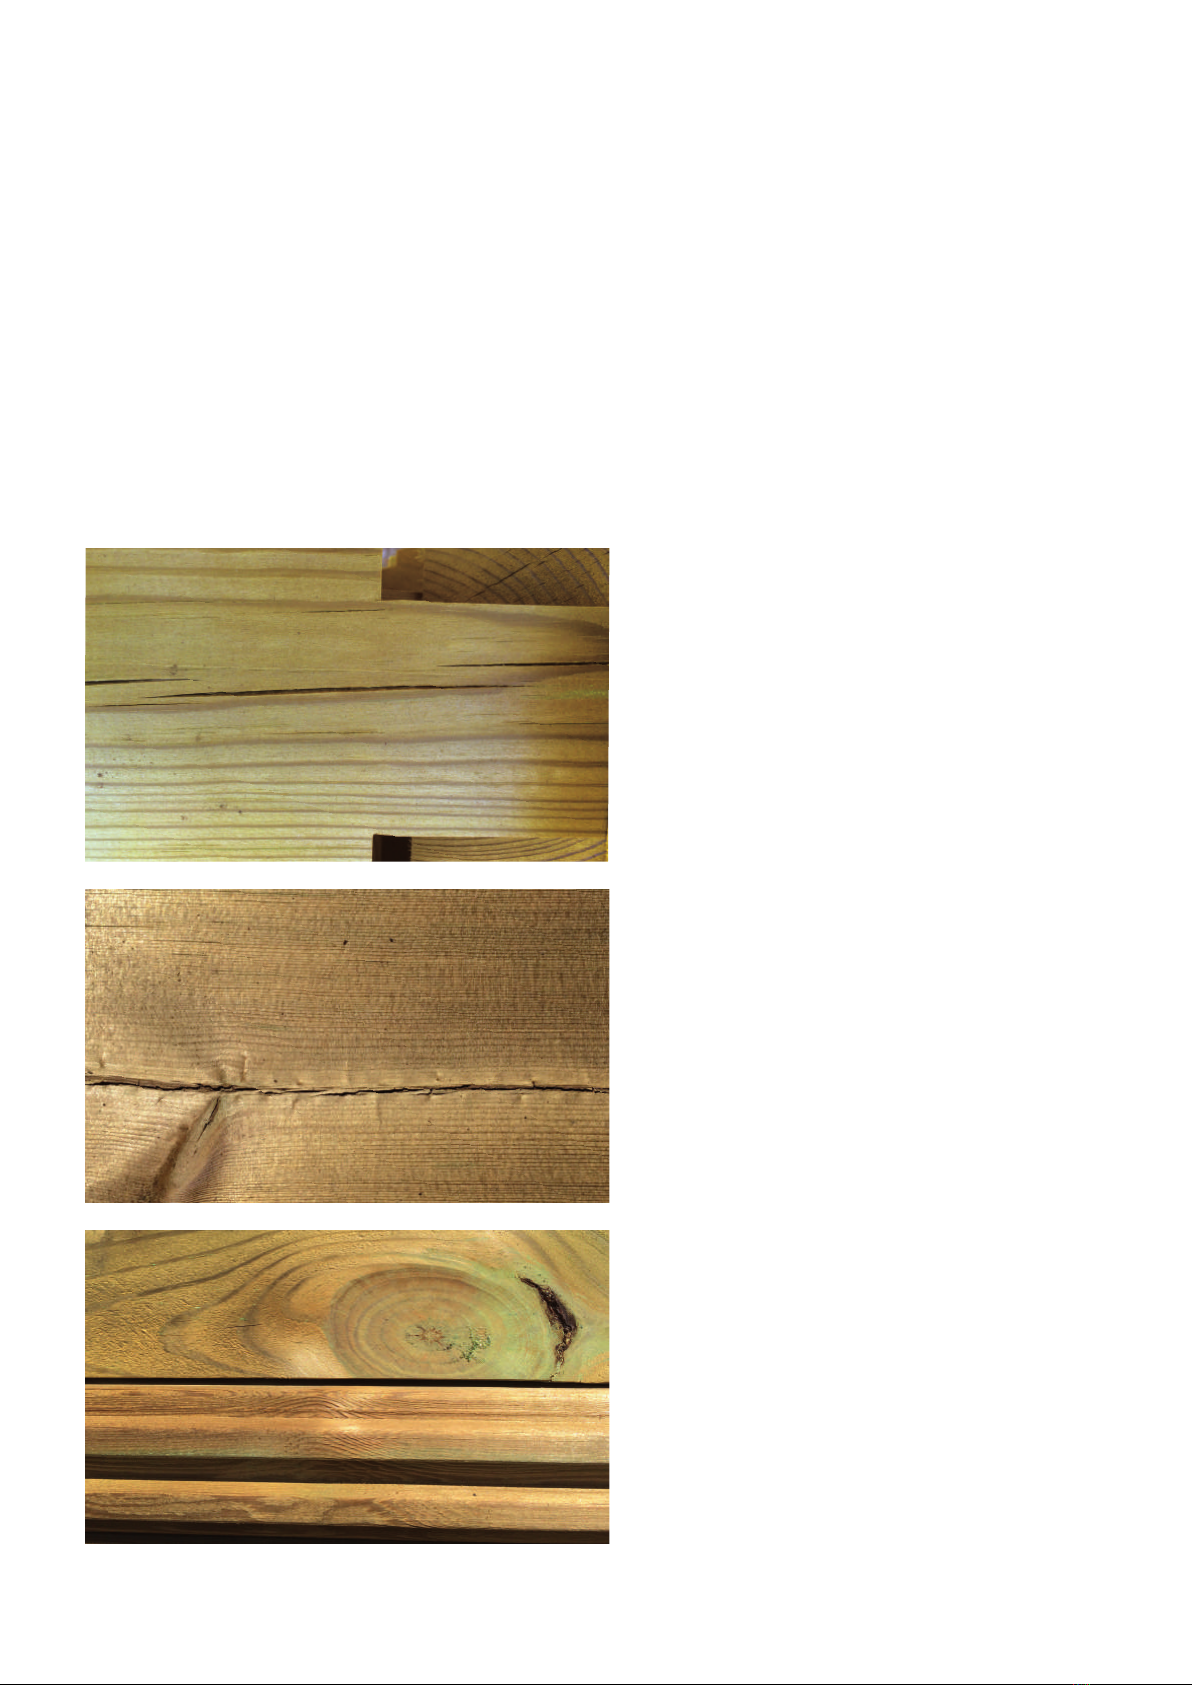
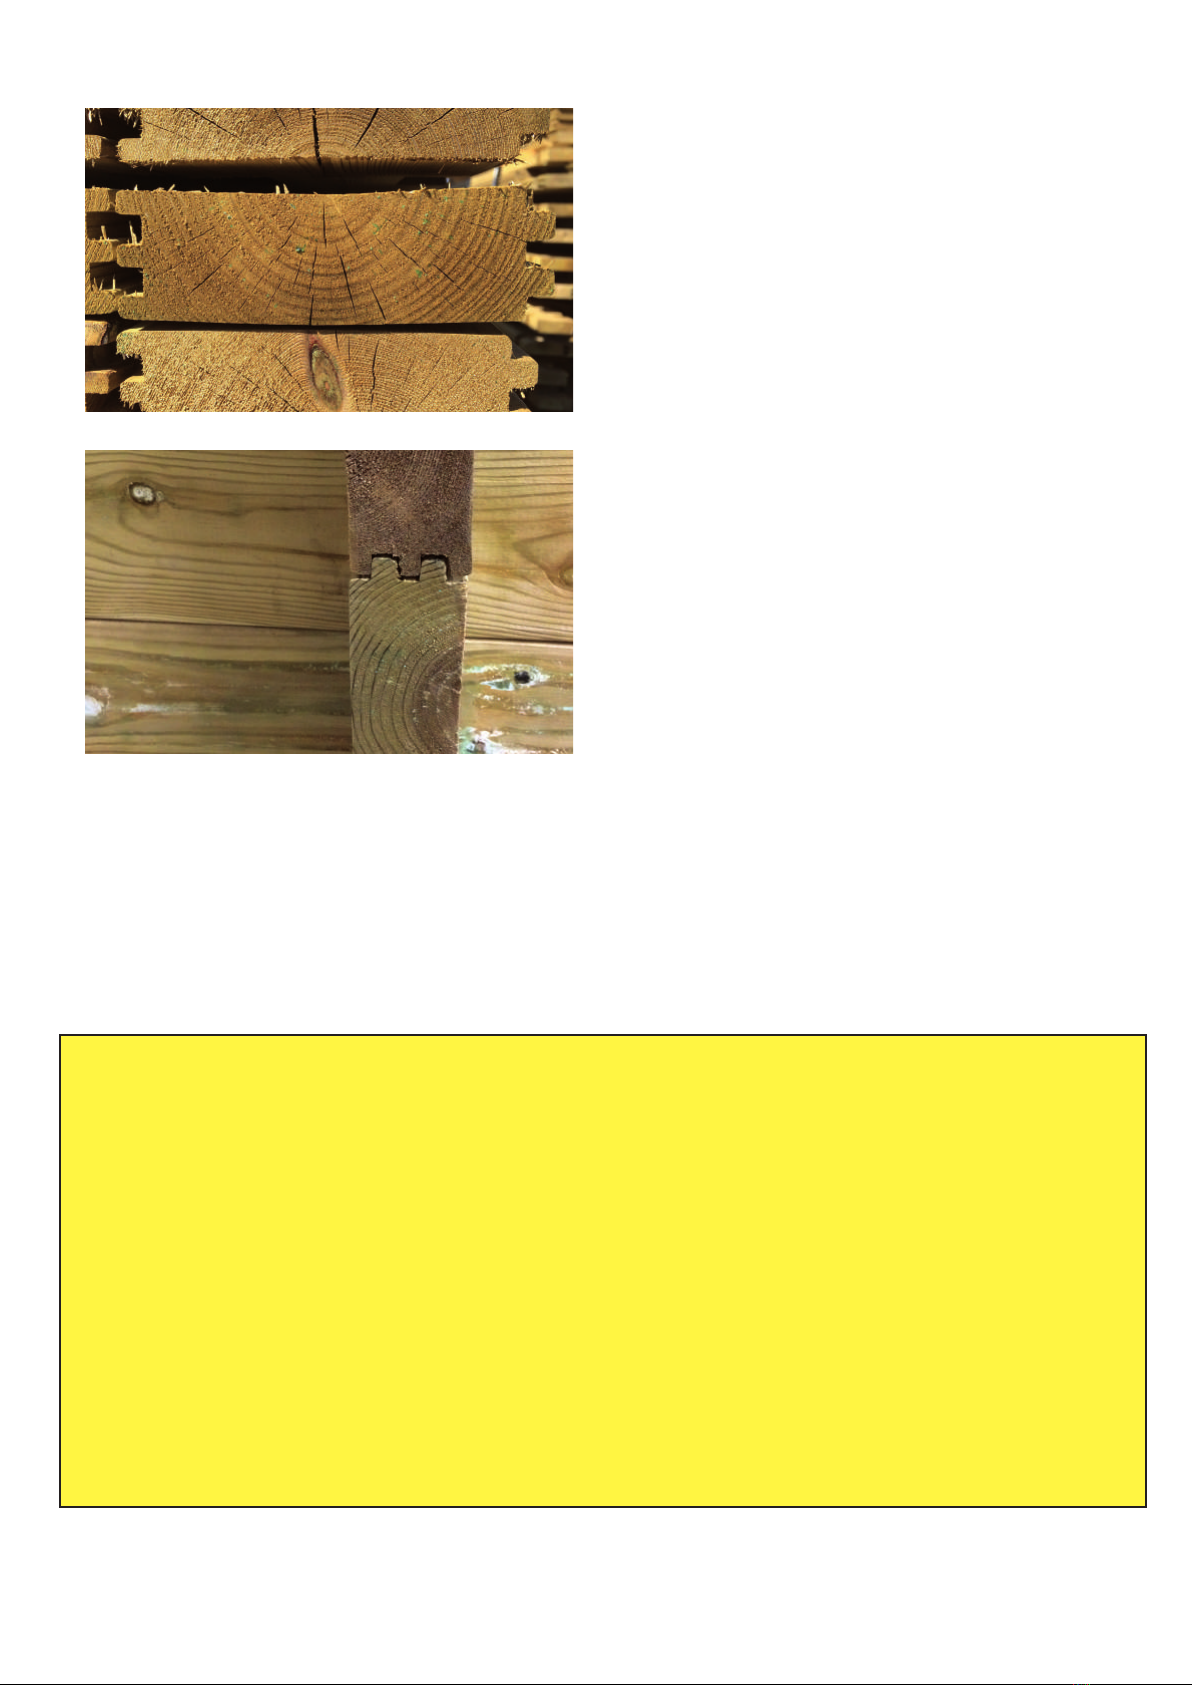
Wood is a living material and once cut the appearance of cracks, slight movements or
changes in colour are normal and the planks (except in extreme circumstances) do not need
replacing. The planks will have been recently treated and may be delivered still moist.
In the case of rapid temperature change these planks can dry very quickly and lose one
or two millimetres of height. This might give the impression that the planks are lifting while
they are actually shrinking. Whilst in cooler wet conditions the wood may expand back to its
original size. This is completely normal.
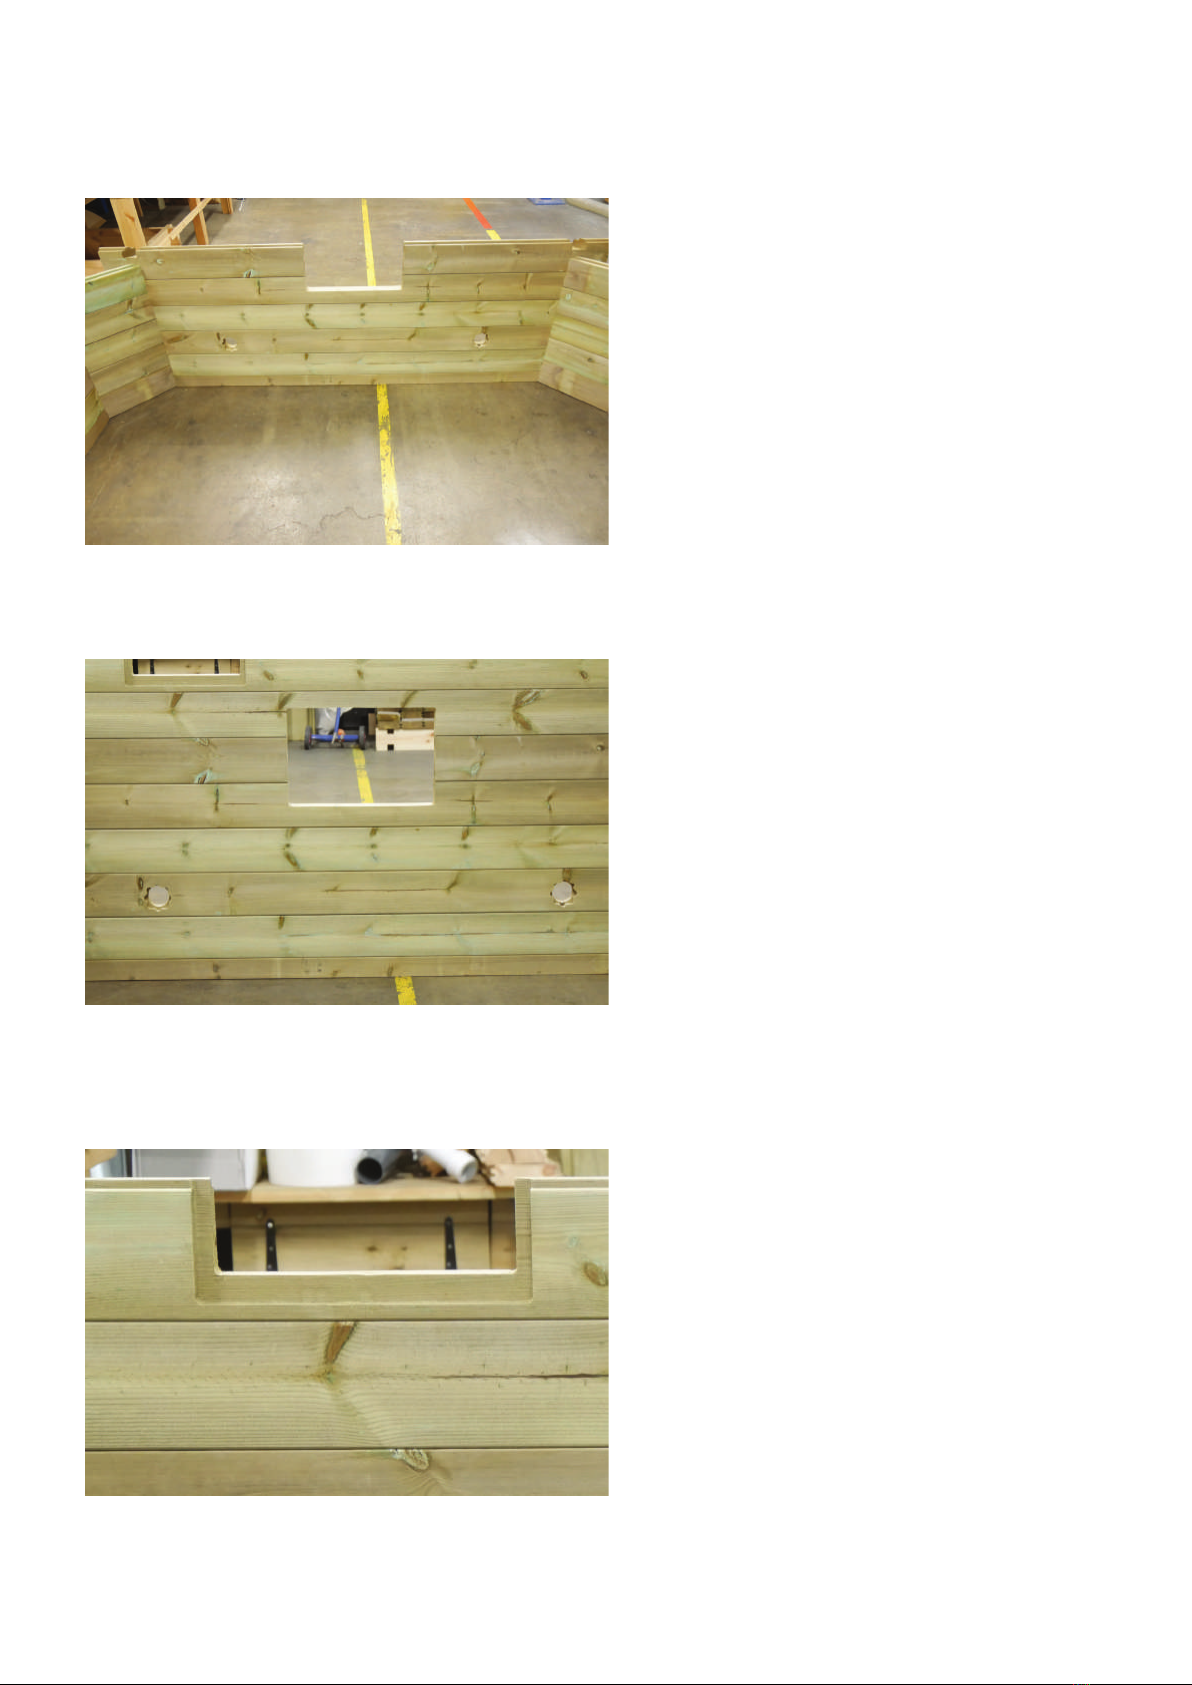
Please note; some of the images in this installation manual may be from another type
of pool and are being used for illustration purposes only.
- Tape measure
- Spirit level
- Various digging and
concreting tools
- Socket set
- Heavy mallets
- Cordless drill driver
- Selection of driver bits
- 3mm, 4mm and 5mm drill bits
- Hack saw or 4” angle grinder
cutting disc
- Hand saw or chop saw
(if available)
- Set Square
- Pencil
- Sharp Scissors
- Hand-held screw driver
- Sharp Knife
- Exterior wood glue
- Hammer
- Sharp chisel
- Sand paper
- 85mm hole cutter
(light installation only)
- Wet and dry vacuum cleaner
- Decking oil and brush
- Goggles/glasses
- Protective gloves
TOOL LIST