5. Red Warning Light
If the red light (2) comes on, it indicates a problem with the unit. Switch the conver-
ter module off using the on/off switch (1) and unplug (7) the unit from the wall out-
let. If the light is continuous, this means there is a short circuit. If the light is blinking
slowly, it means that nothing is drawing power from the converter module (e.g., Li-
teScout®or power cord are either not working or not connected). If the light is blin-
king quickly, it means that the unit has overheated.
First, check whether the cable between the converter module and the LiteScout®is
properly connected and undamaged. Stop using the system immediately if there is any
visible damage. This also applies to the LiteScout®. Stop using it immediately if you see
damage to the light surface, the frame (e.g., open breaks), the cord, etc.
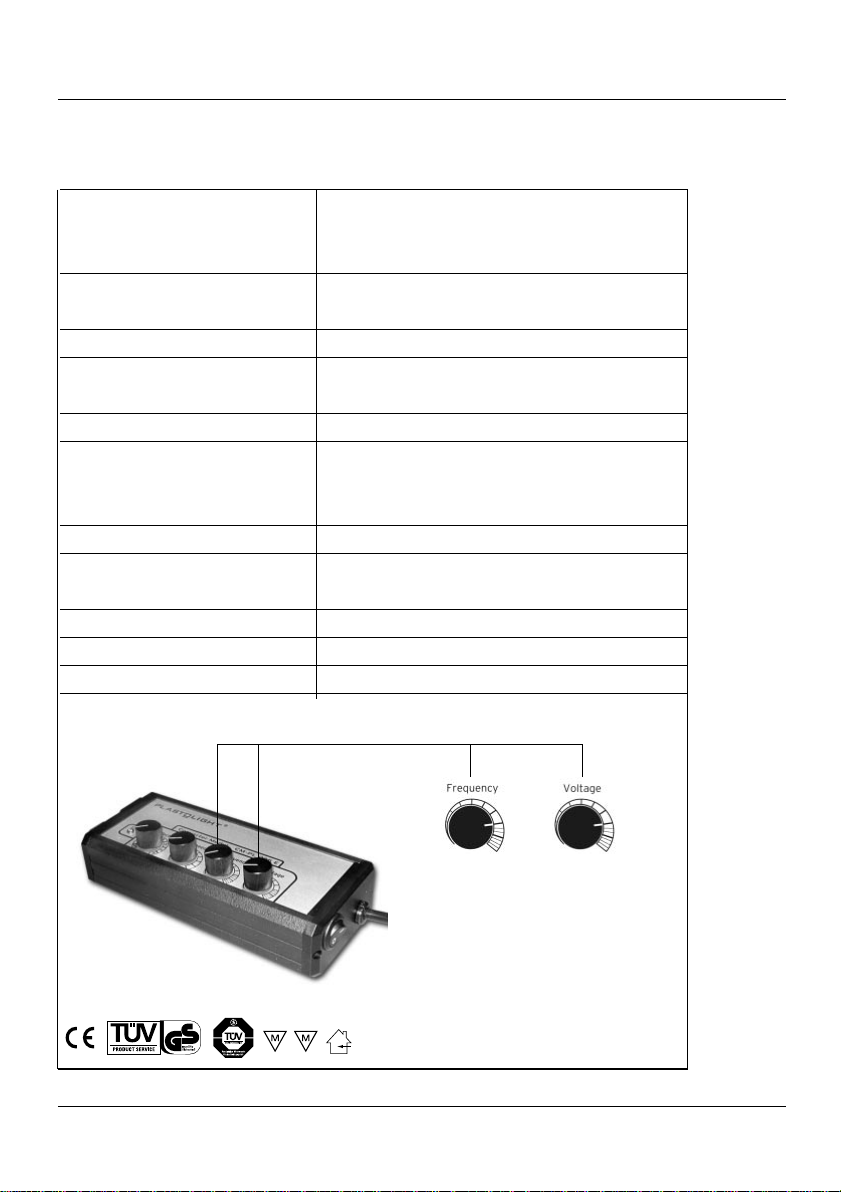
If there is no visible damage, restart the converter module as follows: Plug the power
cord (7) into the wall. Turn all controls to »Minimum« (all the way to the left), and
switch the converter module back on. Continue as described in Section 4.
If the red light (2) comes on repeatedly, and you can safely conclude that the Lite-
Scout®is not malfunctioning, we recommend that you pack the converter module,
the LiteScout®, and the warranty card in its original packaging and ship the system
back to PLASTOLIGHT®, so that we can check the system and repair it if necessary.
6. Safety Information and Warnings
• Warning: The LiteScout®and the converter module use high voltage.
• The converter module must always be turned off before you connect or disconnect
the LiteScout®.
• Only PLASTOLIGHT®is authorized to make repairs. Attempted repair by any other
party will immediately void the warranty.
• Only a qualified technician may perform repairs. The system must always be
unplugged before repair work begins.
• If the red light comes on, it indicates a problem with the unit (see Section 5 above).
• The LiteScout®and the converter module are for indoor use only.
Do not use them outdoors!
• Keep the LiteScout®and the converter module away from moisture or moistness.
• Protect the LiteScout®and the converter module from extreme heat.
• Do not use pointed or sharp objects on the light surface. They may damage the light
surface and destroy the LiteScout®.
• Damaging the light surface may result in personal injury.
• Always make sure that the converter module is in an easy-to-access location that
receives sufficient ventilation. This will prevent the converter module from overheating.
• Never allow children to work with the LiteScout®without adult supervision.
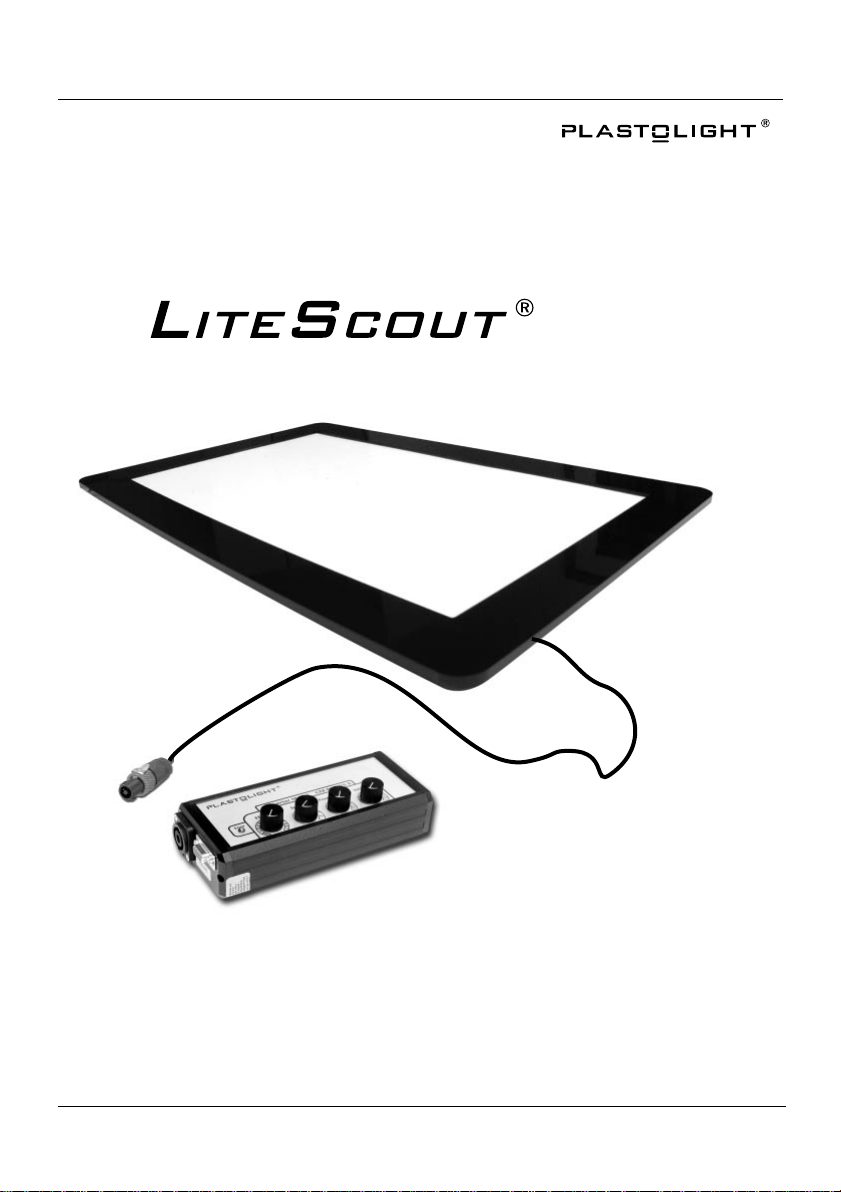
LiteScout® User Instructions
6
User Intructions/LiteScout.qxd 06.12.2005 14:33 Uhr Seite 5