PlayActive 2015 Electric Scooter User manual

Page1
Electric Scooter
Owner’s Manual
(New)

Page2

Page3
PLEASE BE SAFE WHEN RIDING
ALWAYS WEAR A HELMET AND OBEY ALL LAWS!
BATTERY MAINTENANCE and
CHARGING INSTRUCTIONS
You MUST charge completely prior to initial use.
(Follow charging instructions in your Product Handbook)
1. Charge immediately after each use.
2. Charge before storage. You must charge every 30 days if not
in use. Charge the unit for 6-8 hours until the light on the
charger turns green.
3. DO NOT allow this unit to deep discharge the battery.
4. For safety purposes, DO NOT charge for over 8 hours.
5. Turn the unit OFF when not in use.
不
This PRODUCT IS NOT INTENDED FOR EXTREME or
OFF-ROAD Use! Please take care of your ELECTRIC
SCOOTER!
DO NOT JUMP or ABUSE THIS PRODUCT!
DO NOT RIDE IN WET/ICY CONDITIONS!
DO NOT RIDE INDOORS
The appliance is not intended for use by persons (including children) with
reduced physical, sensory or mental capabilities, or lack of experience and
knowledge, unless they have been given supervision or instruction concerning
the use of the appliance by a person responsible for their safety
IMPORTANT
注意
Failure to follow these INSTRUCTIONS will
VOID YOUR WARRANTY!

Page4
PACKAGE CONTENTS
Your ELECTRIC SCOOTER comes with the following items in the box. Please
locate all of the following
1. The ELECTRIC SCOOTER
2. Battery Charger
3. Tool Kit
4. Product Handbook
GETTING STARTED
Please read and understand these instructions and the OPERATING
PROCEDURES section, prior to starting or riding your ELECTRIC
SCOOTER
WARNING
Persons without excellent vision, balance, coordination, reflex, muscle and
bone strength and good decision-making capabilities should not use this
product.
User: 14+ ages, suggest use the product with adult supervision at all times.
Minors without adult supervision should not use this product.
Persons unwilling or unable to take responsibility for their own actions should
not use this product.
The user of this product assumes ALL risks associated with its use. To
minimize these RISKS, the user must wear safety helmet, goggles, gloves,
elbow and kneepads and appropriate footwear.
This product is ELECTRIC! DO NOT ride this product in wet conditions, puddles
or rainy weather.
IMPORTANT
PLEASE READ THIS BEFORE USING THIS PRODUCT
READ THIS FIRST!

Page5
Assembly
1. Carefully remove your scooter from the box.
2. Install the front wheel.
3. To unfold the scooter, begin by pressing the grey plastic lever up on the FOLDING
HANDLE with one hand, while gently pulling up on the handlebars with the other.
The handlebar will snap into place and will not move when secured properly.
4. Loosen the handlebar clamp, and raise the handlebar to the desired height, being
sure the pole snaps into place. Then tighten clamp securely.
5. To attach the handlebars to each side of the t-bar, first loosen the top handlebar clamp
then slide each handlebar into the t-bar being sure they snap into place and are in the
correct orientation for riding. Finish by clamping down the clamp lever securely.
Charging
WARNING: Do not allow your scooter to go into deep discharge, as this will damage the
batteries.
1. Make sure unit is turned off.
2. Charging socket is located on side. (see picture below)
3. Locate your Battery Charger. Find the charger socket end that has a
single-prong socket and plug it into the scooter.
4. Next, plug theAC plug into a wall outlet.
When first plugged in, the charger will have one red light that will illuminate as long as the

Page6
power switch is in the charge position, if the power switch is in the on or off position the
charger will have a red and green light illuminating which means no charge is taking place.
Make sure you have the switch in the correct charge position. After 4-6 hours the green
light on the charger is illuminated indicating the unit is now charged.
3 Shifts Switch with Power-off protection
1. Turn on: press “ON” shift (When press “ON” shift, the circuit of batteries, controller and
other parts are connected, then you can operate the scooter)
2. Power off: press “OFF” shift (When press “OFF” shift, the circuit between batteries and
controller are completely disconnected, this will protect the batteries’ lifetime and
performance.)
3. Charging: press “CHA” shift (When press “CHA” shift, the circuit between battery and
charging system are connected, but disconnected from the controller system, the scooter
can only be charged in this status,
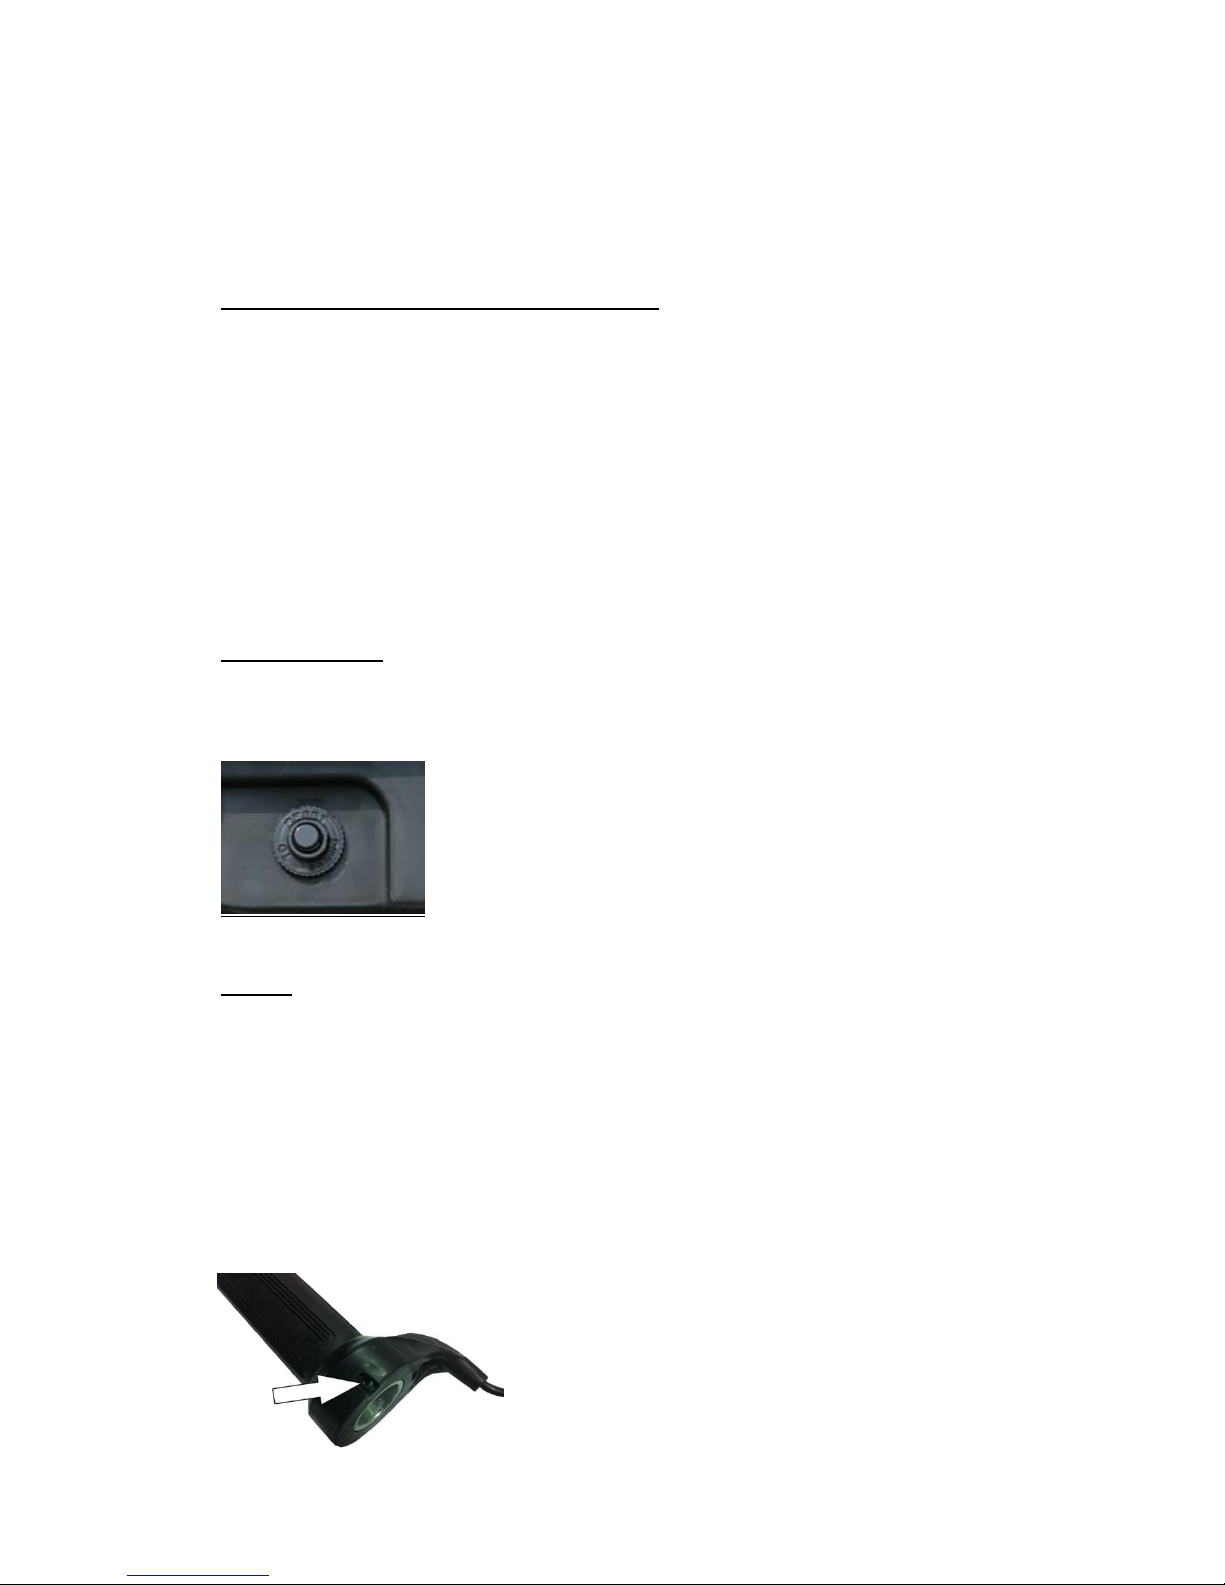
Circuit Breaker
When the current is too high, the fuse will pop up, you only need to press it down, the
scooter can work again, no need to change fuse
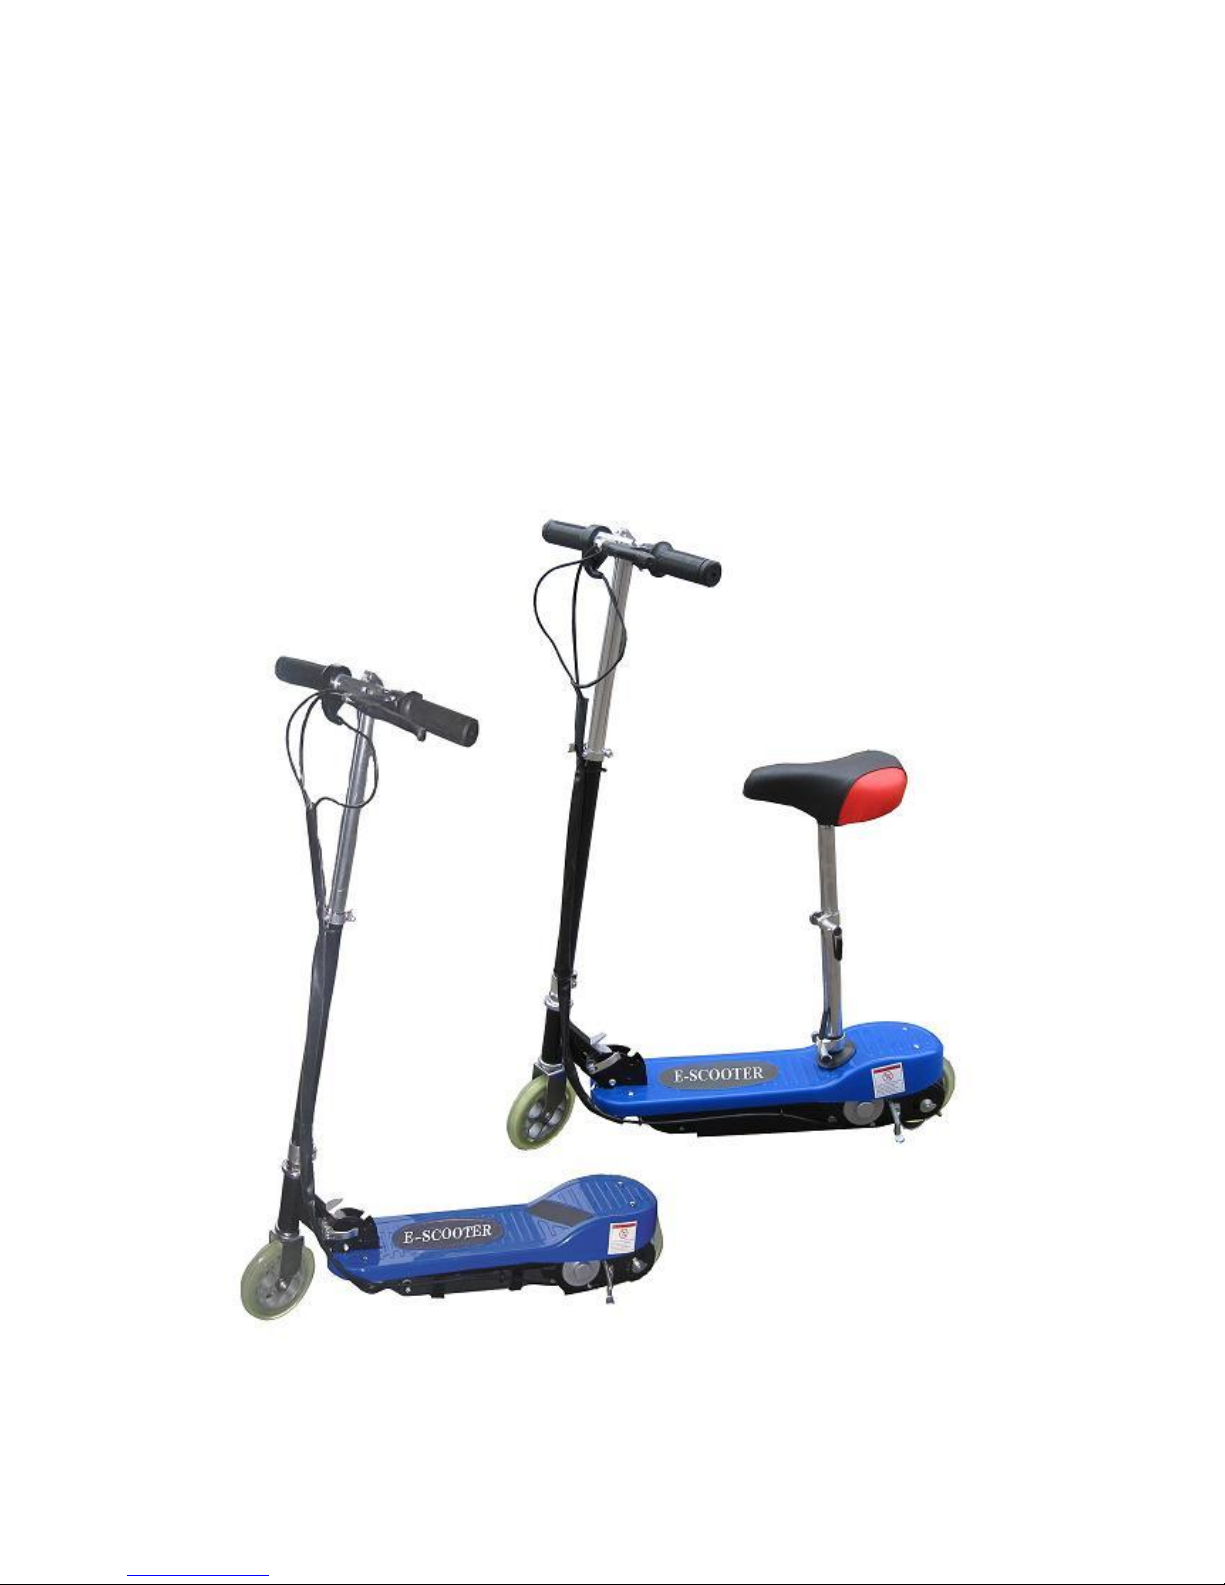
Riding
1. Make sure that all of the exposed bolts and screws are tightened.
2. Raise the kickstand to its up position.
3. Push the on/off switch to the ON position
4. Put one foot on the deck of the ELECTRIC SCOOTER while pushing off with the other
foot, gently rotate the THROTTLE GRIP, on the right side of the handlebars. The
ELECTRIC SCOOTER will begin to move on its own power.
Your scooter has a variable speed hand throttle. You can control the speed of your scooter
by the amount of pressure you use when rotating the hand throttle. The more you rotate,
the faster you will go.
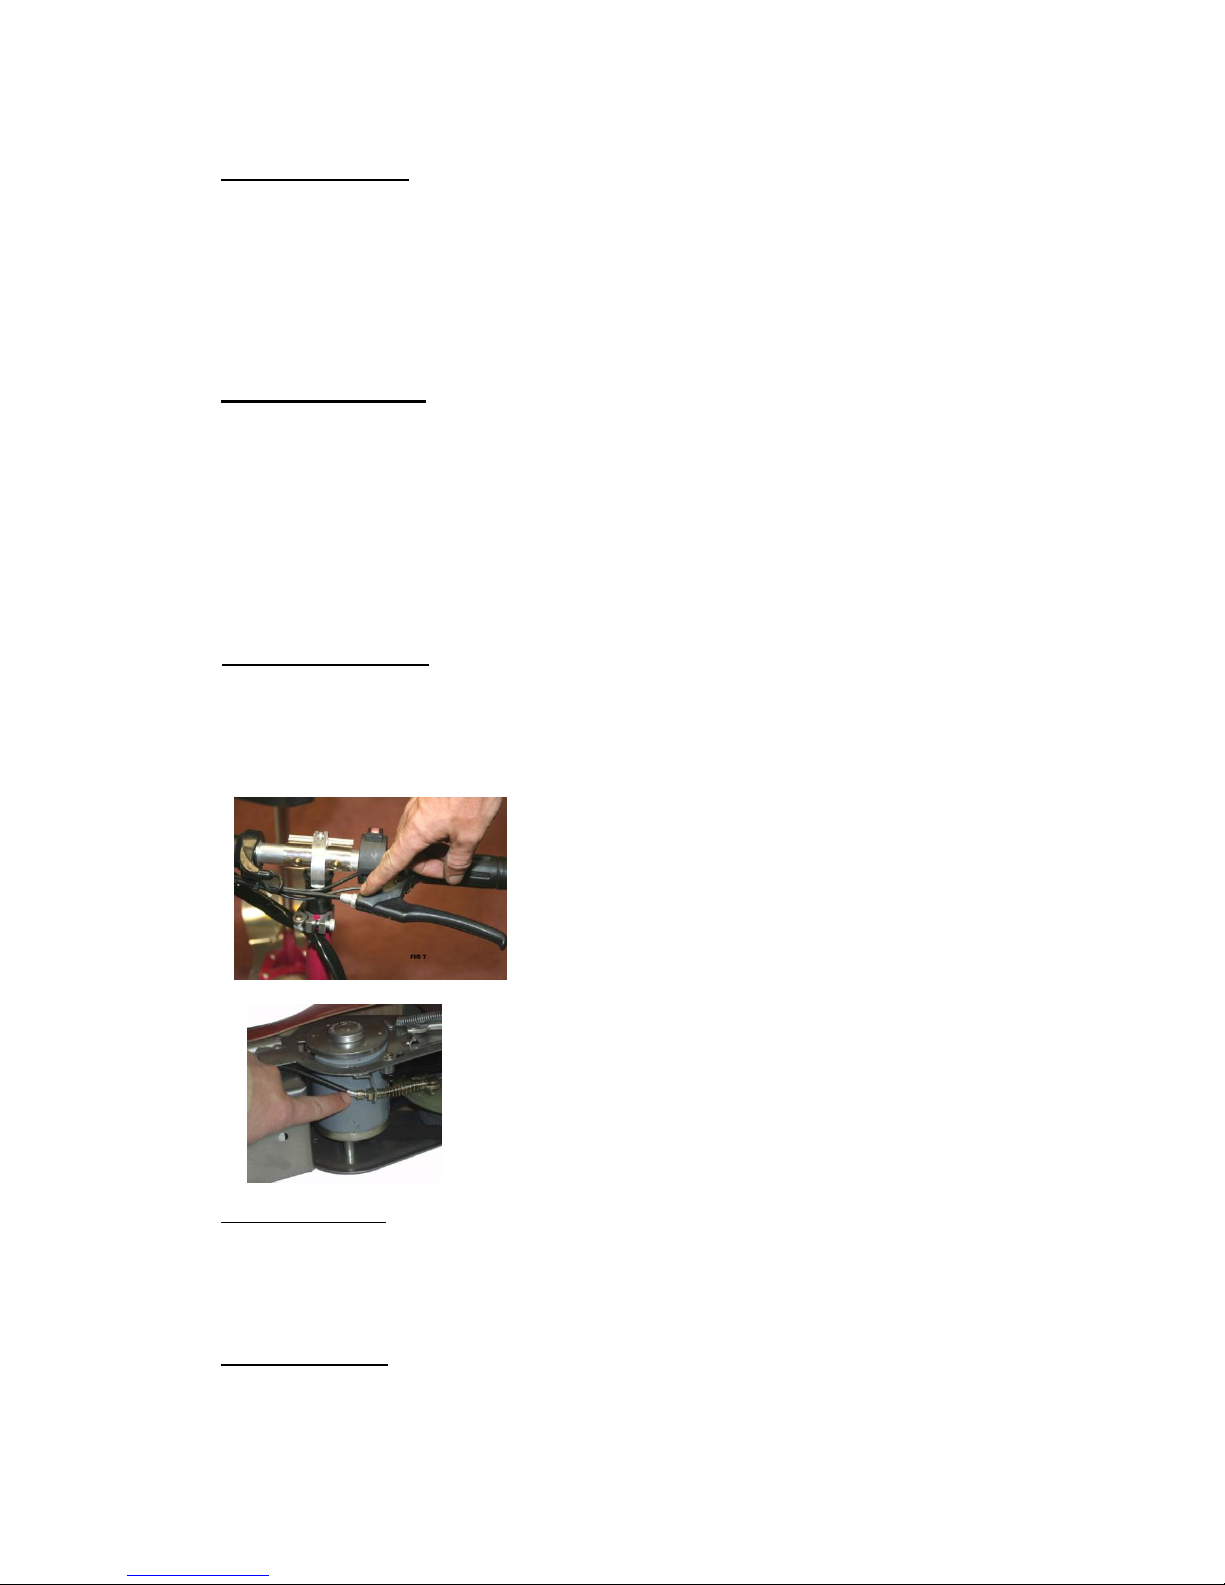
Please ensure this small grub screw is secure and tight using the small allen key provided.

Page7
Stopping/Braking
1. To brake, release the THROTTLE GRIP and depress the BRAKE LEVER (on the left
side of the handlebars. Depressing the brake will disengage power to the motor.
When the unit feels like it is loosing power or not accelerating to full speed, the scooter
is ready to be re-charged.
BRAKING SYSTEM
The ELECTRIC SCOOTER uses a hub brake system on the rear wheel. A hand brake
lever on the left side of the handlebar activates the brakes. Squeezing the hand brake
lever with your left hand will activate the rear brake. Make sure to release the HAND
THROTTLE GRIP when engaging the brakes.
Practice braking on a smooth, dry surface to get used to the feel of the braking system.
Braking distance is affected by wet conditions and loose and uneven riding surfaces.
Adjusting the Brakes
The Brakes on the ELECTRIC SCOOTER should come fully adjusted from the
factory.
However, it may be necessary to adjust the brakes from time to time.
Squeaky Brakes
The brakes may squeak before they are broken in. This is normal and will not
affect the function or performance of the brakes. With continued use the
squeak should go away.
MAINTENANCE
RECOMMENDED TOOLS
To adjust the rear brakes:
For brakes that are adjusted too tight
1. Loosen the tension screw on the left
hand brake lever by rotating it
counter-clockwise until the wheel
spins freely.
For brakes that are adjusted too loose
1. Tighten the tension screw on the left
hand brake lever by rotating it
clockwise until the wheel has a slight
drag.
For further adjustment, locate the
adjustment screw on the rear brake hub
located on the rear wheel.

Page8
To adjust and service the ELECTRIC SCOOTER you will need the following
tools:
Allen Wrenches: M5,M2.5
Wrenches: M13-15,M8-10
Large Adjustable Crescent Wrench
Philips Head Screwdrivers
Oil, Grease or Lubricant
MAINTENANCE SCHEDULE
Proper care of your ELECTRIC SCOOTER will insure optimal performance
and longer life span. The following are a few maintenance suggestions that will
keep your ELECTRIC SCOOTER running in top condition:
Daily Maintenance
Perform each time you ride your ELECTRIC SCOOTER
Clean the exterior of the unit with a soft, damp rag.
Check that all nuts and bolts are securely tightened.
Check battery charger for any frayed/cut wires.
Trouble shooting
Troubles
Possible Causes
Suggest Solution
1) Poor acelaration or low
maximum speed
---Too low voltage
Charge the battery
immediately
2) switch in the on position,
the scooter does not work
---The wiring between the
batteries are loose
---The current too high
---The inner cables of the
scooter are loose or
damaged
---connect the wiring
---press the Circuit breaker,
and then switch scooter on
---connected cables
3) Poor Battery Life
---didn’t charge for full time
or the charger has problems
---the battery is aging or
damaged
--- frequent brake and
starting or overloading
--- Charger faulty or poor
connections check whether
the connection of the plug of
the charger is good
---Change the battery
4) The charger doesn’t work
---The plug of the charger
drops off or the connection
between the plug and
socket is loose
--- Fasten the plug and
connector

Page9
5) other troubles
---when you meet other
trouble you can’t solve or
judge under the guildness
---when the elements of the
electric machine, controller,
charger or battery damaged
Please contact the dealer or
local repair station. Don’t
open the above component;
otherwise you may loose our
warranty.
Table of contents
Popular Scooter manuals by other brands

DeVilbiss Healthcare
DeVilbiss Healthcare Drive ST2A-IB user manual

Wisper
Wisper 806fe owner's manual

Genuine Scooter Company
Genuine Scooter Company VENTURE 50 owner's manual

SWAGTRON
SWAGTRON SwagCycle user manual

Uber Scuuter
Uber Scuuter LiteGT owner's manual

Specialized
Specialized Turbo Como user manual