Page 1 of 13
3080 VCO v1.2 –Assembly Guide
Thank you for purchasing this module! This is a complicated build with tightly packed components
and precision integrated circuits. It is not recommended for the beginner.
The module is designed and sized for Eurorack systems. You will need a 16 pin eurorack power
ribbon connector with –12/0/+12 which is connected to a synth power supply.
Follow the parts lists, these instructions and the PCB silkscreen text to build the module.
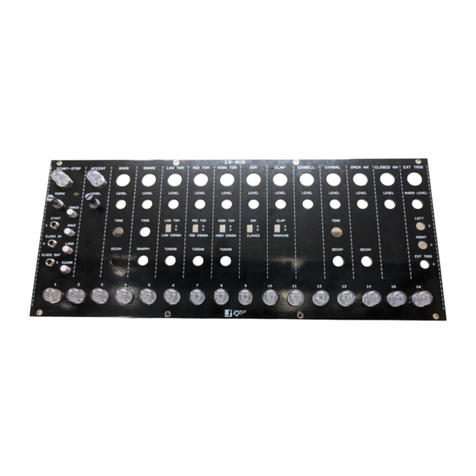
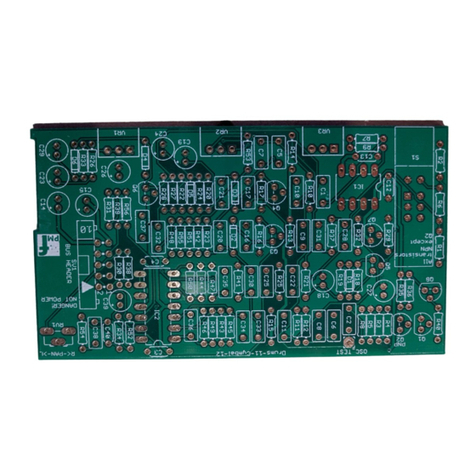
The module consists of 1 PCB board and a front panel.
There are components installed on BOTH sides of the boards. Please ensure that you place the
components on the correct side. When referring to the TOP of a board we mean the side with the
pmF logo. The BOTTOM has no logo.
You may need to clean up the board edges with wire cutters and/or a file to remove the remains of
the tabs from the fabrication process. This is particularly important for the edges containing the
jacks. These edges will need to mate flush with the front panel.
You must follow the order of assembly as described below since some components will be soldered
underneath other components.
Constructing the board
1. Clean board edges with wire cutters and/or file to remove the manufacturing tabs.


