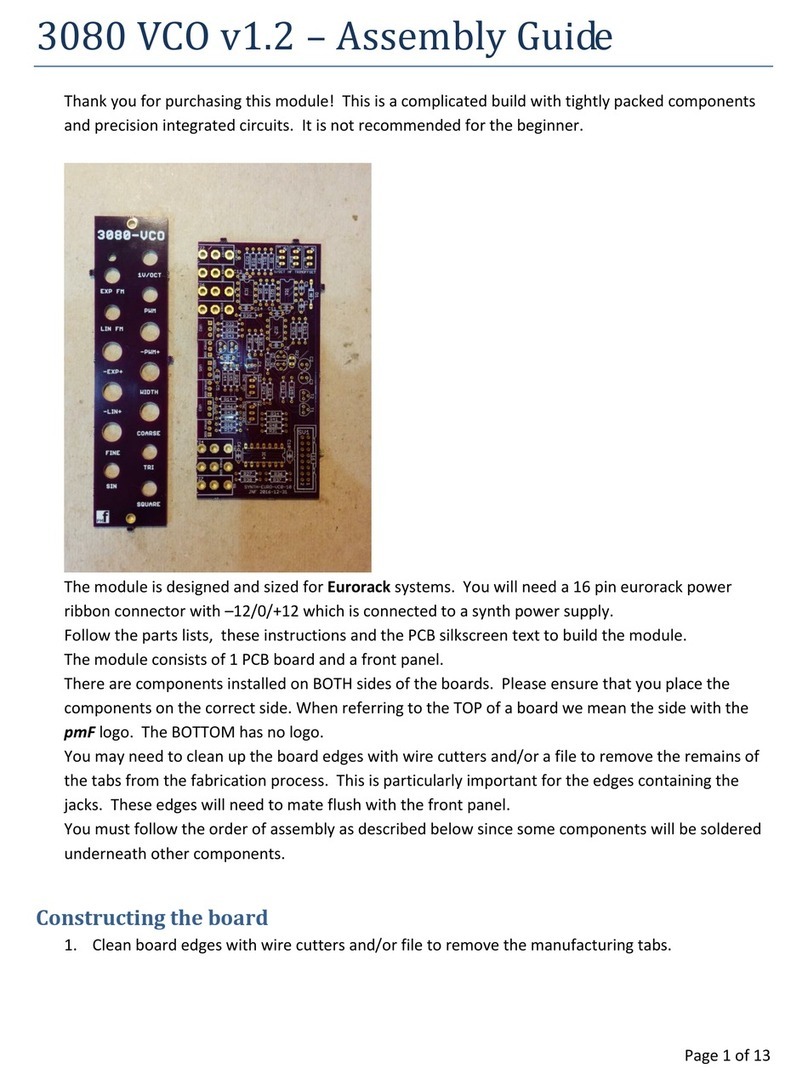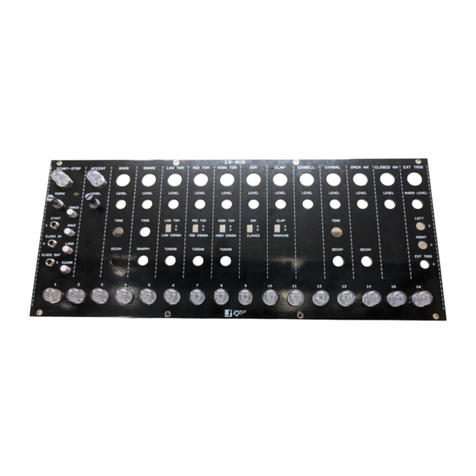
ER-808 – Assembly Guide
_____________________________________________________________________________________
_____________________________________________________________________________________
Page 2 of 7
Resistors
Arrange the resistors by value on the workbench in the same order as listed in the BOM and install each
numbered part for that value before moving onto the next.
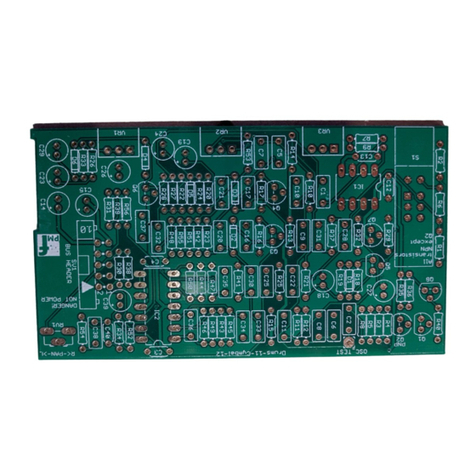
Install the resistors on the TOP of the board. Take care not to mix up resistors which have similar color
codes. You can install R27 on the underside if your resistors become crowded on the top.
Solder and clip the leads.
Diodes
Install the diodes on the TOP of the board. Align the stripe on each diode with the stripe marked on the
board. Solder and clip the leads. Do not mix up signal, power, schottky and zener diodes, some of them
look the same. Now go back and check the polarity against the silk screen for each diode.
IC Sockets
Install the sockets on the TOP of the board. Observe the notch or mark on the sockets and align with
the notch or mark on the board. Solder.
Bus header
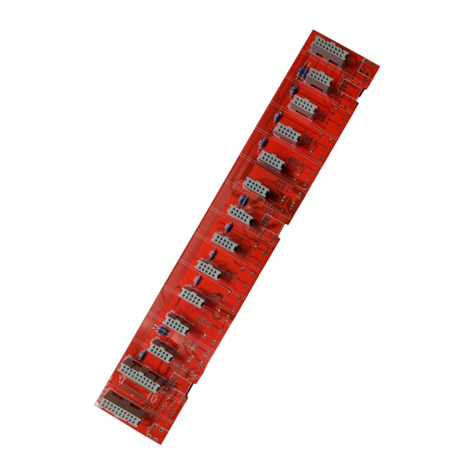
Install the 10 pin right angle bus socket on the BOTTOM of the board. This must be installed with the
correct orientation or the module will be damaged when the power is connected.
The cut-out in the socket should face the words "BUS HEADER", as shown in the photo.
The header must be completely flat and aligned with the PCB so clean up any joints that interfere with
this.
Ceramic and film capacitors
Install the capacitors on the TOP of the board. Solder and clip the leads.
Bipolar Transistors and jFET
Separate the transistors on the workbench into NPN (2N3904) and PNP (2N3906 and jFET. Install the
transistors on the TOP of the board. Do not mix up the NPNs with the PNPs and jFET. These are
polarized components. Align the outline with the outline on the board. They should be raised off the
board surface slightly and at the same height. Solder and clip the leads.
Trimmer resistors
Install on TOP so the adjustment is accessible from the back edge.
