manuals.online logo
Brands
  1. Home
  2. •
  3. Brands
  4. •
  5. Pocket Wizard
  6. •
  7. Transceiver
  8. •
  9. Pocket Wizard MultiMAX User manual

Pocket Wizard MultiMAX User manual

Basic Operation
MultiMAX Transceiver
PocketWizard MultiMAX Transceiver
Quick Guide
Cable Connection
Camera PC Sync: Connect miniphone plug to Camera/PORT 1 on the
MultiMAX (set for TRANSMIT mode) then connect the PC cord to
camera's PC connector. PC cable not needed if camera hot shoe is
used.
Flash: Connect miniphone plug from proper flash cable to Flash/PORT 2
on the MultiMAX (set for RECEIVE mode), then connect the other end
to the flash unit.
Electronic Shutter Release: Connect miniphone plug from proper
motor drive cable to Camera/PORT 1 on the MultiMAX (set for
RECEIVE mode), then connect the other end to the camera's motor
drive port. Trigger camera with transmitter.
Power On/Off
Transmitter: Set power switch to TRANSMIT on MultiMAX. Battery
level icon will appear on display. TRANSMITTER Mode and
will be displayed indicating mode selected.
Receiver: Set the power switch to RECEIVE on MultiMAX. Battery
level icon will appear on display. RECEIVER Mode and will
be displayed indicating mode selected.
TIP: All equipment should be in the OFF position while connecting
the MultiMAX to cameras or flash units.
Channel Selection
Transmitter: Set channel using the ▲▼ keys. Channel number is
located in the upper right hand corner of the screen ( )
Channels 1-16 (Classic Channels) are for standard remote triggering.
Channels 17-32 are for Selective Quad Triggering.
Receiver: Set channel using the ▲▼ keys to match the transmitter
channel setting. If Quad triggering channels are selected, the proper
zone letter A, B, C or Dmust be selected using the A, B, C or Dkeys.
Classic Channels
(Compatible with PocketWizard Plus/Classic Models)
Channels 1-16 offer LOCAL/BOTH/REMOTE triggering. Pressing the A
key on the MultiMAX (set for TRANSMIT mode) turns the R(remote)
on or off. Press the Lkey to turn L(Local) on or off. Set the MultiMAX
(set for RECEIVE mode) to the same channel as the transmitter.
Note: Local and Remote modes can not be deactivated at the same time.
Selective Quad-Triggering
Pressing the A, B, C or Dkeys selects or deselects the four individual
triggering zones. Channels 17-32 each contain four triggering zones.
Pressing the Lkey turns L(Local) on or off. The MultiMAX (set for
RECEIVE mode) must be set to the same channel and zone as the
transmitter.
Basic Operation
MultiMAX Transceiver
Local Triggering
Connect the flash unit to Flash/PORT 2 on the MultiMAX (set for
TRANSMIT mode). Pressing the Lkey allows the connected flash
unit to be turned on or off.
Test Button
Press the TEST button on the MultiMAX (set to TRANSMIT mode)
and release. Confirm that remote flash or camera has fired. In
channels 17-32, automatic radio trigger confirmation is displayed
as a plain letter (example ). If triggering was not confirmed, a
reversed screen display letter will appear (example )
Multiple Receivers
Unlimited remote flash units or cameras can be triggered in sync
with each other. Set all MultiMAX units (set to RECEIVE mode) to
the same channel as the MultiMAX (set to TRANSMIT mode). If
Quad Triggering channels are selected, set each receiver to its zone
letter A, B, C or D. Confirmation does not function when using
multiple Receivers set to the same zone.
Confirmation
Classic Channel mode: The Status Light blinks in sync with every
trigger and a beep is heard (if selected). Radio and flash
confirmation are not performed or displayed for Classic Channels.
Quad-Triggering mode: A cleared zone letter on the display in
addition to a beeping sound indicates send/receive signaling.
Flash Confirmation Sensor
Connect flash confirmation cable to Camera/PORT 1 on MultiMAX
(set for RECEIVE mode). Position the sensor towards flash output
and attach with Velcro. Confirms on all four Quad-Triggering
zones. Displays next to each confirmed zone A, B, C or Dletter.
Beeper Setting */ MENU B B
Press the */ MENU key to enter the main menu. Press the Bkey
twice to select Beep/ menu. Select the desired setting by
pressing the A, B, C or D choices from the menu.
beep on trigger beep on error/zero both
Counter Setting */ MENU C
In either TRANSMIT or RECEIVE mode press the */ MENU key to
enter the Main menu. Press the Ckey to select the Counter menu.
Select the desired trigger counter setting by pressing A, B, C or D
choices from the menu.
LANYARD LOOP
ZONE / MENU/
NUMBERIC ENTRY KEYS
LOCAL KEY
CHANNEL /
NUMERIC ENTRY
UP / DOWN KEYS
*/ MENU KEY
BACK LIGHT / KEY LOCK
HOT SHOE
POWER /
TRANSMIT /
RECEIVE
SWITCH
TEST BUTTON
AC ADAPTER
INPUT
LCD (LIQUID
CRYSTAL DISPLAY)
CAMERA/ PORT 1
FLASH/ PORT 2
STATUS LIGHT
FLEXIBLE ANTENNA
CONFIRMED RADIO
FAILED RADIO CONFIRMED RADIO
& FLASH CONFIRMED RADIO
LCD Display
BATTERY LEVEL
RADIO FREQUENCY LOCKED BEEP MODE
CHANNEL
RADIO MODE
FAILED FLASH
Advanced Functions
MultiMAX Transceiver
Time Conversion Charts Advanced Functions
MultiMAX Transceiver
Contrast Setting */ MENU B ▲▼
Press the */ MENU key, then ▲▼ keys to adjust the contrast of the
screen. Pressing the */ MENU key will save the setting.
Reset
Press down the Ckey while turning MultiMAX on. MultiMAX resets
to original factory settings.
Keypad Lock
Hold key in for 3 seconds. All keys are locked and "KEYPAD
LOCKED" is displayed. Only the TEST button and keys are still
active. Hold in for 3 seconds to deactivate keypad lock.
Fast Mode */ MENU A D
In RECEIVER mode, pressing */ MENU A D (channels 17 -32)
activates Fast Mode. The main LCD panel displays "Fast Mode"
Flash sync speeds up to 1/1000 of a second are possible with
compatible cameras. Quad Triggering and confirmation are not
available in fast mode.
Delay TX mode */ MENU A A
Remotes + PORT 2 - see Fig. 1
Press */ MENU A A A for delayed trigger signal to all remote units
(cameras/flash) plus flash/PORT 2 (on-camera flash). Enter delay
time using ▲▼ keys. For faster adjustment select each digit
individually by pressing A, B, C or D keys directly below it, then
using ▲▼ keys to adjust value. Press */ MENU key to enter the
value (a small Dabove L (Local) indicates that PORT 2 will be
delayed.). Flash/PORT 2 is for local (on-camera flash); Camera/PORT
1 is for camera sync cable.
Remotes Only - see Fig. 1
Press */ MENU A A B for delayed triggering on remote units
(cameras/flash) only. PORT 2 triggers immediately. Enter delay
time same as above. Use Camera/PORT 1 or Flash/PORT 2
according to equipment.
Rear Curtain Sync - see Fig. 2
Press */ MENU A A C for rear curtain sync mode. Select shutter
speed with ▲▼ key. Press */ MENU (a small Dwill appear above
the Lon the LCD)
Use camera/PORT 1 or Flash/PORT 2 according to equipment. Use
Lkey to toggle on/off Flash/PORT 2 (on-camera flash).
Fraction Decimal Fraction Decimal
1/2 0.5 seconds 1/180 0.0056 seconds
1/4 0.25 seconds 1/200 0.005 seconds
1/8 0.125 seconds 1/250 0.004 seconds
1/15 0.0667 seconds 1/500 0.002 seconds
1/30 0.0333 seconds 1/1000 0.001 seconds
1/60 0.0167 seconds 1/2000 0.0005 seconds
1/90 0.0111 seconds 1/4000 0.0003 seconds
1/125 0.008 seconds 1/8000 0.0001 seconds
Fig. 1
Fractions to Decimal:
Rear Curtain Sync Time:
Fig. 2
Seconds Minutes Seconds Hours
60 seconds 1 minute 3600 seconds 1 hour
120 seconds 2 minutes 7200 seconds 2 hours
180 seconds 3 minutes 10800 seconds 3 hours
240 seconds 4 minutes 14400 seconds 4 hours
300 seconds 5 minutes 18000 seconds 5 hours
600 seconds 10 minutes 36000 seconds 10 hours
1200 seconds 20 minutes
1800 seconds 30 minutes
Fractions to Decimal:
Fig. 3
Delay RX mode */ MENU A A
PORT 1 + PORT 2 - see Fig. 1
Press */ MENU A A A for delayed triggering on Camera/PORT1 and
Flash/PORT2. Enter delay time as in mode. Press */ MENU to
enter the value (a small Dwill appear under on the main
LCD). Both Ports delay triggering by set delay time. All Receiver
delays are in additon to any Transmitter delays (if used). A small D
below indicates that both ports will be delayed.
Port 2 Only - see Fig. 1
Press */ MENU A A B for delayed triggering on PORT 2 (flash) only,
PORT 1 triggers immediately. Enter delay time same as above.
Lag Time Equalizer
Press */ MENU A A C for Lag Time Equalizer mode. Connect
camera sync cord to PORT 1; connect electronic motor drive cord
to PORT 2. Pressing the Lkey triggers the camera and the lag time
will appear on screen. Trigger camera at least 10 times then select
fastest lag time (smallest number). Then press */ MENU to enter
setting. Lag time equalization number will appear on main LCD.
Intervalometer */ MENU A B - see Fig. 3
In RECEIVE mode, press */ MENU A B to set trigger interval time
using ▲▼ keys, then press */ MENU to enter setting. For faster
adjustment, select each digit individually by pressing ABCD keys
directly below it, then using ▲▼ keys to adjust value. Set number
of triggers using ▲▼. Enter setting by pressing */ MENU. Connect
camera motor drive cable to PORT 1 or 2 and press TEST to start cycle.
MultiPop */ MENU A C
In RECEIVE mode, press */ MENU A C to enter MultiPop mode.
Enter flash recycle time value between triggers using ▲▼ keys.
Enter setting by pressing */ MENU. Set number of flash exposures
using ▲▼ key. Enter setting by pressing */ MENU. Press TEST to
start MultiPop mode.
SpeedCycler */ MENU A D
In TRANSMIT mode, press */ MENU A D to activate SPEEDCYCLER
MODE. Main display shows on the right side of the Quad
Triggering zone letter to be triggered. Use Camera/PORT 1 or Flash/
PORT 2 according to equipment.
Go Advanced/Go Normal
Pressing */ MENU D key toggles between any advanced mode
selected and normal radio triggering mode.
Relay Mode · Receive / Send Operation
Set TRANSMIT channel in mode. Set RECEIVING channel in
mode. Connect motor drive cable to PORT 2 and camera sync
cable to PORT 1 or hot shoe. Pressing the Lkey turns PORT 2 on/
off for Relay mode and RLY XX (XX = Channel Number) is displayed.
➜
Rear
Curtain
Sync Time Decimal
Equivalent Acutal Delay
Used
1/1 1 second 0.98 seconds
1/2 0.5 seconds 0.49 seconds
1/4 0.25 seconds 0.24 seconds
1/8 0.125 seconds 0.119 seconds
1/15 0.0667 seconds 0.062 seconds
1/30 0.0333 seconds 0.029 seconds
1/60 0.0167 seconds 0.014 seconds
Other manuals for MultiMAX

2

Other Pocket Wizard Transceiver manuals

Pocket Wizard MiniTT1 User manual

Pocket Wizard

Pocket Wizard MiniTT1 User manual

Pocket Wizard Plus X User manual

Pocket Wizard

Pocket Wizard Plus X User manual

Pocket Wizard PLUS IIIe User manual

Pocket Wizard

Pocket Wizard PLUS IIIe User manual

Pocket Wizard PLUS III User manual

Pocket Wizard

Pocket Wizard PLUS III User manual

Pocket Wizard Plus II User manual

Pocket Wizard

Pocket Wizard Plus II User manual

Pocket Wizard Mini TT1 User manual

Pocket Wizard

Pocket Wizard Mini TT1 User manual

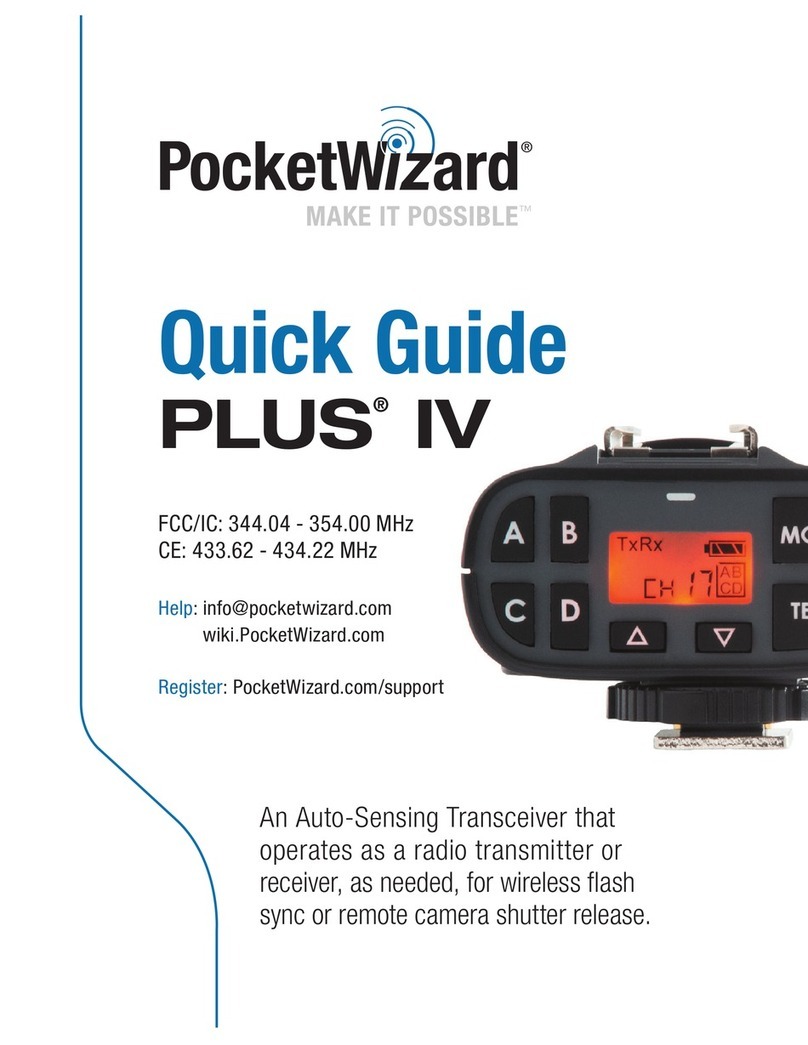
Pocket Wizard Plus IV User manual

Pocket Wizard

Pocket Wizard Plus IV User manual

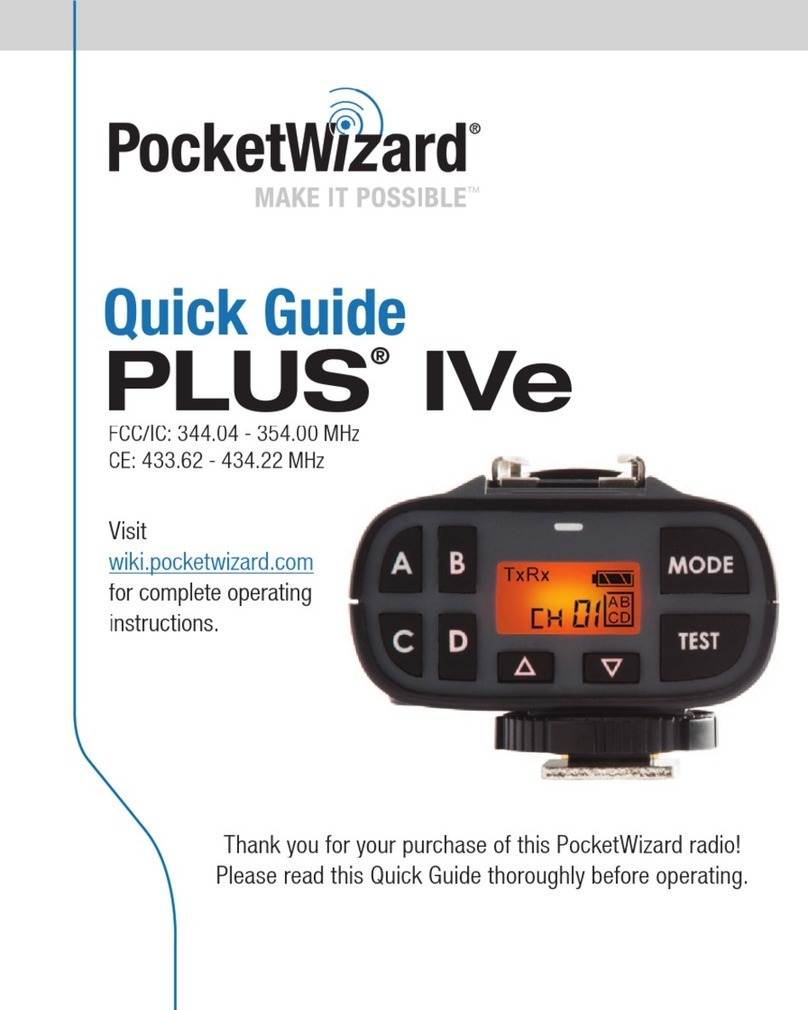
Pocket Wizard PLUS IVe User manual

Pocket Wizard

Pocket Wizard PLUS IVe User manual

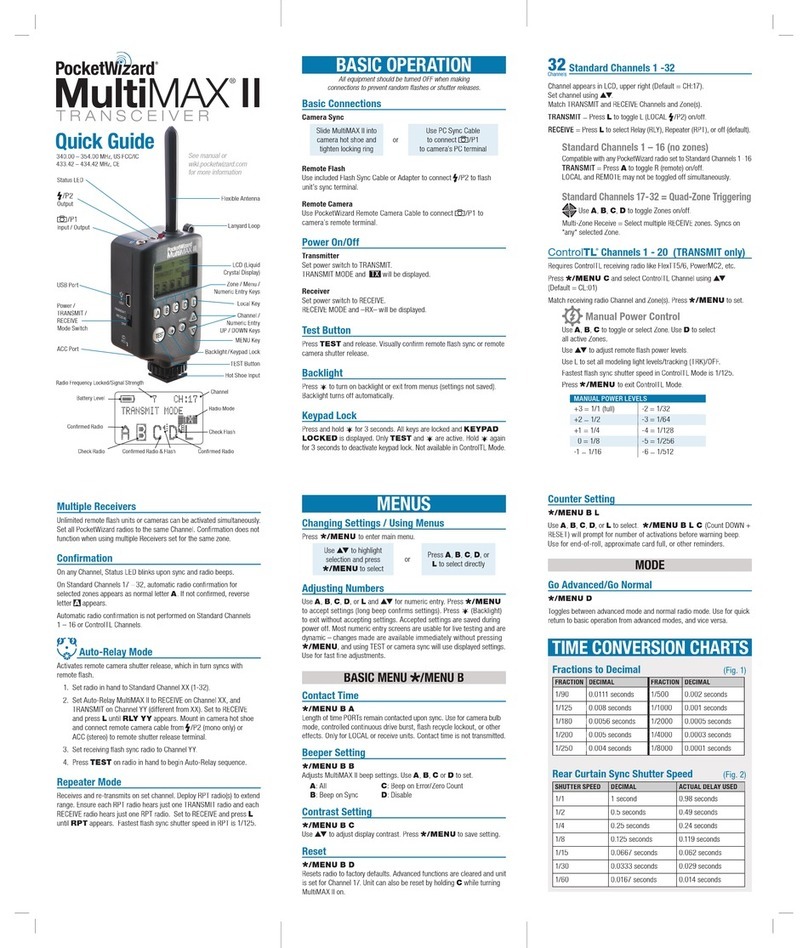
Pocket Wizard MultiMAX II User manual

Pocket Wizard

Pocket Wizard MultiMAX II User manual

Pocket Wizard PLUS III User manual

Pocket Wizard

Pocket Wizard PLUS III User manual

Pocket Wizard Plus II User manual

Pocket Wizard

Pocket Wizard Plus II User manual

Pocket Wizard PLUS III User manual

Pocket Wizard

Pocket Wizard PLUS III User manual

Pocket Wizard Plus IV User manual

Pocket Wizard

Pocket Wizard Plus IV User manual

Pocket Wizard PLUS III User manual

Pocket Wizard

Pocket Wizard PLUS III User manual

Pocket Wizard PLUS III User manual

Pocket Wizard

Pocket Wizard PLUS III User manual

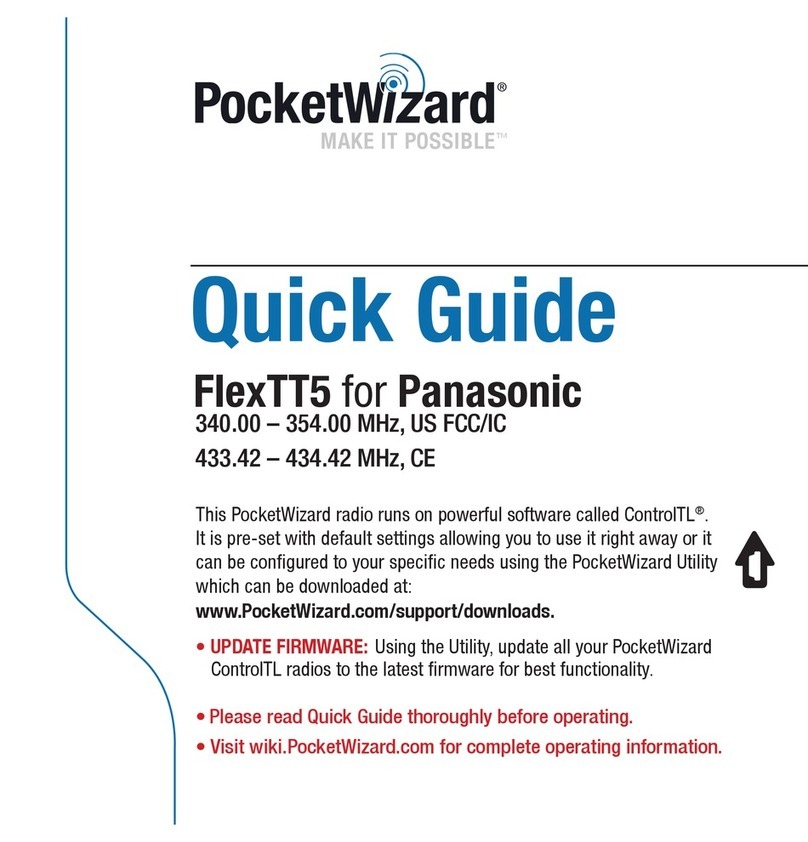
Pocket Wizard FlexTT5 User manual

Pocket Wizard

Pocket Wizard FlexTT5 User manual

Pocket Wizard MultiMAX User manual

Pocket Wizard

Pocket Wizard MultiMAX User manual

Popular Transceiver manuals by other brands

Aurora IPX-TC3 Series user guide

Aurora

Aurora IPX-TC3 Series user guide

Radio Shack HTX-242 owner's manual

Radio Shack

Radio Shack HTX-242 owner's manual

City Theatrical 7400-5708 Vero Net quick start guide

City Theatrical

City Theatrical 7400-5708 Vero Net quick start guide

Vertex Standard VX-7200 operating manual

Vertex Standard

Vertex Standard VX-7200 operating manual

Retevis RT7 user manual

Retevis

Retevis RT7 user manual

Semtech SX1261 user guide

Semtech

Semtech SX1261 user guide

POLMAR DB-2 user manual

POLMAR

POLMAR DB-2 user manual

General Lee Full Channel AM/FM Amateur Mobile... owner's manual

General Lee

General Lee Full Channel AM/FM Amateur Mobile... owner's manual

3Com SS II 100BASE FX TRANSCEIVER user guide

3Com

3Com SS II 100BASE FX TRANSCEIVER user guide

Kenwood TK-2302 Service manual

Kenwood

Kenwood TK-2302 Service manual

Pihernz Lord user manual

Pihernz

Pihernz Lord user manual

Kenwood TK-7360 instruction manual

Kenwood

Kenwood TK-7360 instruction manual

Midland GB1-R user manual

Midland

Midland GB1-R user manual

Kenwood TK-3406 instruction manual

Kenwood

Kenwood TK-3406 instruction manual

Midland G18 Instruction guide

Midland

Midland G18 Instruction guide

Yaesu FT1DR operating manual

Yaesu

Yaesu FT1DR operating manual

Kenwood NX-740H instruction manual

Kenwood

Kenwood NX-740H instruction manual

Yaesu FT-80C - SERVICE operating manual

Yaesu

Yaesu FT-80C - SERVICE operating manual

manuals.online logo
manuals.online logoBrands
  • About & Mission
  • Contact us
  • Privacy Policy
  • Terms and Conditions

Copyright 2025 Manuals.Online. All Rights Reserved.