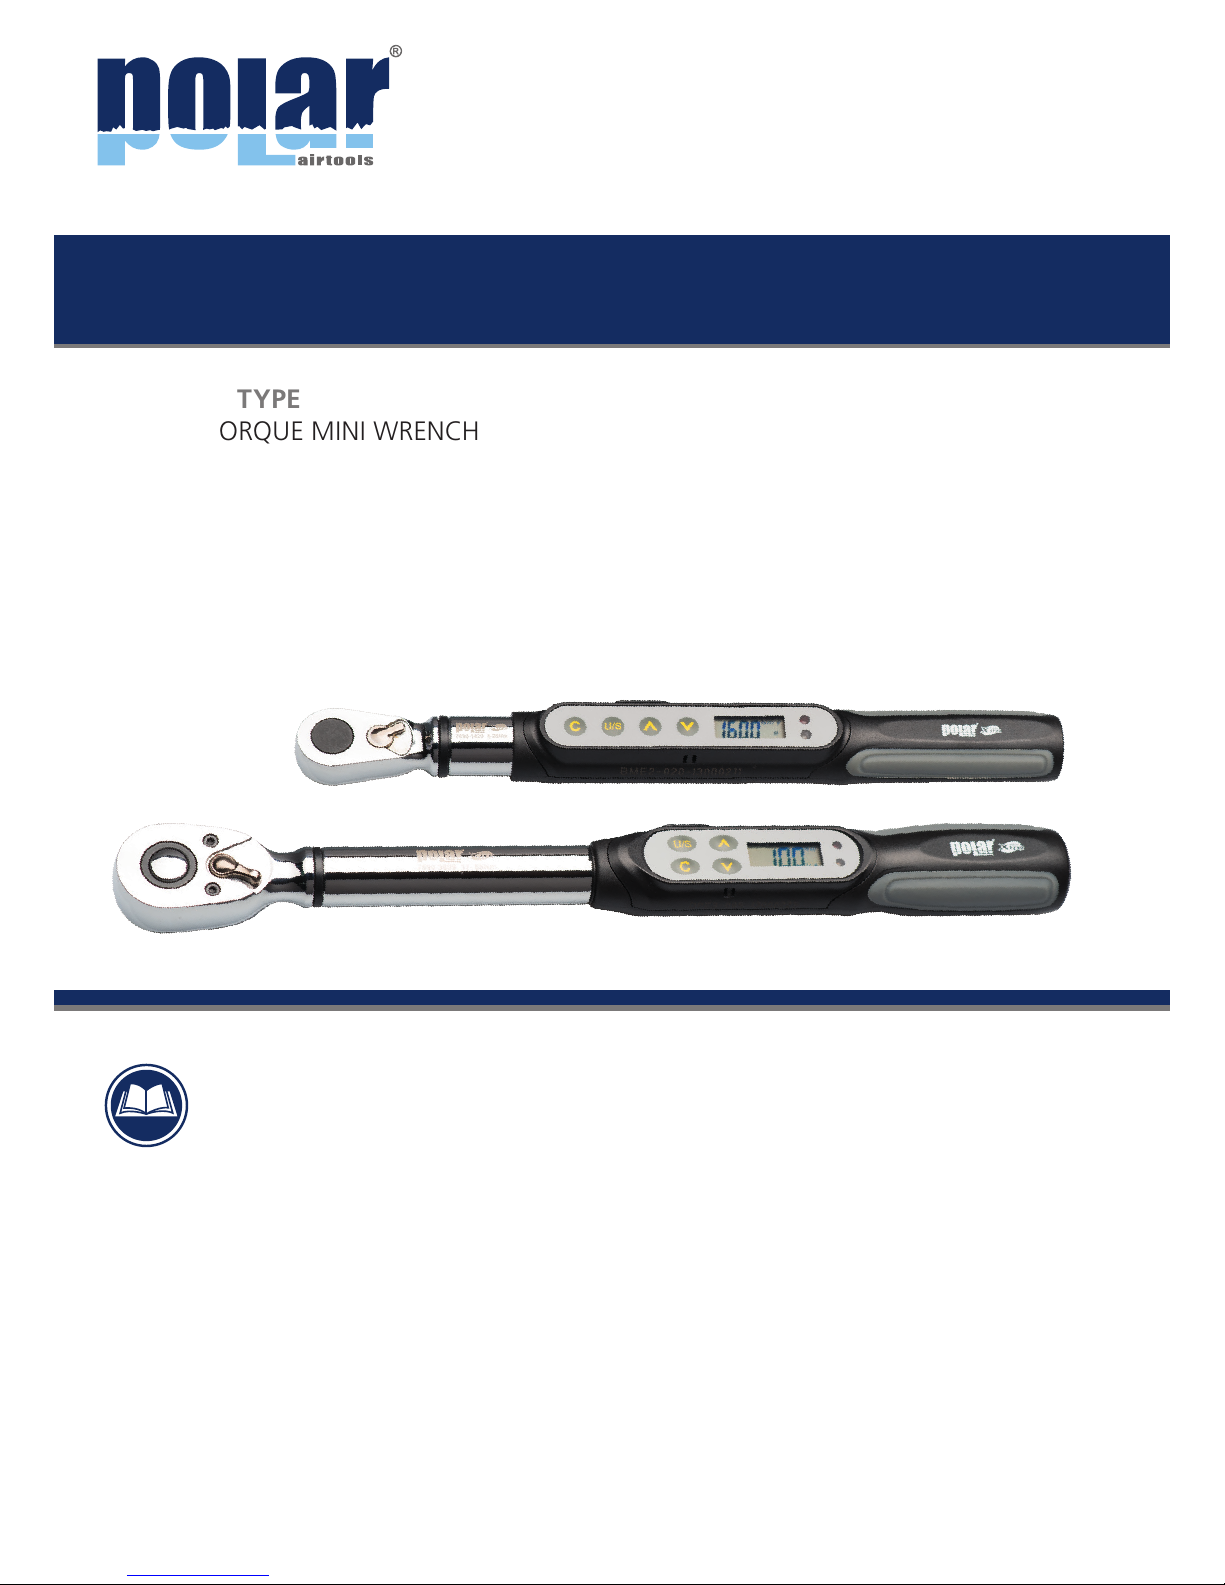
Polar Air 7614-0020 User manual

DEAR USER
Thank you for purchasing this mini digital torque
wrench. This manual will help you to use the many
features of your new digital torque wrench. Befo-
re operating the torque wrenxh, please read this
manual completely, and keep it nearby for future
reference.
INSTRUCTION MANUAL
MODEL
7614-0020
7638-0085
PRODUCT TYPE
DIGITAL TORQUE MINI WRENCH
MAIN FEATURES
■Digital torque value readout.
■+/- 3% for torque accuracy.
■CW and CCW operation.
■Peak and hold track mode selectable.
■Buzzer and LED indicator for the pre-settable
target torques.
■Engineering units (N-m, ft-lb, in-lb, kg-cm)
selectable.
■Auto sleep after about 5 minutes idle.
■Rechargeable batteries are compatible.

NAMES AND FUNCTIONS OF PARTS
MODEL
MODEL
Reversible
ratchet head
Reversible
ratchet head
Direction lever
Direction lever
Torque value
Torque value
Units
Units
Peak / Track mode
Peak / Track mode
LED indicator
LED indicator
Bit holder
Ratchet driver
Buttons
Buttons
LCD Readout
LCD Readout
Anti-slip handle
Anti-slip handle
Calibration mark
Calibration mark
Buzzer
Buzzer
Battery cover
Battery cover
Communication port
Communication port
7614-0020
7638-0085

SELECTION GUIDE
TORQUE ACCURACY COMMUNICATION
MODEL
MODEL
SQUARE
DRIVE
(INCHES)
BIT END
FITTING (“)
MAX. OPERATION TORQUE
N-m ft-lb in-lb kg-cm
7614-0020 – 1/4 20 14.75 177 204.1
7638-0085 3/8 – 85 62.7 752 867
7614-0020
7638-0085
■3%- CW / 4%-CCW ■No
SPECIFICATIONS
MODEL
NO.
RESO-
LUTION
GEAR
TEETH
MEASURED
TORQUE
(N-M)
LENGTH
(MM)
7614-0020 0.01 – 1~20 207
7638-0085 0.1 48 4.2~85 239
ALL MODELS
Torque accuracy *1 CW: ±3% CCW: ±4%
PC connectivity No
Pre-setting no. 1 sets
Operation mode Peak Hold / Track
Bright LED 2 LED (1 red + 1 green)
Unit selection N-m, ft-lb, in-lb, kg-cm
Head type Bits (7614-0020)
Lever type ratchet (7638-0085)
Button 4
Battery *2 AAA x 1
Operating temperature
-10°C ~ 60°C
Storage temperature -20°C ~ 70°C
Humidity Up to 90% non-condensing
Drop test 1 m
Vibration test *3 10 G
Life time *4 10.000 cycle
Environmental test *5 Pass
Electromagnetic
compatibility test *6 Pass
Note:
*1: The accuracy of the readout is guaranteed
from 20% to 100% of maximum range
+ /- 1 increment. The torque accuracy
is a typical value. Calibration point is on
the rubber grip. For keeping the accuracy,
calibrate the wrench for a constant period
time (1 year).
*2: One AAA battery (Toshiba carbon-zinc
battery)
*3: Horizontal and vertical test.
*4: One cycle means swing the torque
wrench from 0 N-m to maximum range
and back to 0 N-m.
*5: Environmental test:
a. Dry heat
b. Cold
c. Damp heat
d. Change of temperature
e. Impact (shock)
f. Vibration
g. Drop
*6: Electromagnetic compatibility test:
a. Electrostatic discharge immunity (ESD)
b. Radiated susceptibility
c. Radiated emission

BEFORE USING THE WRENCH
POWER ON AND RESETTING
THE WRENCH
Battery Installation
Attention
Cautions
■Remove the battery cap.
■Insert one AAA battery matching the -/+
polarities of the battery to the battery compartment.
■Replace the battery cap and fasten it tightly
according to the following figures.
If an external force is applied to the torque wrench
during power-on period, an initial torque offset
will be recorded in the memory.
During communication period (Send appears), the
auto power off function is disabled.
■Press to power on the digital torque wrench.
■Usually press to reset the digital torque
wrench before using it.
RESETTING THE WRENCH
AUTO POWER OFF
If the wrench does not function normally, loosen
the battery cap then tighten it to re-start.
The wrench will auto power off after about 5
minutes idle for power saving. Press to power
on the wrench again.
MODEL
MODEL
7614-0020
7638-0085
SETUP
Adjust torque value down
Adjust torque value up
Adjust torque value down
Power on/clear
Power on/clear
Unit selection/setting
Pre.setting unit: Nm
Unit selection: in-lb
Unit selection: ft-lb
Unit selection: kg-cm
PressPress
Press
Press
1. Unit selection

Pre.setting torque value
Increase torque value
Decrease torque value
Press
Press
2. Set target torque
Note:
The “Unit Selection” is cyclic.
Track mode
Set peak / track mode
Peak hold mode
Communication
Communication
Long press
Press
Press
Press
/Exit)
for selection
3. Peak hold / track mode selection
Note:
Communication is for calibration of torque wrench.
Please contact your local dealer for information.
TRACK MODE OPERATION
(((((((( )))))))) ((((((( )))))))
((…((… …))…)) ((…((… …)) …))
START
*Note 1
*Note 2
*Note 3
(System initial)
Setting target torque
Current torque value
Green LED
Reach 90% of target torque
Red LED
Approached target torque
Buzzer
Buzzer
Reach 90% of target torque
Reach target torque
Apply torque
Note:
1. 1. If is appeared, that means this
wrench has ever been applied more than
110% of torque of the spec.
2. When 90% of the target torque is reached, the
green LED will begin to flash and the alarm tone will
beep intermittently.
3. When 99.5% of the target torque has been reached,
the alarm will change to a steady tone and the green
LED will stop flashing and stay on. The red LED will also
illuminate.

(System indicate)
Setting target torque
Apply torque
Apply torque
Current torque value
(Peak hold)
Released
Flashing
Buzzer
Buzzer
Green LED
Reached 90% of target torque
Red LED
Approaching target torque
Reached 90% of target torque
Reached target torque
START
PEAK HOLD MODE OPERATION
(((((((( )))))))) ((((((( )))))))
((…((… …))…)) ((…((… …)) …))
*Note 1
*Note 2
*Note 3
Note:
1. If is appeared, that means this
wrench has ever been applied more than 110%
of torque of the spec.
2. When 90% of the target torque is reached, the green
LED will begin to flash and the alarm tone will beep
intermittently.
3. When 99.5% of the target torque has been reached,
the alarm will change to a steady tone and the green
LED will stop flashing and stay on. The red LED will also
illuminate.
MAINTENANCE AND STORAGE
BATTERY MAINTENANCE
■When the wrench is not going to be used for an
extended period of time, remove the battery.
■Keep a spare battery on hand when going on a
long trip or to cold areas.
■Sweat, oil and water can prevent a battery’s
terminal from making electrical contact.
To avoid this, wipe both terminals before loading a
battery.
■Dispose of batteries in a designated disposal
area. Do not throw batteries into a fire.
Caution:
1. Over-torquing (110% of Max. torque range)
could cause breakage or lose of accuracy.
2. Do not shake violently or drop wrench.
3. Do not use this wrench as a hammer.
4. Do not leave this wrench in any place
exposed to excessive heat, humidity, or
direct sunlight.
5. Do not use this apparatus in water (it is not
waterproof).
6. If the wrench gets wet, wipe it with a dry
towel as soon as possible. The salt in
seawater can be especially damaging.
7. Do not use organic solvents, such as
alcohol or paint thinner when cleaning
the wrench.
8. Keep this wrench away from magnets.
9. Do not expose this wrench to dust or sand
as this could cause serious damage.
10. Do not apply excessive force to the LCD
panel.
11. Apply torque slowly and grasp the center
of the handle. Do not apply load to the
end of the handle.
12. When checking the accuracy or calibration,
please use the bit head packed inside the
blow mold case.
Attention!
One-year periodic recalibration is necessary to maintain
accuracy. Please contact your local dealer for calibrations.

POLAR TOOLS A/S
SOLDALEN 9 . 7100 VEJLE . DENMARK . INFO@POLARTOOLS.COM . WWW.POLARTOOLS.COM
This manual suits for next models
1
Table of contents
Popular Power Tools manuals by other brands

BestRest Products
BestRest Products CyclePump instructions

Hitachi
Hitachi CG 10DL Handling instructions

NP
NP HS-1276 instruction manual

Parkside
Parkside PAH 1300 B2 Translation of the original instructions

Toolson
Toolson PRO-MG 220 E Original operating instructions

Clarke
Clarke cp185 Operating & maintenance instructions