BATTERY USE AND CHARGING JUKE JAM
Juke Jam operates on a Li-On battery. You should complete a full charge using the
AC Adapter prior to using Juke Jam. It takes approximately two hours to fully charge
the battery. Charging the battery for one hour will charge the battery approximately
80% full. Connect the AC Adapter to the DC Jack or connect your unit via the USB
to charge it. The battery icon will show up as while the battery is charging.
Once the battery icon is fully charged, the icon will appear as on your LCD
display.
Once the battery is fully charged, it will not continue to charge, so the life of the
battery will not be reduced.
A fully charged battery will provide you with up to 12 hours continuous playing
time.
USE AS PC DRIVES
If you want to use Juke Jam as a HDD, follow these steps.
1. Connect Juke Jam to your PC's or (Notebook's) USB port with the supplied USB
cable.
2. Click on the "My Computer" icon; you will find one new removable drive such as
"E" or "F" drive. If you are using Windows 98SE and you do not see the new
drive, go back to page 1 and follow the driver installation instructions.
3. Drag and the file(s) to or from Juke Jam as you do with any other HDD unit.
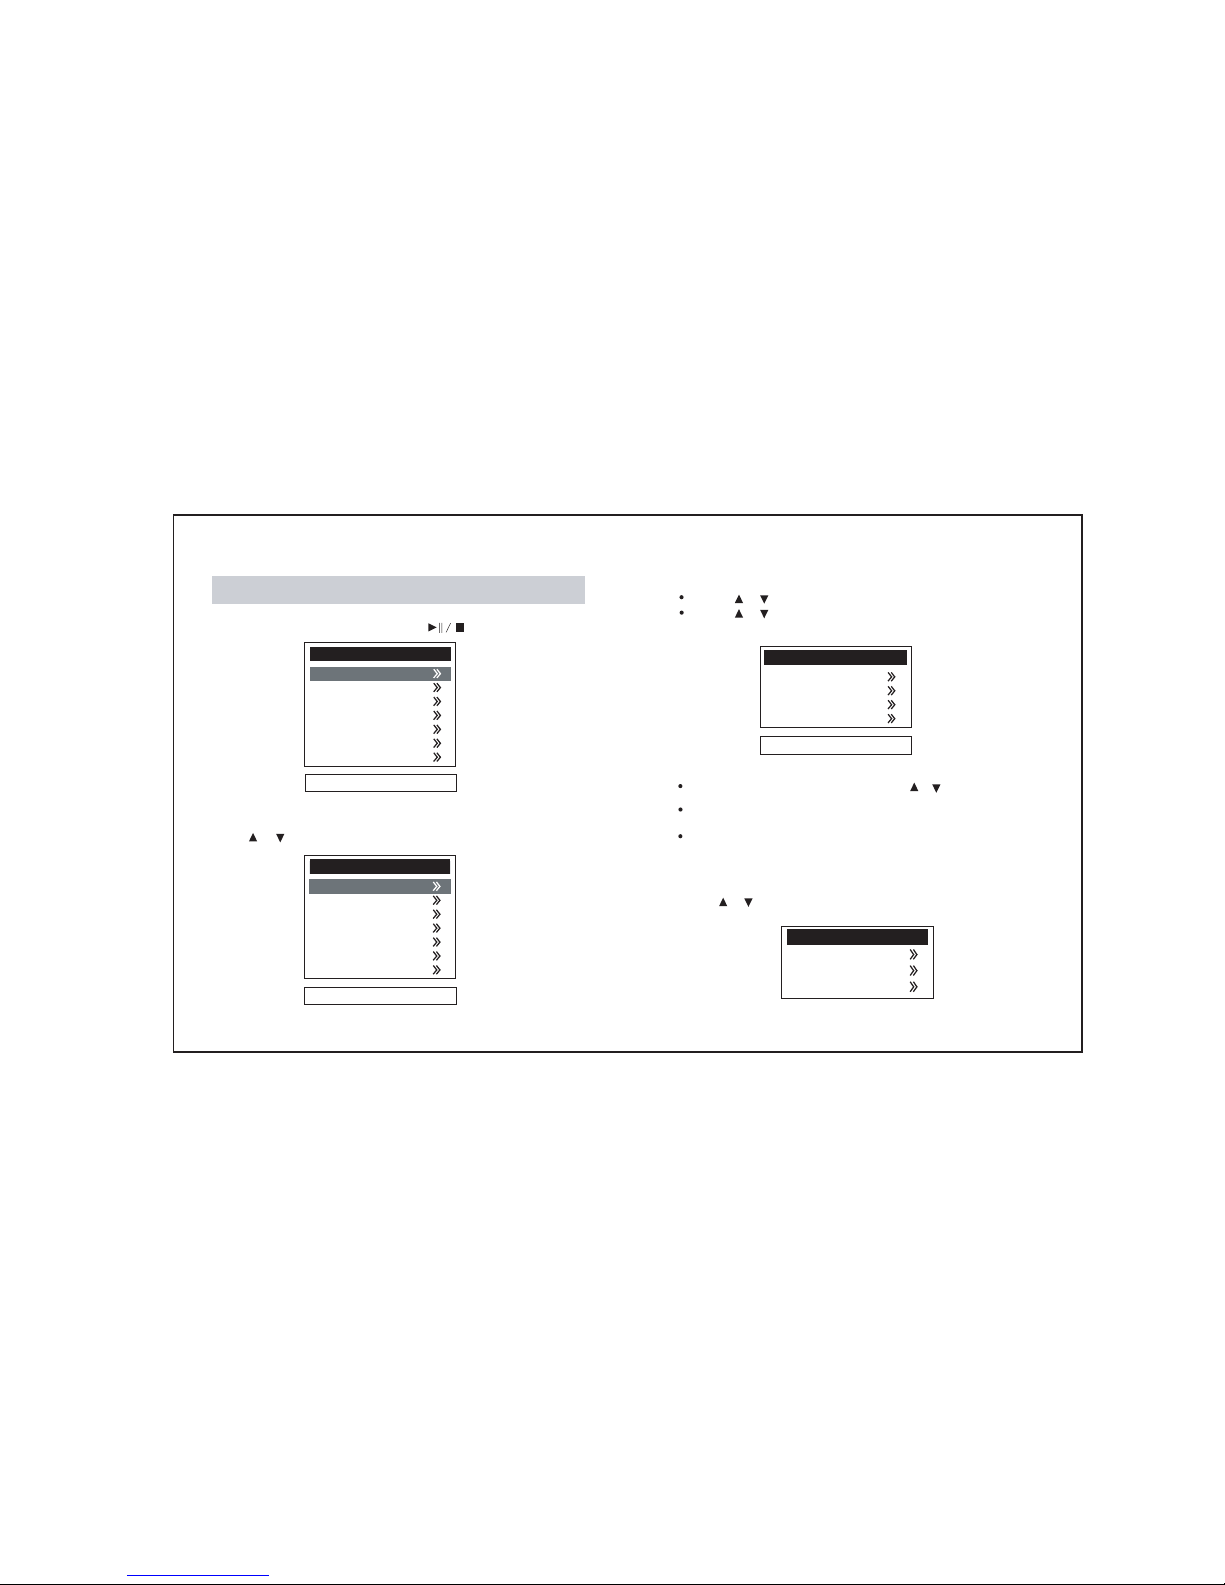
4. When you access Juke Jam through "My Computer" and open the Juke Jam
"MY MUSIC" folder, you will see four sub-folders:
DVR for your Digital Voice Recording files
FM for your stored/recorded FM music files
REC for your Line-In recorded music files
K2 for your transferred/stored music files
-13--12-
WHILE CONNECTED JUKE JAM - PC
The diagram of " PC-Jukebox link" will show up on the screen of Juke Jam to
indicate the player has been connected to the USB port of the PC. While data
transfer is occurring, the progress bar will automatically appear and show the status
of the process. WARNING! Do not disconnect the player from PC during this process.
NOTES:
The removable drive provided by this player can be used for storage of files
with file formats other than MP3 and WMA.
When the HDD doesn't store the MP3 files, pressing the button will
have no affect.
Disconnecting the PC and Juke Jam incorrectly may cause the computer to
stop while transmitting data. This may cause the data in the HDD to be
incorrectly written. If this happens, you might need to perform a scan disk or
defrag procedure on the unit.
Once the transfer of files has been started, you may press the Cancel button
on the dialogue window to terminate the transferring process. Because it takes
some time for PC to remove the data from the register buffer, the dialogue box
may disappear on the window but the data exchange between the host and
device will still be in process. After you plug Juke Jam into your PC, the
Windows system will automatically shows an "Unplug or Eject hardware" icon
on the bottom right window task bar. If you want to disconnect the Jukebox
from the PC, it's safer for you to do this by clicking the "Unplug or Ejection
hardware" icon and then follow the on screen steps to completely and safely
disconnect the unit.