Please read this manual carefully before installing your Pond Defence system.
Contents
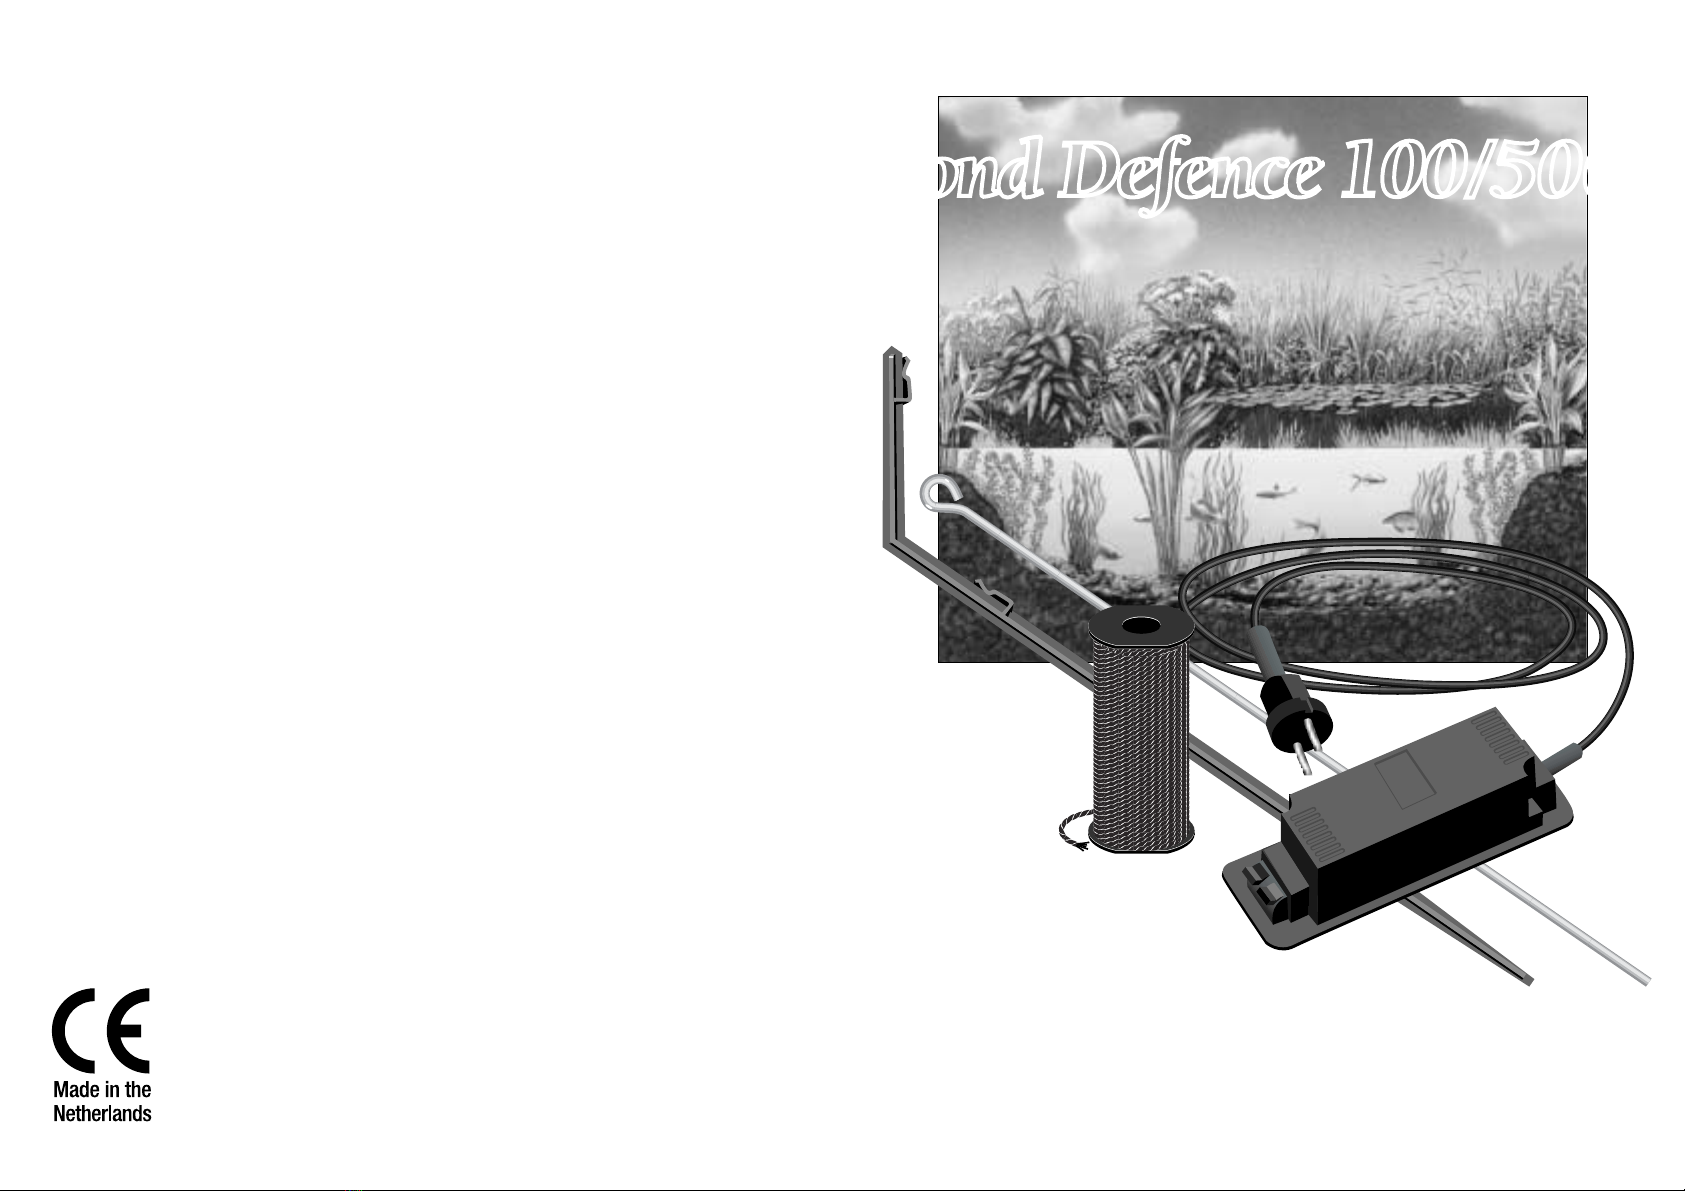
Pond Defence 100
1x Transformer (A)
1x Rubber insulation mat
1x Red cable, 2 metres
1x Green cable, 2 metres
1x Metal earth rod (B)
10x Plastic fence post (C)
1x 100 metres black electric fence wire
1x Plastic bag containing 1 bolt, 1 nut, 3 washers, 2 screws and 3 red wire connectors (D)
For the Pond Defence 500: 500 metres electric fence wire and 50 plastic fence posts.
Operation
The Pond Defence system protects your pond and fish from predators such as herons, cats and dogs.
A wire stretched around the pond gives unwanted visitors a mild electric shock by means of the transformer.
This harmless shock will startle the heron, cat or dog, which will flee and not return a second time.
Safety
1. Always switch off the power supply during maintenance/installation/dismantling of the device and
when carrying out maintenance work on your pond.
2. Draw visitors’ attention – especially children – to the presence of the Pond Defence system.
3. Pay careful attention to the installation guidelines described below.
4. Do not use the Pond Defence system if you notice any damage or defects.
5. Never immerse the Pond Defence system and/or accessory parts under water.
6. Permanent connections to the mains voltage must comply with the installation regulations of the
local electricity company. In case of doubt about the connection, a registered electrician or the
electricity company should be consulted.
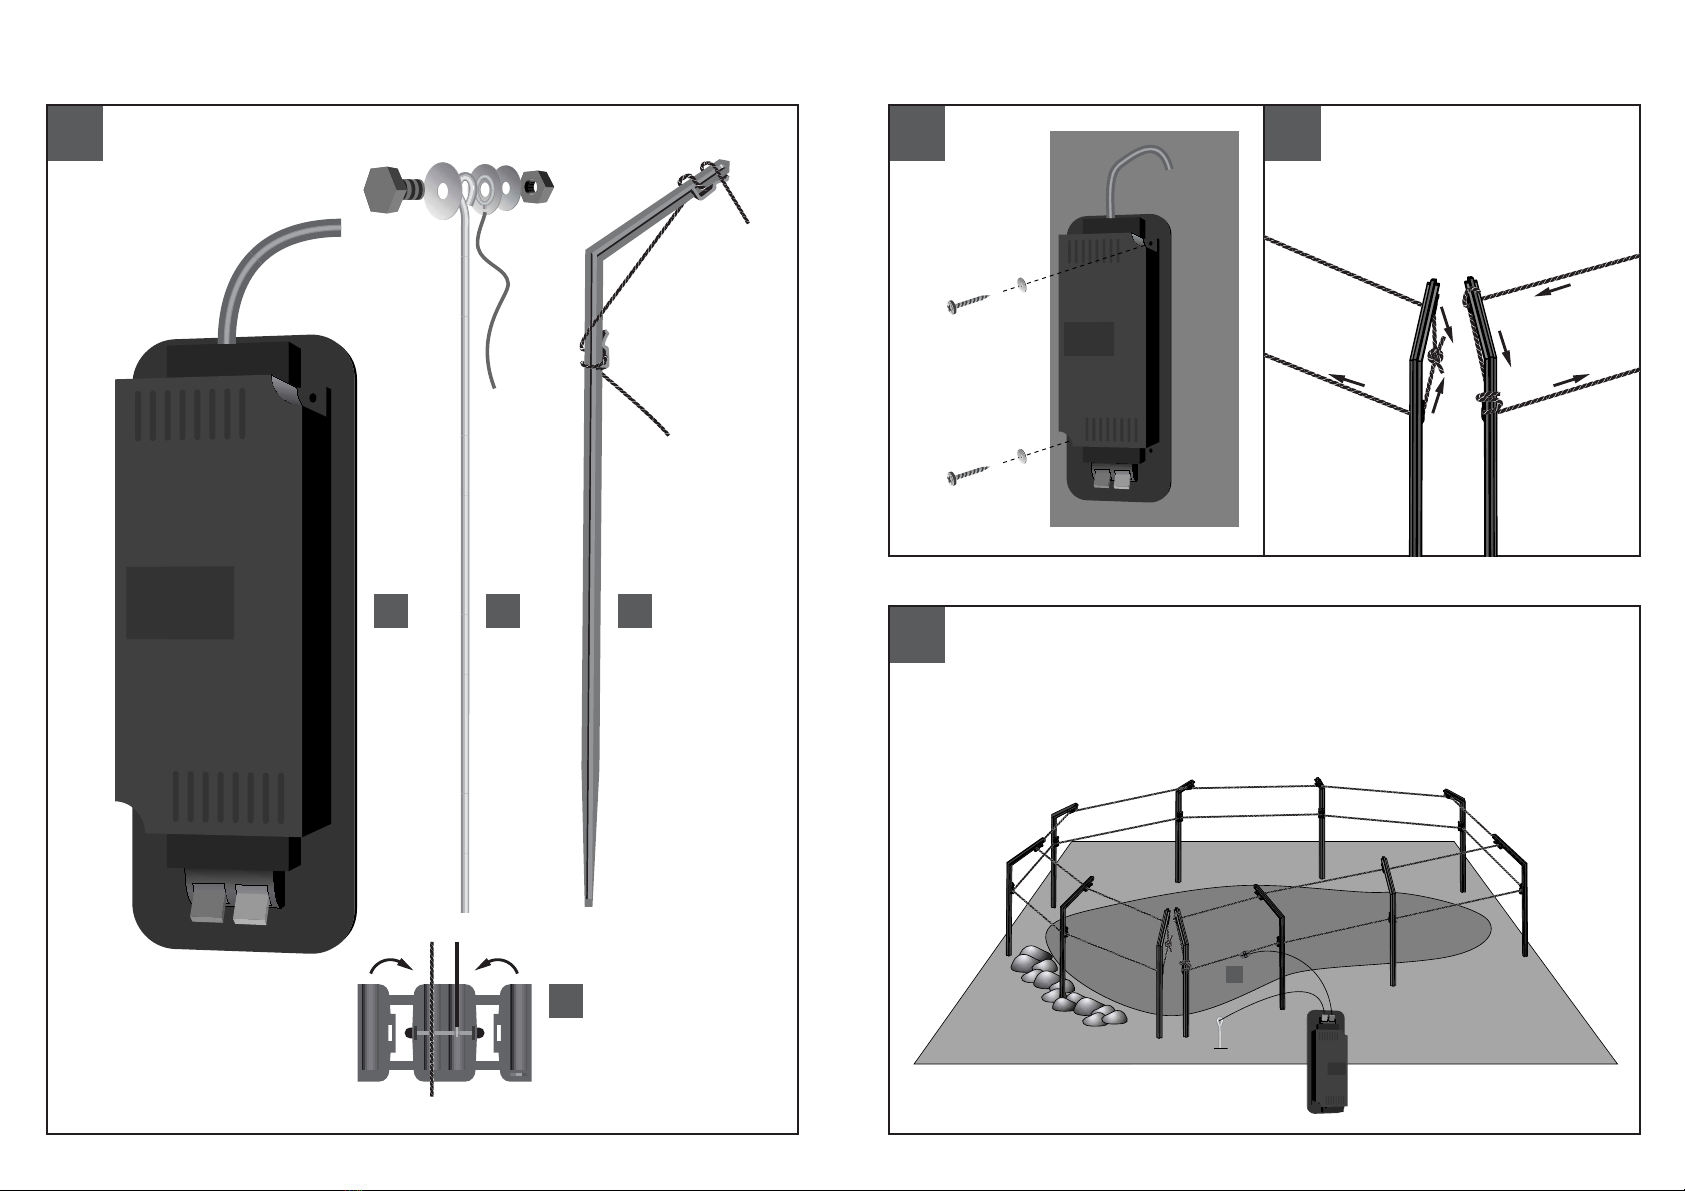
Installation
Choose a suitable location for the transformer. The transformer should be mounted vertically in a clean,
dry weatherproof area, or indoors, with the clamps facing downwards. It is extremely important that
the rubber insulation mat supplied with the set is located between the transformer and the attachment
surface (see drawing 2). Then hammer the metal earth rod into the ground near the electric fence wire,
at a maximum distance of 1.5 metres from the transformer, until the eye of the earth rod protrudes
about 5 cm above the ground. (TIP: to ensure good operation, it is advisable to pour several litres of
water over the metal earth rod after inserting it in the ground. This will improve the conductivity
considerably. When doing this, make sure that the earth rod is not yet connected to the transformer).
Determine the position where you want to place the black plastic fence posts. Place one of the plastic
fence posts at a maximum distance of 1.5 metres from the transformer. Do not place the plastic fence
posts more than 5 metres away from each other. The fence posts should be positioned so that the top
of each fence post is pointing towards the middle of the pond (see drawing 4). As soon as the fence
posts are in position you can attach the electric fence wire. First, attach the electric fence wire to the
upper clamps on the fence posts. When this has been done, wrap the electric fence wire once around
the last clamp and then run the wire to the lower clamp (see drawing 3). Here you again wrap the
wire around the clamp and then run it along the lower clamps of the fence posts. Never cut the wire
into two pieces! If a length of wire is left over after completing the installation, cut the excess length off
and tie the ends in a knot (see drawing 3). Make sure that the wire is not in contact with plants,
shrubs, etc. or the ground at any point.
First, attach the green wire to the eye of the metal earth rod with the nut and bolt (see drawing 1B). Unlike
the red wire, this green wire may run over the ground and can be shortened if required.Then the red wire
is run to the black electric fence wire and attached with a red wire connector (see drawing 1D) to the
electric fence wire. This red wire must run, loosely tensioned and approximately 20 cm above ground
level, from the transformer to the electric fence wire and may also be shortened. Lastly, connect the
green wire to the black clamp ( ) and the red wire to the red clamp ( ) of the transformer.
Your Pond Defence system will start to operate as soon as you insert the plug into the socket outlet!
Special note! If you intend installing the Pond Defence system in an area adjacent to a public highway,
you are obliged to comply with specific warning regulations. These regulations differ between countries.
Should they be applicable in your country, we recommend that you make enquiries with the regulatory
authorities regarding the regulations that you must comply with. Make sure that no other electric
fence wire is installed in the immediate vicinity of your Pond Defence system. Two electric fences in
close proximity may cause mutual interference.
Technical specifications
Pond Defence 100 Pond Defence 500
Mains voltage 230V/50Hz 230V/50Hz
Output voltage (approx.) 6000-6500V 7000-7500V
Power consumption ~ 0.2W ~ 1 W
Terms of warranty
The product comes with a warranty against manufacturer defects for a period of 24 months from the
date of purchase. Warranty claims will be considered only when the product is returned carriage paid
accompanied by valid proof of purchase. Repairs under warranty may only be made by the supplier.
Warranty claims caused by installation or operating faults will not be considered. Defects that arise as
a result of improper or inadequate maintenance are likewise not covered by the warranty. The supplier
accepts no liability whatever for any losses, costs or other claims arising from incorrect use of the product.
The supplier cannot be held liable for consequential loss or damage caused by failure of the device.
Claims based on damage sustained during transport will only be accepted when the damage is
established or confirmed upon delivery by the carrier or the Post Office authorities. Claims made after
delivery will make it impossible to initiate recovery claims against the carrier or the Post Office authorities.
GB
Pond Defence 100/500