manuals.online logo
Brands
  1. Home
  2. •
  3. Brands
  4. •
  5. Ponpe
  6. •
  7. Measuring Instrument
  8. •
  9. Ponpe 8602 User manual

Ponpe 8602 User manual

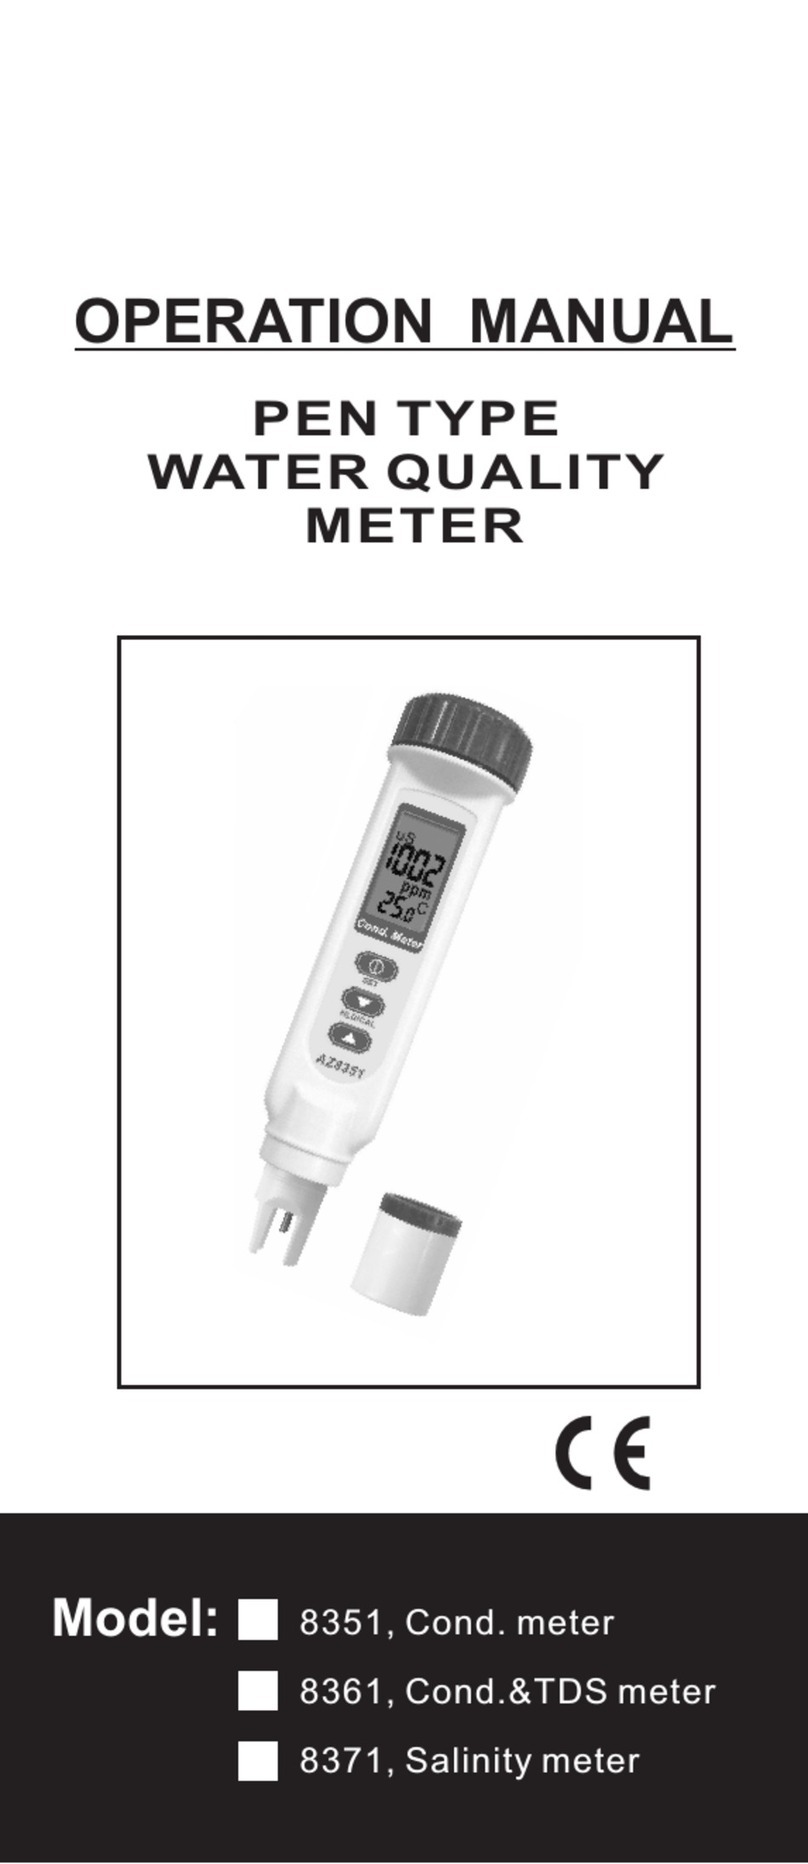
OPERATION MANUAL
IP67 COMBO
PH/CONDUCTIVITY/
SALINITY/D.O.
METER
8602
8603
Model:
Page
INDEX
INTRODUCTION
MATERIAL SUPPLIED
POWER SUPPLY
KEY PAD OPERATION
LCD DISPLAY
OPERATION
PH MEASUREMENT
CONDUCTIVITY MEASUREMENT
SALINITY MEASUREMENT
DISSOLVED OXYGEN MEASUREMENT
RECALL MODE
MEMORY RECORD
1
1
2
5
6
7
7
3
7
8
8
2
SET UP
P10 Memory Clear- Clr adjustable
P20 PH Electrode Slope Review
P30 Cond. Calibration Review
P40 Cond. Cell Constant Review
P60 DO Review and Set parameters adjustable
P70 Temperature unit adjustable
P90 Reset Default Adjustable
CALIBRATION PH probe
CONDUCTIVITY CALIBRATION
DO % SATURATION CALIBRATION
PROBE MAINTENANCE
PH probe maintenance
COND probe maintenance
DO probe maintenance
TROUBLE SHOOTING
RETURN AUTHORIZATION
17
19
22
23
28
29
24
13
16
15
23
23
29
13
9
10
11
12
Temp. Display change (only 8603) 9
OTHER PRODUCTS 30
SPECIFICATION
WARRANTY 29
INTRODUCTION
1
●Large LCD with multiple parameters
display : PH, Conductivity, Salinity,
D.O. and temperature. (Displayed
parameter is decided by probe type)
●IP 67 Waterproof.
●Auto temperature compensation.
●Multiple points calibration.
●Manually altitude compensation and
salinity compensation function
for D.O. measurement.
●99 points memories w/recall function.
●Easy replacement probes.
o o
●Temp. unit C/ F is switchable.
●1 hour auto power off.
●Application:
-Excellent to use in fresh water aqua farm.
-Excellent to use in sea water aqua farm.
Thank you for purchasing Multi-function
waterproof pH/Cond./Salt/D.O. meter.
Please read this manual thoroughly
before operating your meter.
Features:
MATERIAL SUPPLIED
A basic package contains:
-Meter x1pc
-Battery x 6pcs
-Operation manual x 1pc
-Hard carry case x 1pc
-Probe (probe type & Qty is depended
on your ordering p/n)
Probes for this series:
-pH probe
-Conductivity probe
-D.O. Probe (w/maintenance accessory)
2
The meter is powered by 6pcs AAA
batteries. If any of the following
situations occurred, please check the
battery power, polarity and contact:
1. Brand new meter and first time using.
2. When the battery low icon appears on
the LCD.
3. When you can not turn the power on.
-Press this key to switch the
meter ON/OFF.
-In the normal mode, press >1 sec to
enter SET mode.
-Press to switch between
“normal”and“calibration”.
-In calibration, setting or recall mode,
press to return to normal mode.
-Press to switch between
CON(us) or Salt (ppt) unit.
-Hold down this key more than 2
seconds to read memory value.
-Press to switch between
D.O.in% or D.O.in mg/l(ppm).
-Press to increase the setting value in
SET mode.
-Press to save the current
reading.
-Press to decrease the setting value
in SET mode.
POWER SUPPLY
KEY PAD OPERATION
3
-Press to confirm the
calibration or parameter
setting.
LCD DISPLAY
1.The pH value will be displayed on the
left side of the LCD
2.The temperature value will be displayed
in the upper right corner of the LCD.
3.The MEMO number which is the total
number of records saved in the meter
will be displayed in the lower right corner
of the LCD
OO
C
PH
TEMP
MEMO
ATC
Conductivity probe
4.The conductivity value will be displayed
on the left side of the LCD. The Temp.
value will be displayed on the upper
right corner.
5.The temperature value will be
displayed in the upper right corner
of the LCD.
6.The MEMO number which is the total
number of records saved in the meter
will be displayed in the lower right
corner of the LCD.
OO
CC
CONCON
TEMPTEMP
MEMOMEMO
uSuS
ATCATC
LCD DISPLAY
8602
PH probe
OO
C
PH
CON
DD
TEMP
mg (ppm)
ATC
uS
OO
C
TEMP
MEMO
mg/l
OO
ATC
7.The DO value will be displayed on the
left side of the LCD.
8.The temperature value will be
displayed in the upper right corner of
the LCD.
9.The MEMO number which is the total
number of records saved in the meter
will be displayed in the lower right
corner of the LCD.
4
10.The pH value will be displayed on the
upper left corner of the LCD.
11.The temperature value will be
displayed on the upper central part of
the LCD.
12.The DO value. will be displayed on
the lower left corner of the LCD.
13.The COND value will be displayed on
the lower central part of LCD.
14.The auto temperature compensation
icon (ATC) will be displayed on the
right side of the LCD.
DD
D.O. probe
8603
PH /Conductivity/ D.O.probes
5
Note: Please turn the power off before
replace the probe. Turn the power on
after the probe is plugged and screw
tightly.
START UP
1.Install the batteries into the meter.
2.There are three probes which can be
connected to the meter. PH probe with
black connector, COND. probe with
blue connector, D.O. probe with
green connector.
Temp Ph Temp Cond
Temp D.O.
The charts below indicates the electrode
and temperature sensor location.
There is guide way design between the
probe plug and the meter connect to
help you easily install the probe by
plug the probe with the aligned guide
way, then put the probe guard on and
screw it tight moderately.
OPERATION
6
Top view
Probe connect port
8602
8603
COND probe port
DO probe port
PH probe port
This meter is designed with an
automatic temperature compensation
feature.
Please remove the pH electrode soaker
bottle on the electrode before use.
Step 1
Rinse the probe with de-ionized or
distilled water before use in order to
remove any impurities adhering on
the probe. If the electrode is
dehydrated, soak it for 30 minutes in
KCl solution before taking the reading
Step 2
Press power on key.
Step3
Dip the electrode into the sample, the
electrode must be completely
immersed into the sample. Stir the
probe gently to create a homogenous
sample and shorten the stabilizing
time.
Step4
Wait until the reading is stabilized.
PH MEASUREMENT
PH
COND.
D.O .
PH
COND.
D.O .
7
Please remove the Cond. electrode
protective cap from the probe before
use.
Step 1
Rinse the probe with de-ionized or
distilled water before use to remove
any impurities adhering on the
electrode. If the meter is not used for
a long time, please soak the probe in
clear water for more than 30 minutes to
eliminate the inert effect of the probe.
Step 2
Press the power on key.
Step 3
Dip the probe into the sample. Make
sure there is no air bubbles trapped in
the slot of the probe. Gentle stir the
probe to remove the air bubbles,
Making sure the electrode tips is
totally immersed in the testing sample.
Step 4
Wait until the reading is stabilized.
CONDUCTIVITY MEASUREMENT
SALINITY MEASUREMENT
Under normal mode, please connect
the Cond. probe to the meter. Press EC
SALT key to switch to SALT ppt unit.
Please follow the conductivity
measurement as step 1~4 above to
take the salinity measurement.
DISSOLVED OXYGEN MEASUREMENT
Pleas remove the DO electrode
protective cap on the electrode before
use.
Step 1
Press the power on key.
It might take a few minutes to about 1
hour for the meter to have a stable
D.O. reading in the air. The D.O.will be
displayed on LCD with mg/l unit.
Step 2
Dip the probe into the sample. Making
sure the electrode tips is totally
immersed when you stir it.
Step 3
Wait until the reading is stabilized.
You can press “% mg/L” key to switch
measurement unit to % .
In the normal mode, press MEM key
can memorize up to 99 points records.
The MEMO number will be displayed
on the screen. “FUL” on the screen
when the 99 points memory is full.
NOTE: DO value in % unit can’t be
memorized , Please switch to mg/l
(ppm) mode before proceed memory
recording.
To enter RECALL ( REC) mode, press
and hold RECALL key for more than
one second in the measurement mode,
then press△ or ▽ to view memorized
data in rounds( Fig 18). Press ESC
key for more than one second to return
to normal mode.
8
MEMORY RECORD
RECALL MODE
OO
C
PH
CON
DO
TEMP
ATC
uS
MEMO
O
O
C
DO
TEMP
MEMO
mg/l
ATC
This meter has the advanced setup
mode which allows you to customize
and check your meter's preferences
and defaults.If you would like to
change the parameters, please press
“SET” for more than 2 sec. to enter
the setup mode when the meter is in
the measurement mode.
NOTE:
To exit the function without saving in
the setup mode, press the CAL/ESC
key until the measurement mode
appears. If the meter is under the
setting value status, press the
CAL/ESC key twice to exit.
SETUP
9
8602 fig 18 8603 fig 18
In normal mode, press enter to
switch temperature display of
different probes. The TEMP icon
will blink with a second parameter,
like DO, COND, or pH on the LCD.
Then the temp column shows the
current temperature from the probe
with blinking icon. For example,
when TEMP and DO icons are
blinking, the temperature reading
on the TEMP column means the
measured temperature status comes
from D.O. Probe.
Temp. Display change (only 8603)
The table below shows the programable
functions of each probe .
10
P10 Memory Clear-CLr (a dju sta ble)
To clear the stored data from meters.
1.Enter setup mode to select memory
clear function. CLr P10 will be
displayed on the LCD (Fig 1)Press
ENTER for P11 setting (Fig 2). The
default “no” icon will be flashed on the
display and P11 will be displayed on
the upper part of the screen.
2.Press △ or ▽ key to change the status
from no to YES (Fig 3), press ENTER
key again to confirm to clear all memory.
The LCD will return to P10 when
memories are deleted. ( Fig 1)
NOTE:
The memo ry clear option is designed
to clear 99 memories at once. Please
consider carefully if you decide to
clear the memory. This operation can
not be recovered
The clearing function only delete the
current using probe records. For
example: in mode 8602 if the ph probe
is currently used, it only delete the ph
records in the memory. If the dissolved
oxygen is plugged, then only the
dissolved oxygen records will be deleted.
In model 8603,press yes to clear memory
will delete all records of the 3 parame ters
saved in the meter.
Parameters PH COND DO
P10 Memory Clear-CLr adjustable V V V
P20 PH Electrode Slope Review V
P30 Cond. Calibration Review V
P40 Cond. Cell Constant Review V
P60 DO Review and Set param eters adjustable V
P70 Tem per ature unit setting adjustable V V V
P90 Reset to Default Setting Adjustable
11
To view the pH electrode data (slope
value).
1. Enter setup mode, press △ or ▽ key
to enter the ELE P20 (Fig 4) display.
2. Press ENTER to view P22, the slope
value will be displayed on LCD, same
as P23 (Fig 5). As maximum 3 PH
calibration points is allowed in this
meter so the user can review two
slopes value. If the value is <75% or >
115%, it is suggested to change
electrode immediately.
P20 PH Electrode Slope (Review)
PH
PH
8602 Fig.4 8603 Fig.4
8602 Fig. 1
8602 Fig.2
8602 Fig.3
8603 Fig.1
8603 Fig.2
8603 Fig.3
CON
CON
CON
CON
CON
CON
uS
CON
uS
PH
%
PH
%
12
8602 Fig.5 8603 Fig.5
Press △ or ▽ key in the setup mode to
check the CAL P30 calibration
message.(Fig 6)This feature is only to
facilitate the user to view the previous
conductance calibration message
-Press ENTER key, to enter the
calibration information screen with
P32 . P33. P34. P35 CON. uS or mS
calibration information.(Fig 7)P32 will
display calibration information in
Range1. P33 will display calibration
information in Range 2.…P35 will
display calibration information in
Range 4. Press ENTER key to return
to CAL 30 screen.(Fig 6)
P30 Cond. Calibration (Review)
8602 Fig.6 8603 Fig.6
8602 Fig.7 8603 Fig.7
CON
CON
CON
Press △ or ▽ key in the setup mode to
check CEL P40 display(Fig 8). Press
ENTER key to enter P42. P43.P44 and
P45 screen (Fig 9) and review each
range cell constant. Press ENTER key
again to return on the CEL P40 screen.
(Fig 8)
8602 Fig. 8
8602 Fig.9
8603 Fig.8
8603 Fig.9
P40 Cond. Cell Constant (Review)
13
P60 DO Revie w and Set parameters adjusta ble
Press △ or ▽ key in the setup mode to
enter COE P60 screen (Fig 10). When
the monitor is under DO screen. Press
ENTER key to display P61 and review
previous DO calibration temperature
(Fig 11). Then press “ENTER” into P62
ppt, the value will be flashed on the
screen (Fig 12 ). You can manually
enter the salinity compensation.( Use
salinity value measured by the
conductivity probe). Press△ or ▽
to adjust the salinity value. The value
can be adjusted from 0.0 to 42.00ppt.
CON
DO
ppt
DO
ppt
OO
C
DO
OO
C
DO
DO
DO
DO
M
DO
M
14
Press Enter to confirm. then enter
P63M to measure height from sea level
with manually enter compensation
(Fig13). The value will be flashed on
the screen. You can manually enter △
or ▽ key to adjust from 0~3500M (100
M per step),press ENTER to confirm
and return to COE P60 screen.(Fig 10)
8602 Fig.10 8603 Fig.10
8602 Fig.11 8603 Fig.11
8602 Fig.12 8603 Fig.12
8602 Fig.13 8603 Fig.13
.
P70 Temperature unit adjustable
15
This function allows you to select the
unit of the temperature:
1. Press △ or ▽ key in the setup mode
to enter the temperature unit P70
screen. Press the ENTER key to select
temperature unit setting.“unt”will
display on the left side of the screen
( Fig 14 )
2. At P70 screen, press ENTER key to
enter P71.
The default "C" will be flashed on the
main screen.
(Fig15). If the unit you need is degree
oC, press ENTER key to confirm.
O
3. If the unit you desired is degree F,
press△or ▽ key to change the C to F
and then press ENTER key to confirm.
The meter will return to P70 screen
(Fig 14)
8602 Fig.14
8602 Fig.15
8603 Fig.14
8603 Fig.15
PH
DO
PH
DO
P90 Reset to Default Adju stable
Use this option to reset the meters to
the factory default setting.
Press △or ▽ in the setup mode to
enter the r St P90 screen and select
the reset to default setting (Fig 16)
1.At P90 screen, press Enter key to
enter P91.The default set " no " icon
will be flashed on the main screen.
(Fig 17) If you do not desire to reset
to the default setting, press Enter key
to confirm.
2.If you would like to reset the meter to
its factory default setting, press △or
▽ to switch the icon from “no” to “YES”
and then press ENTER key to confirm.
The screen will return to P90 screen.
(Fig 16)
8602 Fig.16
8602 Fig.17
8603 Fig.16
8603 Fig.17
16
Parameters Default Setting Value
P10 Memory Clear-CLr adjustable No.
P20 PH Electrode Slope Review 100%
P30 Cond. Calibration Review 146.6uS,1413uS
12.88mS, 51.5mS
P40 Cond. Cell Constant Review 1.00
P60 DO Review and Set parameters
adjustable
250C, 0ppm, 0Meter
P70 Tem perature unit setting adjustable Degree ℃
P90 Reset to Default Setting Adjustable No
17
Rinse the electrode in de-ionized water
or pure water. DO NOT wipe the pH
probe dry. Wiping the probe may cause
static and cause calibration and
measurement instability.
CALIBRATION
PH probe
Selecting the valid buffer will help the
meter to recognize the buffer and
calibrate the probe precisely. Please
clear the electrode with de-ionized
water or detergent, and follow the
procedures for PH calibration value
setup.
The Ph calibration procedure is as
followings:
Insert the PH probe into the meter.
1. Power on the meter
2. Pour PH buffer into a clean container
and put the electrode into buffer.
Suggest to start from middle range
buffer, such as pH7.01
3. Make sure the pH electrode is
completely immersed in buffer.
In model 8603, first select the probe type
you want before entering calibration
mode. To select the probe type, simply
press “ ENTER “ to select, a flashing icon
or or will appear with each
press.
PH
CON
DD
PH
TEMP
OO
C
PH
CAL
PH
TEMP
OO
C
PH
4. Press CAL/ESC key to enter
“ calibration” mode.
5. Once the probe auto recognize the
pH buffer. For example, 7.01, the “CAL”
and 7.01 will flash. (Fig 19)
6. If the auto recognized value is different
from your standard buffer, pressing
△ or ▽ key to adjust.
7.Wait for 30 seconds or pressing ENTER
key, SA ( Fig 20) will be displayed on the
LCD to indicate the calibration is saved.
8. Repeat step 1~7 to do 4.01 & 10.01
calibration.
8602 Fig.19
8602 Fig.20
8603 Fig.19
8603Fig.20
18

This manual suits for next models

1

Other Ponpe Measuring Instrument manuals

Ponpe 8680 User manual

Ponpe

Ponpe 8680 User manual

Ponpe 7701 User manual

Ponpe

Ponpe 7701 User manual

Ponpe 7752 User manual

Ponpe

Ponpe 7752 User manual

Ponpe 8916 User manual

Ponpe

Ponpe 8916 User manual

Ponpe 8252 User manual

Ponpe

Ponpe 8252 User manual

Ponpe 8908 User manual

Ponpe

Ponpe 8908 User manual

Ponpe 8351 User manual

Ponpe

Ponpe 8351 User manual

Popular Measuring Instrument manuals by other brands

Postea QubeVu DimStation quick start

Postea

Postea QubeVu DimStation quick start

RS PRO RS-136 instruction manual

RS PRO

RS PRO RS-136 instruction manual

Fluke CertiFiber Pro Getting started guide

Fluke

Fluke CertiFiber Pro Getting started guide

Heyuan Intelligence DZ81-MA3UI5C user manual

Heyuan Intelligence

Heyuan Intelligence DZ81-MA3UI5C user manual

Onicon FT-3000 Series manual

Onicon

Onicon FT-3000 Series manual

IFM Electronic efector300 SD5000 operating instructions

IFM Electronic

IFM Electronic efector300 SD5000 operating instructions

Seres OL TOPAZ Total Alkalinity Operator's manual

Seres OL

Seres OL TOPAZ Total Alkalinity Operator's manual

TSI Instruments DP-CALC 5825 Operation and service manual

TSI Instruments

TSI Instruments DP-CALC 5825 Operation and service manual

Sealey DBG5011 instructions

Sealey

Sealey DBG5011 instructions

SISCO SKY8000 user manual

SISCO

SISCO SKY8000 user manual

Amprobe THWD-5 user manual

Amprobe

Amprobe THWD-5 user manual

DIEBOLD HSK-25 user manual

DIEBOLD

DIEBOLD HSK-25 user manual

Tegam R1M-A Operation and maintenance manual

Tegam

Tegam R1M-A Operation and maintenance manual

Changzhou Tonghui Electronic TH2638/A Operation manual

Changzhou Tonghui Electronic

Changzhou Tonghui Electronic TH2638/A Operation manual

Bosch Professional GLM 50-22 Original instructions

Bosch

Bosch Professional GLM 50-22 Original instructions

iSystem iC5000 Hardware reference

iSystem

iSystem iC5000 Hardware reference

SBS SBS-2003 instruction manual

SBS

SBS SBS-2003 instruction manual

Svantek SV105 instruction manual

Svantek

Svantek SV105 instruction manual

manuals.online logo
manuals.online logoBrands
  • About & Mission
  • Contact us
  • Privacy Policy
  • Terms and Conditions

Copyright 2025 Manuals.Online. All Rights Reserved.