manuals.online logo
Brands
  1. Home
  2. •
  3. Brands
  4. •
  5. Portfolio
  6. •
  7. Spotlight
  8. •
  9. Portfolio 00699 User manual

Portfolio 00699 User manual

PACKAGE CONTENTS/CONTENIDO DEL PAQUETE
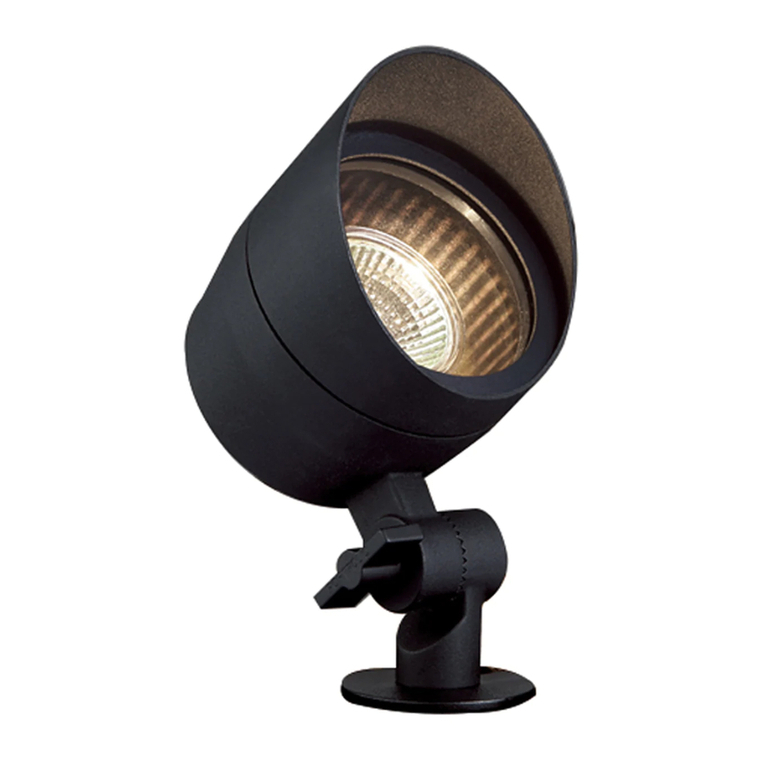
SPOT LIGHT
LUZ DIRECCIONAL
ITEM/ARTÍCULO #0475573,0475575
MODEL/MODELO #00694, 00699
Serial Number/Número de serie
Purchase Date/Fecha de compra
ATTACH YOUR RECEIPT HERE
ADJUNTE SU RECIBO AQUÍ
A
B
x 1
Spotlight Head
Cabezal de la luz
direccional
x 1
Connector
Conector
x 1
Stake
Estaca
C
AB171034
Printed in China
Impreso en China
CARE AND MAINTENANCE/CUIDADO Y MANTENIMIENTO
TROUBLESHOOTING/SOLUCIÓN DE PROBLEMAS
WARRANTY/GARANTÍA
• f or removing the fuse
from the fuse box./Antes de intentar limpiar la lámpara, desconecte la alimentación de la lámpara apagando el interruptor de
circuito o retirando el fusible de la caja de fusibles.
•
húmedo.
•
limpiadores con químicos, solventes ni abrasivos fuertes ya que pueden dañar la lámpara.
•
lámpara es de 5 vatios; no intente reemplazar las bombillas LED.
lámpara es de 6 vatios; no intente reemplazar las bombillas LED.
the date of purchase. If within this period the product is found to be defective in material or workmanship, the product must
be returned, with a copy of the bill of sale as proof of purchase, to the original place of purchase. The manufacturer will, at its
incidental or consequential damages. As some states do not allow exclusions or limitations on an implied warranty, the above
from state to state.
El fabricante garantiza la ausencia de defectos en los materiales o en la fabricación de todos sus accesorios de iluminación
durante un período de cinco años a partir de la fecha de compra. Si dentro de este período el producto presenta defectos en el
material o la mano de obra, se debe devolver el producto, junto con una copia del recibo de venta como prueba de la compra,
al lugar donde se compró. El fabricante, a su elección, reparará, reemplazará o devolverá el monto de la compra al comprador
original. Esta garantía no cubre daños en el ensamble debido a mal uso, daño accidental, manipulación o instalación
algunos estados no permiten exclusiones o limitaciones en una garantía implícita, las exclusiones y limitaciones anteriores
el estado.
PROBLEM
PROBLEMA
POSSIBLE CAUSE
CAUSA POSIBLE
CORRECTIVE ACTION
ACCIÓN CORRECTIVA
The light does not
turn on at night./La
luz no se enciende
al anochecer.
1. The transformer is not plugged in or turned
on./El transformador no está enchufado o
encendido.
2. The contact pins inside the connector
are not piercing or making contact with
the copper inside cable. /Las clavijas de
contacto al interior del conector no perforan
ni hacen contacto con el cobre al interior del
cable.
1. Make sure the transformer is plugged in and
turned on./Asegúrese de que el transformador esté
enchufado y encendido.
2.Unscrew the connector and re-align so that the
contact pins pierce and make contact with both sides
of the low voltage cable./Desatornille el conector y
vuelva a alinearlo, de modo que las clavijas de
contacto perforen y hagan contacto con ambos lados
del cable de bajo voltaje.
Questions?/¿Preguntas?
Call customer service at 1-800-643-0067,
8 a.m. - 6 p.m., EST, Monday - Thursday,
8 a.m. - 5 p.m., EST, Friday.
Llame a Servicio al Cliente al 1-800-643-0067, de
lunes a jueves de 8 a.m. a 6 p.m., y los viernes de
8 a.m. a 5 p.m., hora estándar del Este.
1
4
PORTFOLIO®and PORTFOLIO & Design™ are
trademarks or registered trademarksof LF, LLC.
All rights reserved.
PORTFOLIO®y PORTFOLIO & Design™ son
marcas o marcas registradas de LF, LLC.
Todos los derechos reservados.
ASSEMBLY INSTRUCTIONS/INSTRUCCIONES DE ENSAMBLAJE
yb)A(daehthgiltopsot)C(ekatshcattA.1
turning it clockwise. Then, insert assembly
into ground.
CAUTION:
and push into the ground. For ground with
hard soil, use a trowel (not included) to
loosen the soil. DO NOT use a hammer to
Fije la estaca (C) a la luz direccional (A)
girándola en dirección de las manecillas del
reloj. Inserte el ensamble en el suelo.
PRECAUCIÓN: NO ejerza presión sobre el cabezal de la lámpara
cuando instale la lámpara en el suelo. En lugar de ello, sostenga el
poste y entierre la lámpara en el suelo. Para suelos con tierra dura,
martillo para instalar esta lámpara.
2. Disassemble the connector (B) by
unscrewing the connector top cover (B1)
from the wire guide (B2).
Desensamble el conector (B)
desatornillando la cubierta superior del
conector (B1) de la guía para cables (B2).
3. Insert wire from low-voltage transformer
(sold separately) into the wire guide (B2)
by twisting the wire into each end of the
and straight in the wire guide (B2). Align
the pins on the connector top cover (B1)
so each pin lines up with opposite
sides of the wire. Securely tighten the
connector top cover (B1), making sure the
pins completely pierce the plastic shield of the wire.
Inserte el cable del transformador de bajo voltaje (se vende por
separado) en la guía para cables (B2) girando el cable en cada
extremo de la guía para cables (B2). Asegúrese de que el cable quede
plano y recto en la guía para cables (B2). Alinee las clavijas en la
cubierta superior del conector (B1), de manera que cada clavija
se alinee con los extremos opuestos del cable. Apriete bien la cubierta
superior del conector (B1) asegurándose de que las clavijas atraviesen
por completo la protección de plástico del cable.
WARNING/ADVERTENCIA
PREPARATION/PREPARACIÓN
CAUTION/PRECAUCIÓN
• edsametsisnocetnemacinúrasuaraP/.ylnosmetsysgnithgilepacsdnalegatlov-wolhtiwesuroF iluminación para el jardín de
bajo voltaje.
42,51edsonema,oenárretbusosuarapodañesidátseelbaclE/.peed.ni6nahtssel,lairubwollahsrofdednetnisieriwehT•
cm de profundidad.
,sanicsipedm50,3asonemlasairanimulsalsadotelatsnI/.niatnuofroaps,loopamorferomro.tf01serianimulllallatsnI•
spas o fuentes de agua.
.esrednerpnadeupeuqselairetamedadajelaallibmobalagnetnaM/.nrubyamtahtslairetammorfyawapmalpeeK•
• NO toque las micas calientes, protector, o carcasa del ensamble
alimentado.
•
pieza o si estas están dañadas.
•
puede dañar el ensamble.
• This product is not a toy and must not be operated by children.
Este producto no es un juguete y no debe ser manipulado por niños.
•
No conecte esta lámpara a un sistema eléctrico que no proporcione un medio de puesta a tierra para el equipo.
• Do not submerge in water. The product can be damaged.
No lo sumerja en agua, ya que puede dañar el producto.
• Use with 18 AWG minimum, underground low-voltage circuit cord.
Utilice con cable de circuito de bajo voltaje subterráneo de 18 AWG como mínimo.
Before beginning assembly of product, make sure all parts are present. Compare parts with package contents list. If any part is
missing or damaged, do not attempt to assemble the product.
Estimated Assembly Time: 5-10 minutes
Helpful Tools (not included): Trowel
Antes de comenzar a ensamblar el producto, asegúrese de tener todas las piezas. Compare las piezas con la lista del
contenido del paquete. No intente ensamblar, instalar o usar el producto si falta alguna pieza o si las piezas están dañadas.
Tiempo estimado de ensamblaje: 5-10 minutos
Herramientas útiles (no se incluyen): Llana
F
C
1A
SAFETY INFORMATION/INFORMACIÓN DE SEGURIDAD
Please read and understand this entire manual before attempting to assemble, operate or install the product.
Lea y comprenda completamente este manual antes de intentar ensamblar, usar o instalar el producto.
C
2
B
B1
B2
C
3
B
B2
C
23
B2
This manual suits for next models

1

Other Portfolio Spotlight manuals

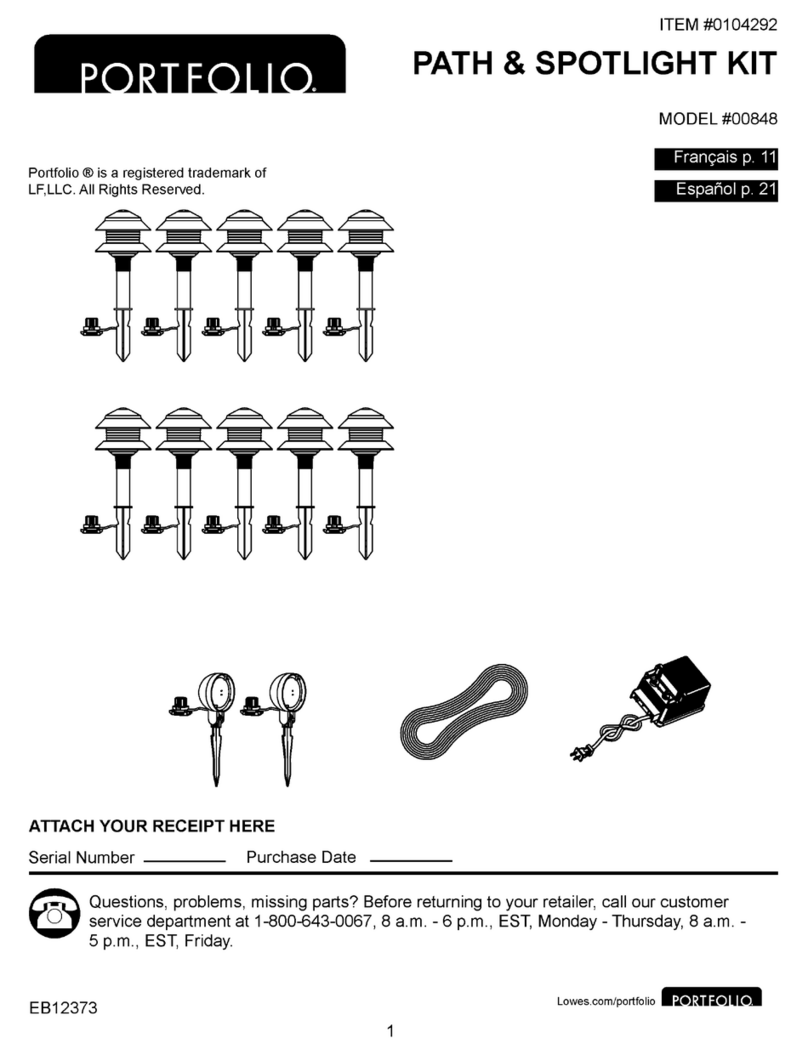
Portfolio FLBKS80101 User manual

Portfolio

Portfolio FLBKS80101 User manual

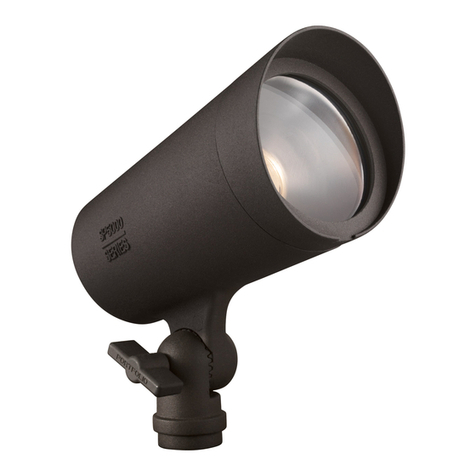
Portfolio SP2500-C Maintenance manual

Portfolio

Portfolio SP2500-C Maintenance manual

Portfolio 17837-001 User manual

Portfolio

Portfolio 17837-001 User manual

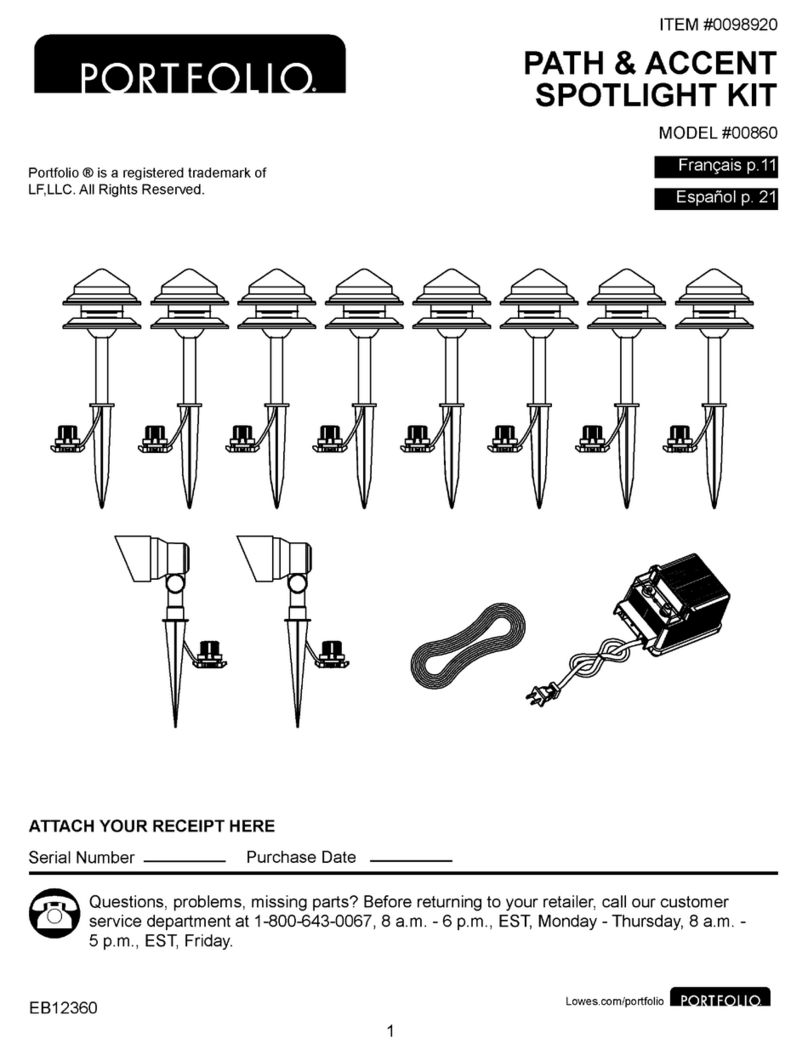
Portfolio 00860 User manual

Portfolio

Portfolio 00860 User manual

Portfolio 00848 User manual

Portfolio

Portfolio 00848 User manual

Popular Spotlight manuals by other brands

Claypaky STAGE PROFILE 1200 SV Converting instructions

Claypaky

Claypaky STAGE PROFILE 1200 SV Converting instructions

LIVARNO LUX HG03444B Assembly, operating and safety instructions

LIVARNO LUX

LIVARNO LUX HG03444B Assembly, operating and safety instructions

LIVARNO LUX 286954 Assembly, operating and safety instructions

LIVARNO LUX

LIVARNO LUX 286954 Assembly, operating and safety instructions

North Light MF-3072 instruction manual

North Light

North Light MF-3072 instruction manual

LIVARNO LUX LED SOLAR SPOTLIGHT Assembly, operating and safety instructions

LIVARNO LUX

LIVARNO LUX LED SOLAR SPOTLIGHT Assembly, operating and safety instructions

LIVARNO LUX 300283 Operation and safety notes

LIVARNO LUX

LIVARNO LUX 300283 Operation and safety notes

LIVARNO LUX 340494 1910 Operating information

LIVARNO LUX

LIVARNO LUX 340494 1910 Operating information

LIVARNO LUX LLES B2 manual

LIVARNO LUX

LIVARNO LUX LLES B2 manual

LIVARNO LUX 286860 Assembly, operating and safety instructions

LIVARNO LUX

LIVARNO LUX 286860 Assembly, operating and safety instructions

M-Elec NOX HIGHBAY manual

M-Elec

M-Elec NOX HIGHBAY manual

Mr. Beams MB380 user manual

Mr. Beams

Mr. Beams MB380 user manual

Nicols MOVELIGHT user guide

Nicols

Nicols MOVELIGHT user guide

NANLITE Forza 150 user manual

NANLITE

NANLITE Forza 150 user manual

Original BTC 7604 instruction manual

Original BTC

Original BTC 7604 instruction manual

Hunza BS/L installation instructions

Hunza

Hunza BS/L installation instructions

Ledino LED-FLAHP1003D quick start guide

Ledino

Ledino LED-FLAHP1003D quick start guide

Skystar THUNDER-60S user manual

Skystar

Skystar THUNDER-60S user manual

PROST LIGHTING UberPar user manual

PROST LIGHTING

PROST LIGHTING UberPar user manual

manuals.online logo
manuals.online logoBrands
  • About & Mission
  • Contact us
  • Privacy Policy
  • Terms and Conditions

Copyright 2025 Manuals.Online. All Rights Reserved.