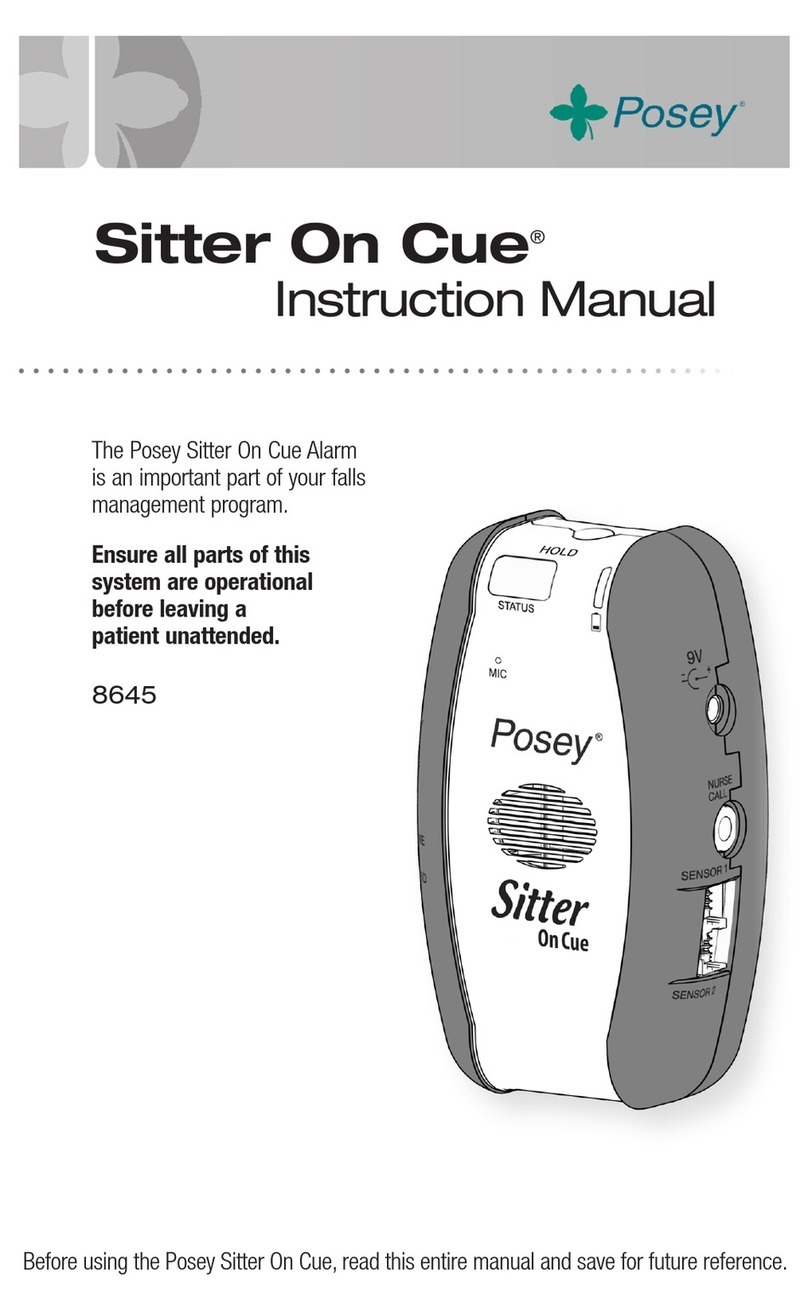
Posey Personal Alarm User manual

*Based on Continuous Alarm
The Posey Personal Alarm is designed
to alert you to the patient/resident’s
movement beyond a predetermined
distance. The alarm may be set to alarm in
one of five different tones. This allows you
to assign a specific tone to an individual
patient/resident. The distinct alarm
allows you to quickly identify which
patient/resident requires immediate
attention. In addition, having variable
tones to choose from lets you select a
tone that is unique from the other
alarms in your facility.
The Personal Alarmfeatures two
mounting options. It may be applied
to a wheelchair, geri-chair or bed
frame with its saddle mount; or it may
be applied directly to a surface such as
anightstand, headboard, or toilet with
the adhesive hook and loop attach-
ment. For your convenience, each
alarm is shipped with one strip of
adhesivebacked loop
for mounting.
FEATURES:
•Five alarm tone selections
•Alarm sound minimum 95db at
one foot
•Optional sound dampening plug
•Low battery light indicates battery
change needed (10% power
remaining)
•280 hours continuous alarm battery
life (Tone 1)
•Two mounting options for use in
bed, chair or bathroom
•Impact resistantplastic
•Adjustable cord: 31" - 60"
•Compact size: 2" x 4" x 1"
•Lightweight, 4 ounce unit
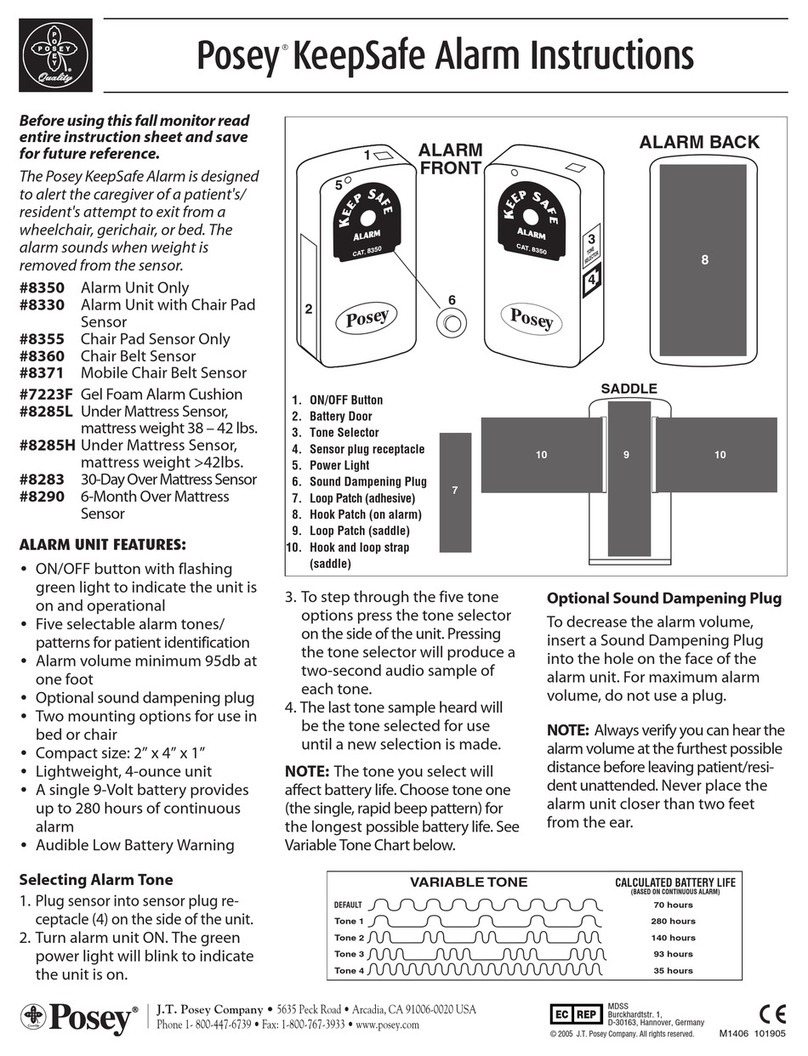
Tone Selection:
1. Tostep through the five tone
options press the tone selector on
the side of the unit.
2. When the magnet is engaged,
pressing the tone selector will
produce a two-second audio
sample of each tone.
Personal Alarm #8202L Instructions
3. Continue pressing the tone selector
until the desired tone is heard.
4. The last tone sample heard will be
the tone selected for use until a
new selection is made.
Note: The tone you select will affect
battery life. Choose tone one (the single,
rapid beep pattern) for the longest pos-
sible battery life. See Variable Tone
Chart below.
volume at the furthest possible
distance
3. If the alarm volume sounds weak
replace the battery
4. If the low battery light is
illuminated replace the battery
5. Check the cord for possible
entanglement. Besureit is the
appropriatelength toensuresafe
monitoring of each patient/
resident.
Before using this fall monitor read
entire instruction sheet and save
for future reference.
ALARM
FRONT
7
12
ATTACHMENT CORD
6
45
8
ALARM BACK
10
SADDLE
12 12
TONE
SELECTOR
3
9
11
1. Battery Door
2. Metal plate
3. Magnetic block
4. Sliding Adjuster
9. Loop Patch (adhesive)
10. Hook Patch (on alarm)
11. Loop Patch (saddle)
12. Hook and loop strap (saddle)
5. Clip
6. Tone Selector
7. Low Battery Light
8. Sound Dampening Plug
To avoid possible injury or death:
Pacemakers: The magnet on this
alarm unit CAN affect patient if
brought within 1 1/2 inches of the
pacemaker. Magnet contact could
cause the pacemaker to go into a
magnet mode prompting the pace-
maker to increase or decrease speed.
Defibrillators: Magnet contact
CAN STOP THERAPY! Ifthe patient
is in ventricular spasms, the magnet
suspends the signal and can cause
the defibrillator not to respond and
apply the needed therapy. Could
cause the patient to expire.
•This devicemaynot be suitable for
use with all “high fall risk” patients.
•This device should not be a substi-
tute for maintaining the routine
visual monitoring protocol by
healthcare personnel.
DEFAULT
Tone 1
Tone 2
Tone 3
Tone 4
70 hours
280 hours
140 hours
93 hours
35 hours
VARIABLE TONE
CALCULATED BATTERY LIFE*
Optional Sound Dampening Plug:
Todecrease the alarm volume, insert
the Sound Dampening Plug into the
hole on the face of the alarm unit. For
maximum alarm volume, do not use a
plug.
Note: Always verify you can hear the
alarmvolume at the furthest possible
distance before leaving patient/resident
unattended. Never place the alarm unit
closer than two feet from the ear.
Always verify system is working
properly before leaving patient/
resident unattended.
System Test:
1. Remove the magnet to activate
the alarm
2. Verify you can hear the alarm
M5047 101905
EC REP
MDSS
Burckhardtstr. 1,
D-30163, Hannover, Germany
J.T. Posey Company •
5635 Peck Road • Arcadia, CA 91006-0020 USA
Phone 1- 800-447-6739 • Fax: 1-800-767-3933 • www.posey.com
©2005 J.T. Posey Company. All rights reserved.

MOUNTING ALARM:
Saddle Mount–
1. Choose a secure location out of the
patient’s reach to attach the saddle, i.e.
leg of bed or bottom of wheelchair
frame at a juncture not likely to inter-
fere with the wheel of the chair (Fig. 1).
2. Wrap the saddle strap firmly and securely
around the wheelchair or bed frame.
3. Be sure the saddle is securely in place
and will not move.
4. Attach the alarm to the saddle (Fig. 2)
by mating the hook (10) and loop (11).
5. Press the alarm firmly in place (Fig. 3).
Fig. 6 - Chair Application
Fig. 5 - Bed Application
Fig. 4 Headboard Mount
4. Press the hook (rough) patch (10) on
the back of the alarm firmly to the
loop patch on mounting surface.
CONNECTING PATIENT/RESIDENT:
The Posey Personal Alarm may be used to
monitor a patient/resident in bed (Fig. 5),
in a wheelchair (Fig. 6) or in the
bathroom.
1. To connect patient, determine safety
zone range, adjust cord length with
slide adjuster (4). Cordadjusts from 31
inches to 60 inches in length.
MAINTAINING HOOK AND LOOP:
If hook and loop does not adhere, it is most
likely due to collection of dust and lint.
Clean hook by brushing with a stiff brush.
To avoid possible injury or death:
It is the caregiver’s responsibility to
select the appropriate cord length for
each patient. All of the following should
be considered:
•Cordshould belong enough to allow
moderate movement to enhance
sleep comfort, yet shortenough to
activate the alarm and notify caregiv-
er that the patient has left the prede-
termined safe range of mobility.
•Ifthe alarm is mounted on the wall the
extra distance from the headboard to
the wall must be considered.
•If the bed is elevated or lowered, cord
length should be changed accordingly.
A cordthatis too short to accommo-
date movement may result in a "false
alarm". A cord that is too long could
allow the patient to move beyond the
predetermined safe range of mobility.
•Ensure the cord is free to pull straight
out from the monitor and is not blocked
bypillowsor beddings, and is not entan-
gled in the siderails or headboard.
•Always verify alarm is properly
mounted and working properly
before leaving patient unattended.
•When used in conjunction with siderails,
besurecord length accommodates
the siderails and is not subject to
entanglement.
LIMITED LIFETIME WARRANTY:
The Posey Company warrants, to the
original purchaser, this alarm unit to be
free from defects in materials and
workmanship for the life of the unit.
Warranty void if unit is opened, dam-
aged, or submerged. See Catalog for
additional details.
Fig. 1 Wheelchair Mount
Fig. 2
Fig. 3
Adhesive Mount–
1. Choose site on headboard or other
mounting surface, i.e. nightstand or
toilet, out of patient’s reach (Fig. 4).
2. Clean site with alcohol wipe,let dry.
3. Attach self-adhesive loop (fuzzy)
patch (9) by peeling off backing and
pressing into place on the mounting
surface.
Note: Adhesive on loop patch will not
adhere well to vinyl or similar surface.
2. Attach the clip to the patient, near
the shoulder, on a piece of clothing
the patient is not likely to remove.
This should be out of the
patient’s/resident’s reach, if possible.
Note: Test alarm volume before each use.
REPLACING 9-VOLT BATTERY:
1. Make sure magnet is attached to metal
plate.
2. Slide door (1) on side of unit down to open.
3. Pull on ribbon to release the battery from
its chamber.
4. Disconnect battery from the battery clip.
5. Connect new 9-volt battery securely to
battery clip.
6. Place battery in chamber and slide door
back into place.
7. Press tone selector button to desired tone.
8. Check alarm function by disengaging
magnetic block from the metal plate on
the front of the alarm.
To avoid possible injury
or death: Always check the mounting
before each use, making sure the
alarm is securely positioned.
J.T. Posey Company•
5635 Peck Road • Arcadia, CA 91006-0020 USA • Tel: 800-447-6739 or 626-443-3143 • Fax: 800-767-3933 or 626-443-5014 • www.posey.com
This manual suits for next models
1
Other Posey Security System manuals