postQuam PRESOTERAPIA User manual

· 541 ·
i
11
Thermo Slim Body Shaper
PRESOTHÉRAPIE
(Thermo Slim Body Shaper)
PRESSOTERAPIA
(Thermo Slim Body Shaper)
PRESOTERAPIA
(Thermo Slim Body Shaper)
Thermo Slim Body Shaper
PRESSOTERAPIA
(Thermo Slim Body Shaper)
Thermo Slim Body Shaper

· 542 ·
i
11
ENGLISH
THERMOSLIM BODY SHAPER
PRODUCT FUNCTIONS
This apparatus was carefully designed according to
human bionics research, which combines functions
of broken-fat, fat dissolved, lymphatic drainage,
magnetic therapy of rm skin in one and using
high-tech means to massage, do electrotherapy and
pressure therapy to get signicant effect.
Slimming
• Low frequency pulse electricity can stimulate
the muscle to fremitus and shrink, which can
decompose large quantity fat cell; Electric pads
put on the points, which can adjust the function
of inner body and restrain to come into be fat, to
accelerate metabolism.
• Infrared ray makes a direct action on the fat
structure which can release a great deal of heat
energy accelerate the circulation of blood and
lymph promote the metabolism speed bioche-
mistry reaction consume AIP make catabolism
of fat cells, largely decrease the fat cells.
• Air bags are inated and deated regularly with
continually changed air pressure, which can rub
off, dissociate, smash the fat cells.
Beautifying Body and Skin
• When weak bionic electric current stimulates
sensory nerve ending in epidermis, the slack
skin will be exquisite and springy.
Relaxing and Promoting Immunity
• The circulation of blood will be accelerated and
muscle will be lessen after the micro electricity
works on body.
• Heat energy generated by infrared ray can les-
sen the tensility of muscle relax the muscle.
Leading-in Medicine
• Stimulating the medicine absorption to reinforce
healing effect.
Other Function
• Promoting curing, diminishing inammation,
keeping calm and sleeping peacefully, etc.
1. Power
2. Wave mode display
3. Manual/auto adjust switch
4. Wave mode adjust
5. Electro stimulation intensity display
6. Electro stimulation start/stop
7. Electro stimulation intensity adjust
8. Electro stimulation outlet switch (5 outputs)
9. Working time display
10. Working time adjust
11. Output start/ stop
12. Output of left arm switch
13. Output of right arm switch
14. Output of waist switch
15. Output of left leg switch
16. Output of right leg switch
17. Air pressure mode/Frequency display
18. Air pressure start/stop
19. Air pressure mode select
20. Air pressure frequency adjust
21. Infrared heating start/stop
22. Infrared heating intensity adjust
23. Infrared heating display
24. Air pressure intensity adjust
Remarks: When using air pressure, press any
button of , then the left and right arms will be
inated at same time. And press , all the left and
right feet will be inated at same time. Press , then
the left and right legs will be inated at same time.

· 543 · i
11
CONTROL SCREEN
(Left) Output ofelectro stimulation.
(Right) Output of infrared heating.
LEG 5 WAIST 6 WAIST 7 ARM 8 ARM 9
FOOT 0 FOOT 1 LEG 2 LEG 3 LEG 4
Output of air pressure de-toxin:
Output of spare part for foot: FOOT 0.
Output of spare part for leg: LEG 2 / LEG 3.
Output of spare part for waist: WAIST 6.
Output of spare part for arm: ARM 8.
(1) - Spare part for arm.
Air pressure output 8/9.
Infrared heating output 1/2.
(2) - Spare part for waist.
Air pressure output 6/7.
Infrared heating output 3.
(3) - Spare part of leg
Air pressure output 2/3/4/5.
Infrared heating output 4/5.
(4) - Blanket.
(5) - Spare part of boot
Air pressure output 0/1.
(6) - Infrared heating: connecter.
(7) - Air pressure pipe.
Connected with output.
1
2
3
3
4
55
6
7
1
AIR PRESSURE CONNECT DIAgRAm
Connect here Pull out connecter
by pressing the blue
point showed in the
gure.

· 544 ·
i
11
ELECTRO STImULATION PATCh
CONNECT DIAgRAm
Electro simulation
wire (connect with
output)
Electro stimulation
patch (put on
skin)
Electro stimulation
patch wire
INFRARED hEATINg CONNECT
DIAgRAm
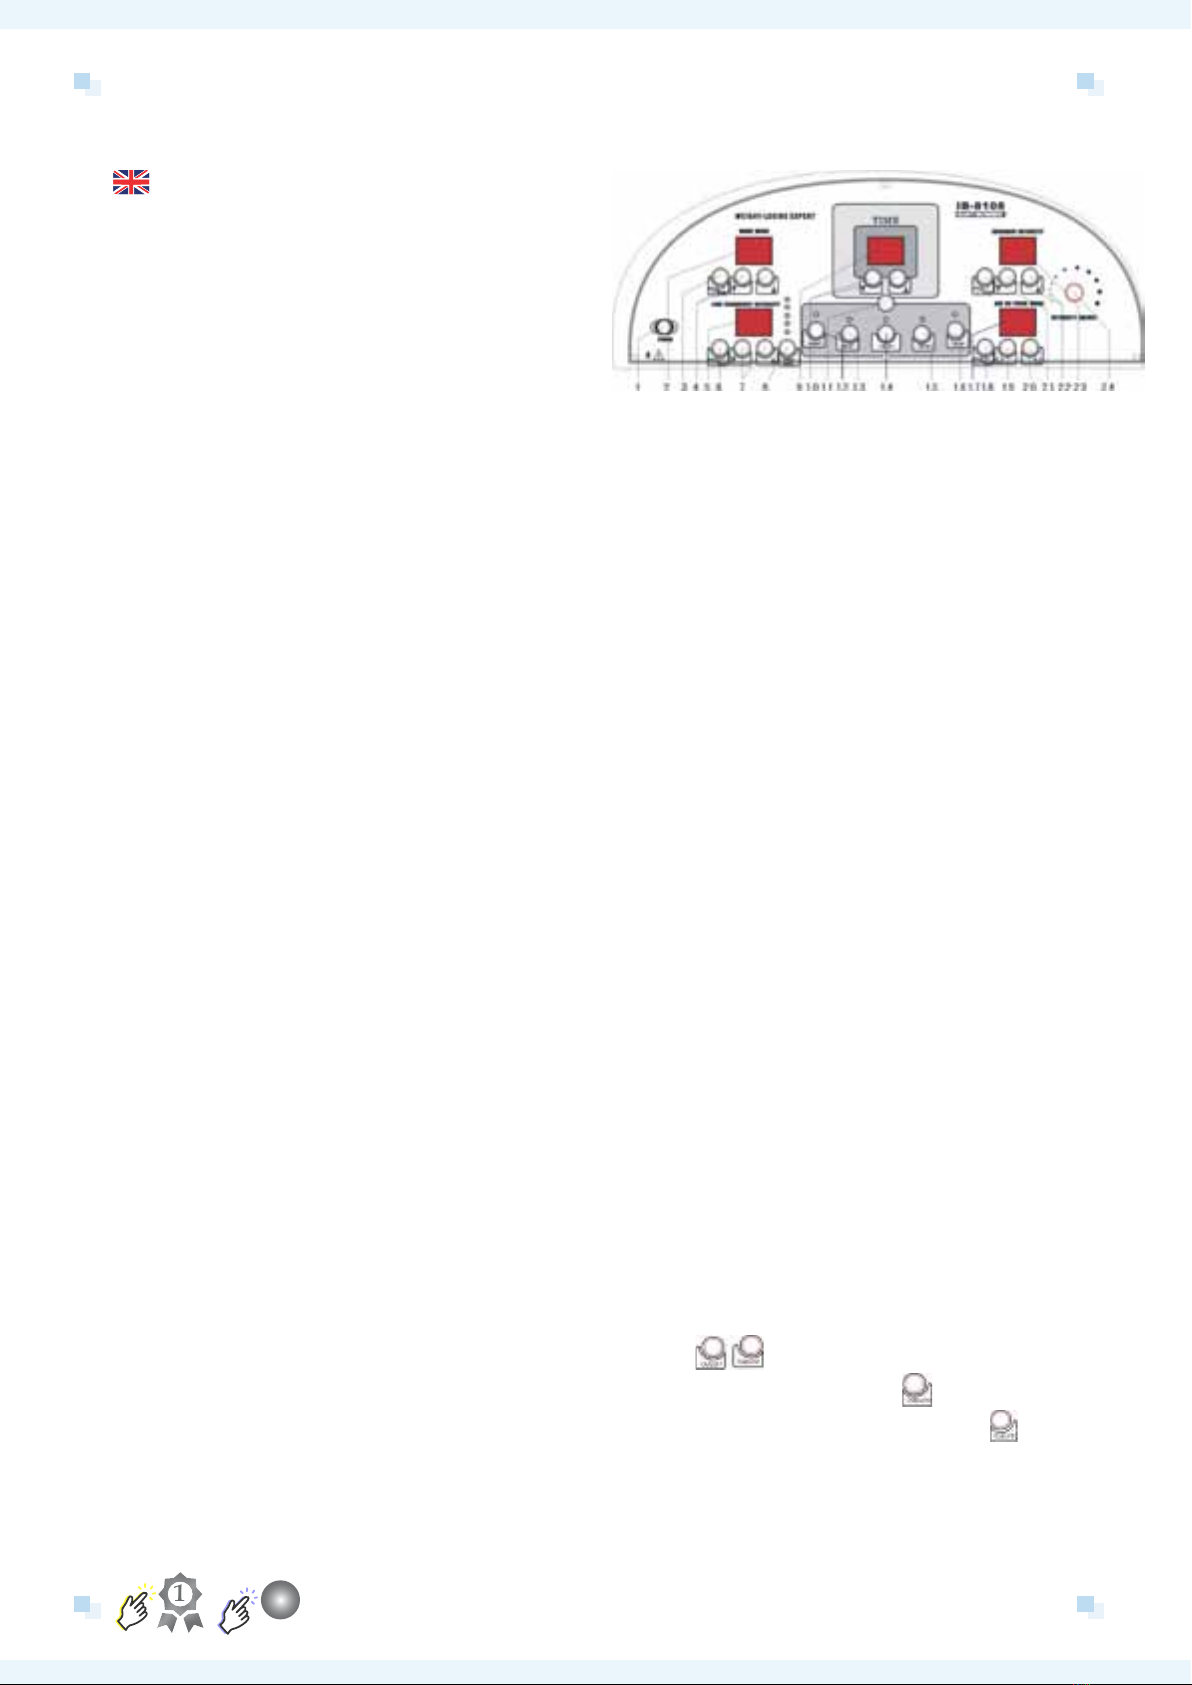
Connect diagram 1 - Electric Outlet
2 - Fuse
3 - Power Switch
12
3
OPERATION INSTRUCTION
1. Check and connect the power wire.
2. Turn on the power, the machine begin to work.
3. Connect the output port to the slimming clothes
and electrode patch respectively. To make sure,
the display is shown as “0”
4. Two method to wear the slimming clothes and
electrode patches:
i.Put the electrode patches to the parts, with
which you are not satised, and put on the slim-
ming clothes for waist, arms and legs.
ii.Please wrap the preservative lm and then put
on the slimming clothes, in 30 minutes, take off
the preservative lm and put the electrode patch
on the parts.
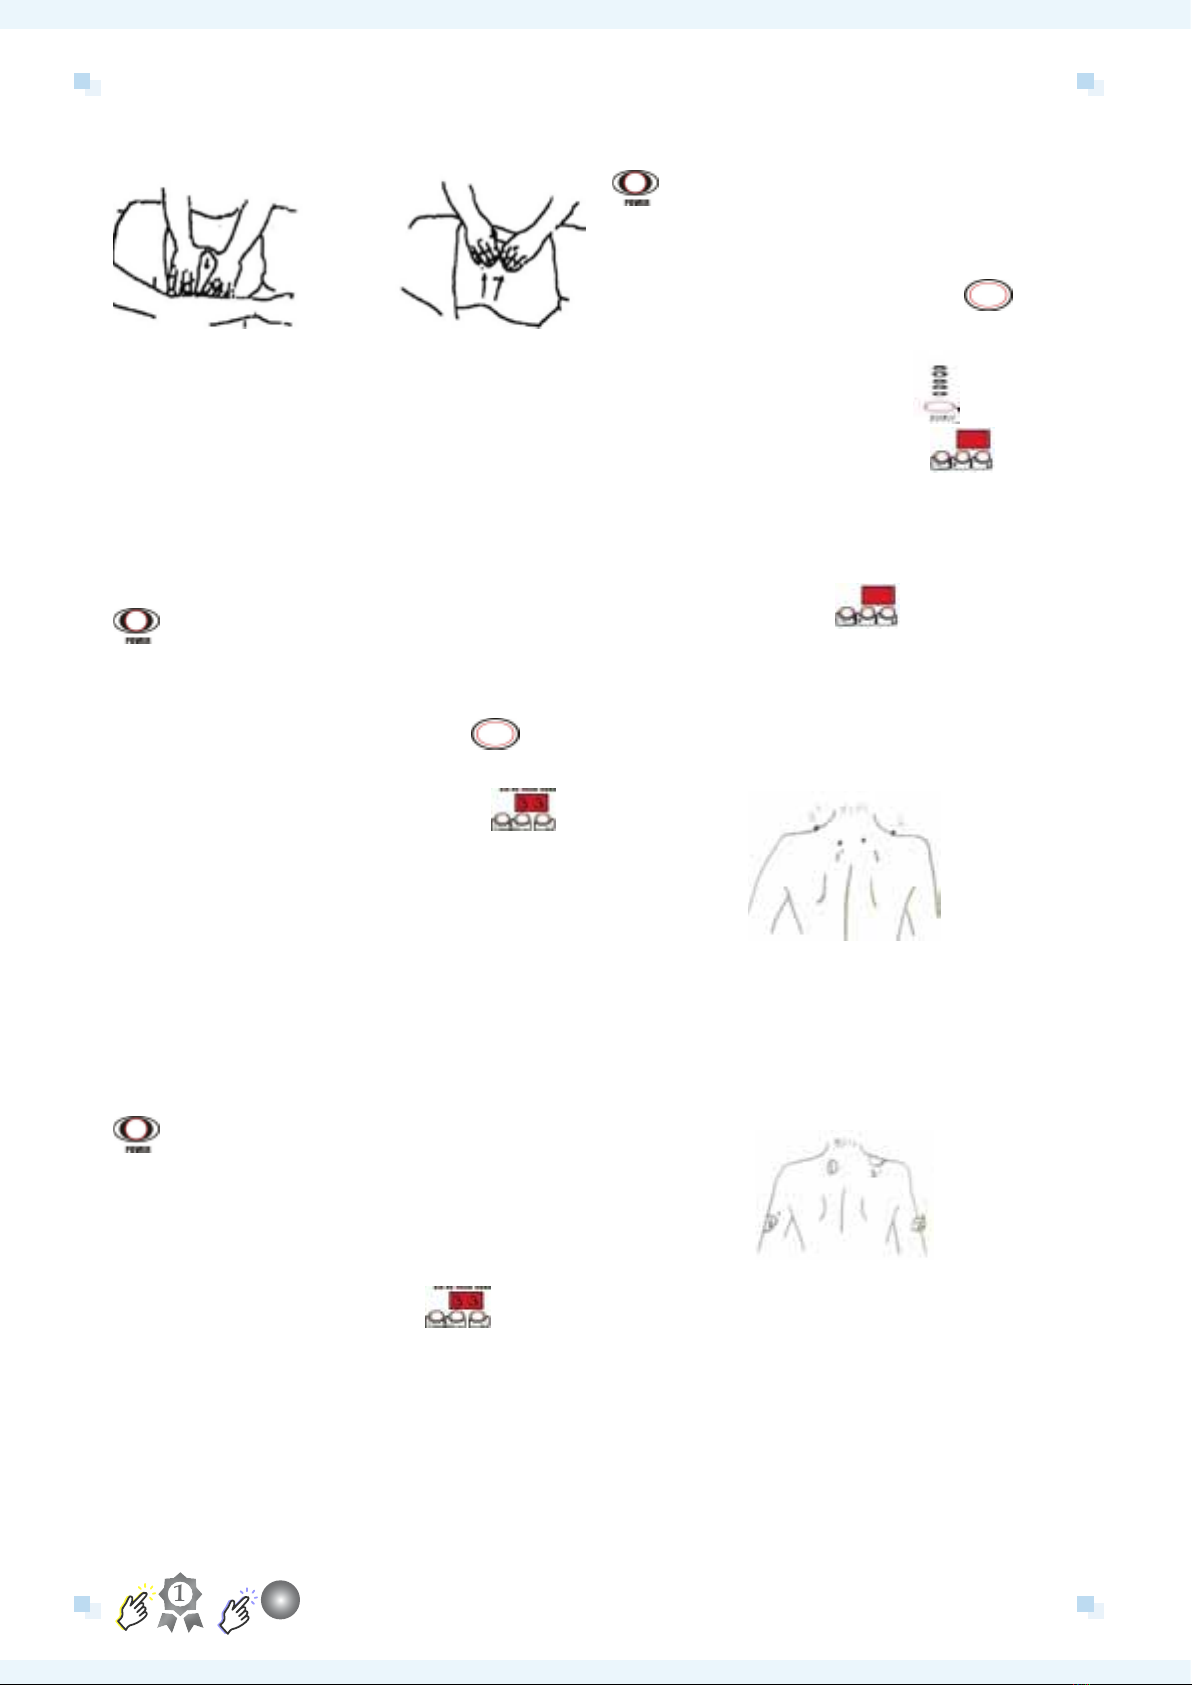
5. Press the POWER button on the control panel.
6. Adjust Time: According to the working time to
adjust the time on the machine of Button 10.
The minimum time is one minute and the maxi-
mum is 60 minutes. Usually, the suitable time is
30 to 60 minutes.
7. Far Infrared
8. Far Infrared Adjust: Press Button 20 and 21 to
adjust the intensity of far infrared. There are
eight levels. According to the request of client to
press“?” and “@” and select a proper intensity.
Note: Because the skin nature is different for
everyone, please don’t choose high intensity. To
avoid burning, please wrap wet towel before put
on the slimming clothes. It’s shown as the ma-
chine is working while the little red spot sparkles
under the right of the Liquid Crystal Display.
9. Air-pressure De-toxin Mode Adjust: There are
three modes for air pressure:
• 1. Air pressure from limb parts to center;
• 2. Air pressure from center to limp parts;
• 3. Air pressure begins together. For each
mode, there are ve selections of treating
time,. Press Start/Pause, it works.
10. Electro Stimulation
(1) Select output: To select the output, please
press the Start/Pause of 12-16. This is the way
to select output one by one or together with
anyone you want. If 5 outputs are expected to
be operated at one time, please press Button 11.
(2) Low Frequency Adjust: Please press Button
7 to adjust the intensity of the low frequency.
There are 8 levels for it. Press button 8 to select
the output. It can be setting one output for one
time. Press Start/Pause button, it begins work.
Adjust the intensity; please press button “?” and
“@”.
(3) Wave Mode Select: Press Start/Pause,
the machine begins or pauses to work. Press
Manual/ Automatic to choose the suitable mode
according to clients’ request. In Automatic state,
the red light is twinkling. On the other hand, it is
Manual, which has ve modes to choose.
1> Program one: Low Frequency to effect on
fat cell and make the fat reduce from the fat cell
and then achieve the result of losing weight .Be
suitable for any body part.

· 545 · i
11
2> Program Two: Movement for deeply losing
weight. It makes the fat move from the deep
layer.Be suitable for the deep fat layer.
3> Program three: Exercise muscle to losing
weight. Be suitable for the beehive-like fat and
with the excellent effect of tighten.
4> Program four: Continuous Wave to improve
the lymph circulation and reduce the fat from the
fat cell. Be suitable for block of lymph circulation
with the obvious effect of de-toxin.
5> Program ve: Impulse Wave to release the
muscle and improve the fat movement.
TABOO
The following people are prohibited from the instru-
ment treatment
1. People with hemophilia
2. People furnished with heart pacemaker.
3. People with heart disease
4. People with allergic skin or malignancy.
5. People with high fever
6. Pregnant Women
PROCESS OF ThE TREATmENT
1. Take shower.
2. Measure weight and keep the record.
3. Massage for 15 to 20 minutes.
(The effect will be better with the cosmetic of de-
composing fat).
Basic guide for massage:
1. Press skin surface.
2. Massage method around the knee.
3. Deep-press method.
4. Wring method.
5. Punding method.
6. Chopping methof.
7. Wring method with two hands.
8. Grasping method from center part to side on back
and belly.
Table of contents
Languages: