Assembly
Always observe the safety instructions and applicable regulations.
Removing and Installing the sanding belt (dimensions: 75x533)
Fig. C1 + C2
Before assembly the sanding belt always remove the plug from the
mains.
• Putthemachineonitsside,withthedrivebeltcoverfacingdown.
• Loosenthesandingbeltfastener(4).
• Removethesandingbeltfromthemachine
• Putanewsandingbeltonthemachine,makesurethatthedirection
arrows on the sanding belt are pointing in the same direction as the
direction indicator (5).
• Fastenthesandingbeltfasteneragain(4).
Aligning the sanding belt
Fig. B
If the sanding belt doesn’t run parallel with the outer edge of the housing,
the sanding belt must be aligned. Move the sanding belt in the correct posi-
tion with the adjusting knob (12). By turning the adjusting knob clockwise the
sanding belt will move to the inside and by turning anti-clockwise the sanding
belt will move to the outside.
Switching on and off
Fig. B
• Toswitchthemachineonpresstheon/offswitch(7).
• Toswitchthemachineoffreleasetheon/offswitch.
If continuous operation is required the blocking switch (8) must be used:
• Switchthemachineontopresstheon/offswitch.
• Presstheblockingswitchandreleasetheon/offswitch.
• Toswitchthemachineoffpresstheon/offswitchagainandreleasetheon/
off switch.
Mounting dustbag
Fig. B
UK Helpline 0905-1460005 • Ireland Helpline 1520-932626
Web Support: www.heltec.eu
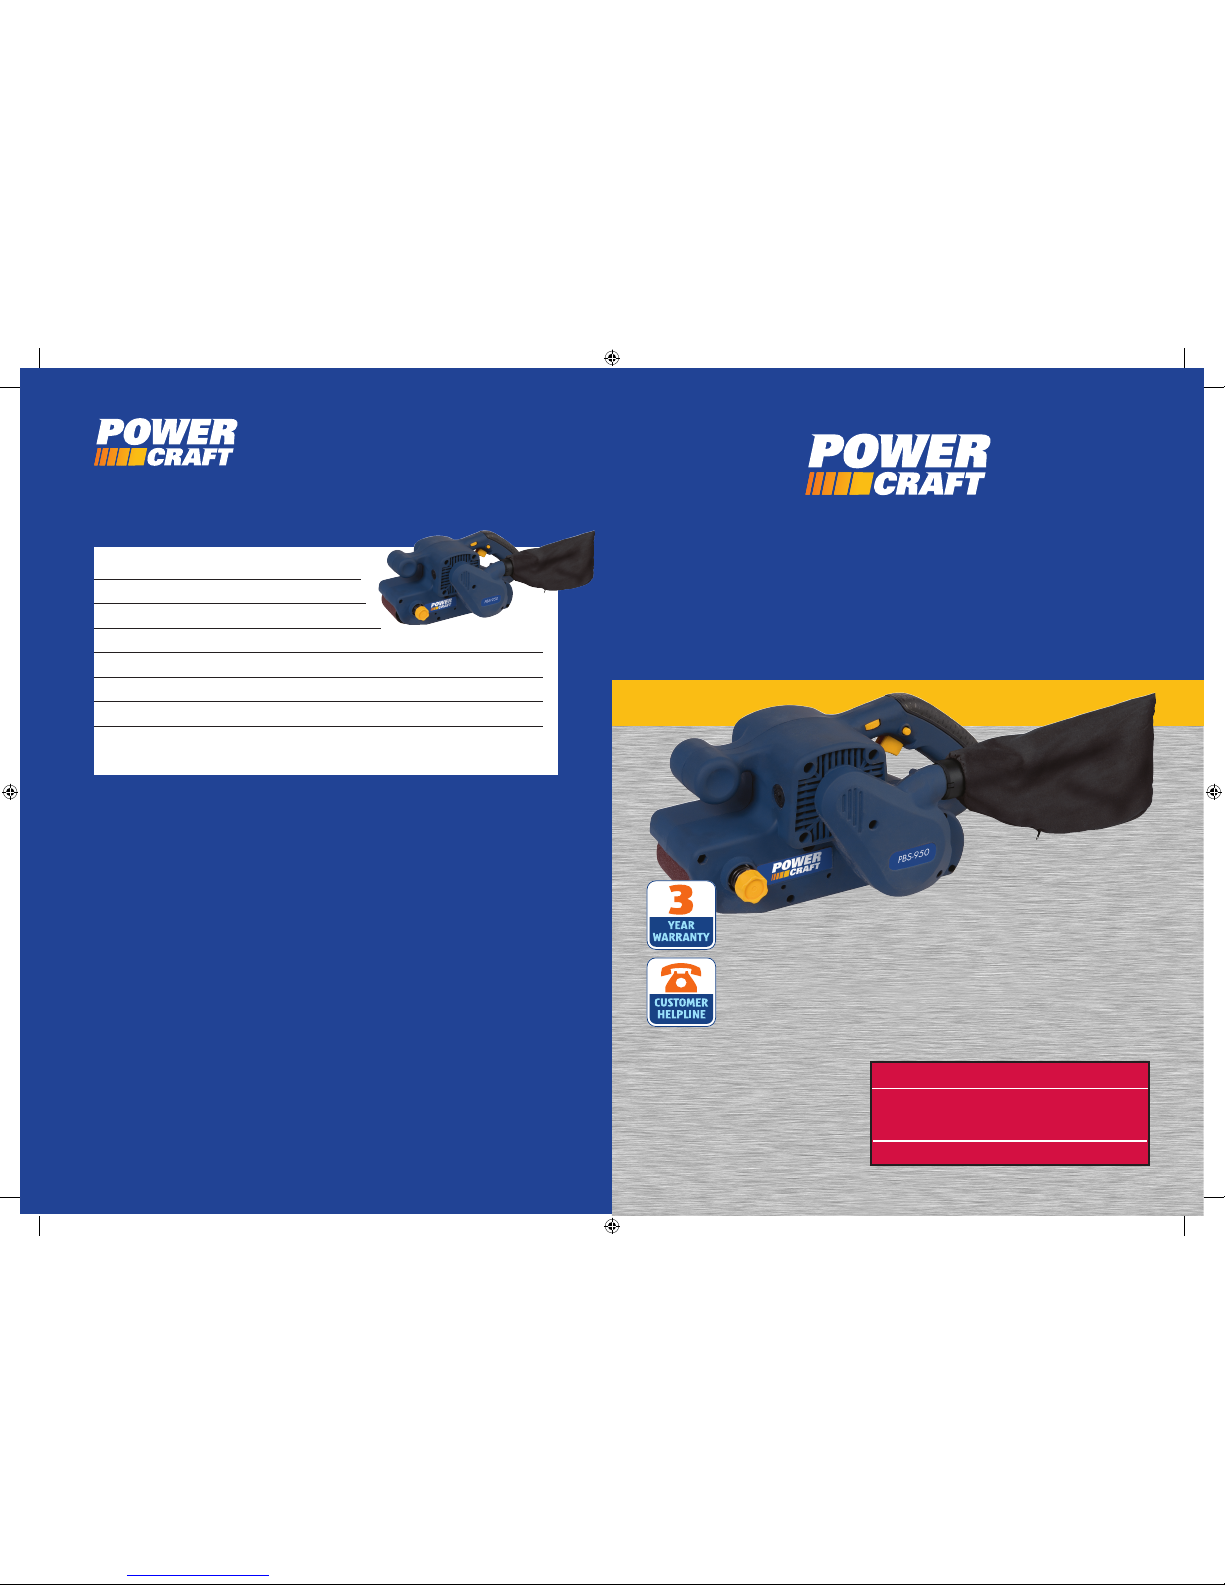
Model Number: PBS-950
12
Safety instructions
(c) Avoid unintentional operation. Make sure that the switch is in the “OFF”
position before you remove the plug from the socket. If you have your
finger on the switch when carrying the machine or if you connect the
running machine to the socket, this may lead to accidents.
(d) Remove the adjusting tools or the spanners before switching on the
machine. A tool or a key which is located in a revolving part of the
machine may lead to injuries.
(e) Concentrate at all times. Ensure a safe stance and keep your balance at all
times. In this case you will be able to control the machine better in
unexpected situations.
(f) Wear suitable clothing. Do not wear any loose clothing or jewellery. Keep
your hair, clothing and gloves clear of any moving parts.
(g) If dust extraction or collection devices can be mounted, make sure that
they are connected properly and are used in the proper way. The use of
these pieces of equipment reduce hazards caused by dust.
4) Careful handling and use of electric tools
(a) Use the correct tool for the job at hand.
(b) Do not use an electric tool, if the switch is defective. An electric tool,
which cannot be switched on or off, is dangerous and has to be repaired.
(c) Remove the plug from the socket before setting down the machine,
changing accessories or putting the machine aside. This precautionary
measure prevents the unintentional start of the machine.
(d) Keep unused electric tools out of reach of children. Do not permit persons
to use the machine who are not familiar with it or who have not read
these instructions. Electric tools are dangerous, if they are used by
inexperienced persons.
(e) Maintain the machine with care. Please check whether the movable parts
are perfectly operational and do not jam, whether parts have broken or
have been damaged in such a way that the function of the machine is
impaired. Have damaged parts repaired prior to using the machine. Many
accidents are caused by electric tools which are poorly maintained.
(f) Keep all cutting tools sharp and clean.
(g) Use the electric tool, the accessories, the insert tools, etc according to
these instructions, and in the way described for this special type of
apparatus. In the process, take the working conditions and the work to be
carried out into consideration. Only use this belt sander for the purpose
for which it is intended.
(h) Use clamps or vice to hold work. It is safer than using your hands and
frees both hands to operate the tool.
UK Helpline 0905-1460005 • Ireland Helpline 1520-932626
Web Support: www.heltec.eu
Model Number: PBS-950
9