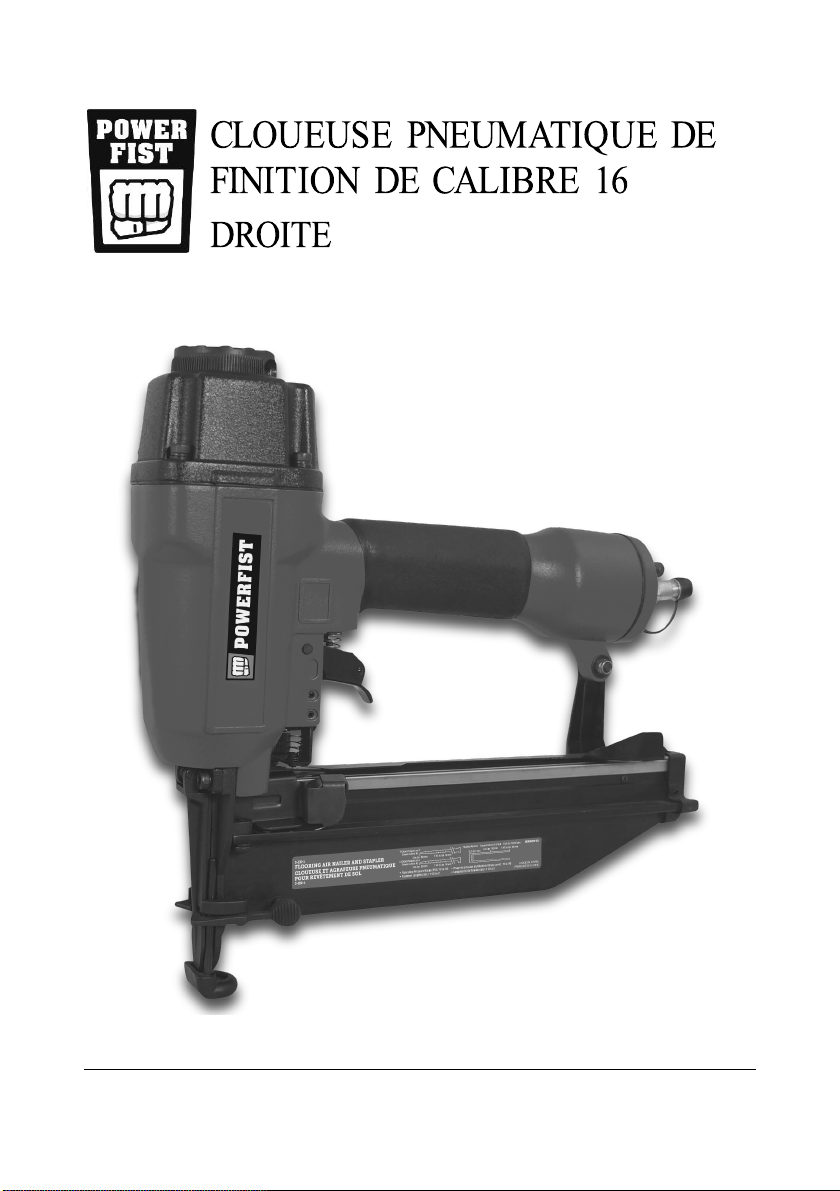
8990863 Cloueuse pneumatique de finition droite de calibre 16 V1,0
6 En cas de questions techniques, appelez le 1-800-665-8685
PRÉCAUTIONSRELATIVESAUXOUTILS
PNEUMATIQUES
1. Utilisez uniquement un air comprimé propre et sec comme
source d’énergie. L’air contaminé ou humide endommagera
progressivement l’outil.
2. Installez une soupape d'arrêt ou un régulateur sur la conduite
afin de permettre une commande immédiate de l'alimentation
en air, en cas d'urgence, même si un tuyau se fend.
3. Arrêtez d’utiliser l’outil s’il ne fonctionne pas correctement ou s’il
présente des fuites d’air. Attachez une étiquette sur l’outil
indiquant qu’il est « défectueux » ou qu’il est « hors service »,
jusqu’à ce qu’il soit réparé.
4. Consultez la pression nominale maximale du fabricant en ce qui
concerne les outils pneumatiques et accessoires. La pression
de sortie du compresseur doit être réglée de façon à ne jamais
dépasser la pression nominale maximale de l'outil (consultez
Spécifications). Si on dépasse la pression nominale maximale,
il pourrait en résulter un risque d’explosion capable d’entraîner
des blessures et des dommages aux biens.
5. Avant de relier l’alimentation en air, fixez correctement tous les
accessoires sur l’outil. Un accessoire mal attaché pourrait se
détacher et se briser durant l’utilisation.
6. N'utilisez jamais d'oxygène, de gaz combustible ou tout autre
gaz embouteillé en tant que source d'énergie. Une source
d'énergie autre qu'un compresseur d'air pourrait causer une
explosion entraînant ainsi des blessures corporelles graves.
7. Fermez la soupape et évacuez toute la pression d’air restante
après chaque utilisation ou avant d’ajuster l’outil.
8. Ne laissez pas l’outil d'air sans surveillance alors que la source
d'air comprimé est en fonction. Fermez la source d'air
comprimé et purgez l’outil d'air de tout air comprimé restant
avant de laisser celui-ci sans surveillance.
9. Des blessures graves peuvent se produire si des débris sont
propulsés à haute vitesse dans le jet d’air du compresseur.
Portez toujours des lunettes de sécurité approuvés OSHA afin
de vous protéger les yeux lorsque vous utilisez le
compresseur d’air.