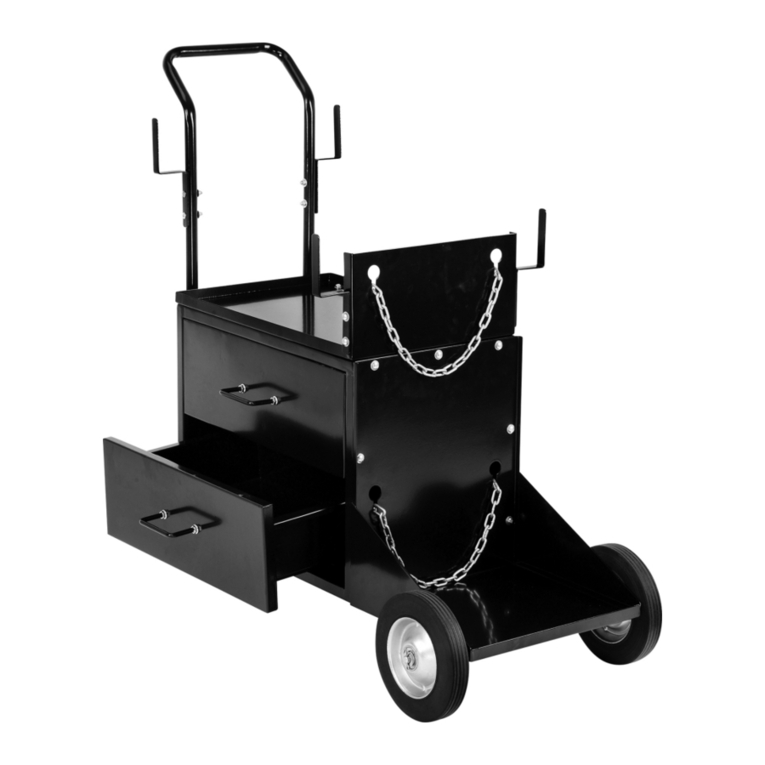
V 4.0 Welding Cart 8648479
5. Slide a bushing (#13), flat washer (#14), wheel (#15) and another flat washer
(#14) over the end of the axle. Then insert the cotter pin (#17) through the hole
in the axle and bend the ends to lock it into place. Repeat with other end of axle.
6. Place a washer (#3) on a round pin (#18) and insert through the upper hole on
the front of one frame (#5). The pin is inserted on the outer side of the frame.
7. Place another washer over the round pin, slide the drag hook’s bolt hole
(#19) onto the round pin. The drag pin’s open slot faces down towards the
ground. Slide another washer over the round pin. Push a cotter pin
through the hole on the round pin and bend the ends to lock the cotter pin
into place. The drag hook will hang down when not in use.
8. Place a washer over a second round pin and insert it in the lower hole in
the same frame, from the outer side.
9. Place a washer over the second round pin, then the handle (#20), another
washer and then secure with a cotter pin (#16).
10. Repeat steps 7 to 9 on the other frame.
11. Place the top shelf (#6) on the frame with the raised metal lip towards the
rear. Fasten in place with four screws (#7).
12. Insert then tongue on the gas cylinder support (#9) into the slot on the
bottom shelf (#4) (see Parts Breakdown for placement).
13. Attach the gas cylinder support to the top shelf with two bolts (#7) and hex
nuts (#8). The bolt are inserted through the front of the gas cylinder
support into the top shelf.
14. Clip each end of the adjustable belt (#10) to the slots on either side of the
cylinder support.
OPERATION
1. Place the welding unit on the top shelf with the control panel facing
forward. The rear of the welding unit should sit against the raised lip on the
upper shelf to hold it away from the gas cylinder support.
2. Unclip the adjustable belt from the gas cylinder support. Place a gas bottle
against the support. Reattach the clips and adjust the belt so the bottle
cannot move.
3. Set up the welding unit and attach to the gas cylinder, following the
Visit www.princessauto.com for more information 5


