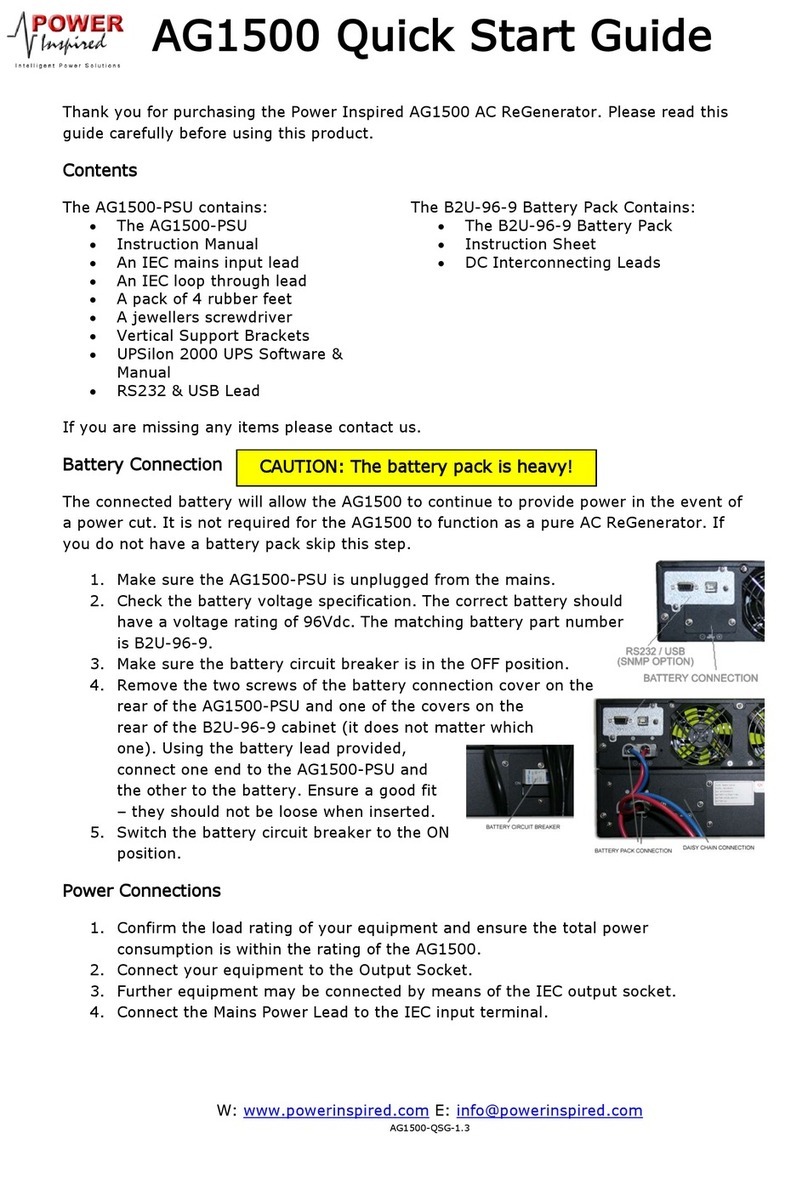
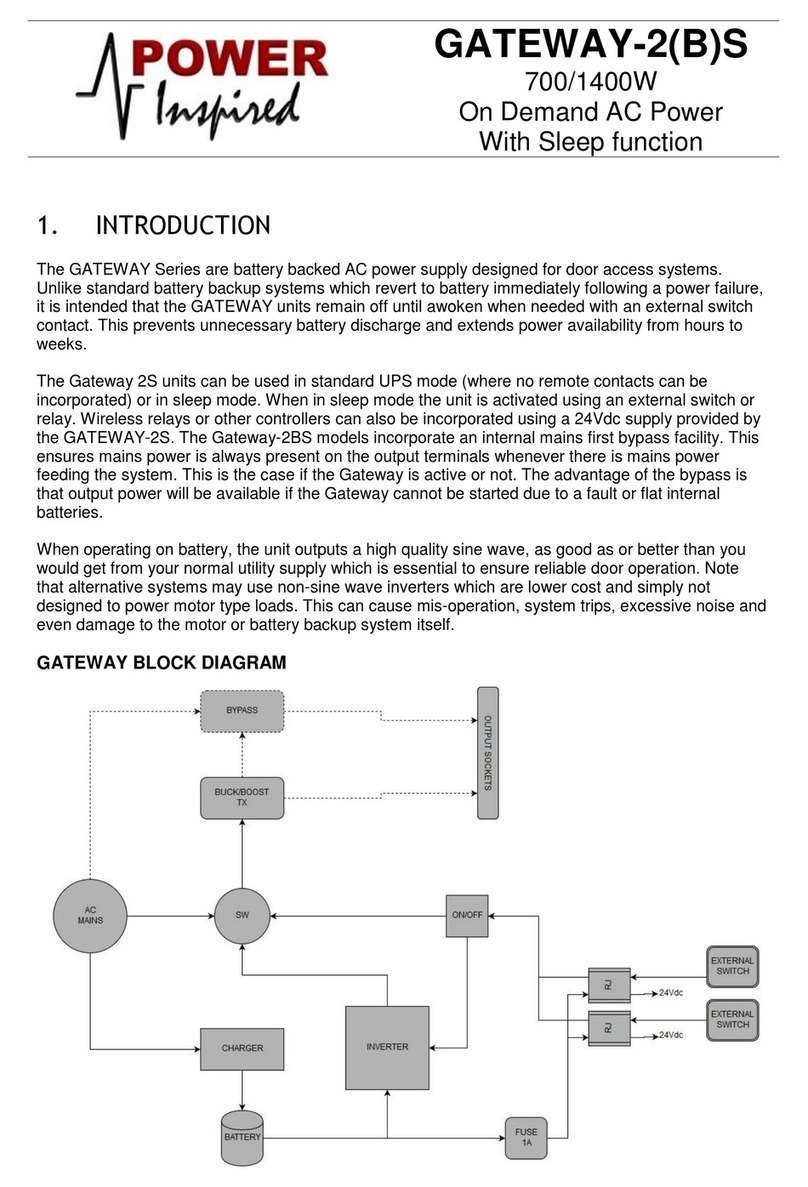
Power Inspired AG1500S User manual

AG1500S QUICK START GUIDE
1. Power Requirement
Your AG1500S has a power limit of 1500W. Please ensure that the power draw of connected
equipment does not exceed this. Note that the AG1500S is not meant to be operated at a 1500W
continuous load. It is designed for typical Hi-Fi fluctuating loads which may peak at 1500W.
2. Installation
Place the AG1500S in an area with adequate air flow to the front and to the rear of the unit.
The unit should be mounted horizontally. To avoid any scratches stick on rubber feet have
been provided as an option. To use peel the backing off the feet and stick on to the underside
of the unit close to the corners.
The unit can be mounted in a 19” rack. The unit should be placed on a shelf or rack rails.
Rack ears have been provided to enable the unit to be secured. To fit, remove the 2xM4
screws on both sides of the unit and fit the rack ears as shown.
Remove M4 screws highlighted (2 each
side)
Fit Rack Ear
3. Connections
With the mains lead provided connect from your wall socket outlet to the AC Input connection
on the rear of the AG1500S.
Connect your equipment to the IEC connections on the rear panel. There is 1xC19 outlet
and 6xC13 outlets . All outlets are connected internally.
The DC input connection is used to connect an external battery pack for UPS operation
and is not required in normal use.
The USB port is used to monitor the AG1500S with a computer using the software
provided. It is not necessary for operation of the AG1500S.
A rewireable C20 plug has been provided for convenience for
use with the C19 outlet. Please consult a competent person to
wire this if required. The plug has 3 terminals marked:
oL –for the Live conductor usually coloured brown;
oN –for the Neutral conductor usually coloured blue;
oE or for the protective earth conductor, usually
coloured Green and Yellow.

4. Start Up Sequence
If your mains power has a switch then switch it on now –the AG1500S LCD will illuminate.
Switch on the AG1500S by pressing and holding the front panel ON switch for around 2
seconds.
If they have not already done so, the fans will start to spin and will rise to maximum speed
before slowing down to a speed suitable for the AG1500 internal temperature.
Output power will now be provided to the sockets on the rear panel.
WARNING: The output voltage of the AG1500S ramps up in order to eliminate the effects of in-rush
current on transformer based loads. This can be problematic if your equipment uses auto-sensing
circuitry to determine if the source is a 120V or 230V supply. In which case it is recommended that the
AG1500S is switched on, the voltage allowed to stabilise, before powering on any devices with auto-
sense circuitry.
5. Power Down Sequence
Switch off all connected devices (optional).
Switch off the AG1500S by pressing and holding the OFF button on the front panel for
around 2 seconds. The unit will enter standby mode.
If the AG1500S has been running for some time or at high loads then it is recommended to
keep the unit switched on with no load for at least 10minutes to allow any internal heat build
up to clear.
NOTE: It is OK to leave the AG1500S permanently on, but it is not recommended to have the unit
running permanently with over 50% load.
6. Fan Speed
The fan speed is determined by the internal temperature of the AG1500S. At start up the fans will self-
check by spinning up to maximum and then returning to a lower speed setting (quiet level). This level
is dependent on the internal temperature. If the self check fails the fans are defaulted to run at full
speed. Fan Speed is non-adjustable on the AG1500S.
7. Changing the Output Voltage
The output voltage can be changed to 208, 220, 230 or 240V.
To change the voltage press and hold the SELECT button for over 5 seconds then
release. The display will show either INV or ECO.
Pressing SELECT will cycle through the options of 208, 220, 230 and 240V. When at the
required voltage setting, press the ON button for over a second. The unit will leave the
settings page and return to the main menu.
Note:
oThese changes can be done when the unit is switched on and delivering power. If so,
the output voltage will immediately be changed.
oECO and INV settings have no effect with the AG1500S.
8. Maintenance
Keep air flow unobstructed and free from dust.
Any build up of dust on the front air intakes should be vacuumed away.
If the unit has been exposed to a dusty environment then internal cleaning of the unit may be
necessary which should only be undertaken by qualified personnel.

9. Packaging and Contents
The AG1500S ReGenerator has been packaged to ensure the unit arrives to you in pristine condition.
As such, if you require for any reason to return, please ensure you package the unit and its
accessories as specified below to avoid any potential damage in transit.
Contents:
AG1500S AC ReGenerator
AG1500S Quick Start Guide
Manual, Software & EPO (with USB Lead)
Mains Lead
10A IEC-IEC lead (x2)
Rewireable C20 IEC 16A plug
Rack ears + Affixing Screws
Anti-scratch feet
The unit is secured in place using polystyrene packaging. Two pieces are placed beneath the unit,
which is placed inside a clear poly bag, figure 1. Another two pieces of polystyrene are placed on top,
securing the unit within the box, figure 2.
Figure 1
Figure 2
A self seal bag containing the manual, software, software cables, EPO and anti-scratch feet is then
placed on top of the unit between the polystyrene with the cables on top, figure 3. This should allow
the depth of the polystyrene to cover the top of the cables. The rack ears and C20 IEC plug are then
placed in the poly cut outs.
NB: The plug from the mains lead should not be left on the lid of the unit, but instead beside the edge
of the unit and the box, figure 4.
Figure 3
Figure 4
10. We’d Love to Hear from You
We would like to hear how you get on with the AG1500S and would appreciate any feedback you can
give us. Please drop an email to feedback@powerinspired.com with your comments and any
suggestions.

Power Inspired Ltd
Unit 122 Churchill Road, Bicester, Oxfordshire, OX26 4XD
www.powerinspired.com
+44 1869 814055
DOC# AG1500-QSG REV 1.1
Table of contents
Other Power Inspired Power Supply manuals
Popular Power Supply manuals by other brands

multicomp pro
multicomp pro MP710080 user manual

Pfeiffer Vacuum
Pfeiffer Vacuum OPS 400 operating instructions

Antec
Antec HCP-1200 user manual

Rockwell Automation
Rockwell Automation ControlLogix 1756-PA72 Series C installation instructions

Puls
Puls QT40.481 installation manual

TOOQ
TOOQ TQEP-650SP user manual