FirstCall™ Liq x Liq Medical Gas Manifold
Operating & Maintenance Manual
Powerex • 150 Production Drive • Harrison, OH 45030 • USA
P 1.888.769.7979 • F 513.367.3125 • www.powerexinc.com
IN599800AV • 15 January 2021
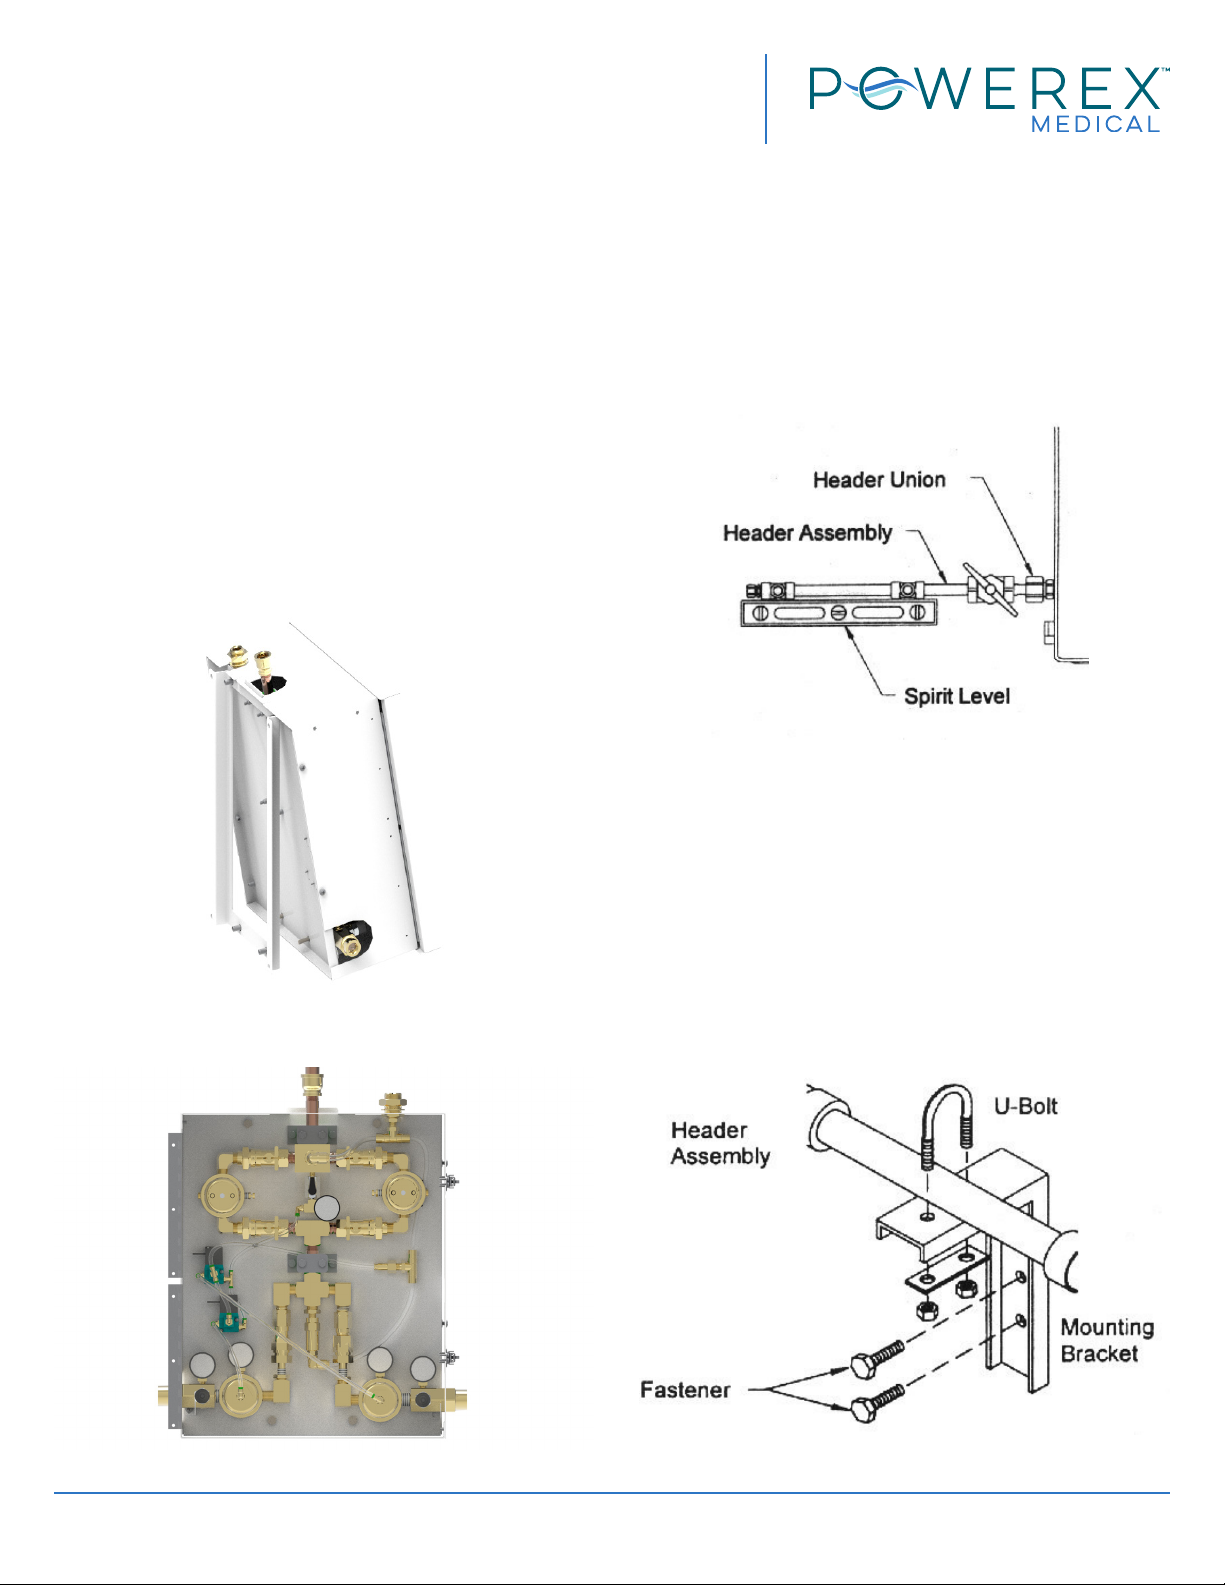
Page 4 of 24
Responsibilities
Information contained in this manual pertains to
the Powerex FirstCall™ medical gas manifold system.
The manifold system will operate as described in this
manual when operated and serviced in compliance
with the instructions.
Installer Responsibilities
The manifold should be handled, installed, and tested
per the recommended practice as described within this
manual. Should any repair or replacement become
necessary, contact Powerex for original equipment or
replacement parts.
User Responsibilities
The manifold should be tested and examined
periodically according to facility codes. Any parts which
are found to be damaged, corroded, contaminated, etc.
should be replaced.
Introduction
Safety Guidelines
Installation of the Powerex FirstCall™ Manifold
involves installing the manifold cabinet, headers, and
making the necessary conduit, plumbing and electrical
connections. All installation and testing should be done
in accordance with NFPA 99.
Electrical power intended for the
manifold to be installed should be
disconnected prior to installation.
This device should only be installed
by qualied personnel. Installation
should not be attempted by anyone not having general
experience with the installation of devices of this nature.
Failure to follow the following
instructions can result in personal
injury or property damage:
• Never permit oil, grease, or other combustible
materials to come in contact with cylinders,
manifold, and connections. Oil and grease may
react with explosive force when ignited while in
contact with some gases – particularly oxygen and
nitrous oxide.
• Cylinder and master valves should always be
opened very slowly. Heat of recompression may
ignite combustible materials creating an explosive
force.
• Pigtails should never be kinked, twisted, or bent
into a radius smaller than 3 inches. Mistreatment
may cause the pigtail to burst.
• Do not apply heat. Oil and grease may react with
explosive force when ignited while in contact with
some gases – particularly oxygen and nitrous
oxide.
• Cylinders should always be secured with racks,
chains, or straps. Unrestrained cylinders may fall
over and damage or break o the cylinder valve
which may propel the cylinder from its current
position.
• Oxygen manifolds and cylinders should be
grounded. Static discharges and lightning may
ignite materials in an oxygen atmosphere, creating
a re or explosive force.
• Welding should not be performed near nitrous
oxide piping. Excessive heat may cause the gas to
dissociate, creating an explosive force.
• Remove all protective caps prior to assembly.
The protective cap may ignite due to heat of
recompression in an oxygen system.
General Instructions/Location & Shelter
Manifolds should be installed in accordance with
guidelines stated by the NFPA, CGA, OSHA, and all
applicable local codes. Central supply systems and
cylinders should not be placed in a location where the
temperature will exceed 125°F (51.6°C) or fall below
-20°F (-29°C). A manifold placed in an open location
should be protected against weather conditions.
During winter, protect the manifold from ice and
snow. In summer, shade the manifold and cylinders
from continuous exposure to direct sunlight. The ow
capacity of nitrous oxide and carbon dioxide manifolds
depend upon ambient temperature and the number of
cylinders on line. Contact your gas supplier to determine
the vaporization rate of Carbon Dioxide and Nitrous
Oxide cylinders for the ambient temperature climate
at the installation site. Leave all protective covers in
place until their removal is required for installation.
This precaution will keep moisture and debris from the
piping interior.