Switched Mode Power Supply
Operating manual
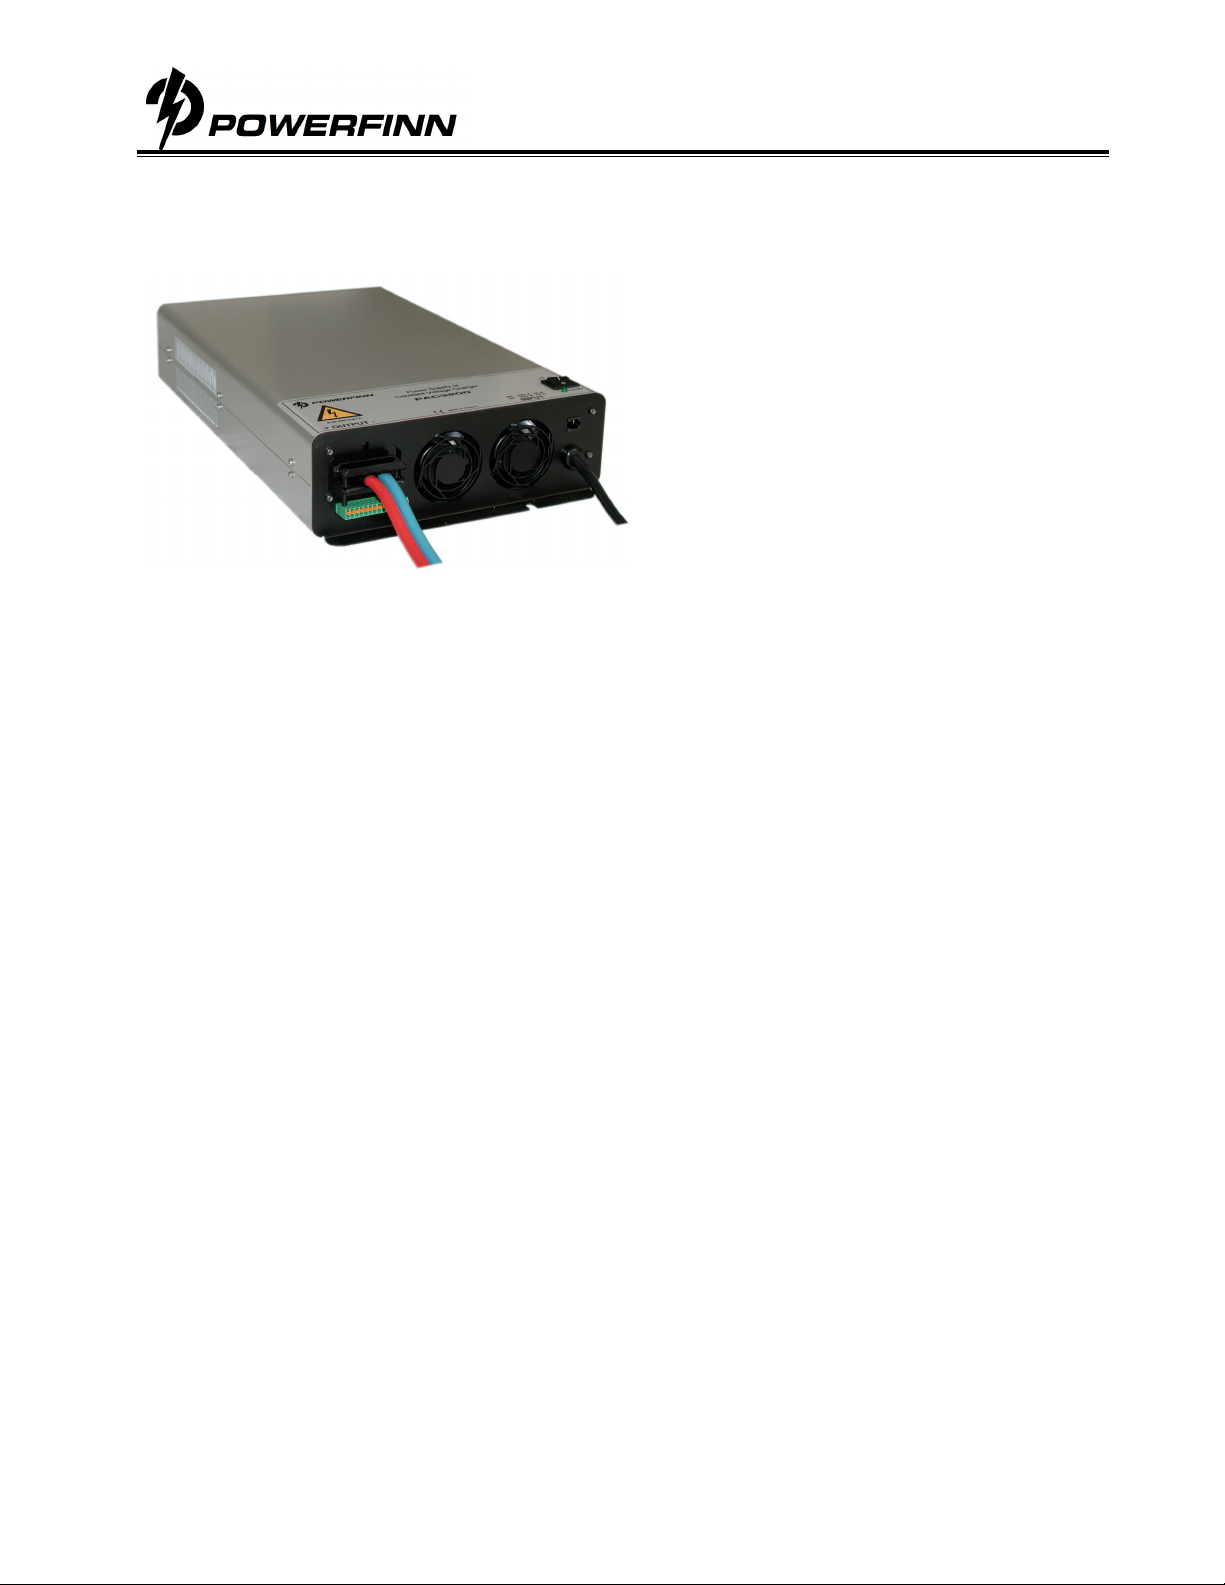
PAP3200
Perämiehenkatu
6,
FIN
2410
0
Salo,
Tel.
+35
8
2
777
290,
Fax
+358
2
777
2
918,
[email protected],
www.powerfinn.fi
7
Controlling the analog card
All control voltages must be between 0 and +5V, Higher voltages are not allowed. The control logic is positive, so
that a +5VDC control voltage gives a maximum value from the power supply, while 0V means minimum output. As
soon the control connector is unplugged from the modular connector, the power supply are reset to the minimum
output values.
The measured values can be read from the measurement signals. The measured values are scaled equal to the
target values. If the power supply is set to the voltage reference, the measured value must be equal to the target.
The same counts for the current control and its measured value. Measured signals (both together) can be loaded
with max 20mA; otherwise proper operation cannot be guaranteed.
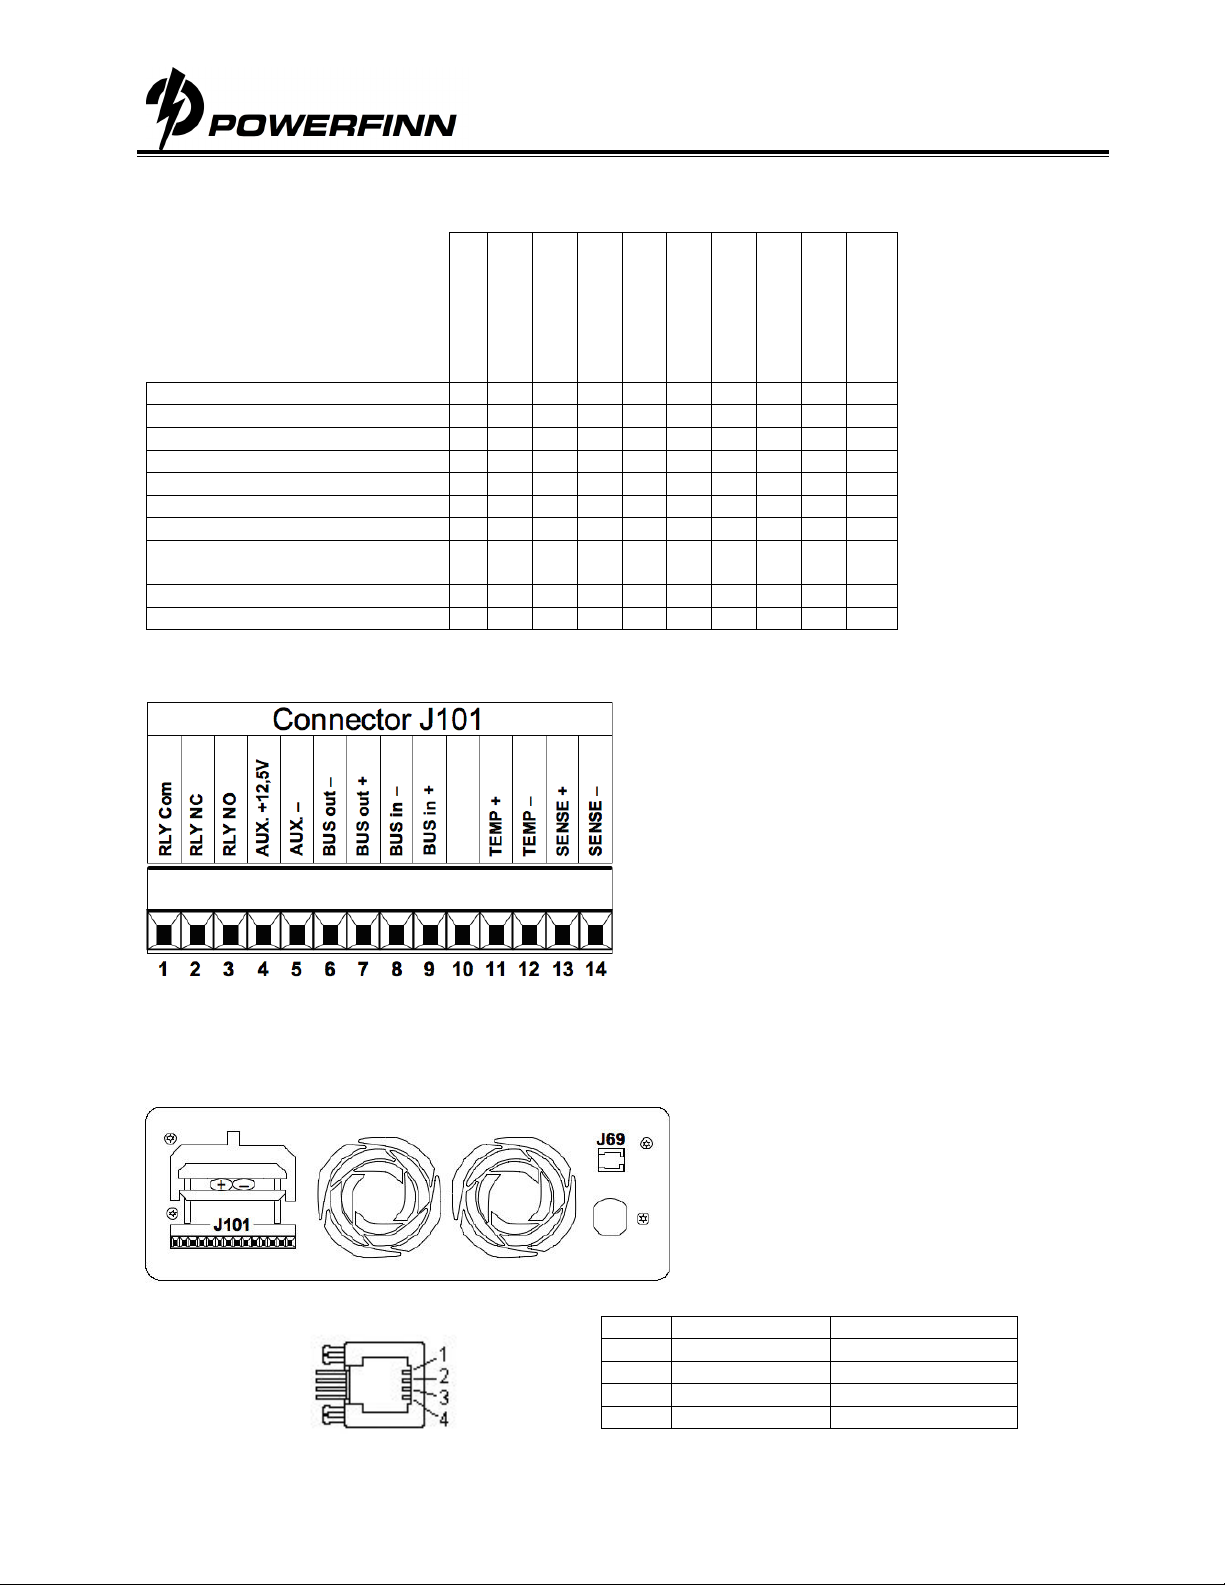
The modular connector is isolated from the input, output and enclosure of the power supply. This enables the
possibility to parallel or series connect several power supplies maintaining equal voltages. The number of
connected devices is not limited. The 500V insulation voltage may, however, not be exceeded. This manual
cannot be applied in case the connector of the analog card differs from a modular connector (9-pin D-connector).
In that case it is an incompatible analog controlled power supply.
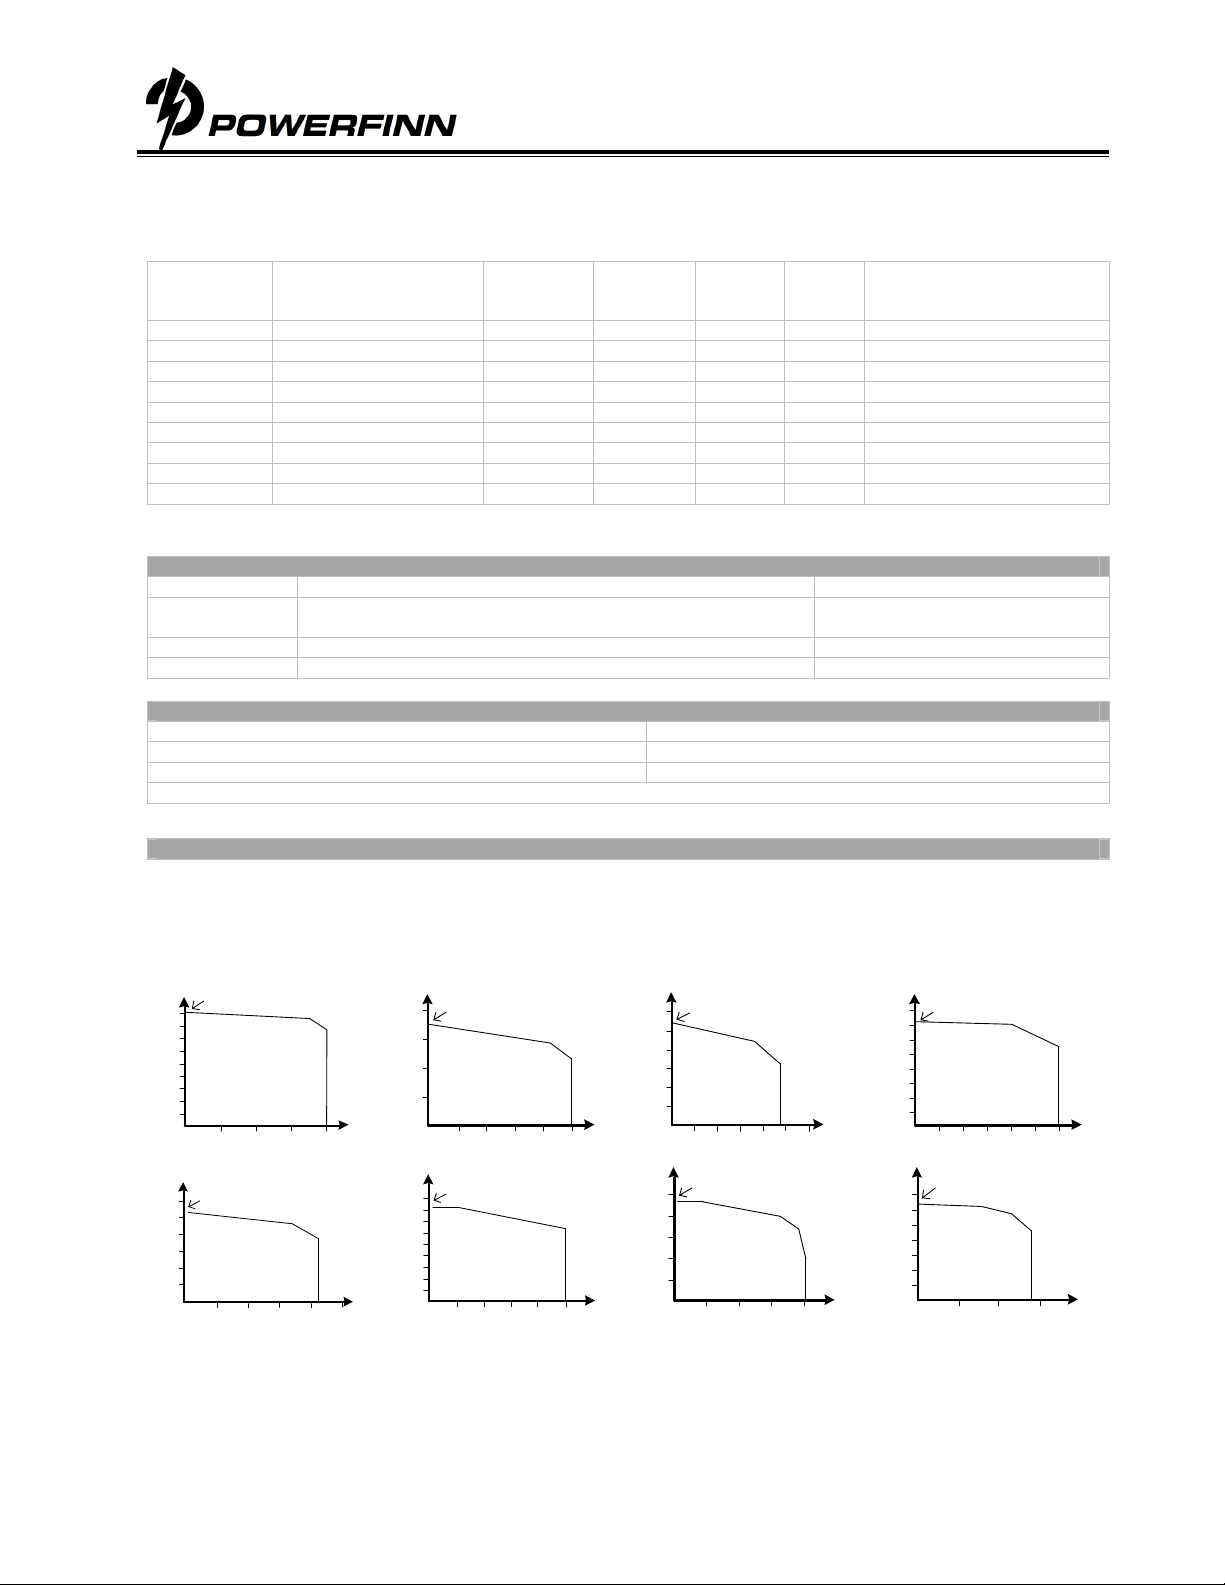
Connection example using the internal +5Vdc supply and external potentiometers.
The +5V can be used as a supply for external circuits. The circuit shown to the left
lets the power supply operate ass a potentiometer controlled device. It is important
to keep in mind that the +5V output may not be loaded more than 20 mA, otherwise
proper operation cannot be guaranteed.
Instructions for calibration
The manufacturer calibrates the analog control interface. Recalibration is not necessary as long the analog control
card is used between 0 and +5V. A qualified person is required for recalibration of the device. Calibration is done
with the aid of a pair of multi-meters and the example schematic given above. The calibration procedure is as
follows.
1. Adjust the potentiometers to 5V for the voltage and 2V for the current targets. Connect a digital voltage
meter to the power supply output. Adjust the ‘Voltage Set’ potentiometer to the maximum output voltage.
2. Connect a digital voltage meter to pin 5 of the modular connector J1. Adjust the trimmer ‘Voltage Meas.’
so that the digital voltage meter shows always the same value as pin 3 (target voltage).
3. Connect a digital current meter to the output so that the output is shorted. Adjust the current target
potentiometer to +5V. Adjust the ‘Current Set’ trimmer to the for the device maximum output current (see
specifications for the device). Make sure that the current meter has the correct measurement range. Never
exceed the maximum current value for the device. Contact the distributor in case the maximum current is
not known.
4. Measure using a digital multimeter the voltage at pin 4 of the modular connector J1. Adjust using the
‘Current Meas.’ to the same voltage level as on pin 2 (target current).