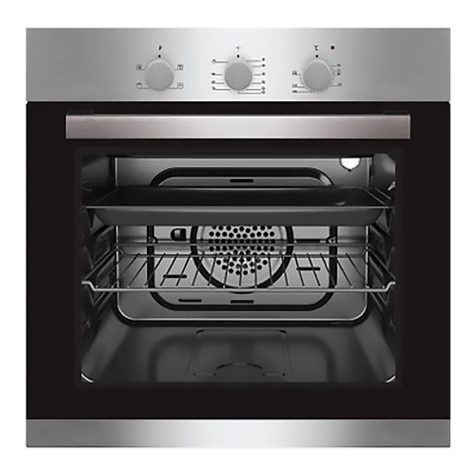
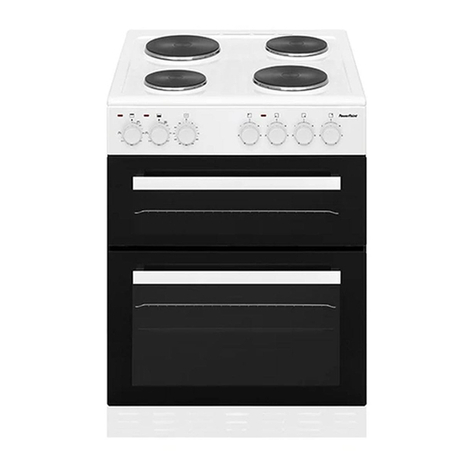
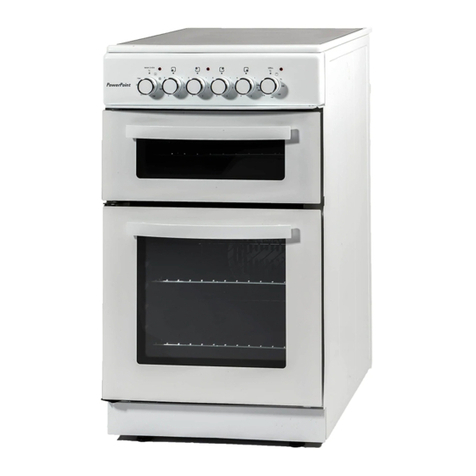
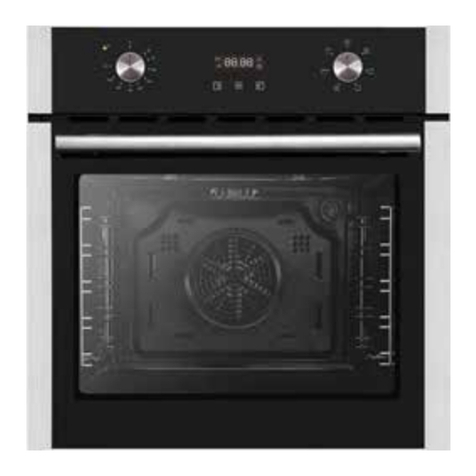
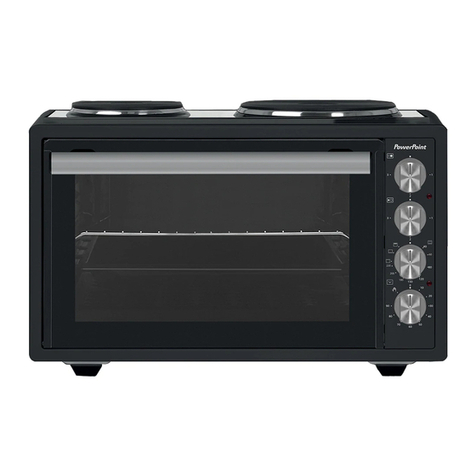
PowerPoint P24XBDSS User manual

Po erPoint
P24XBDSS
P24FDBXSB
INSTRUCTION MANUAL
BU ILT- IN ELECTRIC OVEN
Do not use the oven until you have read this instruction manual
Cod:004030xxxx

Safety instructions ........................................................................... 4
How to save energy............................................................................................................. 5
Disposal of the appliance. ...................................................................................................5
Unpacking. ..........................................................................................................................5
Description of the appliance....................................................................... 6
Installation........................................................................................ 8
Operation.........................................................................................10
Prior first use. ..................................................................................................................... 10
Electronic programmer....................................................................................................... 10
Oven....................................................................................................................................15
Cleaning and maintenance .............................................................. 17
Operation in case of emergency ......................................................19
Baking in the oven .......................................................................... 20
Technical information...................................................................... 26

The appliance and its accessible parts become hot
during use.
Care should be taken to avoid touching heating elements.
Children less than 8 years of age shall be kept away unless
continuously supervised.
DISPOSAL OF THE APPLIANCE
Old appliances should not
simply be disposed of with
normal household waste
but should be delivered to
a collection and recycling
center for electric and
electronic equipment.
A symbol shown on the product, the
instruction manual or the packaging shows
that it is suitable for recycling.
Materials used inside the appliance are
This appliance can be used by children aged from 8 years and
above and persons with reduced physical, sensory or mental
capabilities or lack of experience and knowledge if they have
been given supervision or instruction concerning use of the
appliance in a safe way and understand the hazards involved.
Children shall not play with the appliance. Cleaning and user
maintenance shall not be made by children without supervision.
WARNING: Accessible parts may become hot during use.
Young children should be kept away
During use the appliance becomes hot. Care should be taken
recyclable and are labeled with information
concerning this. By recycling materials or
other parts from used devices you are
making a significant contribution to the
protection of our environment.
Information on appropriate disposal
centers for used devices can be provided by
your local authority.
to avoid touching heating elements inside the oven

DESCRIPTION OF THE APPLIANCE DESCRIPTION OF THE APPLIANCE
5
3
1
2
4
1
Temperature control knob
2
Oven function selection knob
3
Oven temperature signal light red
4
Oven door handle
5
Electronic programmer
7
6
0
0
0
1,1
.
+
-
=
·
0
,;,
..
,.
1£1
El
-
-
0
·c
0

- z
595
595
559
21.5
512
554
595
554
fixed wiring in accordance with the
wiring rules.
595
559
21.5
512
HO5VV-F
the grounding wire shall be
longer than the other wires.
The means for disconnection from
the supply mains having a contact
separation in all poles that provide
full disconnection under over voltage
600
600

At power on, displayed “12.00",
or
directly press the button 2,
your setting is saved.
and flashes.
The current time can be set with
button 1 and 3, 5 seconds after
the
time has been set, the new data
will be saved.
F D
G E
23 and 59 minutes.
M
. Enter the
4
and alarm signal will go off. Or the alarm
signal will be turned off automatically
after 2 minutes.
Display field
Seconds Icon
Button1 Button2
F
G
Button3
Cooking time
End of cooking time
timer setting.
D Timer
E Current time
M Function
To decrease the numbers
on the digital display
To increase the numbers
on the digital display M
1 2 3
3
M
2
1
1
M
2
3
1
M
2
3
1
M
2
3

End of cooking time
End of cooking time
end of cooking time
End of cooking time = current time + cooking
time
End of cooking time automatically
change to 5:00.
set either the
cooking time.
end of
Press button 2,
Press the function button,
After the auto function is off, the cooking
time to 0, end of cooking time and
current time remains the same.
cooking time
time,
to adjust the cook
Press any button,the alarm signal and
the icon will go off, Or the alarm
signal will be turned off automatically
after 2 minutes.
want to oven work
of 3 hours, end of cooking time
5:00 3:00 5:00
Cooking time automatically change
to 3:00.
Press any button,the alarm signal and
the icon will go off, Or the alarm
signal will be turned off automatically
after 2 minutes.
the
and
always on.
3
M
2
1
Or press button “MODE” twice.
end
by
to adjust the
cooking time,
and the will go off.
end of cooking time
end of
1
M
2
3
1
M
2
3
2
cooking
end of cooking time:
And press button 2.
cooking

end of cooking time-
end of cooking time
1 and 3.
The oven is switched off
automatically.
end of cooking time. ● End of cooking time > current time
+ cooking time <= 10hours
1 and 3.
●At least more than one-minute
cooking time, cooking time and end of
cooking time must be set.
●If the cooking time is set to 0 or the end of
cooking time set to be the current time,the
auto function will be off.
After the auto function is off, the cooking
time to 0, end of cooking time and
current time remains the same.
This function uses the fan to circulate the
heat from the grill element around the food.
The temperature can be set between 50℃
and250 ℃.
3
M
2
1
3
M
2
1
1
M
2
3
1
M
2
3
1
M
2
3
1
M
2
3

OPERATION CLEANING AND MAINTENANCE
Caution!
When the functions with fan have been
selected but the temperature knob is set to
zero only the fan will be on.
With this function you can cool the dish or
the oven chamber.
Oven guide levels
Baking pans and accessories (oven grid,
baking tray, etc.) may be inserted into the
oven in 5 guiding levels.
By ensuring proper cleaning and •
maintenance of your oven you can have a
significant influence on the continuing fault-
free operation of your appliance.
Before you start cleaning, the oven must
be switched off and you should ensure that
all knobs are set to the "0"position. Do not
start cleaning until the oven has
completely cooled.
I>
Oven
Steam cleaning
-pour 250m I of water (1 cup) into a bowl
placed in the oven on the first level from
the bottom.
- Close the oven door.
-
Set the temperature knob to 100 °C,
and the function knob to the bottom
heater position.
-
Heat the oven chamber for
approximately 30 minutes.
-
Open the oven door, wipe the chamber
inside with a cloth or sponge and wash
using warm water with washing- up
liquid.
Appropriate levels are indicated in the
tables that follow.
Always count levels from the bottom
upwards!
•
The oven should be cleaned after
each use.
•
Cool the oven completely before
cleaning.
•
Never clean the appliance with
pressurized hot steam cleaner.
•
The oven chamber should only be
washed with warm water and a small
amount of washing- up liquid.
•
After cleaning the oven chamber wipe it
dry.
Caution!
Do not use cleaning products containing
abrasive materials for the cleaning and
maintenance of the glass front panel.
17
16
®
@
G)
®
®

Before any maintenance is started
involving electrical parts, the
appliance must be disconnected
from the power supply.
If the oven has been in use, let the
oven cavity and the heating elements
cool down before attempting any
maintenance.
Changing the bulb
Unscrew the protective cover.
We recommend that you wash and dry
the glass cover at this point.
Carefully remove the old bulb and
insert the new bulb suitable for high
temperatures (300ºC) having the
following specifications: 220-240V,
50Hz, 25W, G9 fitting.
Refit the protective cover.
●Switch off all working units of the oven
●Call the service center
●Some minor faults can be fixed by referring to the instructions given in the table
IMPORTANT
Never use screwdrivers or other
utensils to remove the light cover.
This could damage the enamel of the
oven or the lamp holder. Remove only
by hand.
IMPORTANT
Never replace the bulb with bare
hands as contamination from your
fingers can cause premature failure.
Always use a clean cloth or gloves.
Please note:
The bulb replacement is not covered
by your guarantee
.
Knob is

Pastry Baking Table
Type of pastry
Guide level
(from down
upwards)
Temp
(℃)
Guide level
(from down
upwards)
Temp(
℃)
Baking time
(in min.)
Sweet pastry
Raisin cake
2
160-170
2
150-160
55-70
Ring cake
2
160-170
2
150-160
60-70
Tree cake (tart
form)
2
160-170
2
150-160
45-60
Cheese cake
(tart form)
2
180-190
3
160-170
60-80
Fruit cake
2
190-200
3
170-180
50-70
Fruit cake with
icing
2
180-190
3
160-170
60-70
Sponge cake
2
180-190
2
160-170
30-40
Flake cake
3
190-200
3
170-180
25-35
Fruit cake mix
dough
3
180-190
3
160-170
50-70
Cherry cake
3
190-210
3
170-200
30-50
Jelly roll
3
190-200
3
170-180
15-25
Fruit fan
3
160-170
3
150-160
25-35
Plait bun
2
190-210
3
180-210
35-50
Christmas cake
2
180-190
3
170-200
45-70
Apple pie
2
190-210
3
170-200
40-60
Puff paste
2
180-190
3
160-170
40-60
Salted pastry
Bacon roll
2
190-200
3
170-180
45-60
Pizza
2
220-240
3
210-230
30-45
Bread
2
200-220
3
180-210
50-60
Rolls
2
210-230
3
200-220
30-40
Cookies
Caraway roll
3
180-190
3
160-170
15-25
Biscuits
3
180-190
3
160-170
20-30
Danish pastry
3
190-210
3
170-200
20-35
Flaky pastry
3
200-210
3
180-200
20-30
Cream puff
3
190-210
3
170-200
25-45
Deep frozen
pastry
Apple pie,
cheese pie
2
190-210
3
170-200
50-70
Cheese cake
2
190-200
3
170-180
65-85
Pizza
2
210-230
3
200-220
20-30
Chips for oven
2
210-230
3
200-220
20-35
Potato fries for
2
210-230
3
200-220
20-35

Roasting table
Type of meat
Weight
(in grams)
Guide level
(from
bottom up)
Temp
(℃)
Roasting
time
(in min.)
temp
(℃)
Roasting
time
(in min.
)
Beef
Beef loin
1000
2
210-230
2
200-220
100-120
Beef loin
1500
2
210-230
2
200-220
120-150
Roast beef,
rare
1000
2
230-240
2
220-230
30-40
Roast beef,
well done
1000
2
230-240
2
220-230
40-50
Pork
Pork roast with
skin
1500
2
190-200
2
170-180
140-160
Flank
1500
2
200-210
2
180-190
120-150
Flank
2000
2
190-210
2
170-200
150-180
Pork loin
1500
2
210-230
2
200-220
120-140
Meat roll
1500
2
210-230
2
200-220
120-140
Pork cutlet
1500
2
190-210
2
170-200
100-120
Minced meat
roast
1500
2
220-230
2
210-220
60-70
Veal
Veal roll
1500
2
190-210
2
170-200
90-120
Veal knuckle
1700
2
190-210
2
170-200
120-130
Lamp
Lamp prime
ribs
1500
2
200-210
2
180-200
100-120
Mutton blade
bone
1500
2
200-210
2
180-200
120-130
Venison
Hare ribs
1500
2
200-220
2
180-210
100-120
Hare blade
bone
1500
2
200-220
2
180-210
100-120
Boar ham
1500
2
200-220
2
180-210
100-120
Poultry
Chicken entire
1200
2
210-220
2
200-210
60-70
Hen
1500
2
210-220
2
200-210
70-90
Duck
1700
2
190-210
2
170-200
120-150
Goose
4000
2
170-180
2
150-160
180-200
Turkey
5000
2
160-170
2
140-150
180-240
Fish
Fish, entire
1000
2
210-220
2
200-210
50-60
Fish soufflé
1500
2
190-210
2
170-200
50-70

BAKING IN THE OVEN BAKING IN THE OVEN
I)
Grilling
• Take extra precautions when grilling.
Intensive heat from infrared element
makes the oven and the accessories
extremely hot. Use protective gloves and
barbecue accessories!
• Perforated roast may produce spurting
of hot grease(sausages). Use long grill
tongs to prevent skin burns and protect
your eyes.
• Supervise the grill at all time. Excessive
heat may quickly burn your food and
provoke fire!
• Do not let the children in the vicinity of
the grill.
Grill heater is especially suitable for the
preparation of low-fat sausages, meat and
fish fillets and steaks, and for browning
and crisping the roast skin.
Tips for grilling
• Grilling should be carried out with the
oven door closed.
• Grilling tables indicate the recommended
temperature, guide levels and grilling
times, which may
vary
according to the
weight and quality of meat
• Grill element should be pre-heated for 3
minutes.
• Oil the grill grid before placing food on it,
to avoid food sticking to the grid.
• Place the meat upon the grid, then place
the grid upon the grease interception
pan. Insert both trays into the oven
guides.
• Turn the meat round after half of the
grilling time has expired. Thinner slices
will require only one turn, for larger
chunks you might need to repeat the
procedure. Always use barbecue tongs
to avoid losing excessive juice from
meat.
• Dark beef meat is grilled quicker than
lighter pork or veal.
• Clean the grill, the oven and the
accessories each time after use.
Grill table
Type of meat for grill
Weight
(in grams)
Guide
level (from
bottom up)
Temp CC )
E]
Grill time
(in min.)
Meat and sausages
2 beefsteaks, rare
400
5
240
14-16
2 beefsteaks, medium
400
5
240
16-20
2 beefsteaks, well done
400
5
240
20-23
2 pork scrag fillets
350
5
240
19-23
2 pork chops
400
5
240
20-23
2 veal staeks
700
5
240
19-22
4 lamb cutlets
700
5
240
15-18
4 grill sausages
400
5
240
9-14
2 slices of meat cheese
400
5
240
9-13
1 chicken, halved
1400
3
240-250
28-33(1.side)
23-28(2.side.)
Fish
Salmon fillets
400
4
240
19-22
Fish in aluminium foil
500
4
230
10-13
Toast
4 slices of white bread
200
5
240
1,5-3
2 slices of whole meal
200
5
240
2-3
Toast sandwich
600
5
240
4-7
Meat/poultry
Chicken
1000
3
180-200
60-70
Pork roast
1500
3
160-180
90-120
Pork scrag
1500
3
160-180
100-180
Pork knuckle
1000
3
160-180
120-160
Roast beef/ beef fillet
1500
3
190-200
40-80
24
25

P24XBDSS
P24FDBXSB
rating
220-240V
Z
2000W
/
2000W
/
1600W
This manual suits for next models
1
Table of contents
Other PowerPoint Oven manuals
Popular Oven manuals by other brands

CDA
CDA SL500SS Use and maintenance

NEFF
NEFF B6AVH7A 1 Series User manual and installation instructions

PowerXL
PowerXL CRISP 'N BAKE TOD3415B-LA Use & care manual

Hoover
Hoover HOC3U5178IN WIFI User instructions

Middleby Marshall
Middleby Marshall PS724-Series Owner's operating & installation manual

EiE INSTRUMENTS
EiE INSTRUMENTS 107 RT product manual