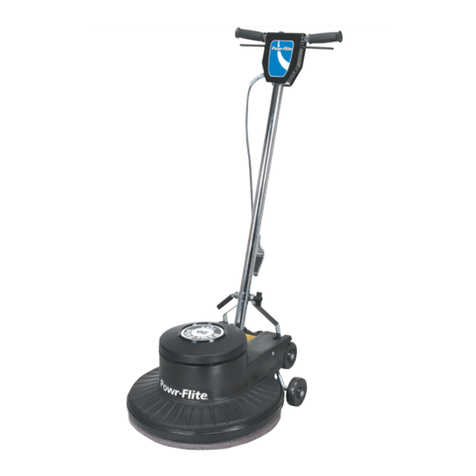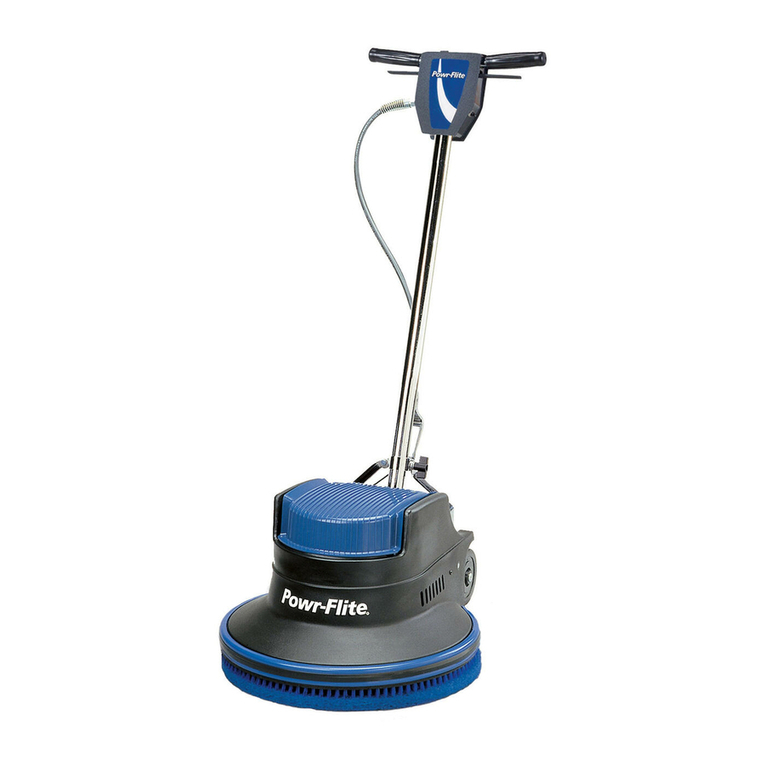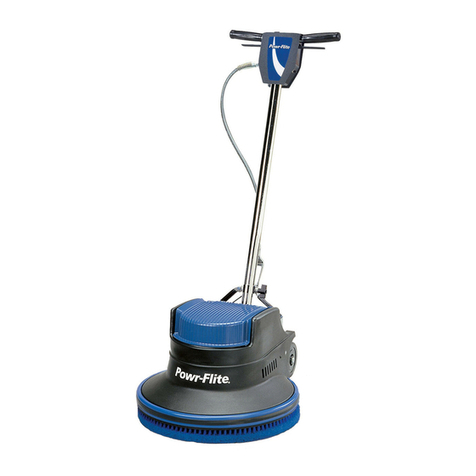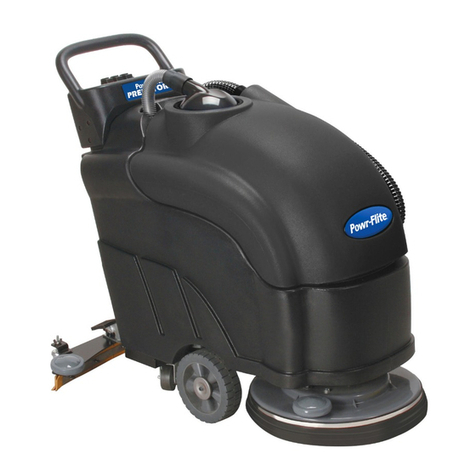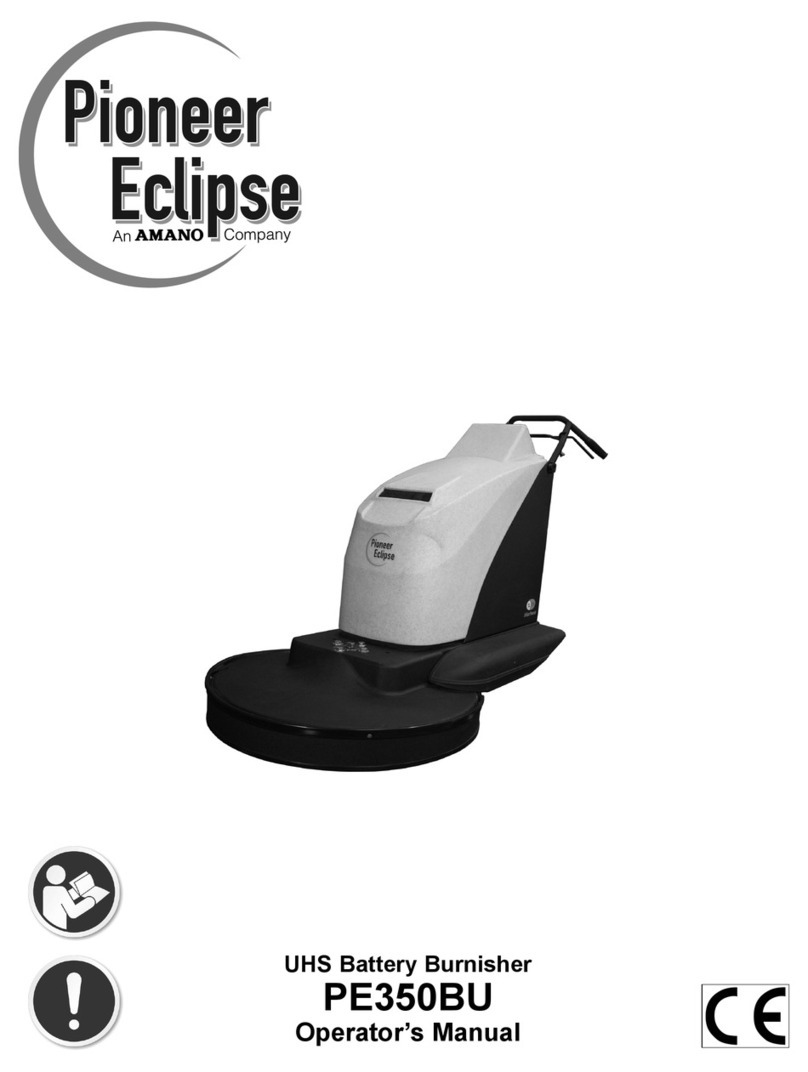
1. Make sure burnish pad is on and attached properly.
See "Pad changing instructions".
2. Adjust pressure on burnish pad by turning "Caster knob"
clockwise to reduce pressure on burnish pad.
3. Move "Toggle switch" to "On" position; green light will
be on.
4. Check "Battery condition meter" before operating.
Meter should be in the "working range" to operate.
5. Adjust handle to proper operating position height by
lifting pin at right side of handle and raising or lowering
the handle to desired position. Then insert pin in
nearest hole.
6. Twist handgrips forward to operate.
7. Check "RPM meter" for proper gauge pressure.
See "Adjusting pad pressure" for instructions.
1. Tilt machine back toward handle. Front of machine
should be off of the ground about 10-12 inches.
2. Unscrew blue "Pad retainer" by turning counter
clockwise. Blue retainer must be removed before
replacing pad.
3. Remove pad for replacement.
4. Replace blue "Pad retainer" and tighten by turning
clockwise. Tighten blue retainer until it bottoms out.
Do not over tighten.
1. With machine turned on and handgrips in the operating
position, check "RPM meter" for pressure:
a. Black area – pressure is too low.
b. Green area – pressure is good.
c. Red area – pressure is too high.
2. To adjust to desired pressure:
a. Turn "Caster knob" clockwise to raise pad and
reduce pressure.
b. Turn "Caster knob" counterclockwise to lower pad
and increase pressure.
3. For the best performance, "RPM meter" should be kept
in the "green" area. A green arrow above the green area
indicates the best pressure.
4. Note: Too much pad pressure may trip the fuse.
1. Move "Toggle Switch" cover.
2. Disconnect the wires from the "Positive terminal" of the
last battery (the one nearest the handle).
3. Remove the "Rear panel." The handle is attached to the
rear panel by unscrewing the 10 bolts.
4. Disconnect wires running from the "Handle" to the
"Chassis."
5. Unscrew the "Fuse" located in the lower left hand
corner of opening.
6. Screw the new "Fuse" to holding blocks.
7. Reattach wires running from the "Handle" to
the "Chassis."
8. Replace "Rear panel" and secure with screws.
9. Reconnect wires to "Positive terminal."
10.Replace "Upper hood cover."
11.Raise the burnish pad by turning "Caster knob."
See "Adjusting pad pressure" for instructions.
1. See instructions on charger before operating.
2. Move "Toggle switch" to "Off" position; green light
will be off.
3. Lift and remove "Upper hood cover".
4. Place charger plug into mating plug on machine located
on the left side behind batteries. Plug will only connect
together one way. Charger plug must go into plug on
the machine to function properly.
5. Then plug charger into grounded 110-volt outlet.
Note: Burnisher should not be turned on when charging.
6. Disconnect charger at 110-volt outlet and at burnisher
before operating.
1. Check batteries for water level each week.
2. Check batteries with a hydrometer every month.
3. Check battery connections each week.
4. Clean battery terminals every month.
5. Empty vacuum bag after each use.
6. Check for any loose bolts or screws every month.
1. Green light will not come on.
a. Check batteries.
b. Check battery connections.
c. Check circuit breaker.
d. Check wire connections to light.
e. Check light.
2. Motor will not run.
a. Check batteries.
b. Check battery connections.
c. Check wire connections to switch.
d. Check wire connections to motor.
e. Check motor.
f. Check circuit breaker.
3. Circuit breaker is tripped.
a. Check pad pressure.
b. Check motor.
c. Check wires.
TROUBLE SHOOTING
PREVENTIVE MAINTENANCE
CHARGING BATTERIES
REPLACE FUSE
ADJUSTING PAD PRESSURE
PAD CHANGING INSTRUCTIONS
OPERATING INSTRUCTIONS
SAVE THESE INSTRUCTIONS FOR FUTURE REFERENCE
*When using an electrical cleaner, basic precautions should be followed.
*Read all instructions before using burnisher.
