PPP Taking Care Your Personal Alarm User manual

Your
Personal
Alarm
SET-UP & USER GUIDE

TAKING CARE
By choosing our service you are joining
thousands of satisfied customers who are staying
safe and independent in their own homes.
This step-by-step guide includes
simple instructions on installing and
using your Personal Alarm. Please keep
it in a safe place for future reference.
Rated 4.8 out of 5July 20
Welcome
2
We’re happy to help if
you have any questions
Please call us on
0800 085 7310
Lines open 9am–5pm
Monday to Friday
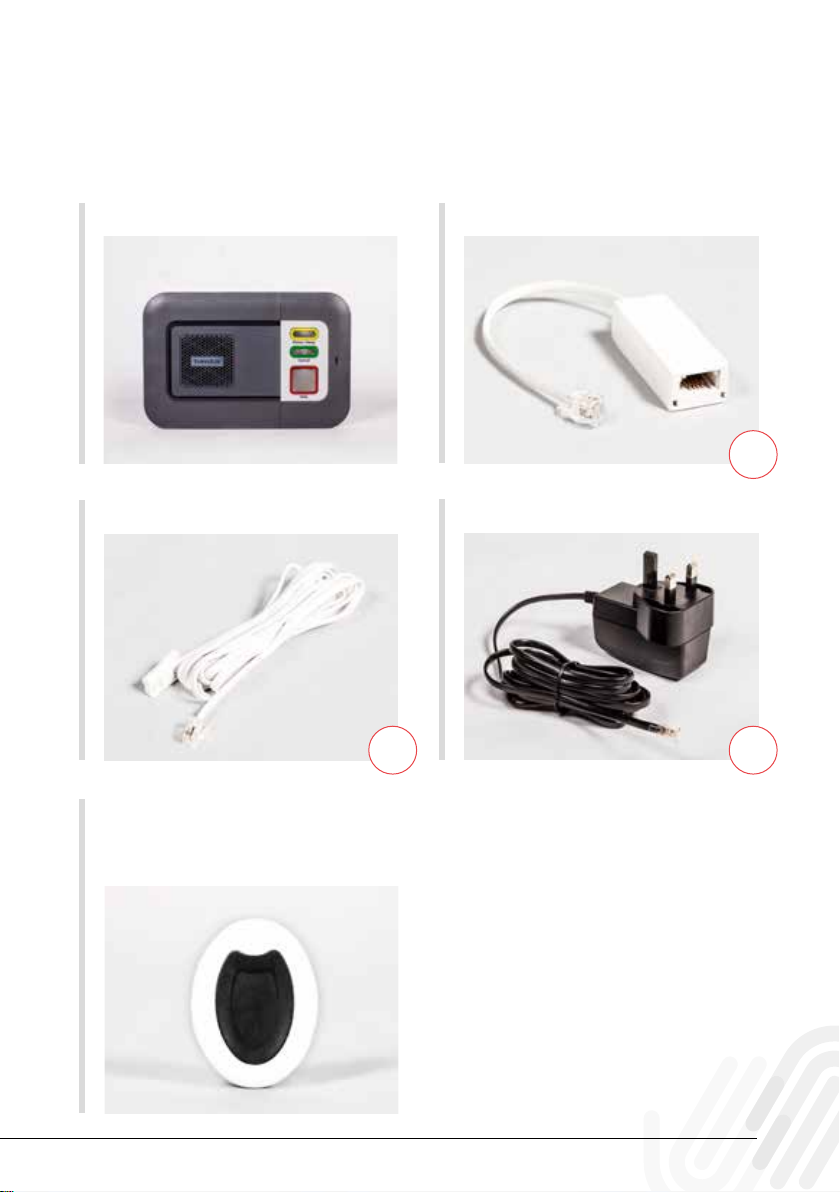
What’s in your Personal Alarm box?
Alarm unit Telephone adapter
Power adapter
Telephone lead
Alarm pendant
(comes with neck cord
and wrist strap)
BC
A


TAKING CARE 4
Contents
Setting up your alarm
Choosing where to put your alarm unit
Connect the leads and power
Set the time and date
Test the alarm unit and alarm pendant
Using your alarm
Your alarm pendant
Your alarm unit
Making an emergency call
Cancelling a call
Quarterly testing
Extension devices
Help and support
Things to remember
Common faults
Specifications
............. 6
............................... 7 - 8
........................................... 9 - 10
............... 11 - 12
............................................ 13 - 14
.................................................... 15 - 16
......................................... 17
............................................... 18
............................................... 18
............................................... 19 - 20
........................................... 21 - 22
............................................................ 23
.............................................................. 24

TAKING CARE
There are now four steps to follow:
• Step One
CHOOSING WHERE TO PUT YOUR ALARM UNIT
• Step Two
CONNECT THE LEADS AND POWER
• Step Three
SET THE TIME AND DATE
• Step Four
TEST THE ALARM UNIT AND ALARM PENDANT
Your alarm service has already been
set up with your details and those of
your emergency contacts.
Setting up
your alarm
Please familiarise yourself with the items on
page 2 before continuing.

6
Choosing the right place for your alarm unit is important; it
should be placed next to a telephone socket with an accessible
power socket available on the same wall within 3 metres of the
alarm unit.
Be sure to choose somewhere where you can easily hear the
unit’s loudspeaker and see the buttons. Keep it away from the
TV (too noisy) or the bathroom (to keep it dry).
Choosing where to put your alarm unit
CHOOSING WHERE
TO PUT YOUR ALARM UNIT
Step One

TAKING CARE
• Plug the telephone lead
into the alarm unit socket labelled
and the telephone wall socket.
B
LINE
Connect the leads and power
• Unplug the existing telephone from the telephone
wall socket (or broadband filter if fitted)
• Plug the telephone adapter
into the alarm unit socket labelled
• Plug the telephone into the telephone adapter
• Please secure any excess cables to avoid trip hazards.
A
A
CONNECT THE
LEADS AND POWER
Step Two
Proximity of telephone to base
unit is for illustration only.
A
BLINE
NO BROADBAND

8
• If your home has broadband, please ensure the alarm unit
is plugged into the ADSL filter provided by your broadband
supplier.
If you do not have one you will need to contact your
broadband supplier.
LINE
B+
B+
BROADBAND
DC C
Only use the power adapter
supplied with the alarm unit
!
Connect the leads and power
• Ensure the mains power wall socket is switched OFF
• Plug in the power adapter
and connect it to the alarm unit socket labelled
• Switch the mains power ON
C
DC
TAKING CARE
Cancel
Make sure you have completed steps one and
two before you continue. You should see a
green LED light on your alarm unit.
When you set the date and time, you won’t see
them shown on the alarm unit, but we need this
information if we see a problem that requires
us to send you an alert.
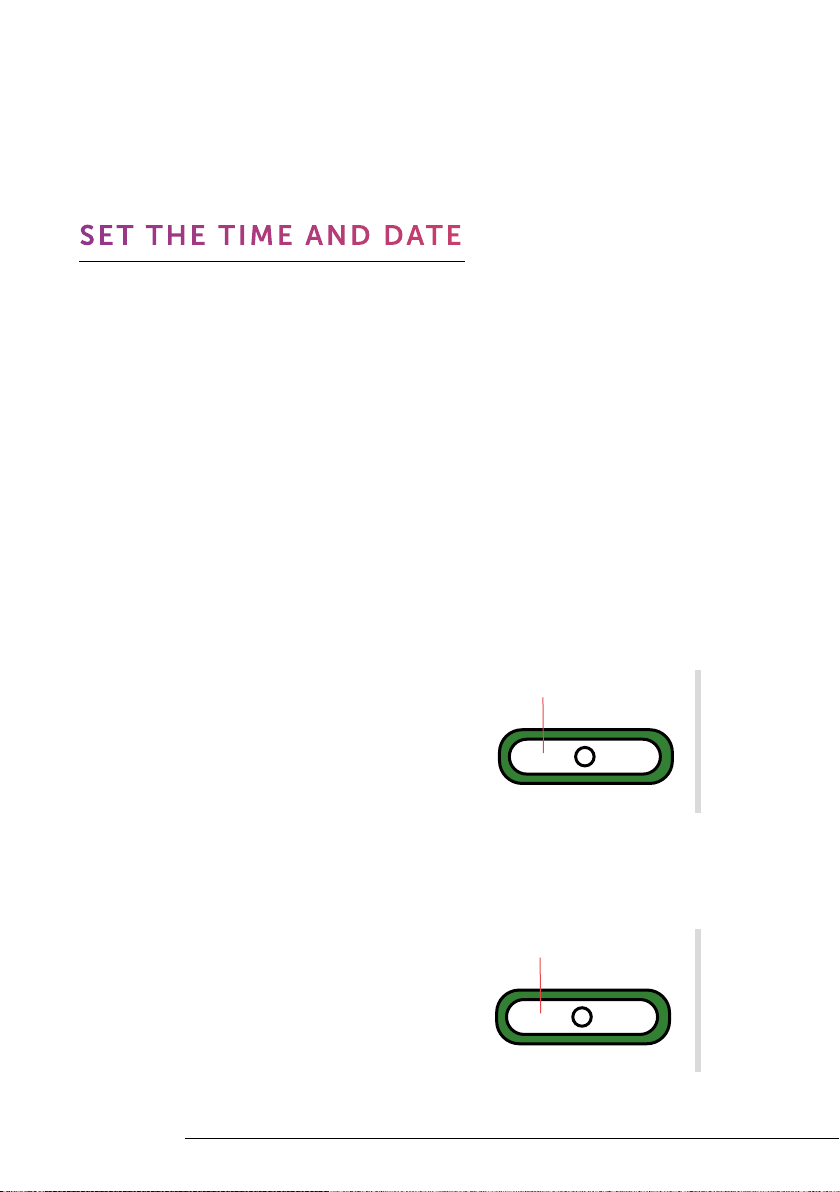
• Press and hold the green cancel button
for six seconds until the unit beeps once.
Cancel
PRESS and HOLD
• Release the button and the unit will
announce “programming mode”.
and RELEASE
Step Three
SET THE TIME AND DATE

10
1 1
35
Cancel
*
• Make sure you know today’s date.
Then lift the telephone handset and
type the following:
*61*
• Now add the day of the month (01-31)
• Add the month (01-12)
• Add the last two digits of this year (00-99)
• Add the hour, using the 24-hr clock (00-23)
• Add the minutes (00-59)
• Then type:
11*
• Now replace the handset
• Press the green cancel button to exit.
For example - 21st June 2020 at 4:35pm would be:
* *
6121 06
The real-time 24-hour clock in the alarm unit
automatically adjusts when the clocks go forward or back
During power cuts the clock has battery
backup for up to 40 hours.
If the unit is powered down or the
battery is depleted, then the clock must
be reset again once power is restored.
Set the time and date
20 16
TAKING CARE
• The alarm pendant works with your alarm unit. You must
link them up by pressing and holding the alarm pendant's
button until the RED light flashes. This will take around four
seconds. Now release the button. Your alarm pendant will
vibrate slightly. You will see a GREEN flashing light that will
continue for five minutes.
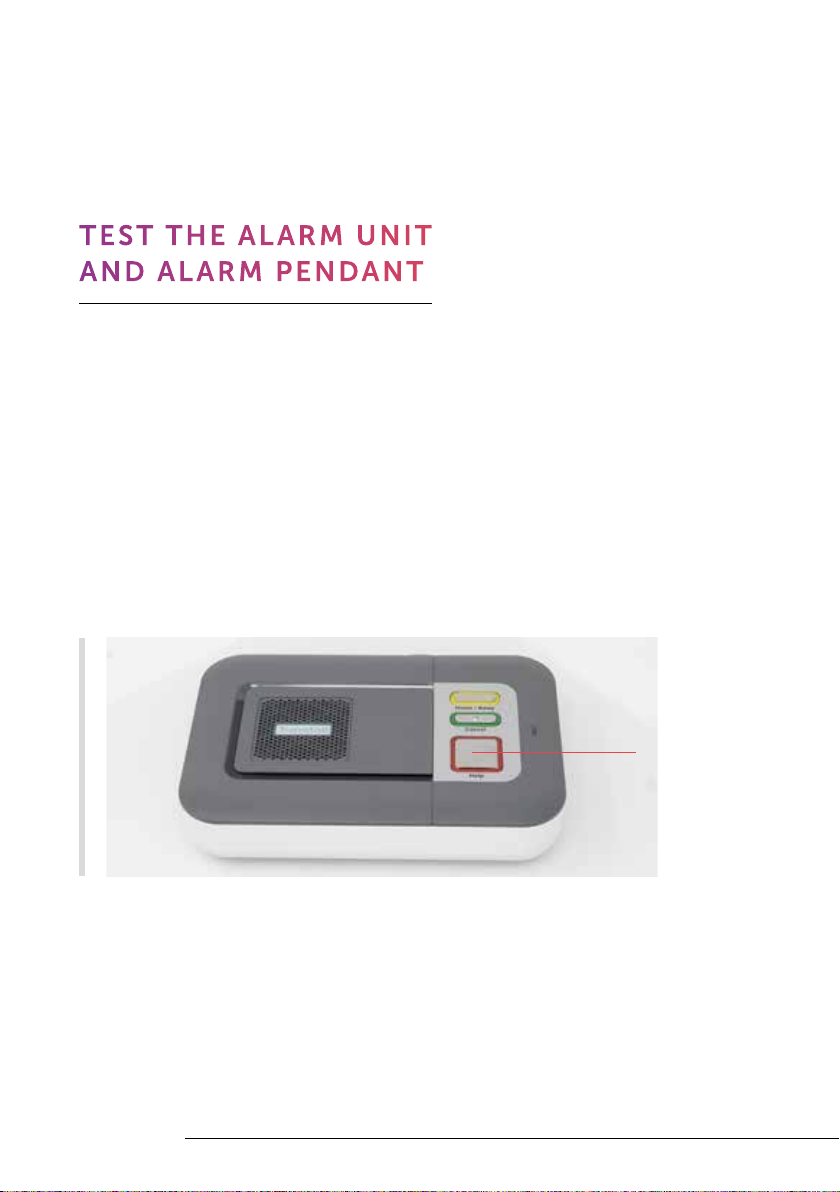
• Wait for 10 minutes. Then activate and test your unit by
pressing the red button on the alarm unit. This will generate
a call through to the Emergency Resolution team.
• When the operator answers, you will hear them respond via
the speaker on the alarm unit. Let them know that you have
just installed the alarm unit. The operator will welcome you
to the service and check they have your correct contact
details.
• They will then guide you through the testing process.
TEST THE ALARM UNIT
ANDALARM PENDANT
Step Four

12
• The testing works out the range of
the unit in your home and garden and
identifies any blackspots. The alarm
pendant should work up to 75m away
from the unit.
• The operator will guide you through
testing at several spots in your home.
You will need to press the alarm
pendant button each time, then return
to the unit to speak to the operator.
• Once you have completed your final alarm pendant
test the operator will thank you and finish the call.
Our friendly team is here to help 24
hours a day, every day of the year.
Test the alarm unit and alarm pendant
TAKING CARE
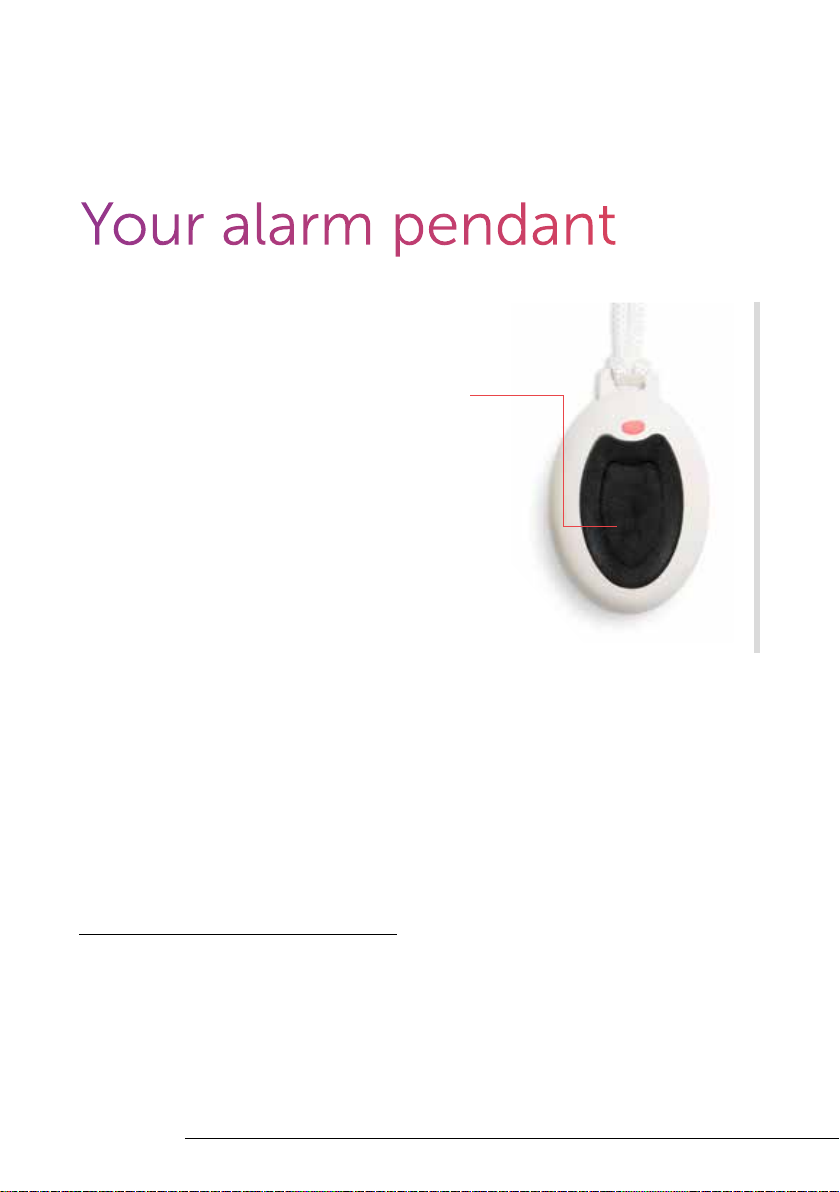
• The alarm pendant works with your
alarm unit.
• When you press the button, a red
light will show and the alarm will alert
our 24 hour Emergency Resolution
team.
• The operator will know who you
are and where you live, even if you
cannot speak or hear them.
• Remember to wear your alarm
pendant all the time (even in the shower),
either around your neck or on your wrist so
that you can always call for help.
• Please test your alarm pendant every quarter.
We recommend choosing your birth date to
make it easier to remember.
Your alarm pendant
TECHNICAL DETAILS
• Water resistant up to one metre, for up to 30 minutes.
• Automatically gives a low battery warning.
• Works up to 75 metres from the alarm unit.

14
• When the button is pressed on the alarm pendant it
will display a small red light. If this light flashes, this
means that the alarm pendant's battery is low. The
alarm pendant will automatically notify the 24 hour
Emergency Resolution team, who will contact you to
arrange a replacement alarm pendant. You don’t need
to do anything.
• In the unlikely event that the alarm pendant does not
light up, the alarm call may not have been transmitted.
You must contact Customer Services on the number
below as soon as possible to arrange a replacement
alarm pendant.
0800 085 7310
THE LIGHT ON YOUR ALARM PENDANT
Your alarm pendant
The alarm pendant will automatically
tell the 24 hour Emergency Resolution
team when its battery is low and they will
contact you to arrange a replacement.
When button is pressed a
small red light will display
TAKING CARE
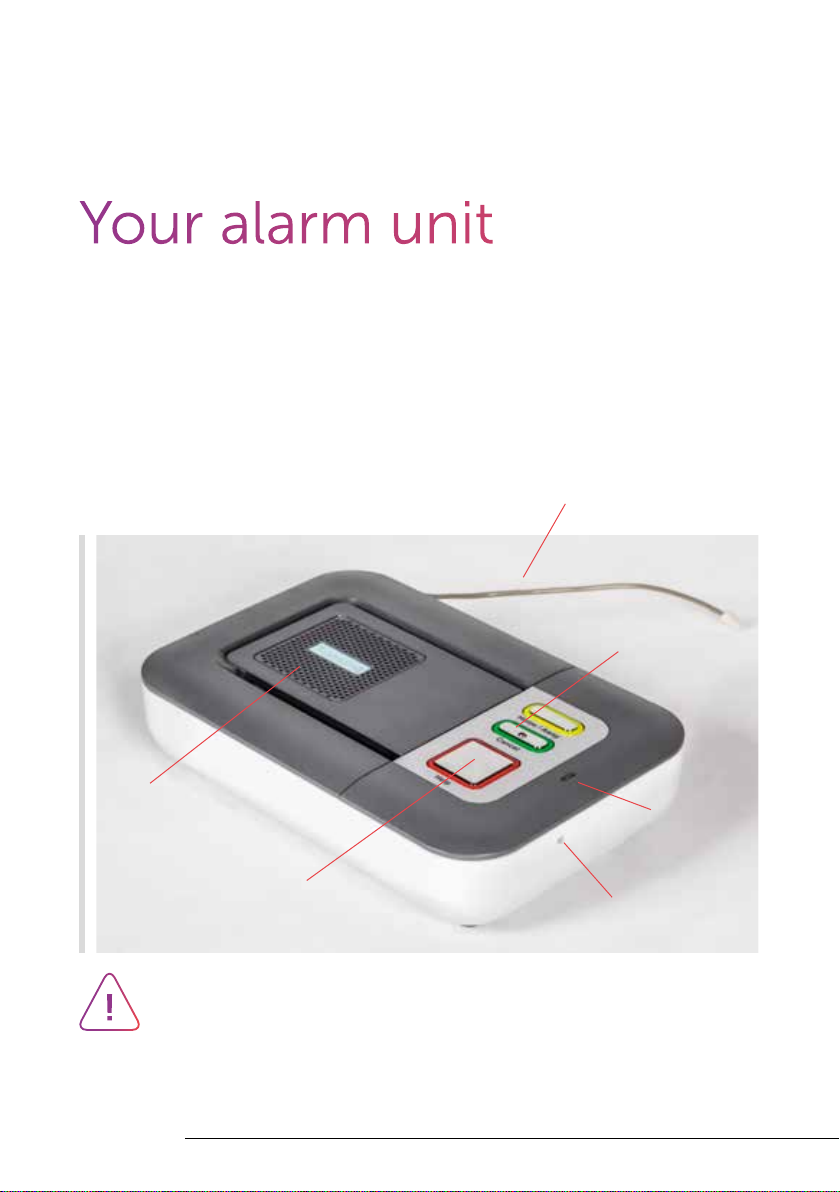
The speaker on your unit is where you will hear the voice of
someone from the Emergency Resolution team.
To work properly, the alarm unit must be plugged into both a
power socket and telephone socket at all times.
Radio Antenna
Speaker
Help Button
(Red) Microphone
Status Light
(Green/Red)
Cancel Button
(Green)
Your alarm unit
Note: The yellow button is not in use on this device.
!

16
STATUS LIGHT GREEN/RED THIS MEANS
Green light on Alarm is working
Red light flashing
(every 4 seconds) Battery is getting low
Red light flashing
(every second)
Telephone line
disconnected
Red/Green flashing Radio interference detected
HELP BUTTON RED THIS MEANS
Red light on Alarm is working
Flashing (every 4 seconds) Battery is getting low
Flashing (every second)
Alarm call raised
You will be connected to
the Emergency Resolution
team
THE LIGHTS ON YOUR ALARM UNIT
Your alarm unit

17
1. If you need help, press either your alarm
pendant button or the red button on the
alarm unit. The alarm indicator will flash
red.
2. The alarm unit will announce ‘Do not worry,
contacting assistance. Please wait while we
connect you to an operator’ and you will
hear several tones as the unit contacts the
Emergency Resolution team.
3. When an operator speaks to you through
the alarm unit, explain your problem. They’ll
know who you are, where you live and your
medical history.
4. If the operator cannot hear you, or you
cannot speak, they will call your house
phone to rule out a possible false alarm.
5. If required we will ask a keyholder to check
on you, and if necessary contact the
emergency services.
Making an
emergency call
18
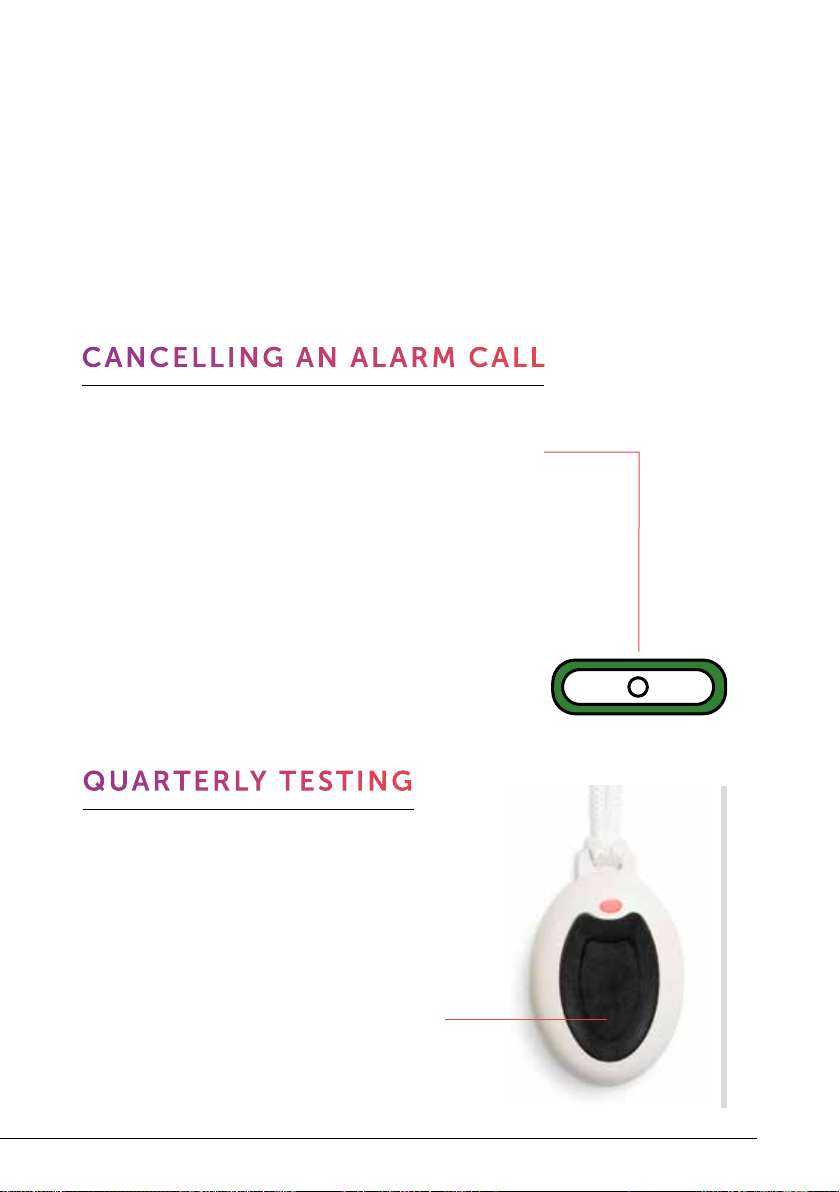
• If you press the red help button by accident,
just wait 5 seconds and press the green
cancel button on the alarm unit. The unit
will not let you cancel immediately (to avoid
accidental cancellation).
• You will know your alarm has been cancelled
when the alarm unit announces;
‘The alarm call has been cancelled’.
CANCELLING AN ALARM CALL
• Please test your alarm every
quarter. We recommend using
your birth date and making a
note in your diary or calendar to
help you remember.
• Then move close to the alarm
unit. Press your alarm pendant
button and speak to one of our
team via the speaker on the unit.
QUARTERLY TESTING
Cancel
TAKING CARE
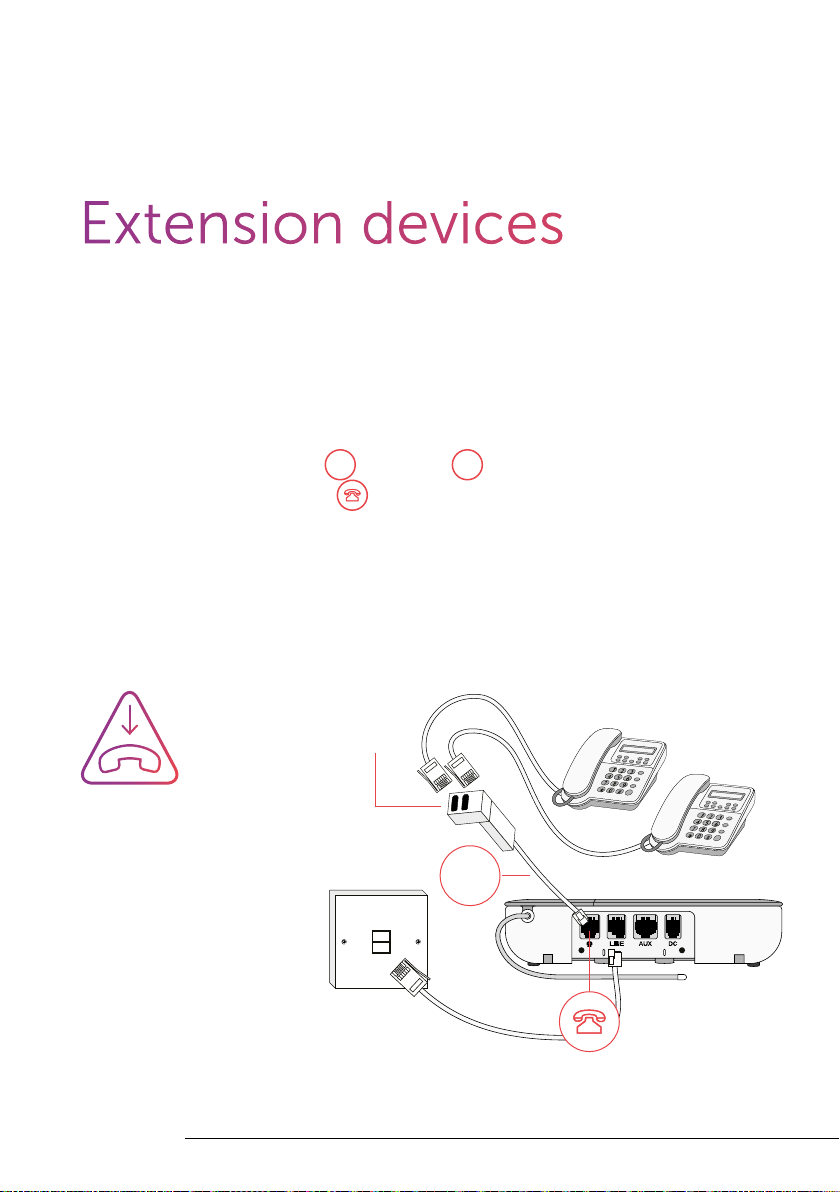
A
Multiple adapter
not supplied
Do you have any other devices that also use
the telephone line?
This could include extension phones or TV set-top
boxes. They must also be plugged into the unit using
the telephone adapter . In turn, must be plugged
into the socket labelled .
These steps are essential, as they let the unit
disconnect any extension telephones when raising an
alarm. A multiple telephone adapter (not supplied) may
be required to connect more than one telephone.
A A
It is important
to ensure that
all handsets are
always firmly
replaced to ensure
your alarm works.
Extension devices
Table of contents
Popular Emergency Phone manuals by other brands

GAI-Tronics
GAI-Tronics Help Point PHP400 GSM Installation and user guide

Rath
Rath 2100-TLL Landline 12v Tower Installation & operation manual

switel
switel POWERTEL TF 51 operating instructions

Rath
Rath SmartPhone VI Troubleshooting & Diagrams

Viking
Viking E-1600A series Technical practice

Linear
Linear PERS-4200 Series quick guide


