3.
Settings
Before recording, you can set up the device according to your requirements.
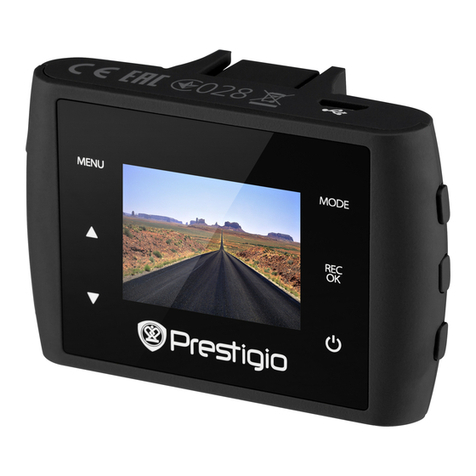
- In video/picture preview mode, press [ ] to enter video/picture settings.
- In setting list, use [ ]/[ ] to navigate the menu, press [REC] to confirm the
selection, and [ ] to exit.
Video settings
•Resolution: Select the resolution of recorded video: 1080FHD / 1920x1080.
•Seamless: Set the video duration (1, 3, 5 minutes or off) for loop recording. When the microSD
card is full, the device will delete the oldest unlocked video file automatically.
•Motion detection: Turn on or off motion detection. If there is any motion detected while the car
engine is stopped, your car DVR will start recording automatically.
•Automatic video recording upon start on: Set the DVR to start recording when power on.
•Video recording upon turn on: Select a time span for the DVR to power on when the car engine
starts.
•Video recording upon turn off: Select a time span for the DVR to power off when the car engine
stops.
•Time lapse: Off/1 sec/3 sec/5 sec.
•Video stamp: Add date, car number, logo stamp onto videos.
Picture settings
•Photo Quality Set the quality of photos: super fine, fine, or normal.
•Self-capture: Turn it off or on.
•Sequence Capture: Take 3 photos in quick succession.
•Continuous Shooting: Take photos continuously.
•Self-timer: Set to 5 seconds, or 10 seconds.
•Date Plate: Add date stamp onto photos.
General settings
•Language: Choose your language.
•Format: Format the memory card.
Formatting will erase all your stored data. Back up your data before proceeding.
•Date: Use up or down key to change the digits and press [REC] to go to next item.
•TV out: NTSC/PAL.
•Sound recording: Select to turn on or off the microphone, and adjust the volume.
•Auto LCD off Time: Set the time for automatic LCD off when the device is not in use, press any
button to wake up.
•Saving Power:Set automatic power off when the device is not in use.
•Exposure: Set exposure value to determine how much light the camera’s sensor receives. For
lowlight situations, use a higher exposure.
•Light frequency: For a given luminance, the frequency of light fluctuation that evokes a
sensation of flicker. Set a right flickering frequency to avoid horizontal stripe interference.
•Sharpness: Set pictures/videos sharpness.
•Car number set: Set the car plate/registration number if necessary.
•Stamp: Add information stamp to videos/photos.
•White Balance: Select an appropriate white balance, so images have a true-to-life color range. It
is for specific lighting situations.
•EV compensation: If the light is dim, increase the exposure value in order to make the picture
clear.
