PRIJON PRO-seat-system User manual

PRIJON GmbH
Innlände 6 Tel.: +49/8031/3037-15 www.prijon.com
D - 83022 Rosenheim Fax: +49/8031/3037-99 info@prijon.com
Einstellung PRO-Sitzanlage in Prijon Wildwasserkajaks
How to adjust the PRO-seat-system in Prijon whitewater kayaks
In Ihrem Prijon Wildwasserkajak können Sie die Position des Sitzes, die Prallplatte, die 3-D Schenkelstützen und den Rückengurt individuell
einstellen. Bitte tragen Sie während der Einstellung Ihre Paddelkleidung um diese korrekt vornehmen zu können. Alle Einstellungen können
Sie mit dem sich auf der Rückseite des Rückengurts befindenden Innensechskant-Schlüssel vornehmen.
You can individually adjust the position of the seat, the plate footrest, the 3-D thigh braces and the backbelt in your Prijon kayak. Please wear
your kayaking gear when adjusting the seat system to have a correct positioning afterwards. You can do all adjustments with the help of the
hex key, which is located behind the backbelt.
Schritt 1: Position der Sitzanlage einstellen / Position of seat system
Um die Sitzanlage nach vorne oder hinten zu verschieben lösen Sie
zuerst die beiden Schrauben rechts und links vom Süllrand und
nehmen sie heraus. Anschließend schieben Sie die Sitzanlage nach
vorne oder hinten in die gewünschte Position.
To move the seat system, loosen the screws on the left and right side
of the cockpit and take them out. Then you can slide it to the front or
rear.
Die Sitzschiene hat fünf Befestigungsmöglichkeiten.
The seat rail has five positions.
Info:
Mutter nach hinten = Sitz nach vorne
Mutter nach vorne = Sitz nach hinten
Nut to the rear = Seat to the front
Nut to the front = Seat to the rear
Schieben Sie (z.B. mit Hilfe des Innensechskant-Schlüssels) die
Mutter in der Sitzschiene in eine der fünf Positionen und dann das
Sitzsystem so, dass Sie von außen durch das Loch die Mutter sehen
können. Jetzt die Schraube wieder einsetzen und fest ziehen.
With the help of the hex key you can now move the nut in the seat
rail in one of the five positions, so that you can see it from the
outside through the hole in the hull. Then you put in the screw again
and fasten it.
Schritt 2: Prallplatte / Full plate footrest
Die Prallplatte kann sowohl im Abstand zur Sitzanlage als auch in ihrer Breite
verstellt werden. Um den Abstand zur Sitzanlage zu verändern lösen Sie die
Rändelmuttern rechts und links, stecken die Prallplatte an der gewünschten
Position wieder auf und fixieren die Muttern.
The full plate footrest can be adjusted both in the distance to the seat and in its
width. Do change the distance to seat, loosen the knurled nuts on the left and right
side, move the footrest to the desired position, clip it on the screws and fasten the
nuts again.
Um die Prallplatte in der Breite zu verstellen nehmen Sie zuerst den vorderen Keil
aus dem Boot. Dafür drücken Sie ihn oben nach vorne und ziehen ihn unten zu sich
her.
To change the width of the footrest plate, take out the foam pillar. To do so, push it
to the front on top and pull it to the rear on the bottom.
Dann lösen Sie die Rändelmuttern der Prallplatte und nehmen die Prallplatte aus
dem Boot. Anschließend nehmen Sie die Schaumauflage ab.
Then you loosen the knurled nuts, take out the footrest and take off the foam plate.

PRIJON GmbH
Innlände 6 Tel.: +49/8031/3037-15 www.prijon.com
D - 83022 Rosenheim Fax: +49/8031/3037-99 info@prijon.com
Mit dem Innensechskant-Schlüssel lösen Sie die mittige Schraube. Nun können Sie
die Prallplatte auseinander ziehen (für eine Position näher am Sitz) oder
zusammenschieben (für eine weiter vom Sitz entfernte Position). Wenn Sie die
gewünschte und zur Position der Prallplatte passende Breite gefunden haben
ziehen Sie die mittige Schraube wieder fest. Wenn die Prallplatte näher zum Sitz
gerutscht ist bringen Sie die Schaumauflage wieder an. Wenn sie weiter weg
montiert wird können Sie die Auflage auch weg lassen.
With the hex key you now loosen the centered screw. By pulling on both sides you
can widen it (for a position closer to the seat) or push it together (for a position
further away). When you found the desired width matching the position of the
footrest you fasten the centered screw again. When you moved the footrest closer
to the seat you attached the foam plate again. If you moved further away from the
seat you can leave it off.
Legen Sie die Prallplatte wieder ins Boot und fixieren Sie sie mit den Rändelmuttern.
Dann bauen Sie den Keil durch Drücken unten und Ziehen oben wieder ein.
Put the footrest plate in the boat again and fix it with the knurled nuts. Then you
reintegrate the foam pillar by pushing on the bottom and pulling on the top.
Schritt 3: 3-D Schenkelstützen / 3-D thigh braces
Setzen Sie sich nun in Ihr Kajak. Mithilfe des Innensechskant-Schlüssels lösen Sie die jeweils
weiter von Ihnen entfernte Schraube leicht. Nun können Sie die Stützen nach innen oder außen
verschieben. Anschließend die Schraube wieder fest ziehen.
Now, have a seat in your kayak. Use the hex key to loosen the screw which is further away from
the seat a little bit. You can now move the thigh braces to the left and right. Don’t forget to
tighten the screw again when you found your perfect position.
Um die Stützen zu versetzen greifen Sie zuerst mit der Hand zwischen Schaumpolster und
Stütze und halten die Mutter fest. Anschließend lösen Sie die Schraube von außen komplett.
Dann versetzen Sie die Mutter an die gewünschte Stelle in der Stütze, klicken die Stütze wieder
auf das Distanzstück, so dass die Mutter genau unterhalb der Schraube sitzt und ziehen sie fest.
Den Innensechskant-Schlüssel nun wieder auf der Rückseite des Rückengurts fixieren.
To relocate the thigh braces you put your hand upside down between the plastic and the foam
and grab the nut. Then you completely loosen the screw. Now put the nut in another rail of the
plastic piece, click the plastic piece in the distance piece again so that the nut is at the same
position as the screw and fasten the screw again. Finally, put the hex key back behind the
backbelt and fix it there.
Schritt 4: Rückengurt / Backbelt
Mit den Ratschen am Süllrand können Sie nun den Rückengurt in die gewünschte Position
bringen. An der Lasche ziehen ratscht den Gurt weiter nach vorne, den schwarzen Hebel
drücken löst die Ratsche und die Spannung des Gurts lässt nach.
By using the ratchets on the side of the cockpit you can bring the backbelt in the desired
position. Pulling on the lug brings the backbelt more to the front, pushing the black lever
loosens the ratched and reduces the tension of the backbelt.
Schritt 5: Sitzfittings / Seat fittings
Die selbstklebenden Pads können Sie nach Bedarf zuschneiden und unter der Sitzauflage und den
Hüftpads aufkleben, um den Sitz so bequem und individuell wie möglich zu formen.
You can individually cut the self-adhesive pads and affix them below the seat and the hip pads to
increase the comfort and fitting of the seat.
Benutzerhandbuch zum Download: www.prijon.com/download-center.html
Owners Manual for Download: www.en.prijon.com/download-center.html
Table of contents
Popular Boating Equipment manuals by other brands
Teleflex Marine
Teleflex Marine XTREME NFB HELM Installation instructions and owner's manual
Sea-Dog
Sea-Dog Boat Hook Spinner Assembly instructions
Sunstream
Sunstream FL10014 Use and installation manual
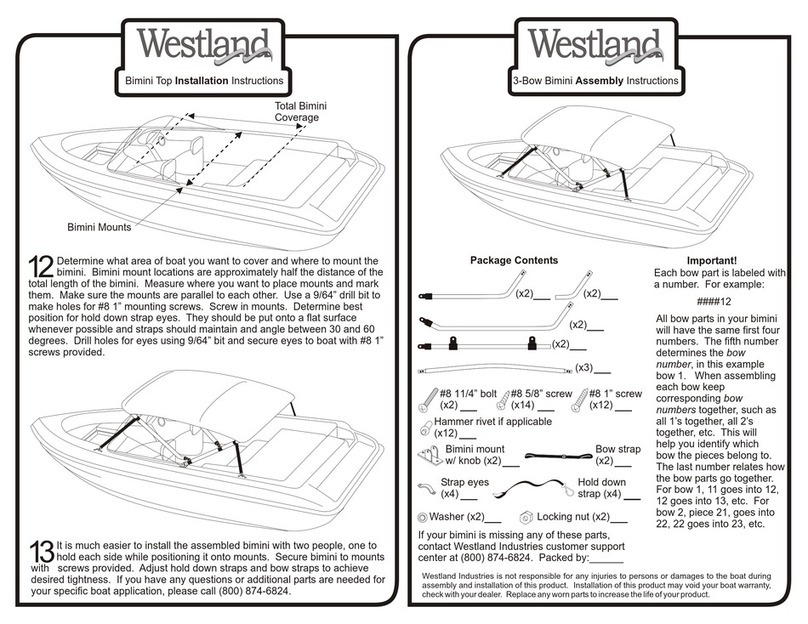
Westland
Westland 3-Bow Bimini Assembly instructions
M Jennings & Co
M Jennings & Co Hello Sailor owner's manual

Johnson Outdoors
Johnson Outdoors Old Town Malibu Two XL instructions
