manuals.online logo
Brands
  1. Home
  2. •
  3. Brands
  4. •
  5. Pro-Elec
  6. •
  7. Floodlight
  8. •
  9. Pro-Elec PELL0295 User manual

Pro-Elec PELL0295 User manual

1
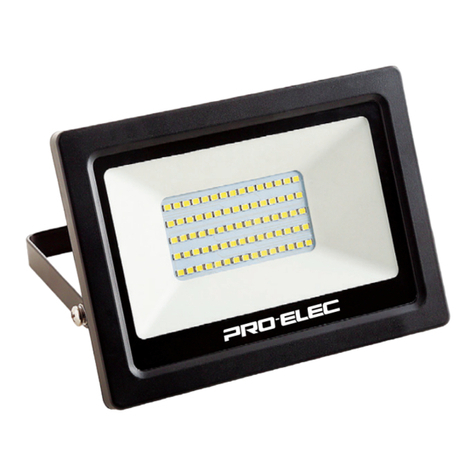
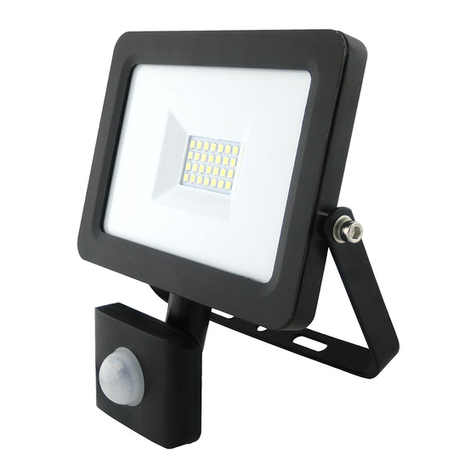
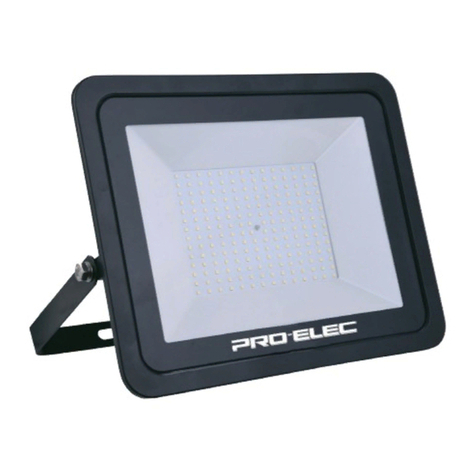
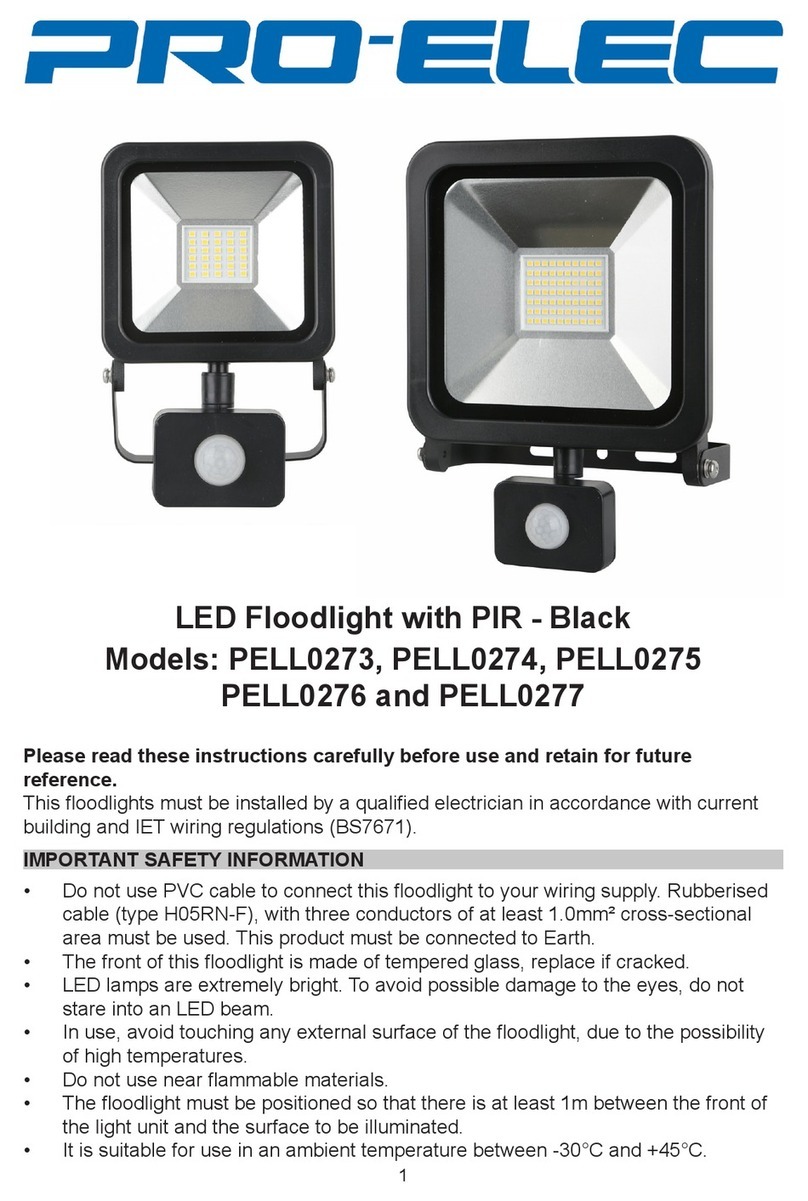
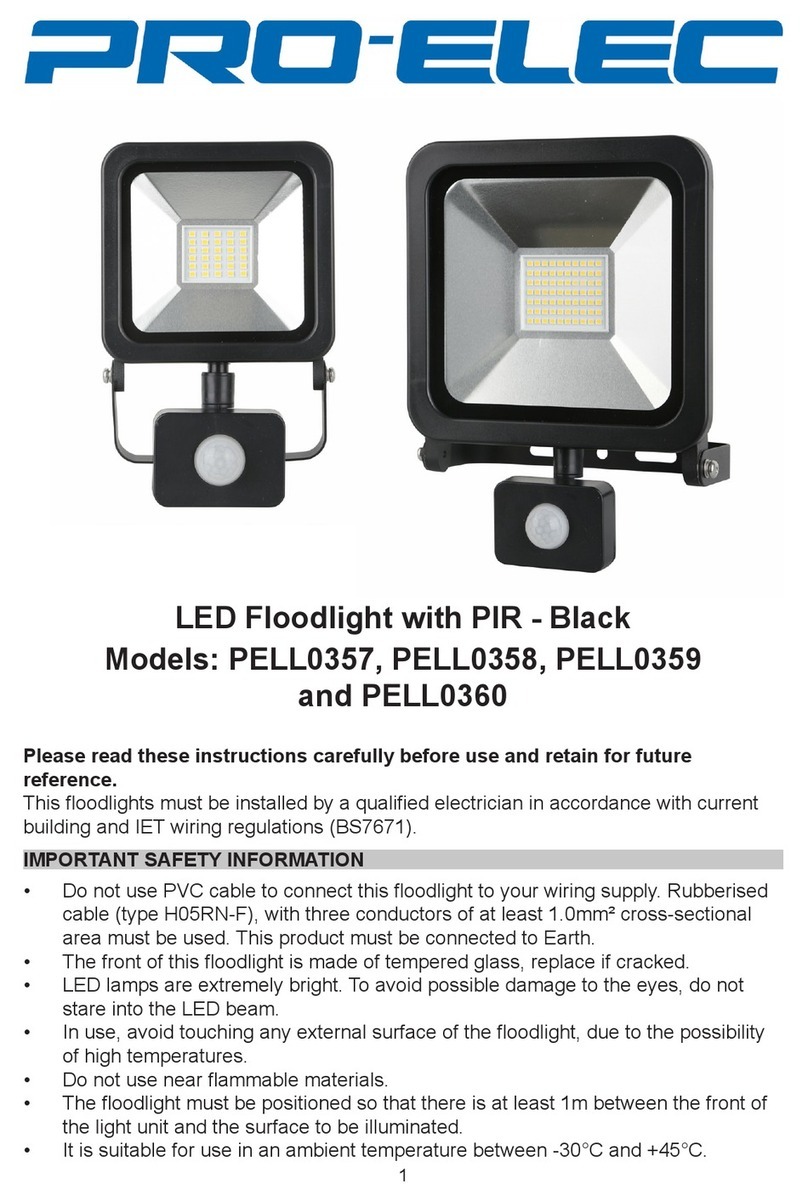
LED Floodlight with PIR - Black
Models: PELL0295, PELL0296, PELL0297
PELL0298 and PELL0299
Please read these instructions carefully before use and retain for future
reference.
This oodlights must be installed by a qualied electrician in accordance with current
building and IET wiring regulations (BS7671).
IMPORTANT SAFETY INFORMATION
• Do not use PVC cable to connect this oodlight to your wiring supply. Rubberised
cable (type H05RN-F), with three conductors of at least 1.0mm² cross-sectional
area must be used. This product must be connected to Earth.
• The front of this oodlight is made of tempered glass, replace if cracked.
• LED lamps are extremely bright. To avoid possible damage to the eyes, do not
stare into an LED beam.
• In use, avoid touching any external surface of the oodlight, due to the possibility
of high temperatures.
• Do not use near ammable materials.
• The oodlight must be positioned so that there is at least 1m between the front of
the light unit and the surface to be illuminated.
• It is suitable for use in an ambient temperature between -30°C and +45°C.
2
The oodlight has a beam angle of 120°. It can be tilted upwards and downwards at a
recommended angle of approximately 90°. The angle of adjustment will vary slightly
between models.
INSTALLATION
The oodlight is suitable for connection to a 220-240V 50Hz earthed AC supply. It is
designed for permanent connection to xed wiring, which must be a suitable circuit
protected by an RCD with an operating current not exceeding 30mA and an MCB or
fuse of the correct rating.
Mounting the Floodlight
• Before commencing installation, check that you have all of the tools you need.
• Check that the oodlight is not damaged. If there is any damage, return it to the
place of purchase. Do not attempt to repair it yourself.
• Choose your location to x the oodlight, taking into account the guidance above.
• Use the oodlight bracket to mark the position of the xing holes.
• Drill the xing holes and x the oodlight into position using appropriate size
screws and wall plugs (not provided). Check that it is securely xed.
• This oodlight is suitable for outdoor lighting applications, for domestic use only.
• Do not use in areas where an explosive or chemical atmosphere may exist. Do not
use in areas where ventilation is restricted.
• It is suitable for mounting on plasterboard, wood or masonry surfaces. Highly
ammable surfaces such as plastic or polystyrene must not be used.
• Do not install on damp or conductive surfaces such as metal. It should be placed
away from any ammable materials.
• Before drilling any xing holes, check that there are no hidden obstructions behind
the mounting surface such as pipes or cables.
• The recommended height for installation of the oodlight is between 0.5 and 3
metres.
• Ensure that there is space around the oodlight to allow adequate circulation of air.
• Orientation of the oodlight is important as shown below:
POSITIONING
Angle of Adjustment
90o
O
P
Beam Angle
120o
3
Wiring the Floodlight
• Ensure that the mains supply is isolated before commencing installation.
• A suitable rated connector must be used to connect the lead from the oodlight to
the mains supply.
• Connect the mains cable to the connector. Ensure that the correct polarities for
Live, Neutral and Earth are observed i.e.
- Green/yellow - Earth terminal
- Brown - Live terminal
- Blue - Neutral terminal
After wiring, check that there are no stray strands and that all the wires have been
correctly installed.
• Before connecting power, perform the electrical tests specied in the current
Building and IET Wiring Regulation to ensure that the installation is safe and that
the wiring has been performed correctly.
• Restore the mains power supply and check that the oodlight illuminates the
required area. Tighten the oodlight using the bolts on the brackets.
CLEANING & MAINTENANCE
• Clean the oodlight only with a soft dry cloth. Do not use any chemicals, abrasives
or solvents that could damage the oodlight.
• The oodlight has a sealed LED lamp and is maintenance free. The LED lamp
cannot be replaced. When the LED lamp reaches the end of its life, the oodlight
will have to be replaced.
OPERATION
Time Sens Lux
• Adjusting the PIR Sensor
• There are three adjustments on the back of the PIR sensor, one adjusts the
duration the oodlight remain lit, the second one is for the sensitivity of movement
detection and the third is to set the level of ambient light before the sensor triggers
the illumination. Some trial and error may be required to set these correctly.
• Adjust the light level so the oodlight doesn’t activate until the light level is low
enough for oodlighting to be required.
• Adjust the timer setting for the required duration you require for the oodlight to
remain illuminated.
4
SPECIFICATION
Model PELL0295 PELL0296 PELL0297 PELL0298 PELL0299
Cable Length 1m 1m 1m 1m 1m
Input Voltage 220-240V AC
50Hz
220-240V AC
50Hz
220-240V AC
50Hz
220-240V AC
50Hz
220-240V AC
50Hz
Luminous ux 680lm 1380lm 2100lm 3600lm 7500lm
Wattage 10W 20W 30W 50W 100W
Beam angle 120° 120° 120° 120° 120°
Dimmable No No No No No
Nominal lifetime
25,000h 25,000h 25,000h 25,000h 25,000h
Light source SMD2835 SMD2835 SMD2835 SMD2835 SMD2835
Colour
temperature 6000K 6000K 6000K 6000K 6000K
Ingress rating IP44 IP44 IP44 IP44 IP44
PIR Detection
Range 8M (±2M) max 8M (±2M) max 8M (±2M) max 8M (±2M) max 8M (±2M) max
PIR Lux
Adjustment <5-2000lux <5-2000lux <5-2000lux <5-2000lux <5-2000lux
PIR Detection
Angle 120° 120° 120° 120° 120°
PIR Time Setting 10Sec (±3s) -
10min (±2min)
10Sec (±3s) -
10min (±2min)
10Sec (±3s) -
10min (±2min)
10Sec (±3s) -
10min (±2min)
10Sec (±3s) -
10min (±2min)
Earthing Class I Class I Class I Class I Class I
Weight 0.27kg 0.34kg 0.50kg 0.66kg 1.2kg
Dimensions
WxHxD (mm) 162x87x58 184x111x58
205x142x60 235x170x60 316x225x60
INFORMATION ON WASTE DISPOSAL FOR CONSUMERS OF
ELECTRICAL & ELECTRONIC EQUIPMENT.
When this product has reached the end of its life it must be treated as Waste Electrical & Electronic
Equipment (WEEE). Any WEEE marked products must not be mixed with general household waste,
but kept separate for the treatment, recovery and recycling of the materials used. Contact your local
authority for details of recycling schemes in your area.
Made in China
PO Box 13362 Dublin 2
PR2 9PP
Man Rev 1.2
These products contain a light source of energy e󰀩ciency class F

This manual suits for next models

4

Other Pro-Elec Floodlight manuals

Pro-Elec SR09941 User manual

Pro-Elec

Pro-Elec SR09941 User manual

Pro-Elec PELL0352 User manual

Pro-Elec

Pro-Elec PELL0352 User manual

Pro-Elec PEL00930 User manual

Pro-Elec

Pro-Elec PEL00930 User manual

Pro-Elec PELL0278 User manual

Pro-Elec

Pro-Elec PELL0278 User manual

Pro-Elec PEL00926 User manual

Pro-Elec

Pro-Elec PEL00926 User manual

Pro-Elec PEL01347 User manual

Pro-Elec

Pro-Elec PEL01347 User manual

Pro-Elec PELL0365 User manual

Pro-Elec

Pro-Elec PELL0365 User manual

Pro-Elec PELL0268 User manual

Pro-Elec

Pro-Elec PELL0268 User manual

Pro-Elec PEL00934 User manual

Pro-Elec

Pro-Elec PEL00934 User manual

Pro-Elec PEL01343 User manual

Pro-Elec

Pro-Elec PEL01343 User manual

Pro-Elec PEL00416 User manual

Pro-Elec

Pro-Elec PEL00416 User manual

Pro-Elec PEL00547 User manual

Pro-Elec

Pro-Elec PEL00547 User manual

Pro-Elec PELL0289 User manual

Pro-Elec

Pro-Elec PELL0289 User manual

Pro-Elec SR09944 User manual

Pro-Elec

Pro-Elec SR09944 User manual

Pro-Elec PELL0348 User manual

Pro-Elec

Pro-Elec PELL0348 User manual

Pro-Elec PELL0273 User manual

Pro-Elec

Pro-Elec PELL0273 User manual

Pro-Elec PEL01346 User manual

Pro-Elec

Pro-Elec PEL01346 User manual

Pro-Elec PEL00500 User manual

Pro-Elec

Pro-Elec PEL00500 User manual

Pro-Elec PELL0290 User manual

Pro-Elec

Pro-Elec PELL0290 User manual

Pro-Elec PELL0283 User manual

Pro-Elec

Pro-Elec PELL0283 User manual

Pro-Elec PELL0357 User manual

Pro-Elec

Pro-Elec PELL0357 User manual

Pro-Elec LP07816 User manual

Pro-Elec

Pro-Elec LP07816 User manual

Pro-Elec PEL01012 User manual

Pro-Elec

Pro-Elec PEL01012 User manual

Pro-Elec PEL00935 User manual

Pro-Elec

Pro-Elec PEL00935 User manual

Popular Floodlight manuals by other brands

Wasserstein Floodlight with Charger user manual

Wasserstein

Wasserstein Floodlight with Charger user manual

Acclaim Lighting RDD Information sheet

Acclaim Lighting

Acclaim Lighting RDD Information sheet

ColorKey Twin Airship user manual

ColorKey

ColorKey Twin Airship user manual

Cooper NSSFMV Series operating instructions

Cooper

Cooper NSSFMV Series operating instructions

Lyyt FLB10C quick guide

Lyyt

Lyyt FLB10C quick guide

Highendled YHLL-001TZ 4IN1 LED Par Operation manual

Highendled

Highendled YHLL-001TZ 4IN1 LED Par Operation manual

Eterna SL226W Safety and installation instructions

Eterna

Eterna SL226W Safety and installation instructions

Enlite EN-FL10A installation instructions

Enlite

Enlite EN-FL10A installation instructions

Sealey ML300C.V3 instructions

Sealey

Sealey ML300C.V3 instructions

Hugo Lahme VitaLight POWER LED 24 x 3 W user manual

Hugo Lahme

Hugo Lahme VitaLight POWER LED 24 x 3 W user manual

STEINEL PROFESSIONAL XLED FL-50 installation instructions

STEINEL PROFESSIONAL

STEINEL PROFESSIONAL XLED FL-50 installation instructions

Pierlite MML Series Installation instruction

Pierlite

Pierlite MML Series Installation instruction

BEGA Gobo 84976 Instructions for use

BEGA

BEGA Gobo 84976 Instructions for use

Chauvet Intimidator Barrel LED 300 user manual

Chauvet

Chauvet Intimidator Barrel LED 300 user manual

EuroLite DMX OPERATOR user manual

EuroLite

EuroLite DMX OPERATOR user manual

Rebel Light URZ3484 user manual

Rebel Light

Rebel Light URZ3484 user manual

PXM Ceiling PxArt+ 12 manual

PXM

PXM Ceiling PxArt+ 12 manual

Golight Radioray 7900 Instruction guide

Golight

Golight Radioray 7900 Instruction guide

manuals.online logo
manuals.online logoBrands
  • About & Mission
  • Contact us
  • Privacy Policy
  • Terms and Conditions

Copyright 2025 Manuals.Online. All Rights Reserved.