manuals.online logo
Brands
  1. Home
  2. •
  3. Brands
  4. •
  5. Pro-Elec
  6. •
  7. Heater
  8. •
  9. Pro-Elec PELL0214 User manual

Pro-Elec PELL0214 User manual

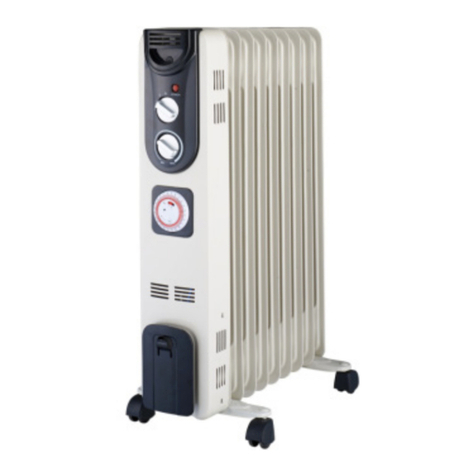
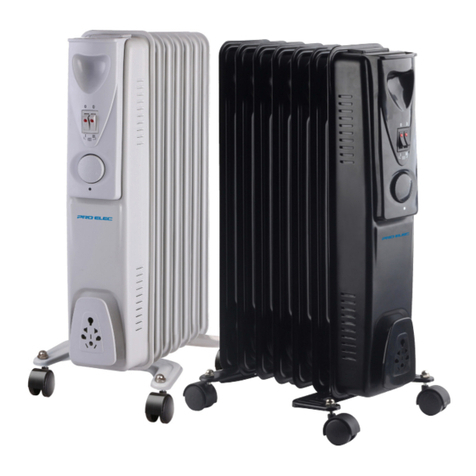
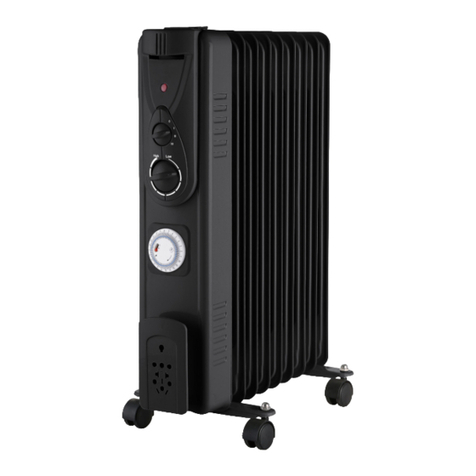
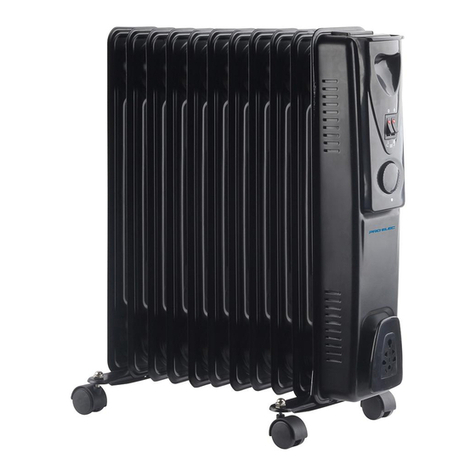
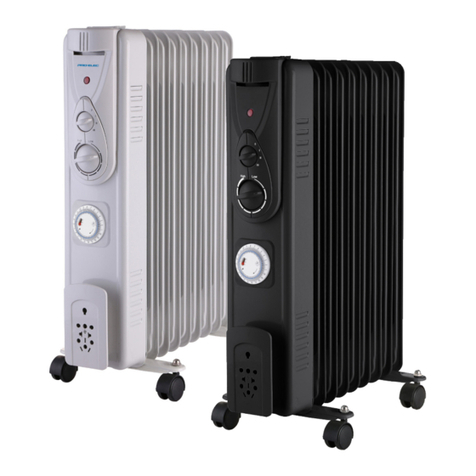
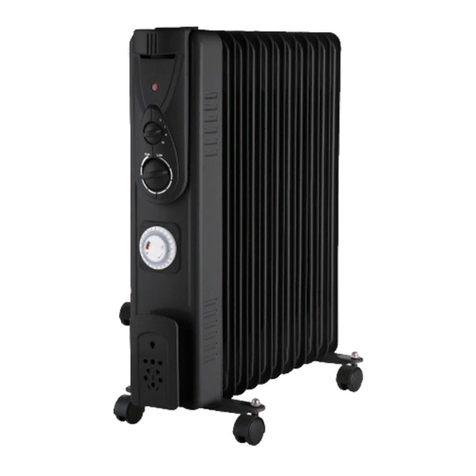
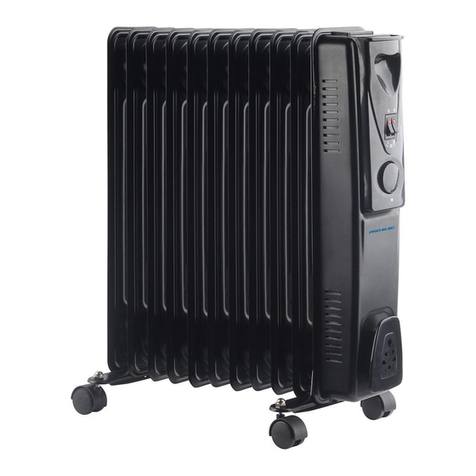
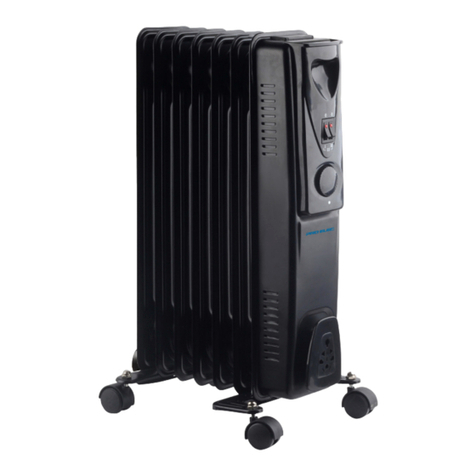
2000W 9 FIN OIL FILLED HEATER
Model: PELL0213 and PELL0214
IMPORTANT SAFETY INFORMATION
Please read these instructions carefully before use and retain for future reference.
• When using electrical appliances basic safety precautions should always be
followed.
• Check that the voltage indicated on the rating plate corresponds with that of the
local network before connecting the appliance to the mains power supply.
• The appliance must be used on a stable surface.
• In order to avoid overheating do not cover the heater.
• This appliance is intended for domestic use only. It should not be used for
commercial purposes.
• Always turn the product to the OFF position and unplug it from the electrical outlet
when not in use.
• The heater must not be located immediately below an electrical socket-outlet.
• Do not operate the heater with a damaged cord or plug, or after the heater
malfunctions, has been dropped, or damaged in any manner.
• If the supply cord is damaged, it must be replaced by the manufacturer or its
service agent or a similarly qualied person to avoid a hazard.
• This heater is lled with a precise quantity of oil. Repairs requiring the opening of
the oil container are only to be made by the manufacturer or his service agent who
should be contacted if there is an oil leak.
• This appliance contains no user-serviceable parts.
• When scrapping the heater, follow the regulations concerning the disposal of oil.
• Don’t use this heater in the immediate surroundings of a bath, a shower or a
swimming pool or where it may fall into a bathtub or other water container.
• This appliance can be used by children aged from 8 years and above and persons
with reduced physical, sensory or mental capabilities or lack of experience and
knowledge if they have been given supervision or instruction concerning use of
the appliance in a safe way and understand the hazards involved. Children shall
not play with the appliance. Cleaning and user maintenance shall not be made by
children without supervision.
• Children of less than 3 years should be kept away unless continuously supervised.
• Children aged from 3 years and less than 8 years shall only switch on/off the
appliance provided that it has been placed or installed in its intended normal
operating position and they have been given supervision or instruction concerning
use of the appliance in a safe way and understand the hazards involved. Children
aged from 3 years and less than 8 years shall not plug in, regulate and clean the
appliance or perform user maintenance.
• The appliance must be unplugged from the power supply after use and whilst any
maintenance such as cleaning is carried out.
• This heater includes an overheat protection system that shuts off the heater when
parts of the heater are getting excessively hot.
• This heater is a high-power product. A worn mains socket will result in over-heating
of the plug and socket. If this occurs consult a qualied electrician.
• Do not use an extension lead – most are unable to handle the power this product
requires.
CAUTION - Some parts of this product can become very hot and cause burns.
Particular attention has to be given where children and vulnerable people are
present.
PRODUCT OVERVIEW
1. Power switch
2. Thermostat control
3. Timer
4. Cord storage
5. Radiator ns
6. Castors
ASSEMBLY INSTRUCTIONS
1
2
3
4
5
6
INSTRUCTIONS FOR USE
• The heater is packaged with the feet unattached. You must attach them before
operating the heater.
WARNING: Do not operate without feet attached. Only operate the heater in an upright
position (feet on the bottom, controls on the top), any other position could create a
hazardous situation.
1. Place the radiator body upside-down on a scratch-free location, make sure it is
stable and will not fall.
2. Remove the wing nuts from the U-bolt provided (see Fig 1), insert the U-shaped
bolt around the ange between rst pair of ns (near the front cover) (see Fig 2).
3. Insert the threaded ends of the U bolt through the holes on the castor mounting
plate (see Fig 3).
4. Screw the wing nuts back on to the U bolt and tighten (see Fig 4).
5. Repeat with the rear castor inserting the U-bolt between rearmost pair of ns
Note: do not over-tighten, as this may cause the damage of radiator ange.
• Before using the heater, make sure that it is on a at and stable surface. Damage
may occur if it is placed on an incline or uneven surface.
• Set all the controls to OFF position and insert the plug into a mains socket
• Set the timer by turning the dial clockwise (do not turn it counter clockwise) until
the pointer arrow aligns to the correct time. Mains power is required to keep the
clock running.
• Rotate the thermostat knob clockwise to MAX position and switch the heater on.
INFORMATION ON WASTE DISPOSAL FOR CONSUMERS OF
ELECTRICAL & ELECTRONIC EQUIPMENT.
When this product has reached the end of its life it must be treated as Waste Electrical & Electronic
Equipment (WEEE). Any WEEE marked products must not be mixed with general household waste,
but kept separate for the treatment, recovery and recycling of the materials used. Contact your local
authority for details of recycling schemes in your area.
Made in China. PR2 9PP
Man Rev 1.0
CLEANING AND MAINTENANCE
SPECIFICATIONS
• Always remove the plug from the mains socket and allow the radiator to cool down
before cleaning the heater.
• Wipe the radiator with a soft damp (not wet) cloth.
• Do not use any cleaning chemicals such as detergents and abrasives.
• The timer has a small red switch, the function is as follows: I=Heater is under
manual control or =Timer function is ON.
• Set the timer to position. There are 96 small plastic pins
around the timer, each correspond to 15 minutes interval.
• When the pins are set outward the heater will be ON and
when set inwards the heater will be turned OFF.
CAUTION: Do not use the timer function unattended.
• The heater will not operate if timer if set to the position but
the pins have not been set accordingly or the thermostat is set too low.
• If the heater looses its electricity supply, e.g. Switched off at the mains socket or in
the even of a power failure, the time should be reset after the power on again.
• Switch I is for low heat, switch II for medium heat and turn both switches on for
high heat. When the heating element is on the power switch will illuminate.
• When your room reaches the desired temperature, slowly rotate the thermostat
control counter clockwise until the power light goes out. The thermostat can now
be left at this setting. As soon as the room temperature has dropped below the set
temperature, the unit will switch it self on automatically until the set temperature
has been reached again. In this way the room temperature remains constant with
the most economical use of electricity.
• If you want to change the room temperature setting, rotate the thermostat knob
clockwise to raise the temperature, or counter clockwise to lower it.
USING THE TIMER
As is typical for all portable heaters -
This product is only suitable for well insulated spaces or occasional use.
Model PELL0213 & PELL0214 Heat Output
Rated Voltage 220-240VAC Nominal heat output Pnom 0.8554kW
Frequency
50/60Hz Min heat output Pmin 0.0002kW
Rated Power 2000W Max heat output Pmax 0.8554kW
Auxiliary electricity consumption
At nominal heat output elmax 0kW
At minimum heat output elmin 0kW
In standby mode elsb N/A
With mechanical thermostat room temperature control plus day timer YES/YES

Other manuals for PELL0214

2

This manual suits for next models

2

Other Pro-Elec Heater manuals

Pro-Elec PEL00571 User manual

Pro-Elec

Pro-Elec PEL00571 User manual

Pro-Elec PEL0065 User manual

Pro-Elec

Pro-Elec PEL0065 User manual

Pro-Elec PEL00922 User manual

Pro-Elec

Pro-Elec PEL00922 User manual

Pro-Elec PEL00941 User manual

Pro-Elec

Pro-Elec PEL00941 User manual

Pro-Elec PELL0211 User manual

Pro-Elec

Pro-Elec PELL0211 User manual

Pro-Elec PEL0066 User manual

Pro-Elec

Pro-Elec PEL0066 User manual

Pro-Elec PEL00941 User manual

Pro-Elec

Pro-Elec PEL00941 User manual

Pro-Elec PEL00940 User manual

Pro-Elec

Pro-Elec PEL00940 User manual

Pro-Elec PEL00921 User manual

Pro-Elec

Pro-Elec PEL00921 User manual

Pro-Elec PEL00939 User manual

Pro-Elec

Pro-Elec PEL00939 User manual

Pro-Elec PELL0206 User manual

Pro-Elec

Pro-Elec PELL0206 User manual

Pro-Elec PELL0214 User manual

Pro-Elec

Pro-Elec PELL0214 User manual

Pro-Elec PEL00925 User manual

Pro-Elec

Pro-Elec PEL00925 User manual

Pro-Elec PELL0215 User manual

Pro-Elec

Pro-Elec PELL0215 User manual

Pro-Elec PELL0203 User manual

Pro-Elec

Pro-Elec PELL0203 User manual

Pro-Elec PEL00554 User manual

Pro-Elec

Pro-Elec PEL00554 User manual

Pro-Elec PELL0207 User manual

Pro-Elec

Pro-Elec PELL0207 User manual

Pro-Elec PEL00915 User manual

Pro-Elec

Pro-Elec PEL00915 User manual

Pro-Elec PELL0214 User manual

Pro-Elec

Pro-Elec PELL0214 User manual

Pro-Elec PEL00499 User manual

Pro-Elec

Pro-Elec PEL00499 User manual

Pro-Elec PEL00920 User manual

Pro-Elec

Pro-Elec PEL00920 User manual

Pro-Elec PEL00558 User manual

Pro-Elec

Pro-Elec PEL00558 User manual

Pro-Elec PELL0213 User manual

Pro-Elec

Pro-Elec PELL0213 User manual

Pro-Elec PEL00562 User manual

Pro-Elec

Pro-Elec PEL00562 User manual

Popular Heater manuals by other brands

EIP QZI3000 owner's manual

EIP

EIP QZI3000 owner's manual

Sawo MINI MN-23NB manual

Sawo

Sawo MINI MN-23NB manual

Stelpro ASHC series user guide

Stelpro

Stelpro ASHC series user guide

vienybe VIENYBE- PK1 manual

vienybe

vienybe VIENYBE- PK1 manual

Schwank UHE Installation and owner's manual

Schwank

Schwank UHE Installation and owner's manual

Fahrenheat PHH15002A owner's manual

Fahrenheat

Fahrenheat PHH15002A owner's manual

Kingsman IDV33-IDV36 installation instructions

Kingsman

Kingsman IDV33-IDV36 installation instructions

Dimplex DXUC2B Installation and operating instructions

Dimplex

Dimplex DXUC2B Installation and operating instructions

Toyotomi EPH-121 instruction manual

Toyotomi

Toyotomi EPH-121 instruction manual

STIEBEL ELTRON CNS 50 TREND Operation and installation guide

STIEBEL ELTRON

STIEBEL ELTRON CNS 50 TREND Operation and installation guide

MILL NE900WIFI Assembly and instruction manual

MILL

MILL NE900WIFI Assembly and instruction manual

Orbegozo FH 5031 instruction manual

Orbegozo

Orbegozo FH 5031 instruction manual

Currys Essentials C7MOR10 instruction manual

Currys Essentials

Currys Essentials C7MOR10 instruction manual

Optimus H-1322 Instruction manual and owner's guide

Optimus

Optimus H-1322 Instruction manual and owner's guide

Clearlight AMETHYST INFRARED PEMF MAT owner's manual

Clearlight

Clearlight AMETHYST INFRARED PEMF MAT owner's manual

Gorenje VLG 200 A1-1G Instructions for use

Gorenje

Gorenje VLG 200 A1-1G Instructions for use

Marvin 7060 instruction manual

Marvin

Marvin 7060 instruction manual

Sealey AB350 manual

Sealey

Sealey AB350 manual

manuals.online logo
manuals.online logoBrands
  • About & Mission
  • Contact us
  • Privacy Policy
  • Terms and Conditions

Copyright 2025 Manuals.Online. All Rights Reserved.