manuals.online logo
Brands
  1. Home
  2. •
  3. Brands
  4. •
  5. Pro-Line II
  6. •
  7. Indoor Furnishing
  8. •
  9. Pro-Line II HAT6024 User manual

Pro-Line II HAT6024 User manual

PROLINE II LIMITED WARRANTY
ProLine II Desks are warranted from the date of purchase against failure due to material and workmanship as follows:
• 3 years from the date of purchase.
Grain, color and nishes
Variation of grain and color are natural, inherent characteristics of wood, a living material. This variation is part of the beauty of real wood and anticipated in wood
veneer furnishings. Therefore, Proline II furniture is not warranted to match in grain or color or texture. It is a natural phenomenon for wood grain to change in color
as it ages, and wood nishes are not warranted for colorfastness.
To make a warranty claim, contact Parts Department. Provide model number, proof of purchase, description of the problem and obtain return authorization.
At it’s option Ofce Star Products will:
(a) Supply compatible components of current manufacture.
(b) Repair the customer’s component. The customer must prepay freight on any components returned to the factory. Return freight on components
still in warranty will be paid by Ofce Star Products.
Our quality standards are among the highest in the industry. Sometimes, no matter how hard we try, there are times when parts are damaged or missing. Our
Parts Department will do everything possible to promptly remedy the problem. Contact us via e-mail parts@ofcestar.net, by Fax 1-909-930-5629, or toll free
parts number 1-800-950-7262, Monday through Friday 8:00 a.m. - 3:30 p.m. Pacic Time.
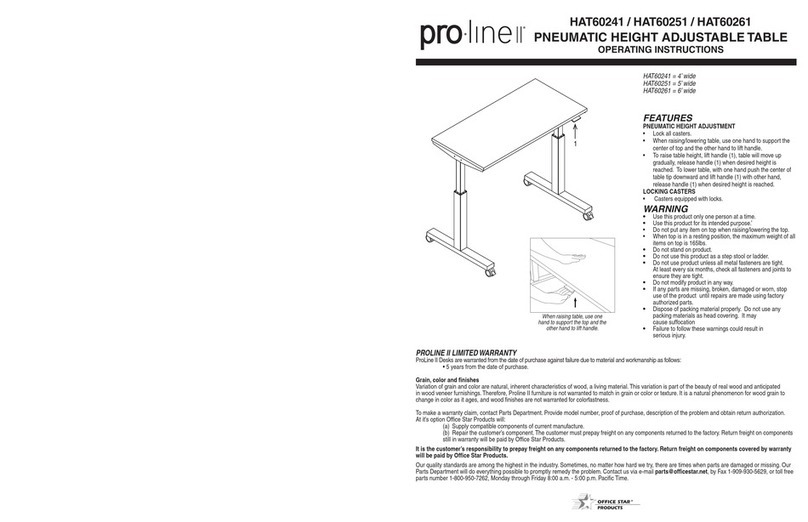
HAT6024 = 4’ wide
HAT6025 = 5’ wide
HAT6026 = 6’ wide
FEATURES
PNEUMATIC HEIGHT ADJUSTMENT
• Lock all casters.
• When raising/lowering table, use one hand to support the
center of top and the other hand to lift handle.
• To raise table height, lift handle (1), table will move up
gradually, release handle (1) when desired height is
reached. To lower table, with one hand push the center of
table top downward and lift handle (1) with other hand,
release handle (1) when desired height is reached.
LOCKING CASTERS
• Casters equipped with locks.
WARNING
• Use this product only one person at a time.
• Use this product for its intended purpose.
• Do not put any item on top when raising/lowering the top.
• When top is in a resting position, the maximum weight of all
items on top is 165 lbs.
• Table cannot be raised with more than a 35 lbs load.
• Do not stand on product.
• Do not use this product as a step stool or ladder.
• Do not use product unless all metal fasteners are tight.
At least every six months, check all fasteners and joints to
ensure they are tight.
• Do not modify product in any way.
• If any parts are missing, broken, damaged or worn, stop
use of the product until repairs are made using factory
authorized parts.
• Dispose of packing material properly. Do not use any
packing materials as head covering. It may
cause suffocation
• Failure to follow these warnings could result in
serious injury.
1
When lowering table, push down
with one hand and lift handle with
other hand.
NOTE: Be sure to lift handle completely when raising / lowering table.
Failing to do so may cause noise in height adjustment mechanism.
WARNING
1) Do NOT actuate base until Top has been attached to Base.
2) Always fully assemble top/base before raising the Top.
HAT6024 / HAT6025 / HAT6026
PNEUMATIC HEIGHT ADJUSTABLE TABLE
OPERATING INSTRUCTIONS
STEP 1
STEP 3 Attach Top Supports (4) to Leg Posts (2) using two Medium Bolts (8) for each Leg Post (2). FULLY ALL BOLTS USING ALLEN WRENCH (11).
STEP 4 Attach Leg Post (2) assembly to Table Top (1) using fourteen Short Screws (7). FULLY TIGHTEN SHORT SCREWS (7). Attach Height
Adjustment Lever (10) to Table Top (1) using four Medium Screws (7). FULLY TIGHTEN SHORT SCREWS (7).
STEP 5 Attach Feet (3) to Leg Posts (2) using four Long Bolts (9) for each Foot (3). FULLY TIGHTEN LONG BOLTS (9). Screw in two Casters (6)
into each Foot (3). FULLY TIGHTEN CASTERS (6) USING KEY WRENCH (12).
ATTENTION: MAKE SURE ALL BOLTS, SCREWs & CASTERS ARE FULLY TIGHTENED BEFORE USING TABLE.
© Ofce Star Products April 2022
plastic cap
plastic cap
DETAIL A
5
STEP 4
2
2
10
1
7
7
STEP 5
9
3
3
2
2
6
6
6
Phillips screwdriver also needed for assembly (not provided)
Remove all the parts from carton, separate them into part numbers indicated on the list and make sure part quantities are correct.
STEP 1 Remove plastic caps from ends of Channel (5).
IMPORTANT: To align rod with Leg Posts (2), aligns the screw with the arrow stickered on the mechanism. SEE DETAIL A.
Press the Controller (A) and rotate rod to align the screw into the correct position. SEE DETAIL B.
STEP 2 Attach Channel (5) between Leg Posts (2) and secure Leg Posts (2) to Channel (5) using six Medium Bolts (8) for each Leg Post (2).
DO NOT FULLY TIGHTEN BOLTS.
Note: You can slightly angle Leg Posts (2) to assist in aligning screw holes with holes in Channel (5).
HAT6024 / HAT6025 / HAT6026
PNEUMATIC HEIGHT ADJUSTABLE TABLE
ASSEMBLY NSTRUCTIONS
HAT6024 / HAT6025 / HAT6026
PNEUMATIC HEIGHT ADJUSTABLE TABLE
ASSEMBLY NSTRUCTIONS
WARNING
1) Do NOT actuate base until Top has been attached to Base.
2) Always fully assemble top/base before raising the Top.
PART QTY
1. Table Top ........................1
2. Leg Posts ........................2
3. Feet ............................2
4. Top Supports .....................2
5. Channel . . . . . . . . . . . . . . . . . . . . . . . . .1
6. Casters .........................4
7. Short Screws ....................18
8. Medium Bolts ....................16
9. Long Bolts .......................8
10. Height Adjustment Lever ............1
11. Allen Wrench (not shown) ...........1
12. Key Wrench (not shown) ............1
8
2
5
Rotate
Rotate
STEP 2
STEP 3
8
2
2
5
4
4
7
7
6
9
2
Rotate
Press
1
2
A
DETAIL B

This manual suits for next models

2

Other Pro-Line II Indoor Furnishing manuals

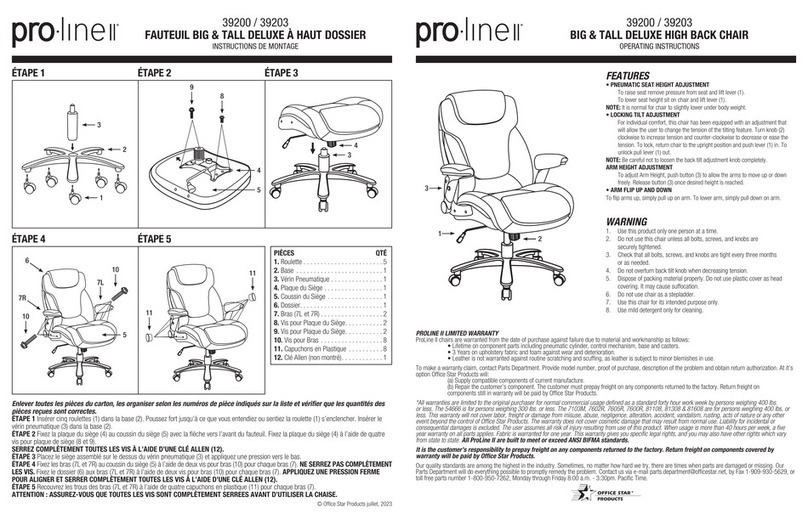
Pro-Line II 39200 User manual

Pro-Line II

Pro-Line II 39200 User manual

Pro-Line II CT42R3 User manual

Pro-Line II

Pro-Line II CT42R3 User manual

Pro-Line II 86725 User manual

Pro-Line II

Pro-Line II 86725 User manual

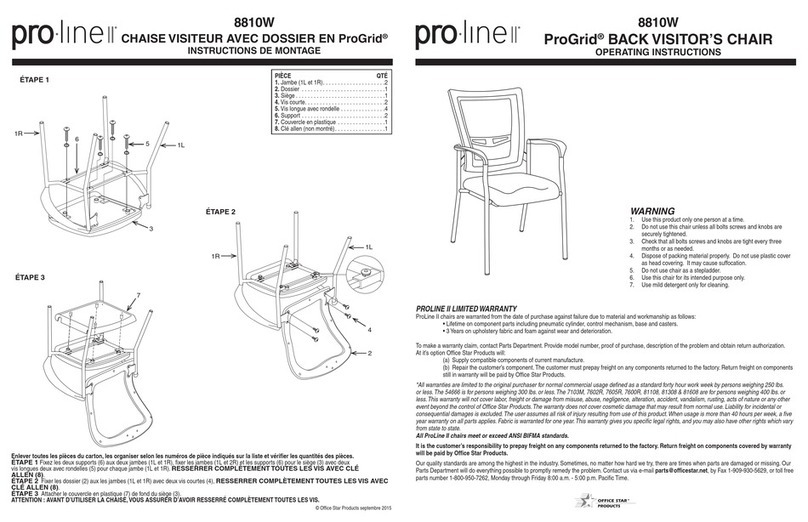
Pro-Line II ProGrid 8810W User manual

Pro-Line II

Pro-Line II ProGrid 8810W User manual

Pro-Line II HORIZON HZN25L User manual

Pro-Line II

Pro-Line II HORIZON HZN25L User manual

Pro-Line II ProGrid 8840W User manual

Pro-Line II

Pro-Line II ProGrid 8840W User manual

Pro-Line II 54890 User manual

Pro-Line II

Pro-Line II 54890 User manual

Pro-Line II 60310 User manual

Pro-Line II

Pro-Line II 60310 User manual

Pro-Line II 92553 Planning guide

Pro-Line II

Pro-Line II 92553 Planning guide

Pro-Line II 99661W User manual

Pro-Line II

Pro-Line II 99661W User manual

Pro-Line II Prado series User manual

Pro-Line II

Pro-Line II Prado series User manual

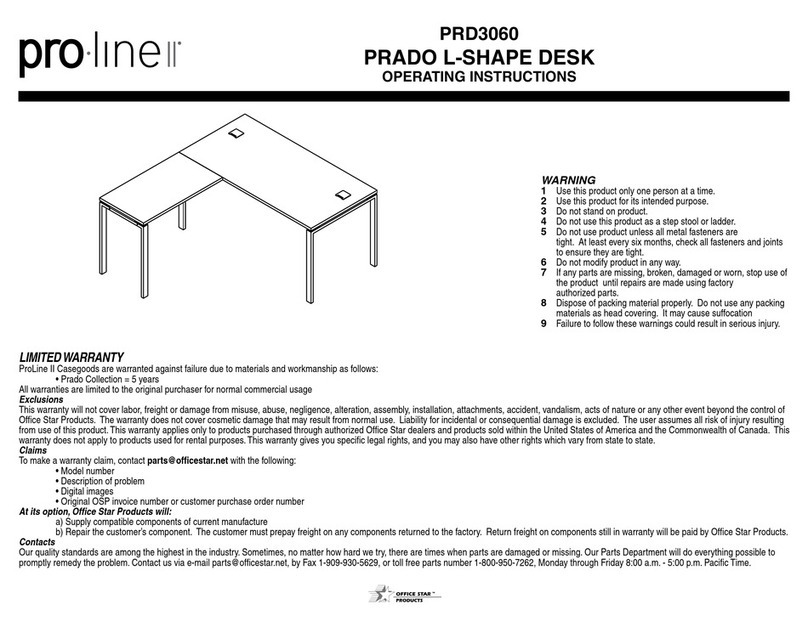
Pro-Line II PRADO PRD3060 User manual

Pro-Line II

Pro-Line II PRADO PRD3060 User manual

Pro-Line II 8200 User manual

Pro-Line II

Pro-Line II 8200 User manual

Pro-Line II HAT60251 User manual

Pro-Line II

Pro-Line II HAT60251 User manual

Popular Indoor Furnishing manuals by other brands

BROSA Field Double Open Shelf Assembly guide

BROSA

BROSA Field Double Open Shelf Assembly guide

Tech Craft PTV30B Assembly instructions

Tech Craft

Tech Craft PTV30B Assembly instructions

George & Willy Wooden Block Letter Board instructions

George & Willy

George & Willy Wooden Block Letter Board instructions

Alice's Home ARTY ICHAIRARTX2 manual

Alice's Home

Alice's Home ARTY ICHAIRARTX2 manual

Habitat Allegro quick start guide

Habitat

Habitat Allegro quick start guide

Rauch M1829 Assembly instructions

Rauch

Rauch M1829 Assembly instructions

DREAMS Nelson Bed Double Assembly instructions

DREAMS

DREAMS Nelson Bed Double Assembly instructions

kleankin 834-619V80 manual

kleankin

kleankin 834-619V80 manual

alpro EL900 instructions

alpro

alpro EL900 instructions

Mocka Hamptons Change Table Assembly instructions

Mocka

Mocka Hamptons Change Table Assembly instructions

Forte Divertido DRTB01 Assembling Instruction

Forte

Forte Divertido DRTB01 Assembling Instruction

TONN FURNITURE PORTAL SHELF 244 cm Assembly instructions

TONN FURNITURE

TONN FURNITURE PORTAL SHELF 244 cm Assembly instructions

Newpo GLWB123 Guide to Assembly & Usage

Newpo

Newpo GLWB123 Guide to Assembly & Usage

Graham Field Lumex PATRIOT LIBERTY GF6570B-1 Installation & operation instructions

Graham Field

Graham Field Lumex PATRIOT LIBERTY GF6570B-1 Installation & operation instructions

Tenzo 2547 manual

Tenzo

Tenzo 2547 manual

Eco-Systems RIO 10X10 manual

Eco-Systems

Eco-Systems RIO 10X10 manual

Freistil 181 manual

Freistil

Freistil 181 manual

Aspire PTM638005 user manual

Aspire

Aspire PTM638005 user manual

manuals.online logo
manuals.online logoBrands
  • About & Mission
  • Contact us
  • Privacy Policy
  • Terms and Conditions

Copyright 2025 Manuals.Online. All Rights Reserved.