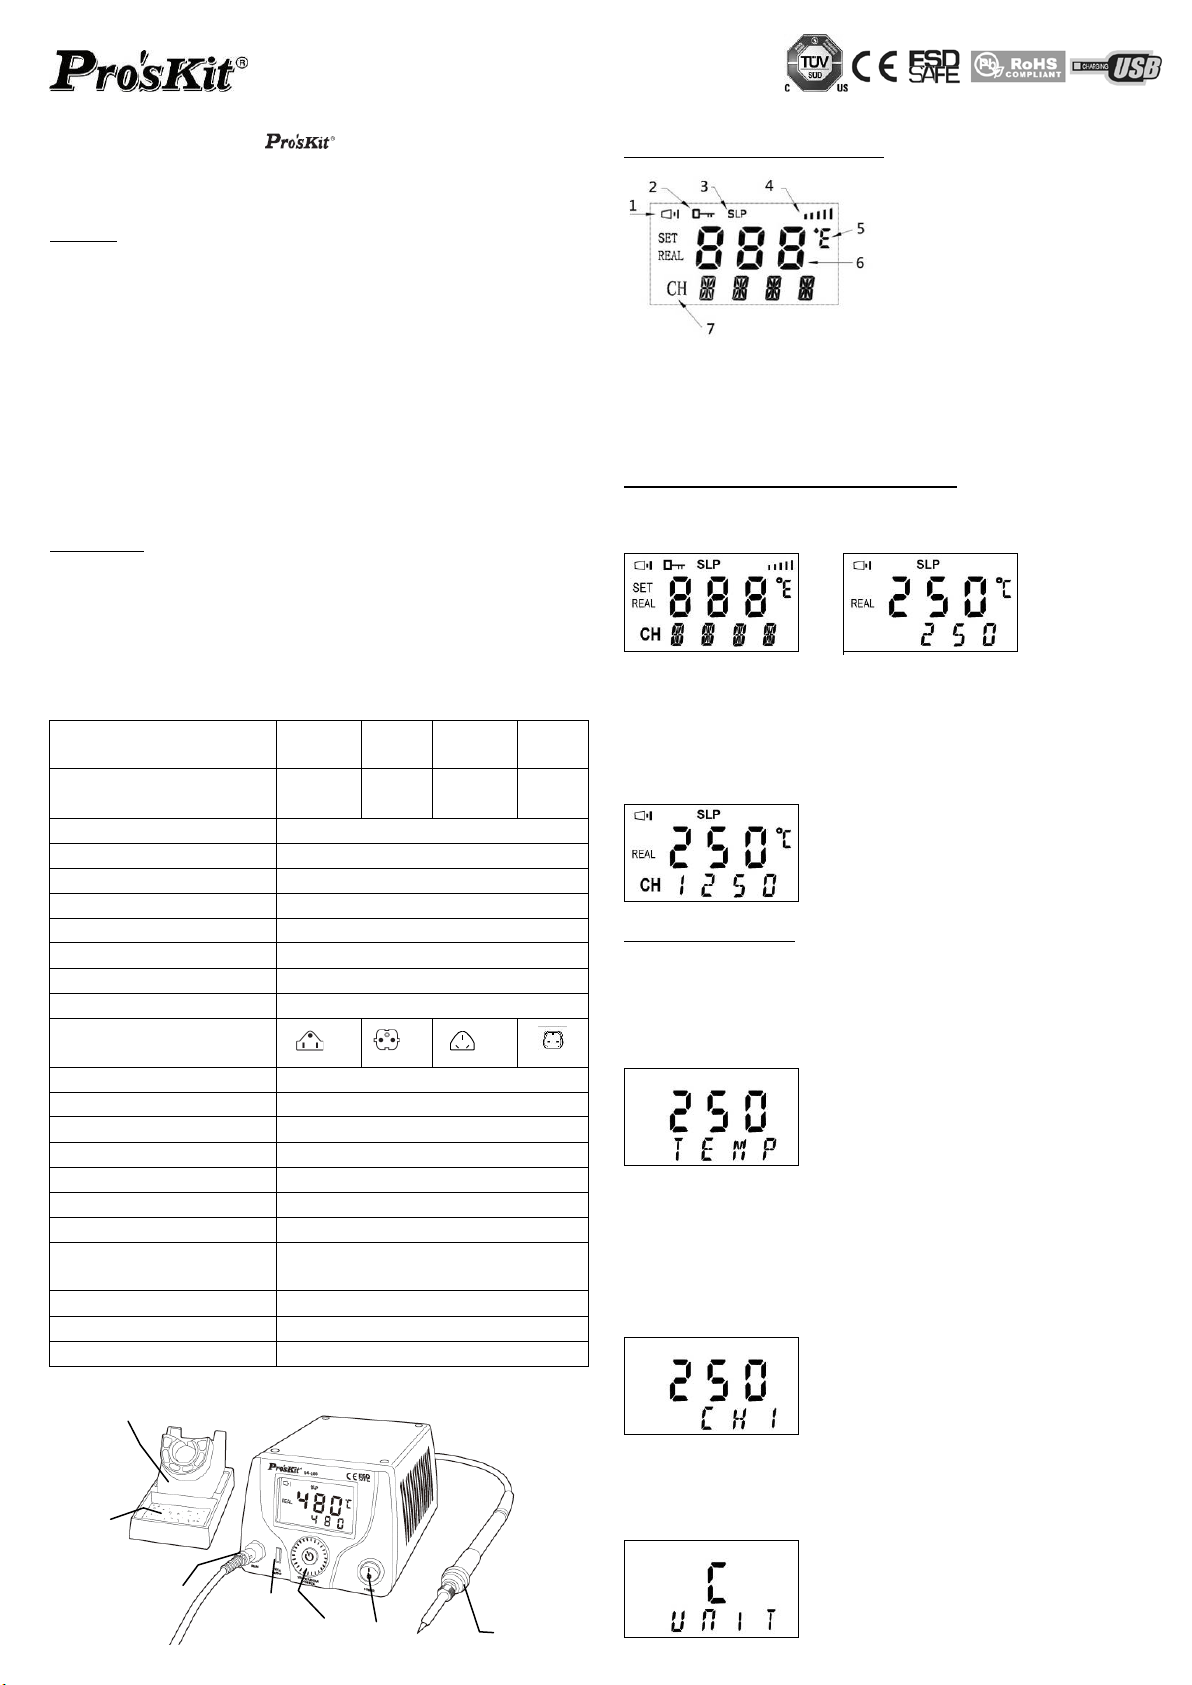
SLP
Auto sleep mode setting (Fig.7)
1Choose the “SLP” function setting. Press knob into sleep selection mode.
rotate around the shuffle knob to setting, sleep timer is adjustable from
1~240 minutes or setting “OFF” stop sleep mode activate ,after
setting ,press knob to the next menu, rotate around the shuffle knob and
choose the “ Exit” save and exit the menu.
2.In sleep mode ,the heater temperature will down to the 200℃, If need to
start soldering, press knob to wake up, temperature will rise to setting
temperature.
Fig.7
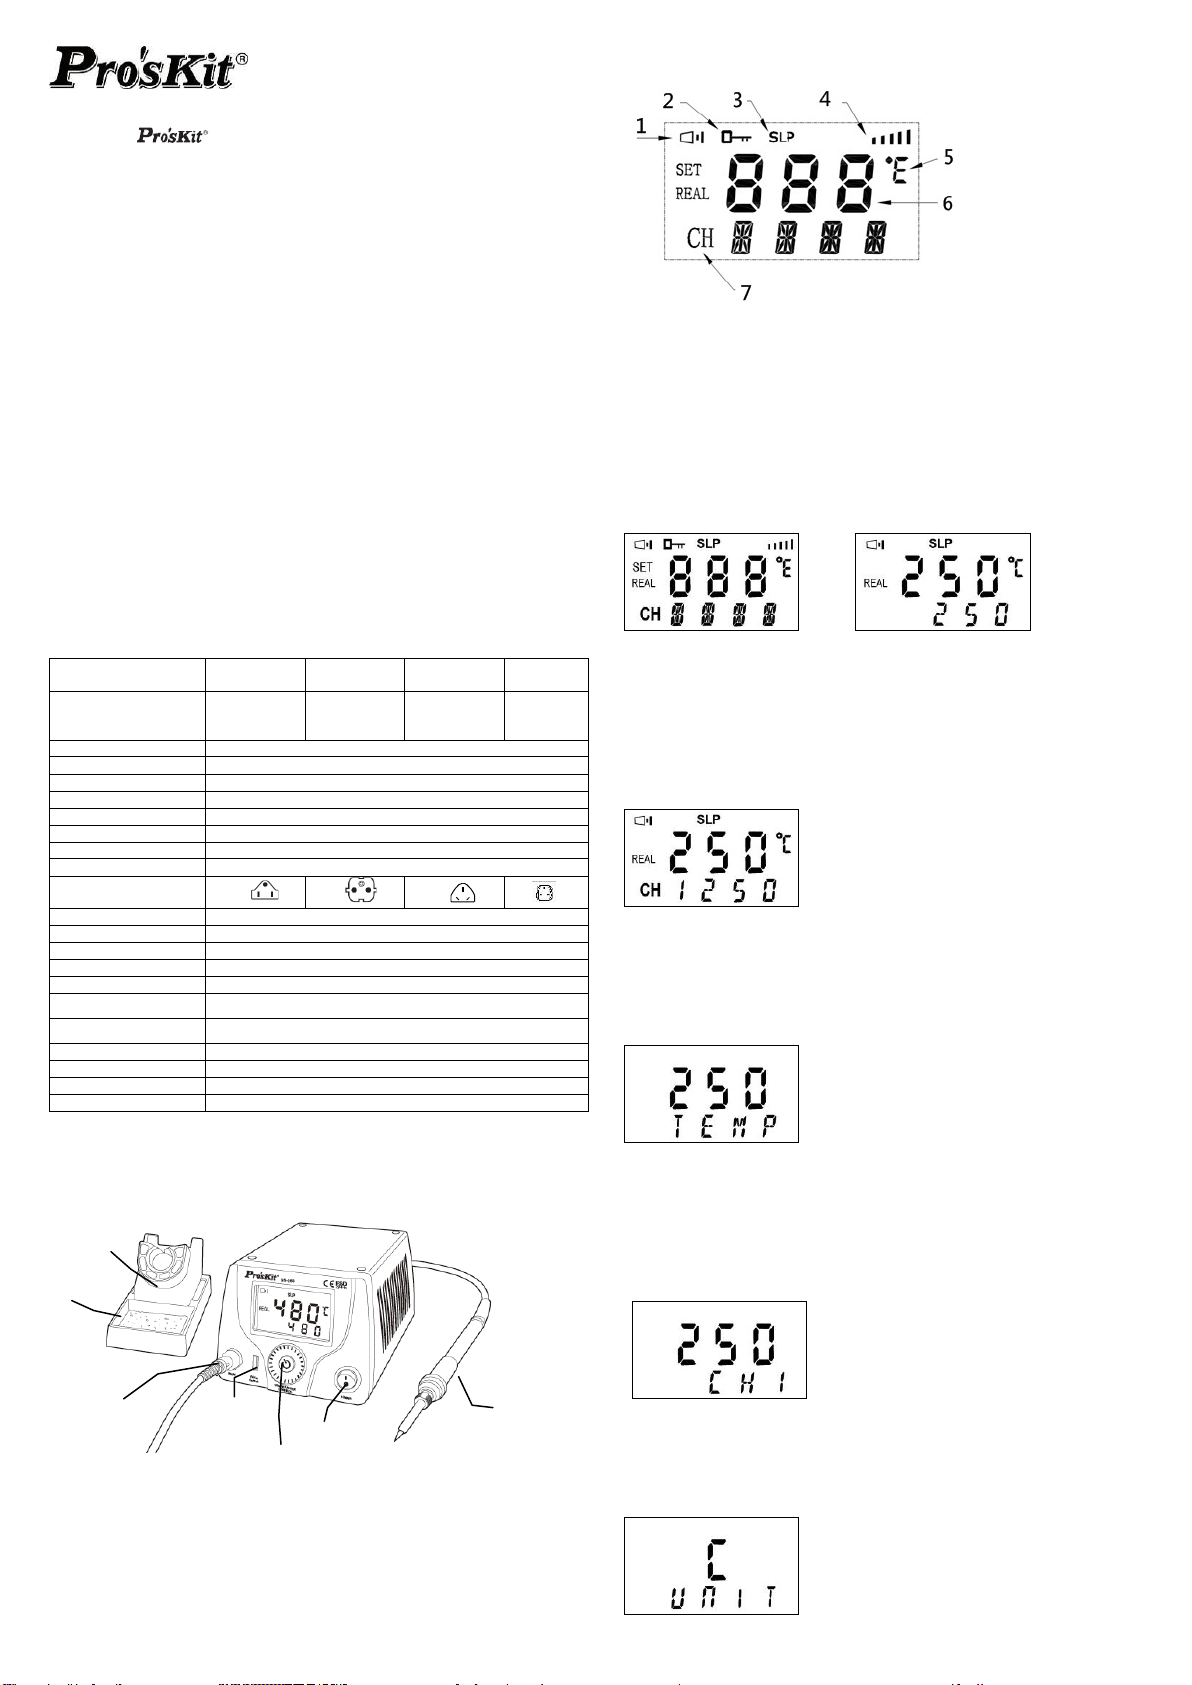
BEEP
Beep setting (Fig.8)
Choose the “BEEP” function setting. Press knob into beep selection mode.
rotate around the shuffle knob to setting switch “ON” or “OFF” mode ,after
setting ,press knob to the next menu, rotate around the shuffle knob and
choose the “ Exit” save and exit the menu.
When beep is setting “ON” mode, press knob will have key beep.
Fig.8
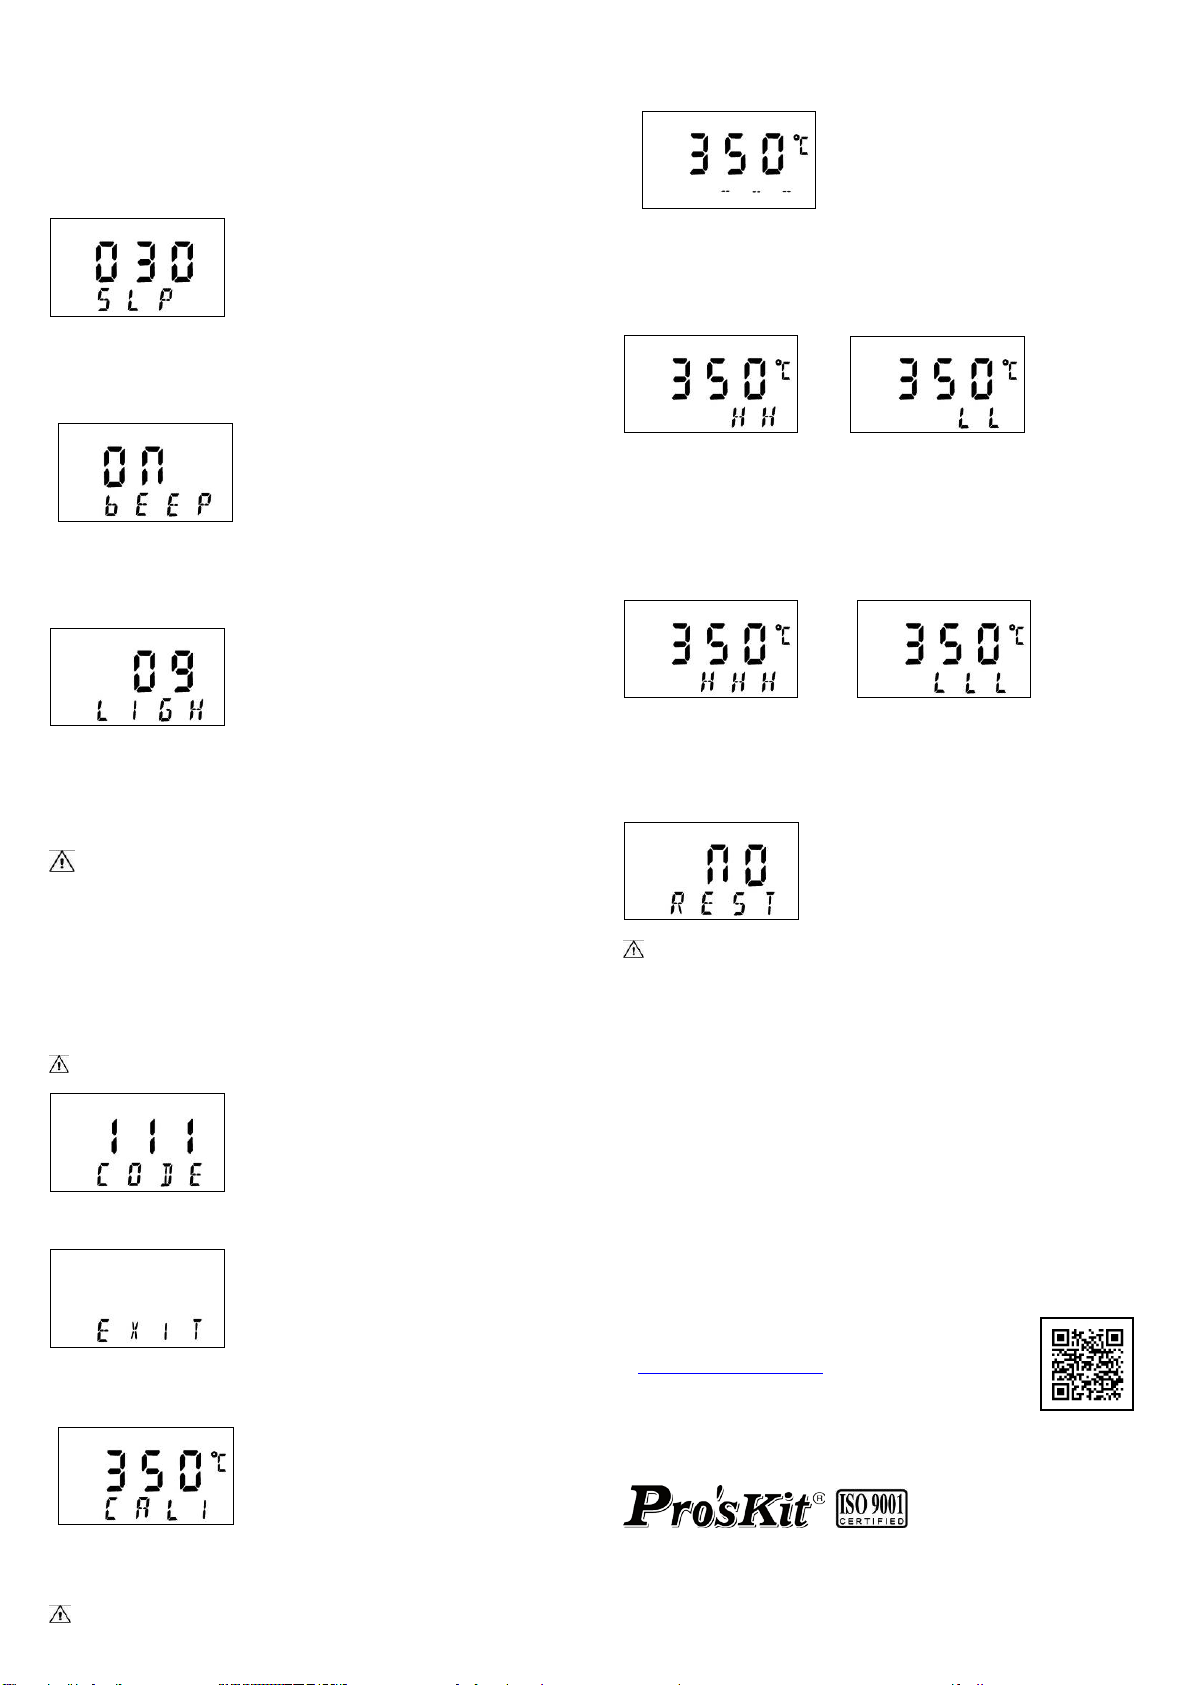
LIGH
LCD screen brightness adjustment (Fig.9)
Choose the “LIGH” function setting. Press knob into LCD screen
brightness adjustment mode. rotate around the shuffle knob to setting
brightness 0~9 ,after setting ,press knob to the next menu, rotate around
the shuffle knob and choose the “ Exit” save and exit the menu.
Fig.9
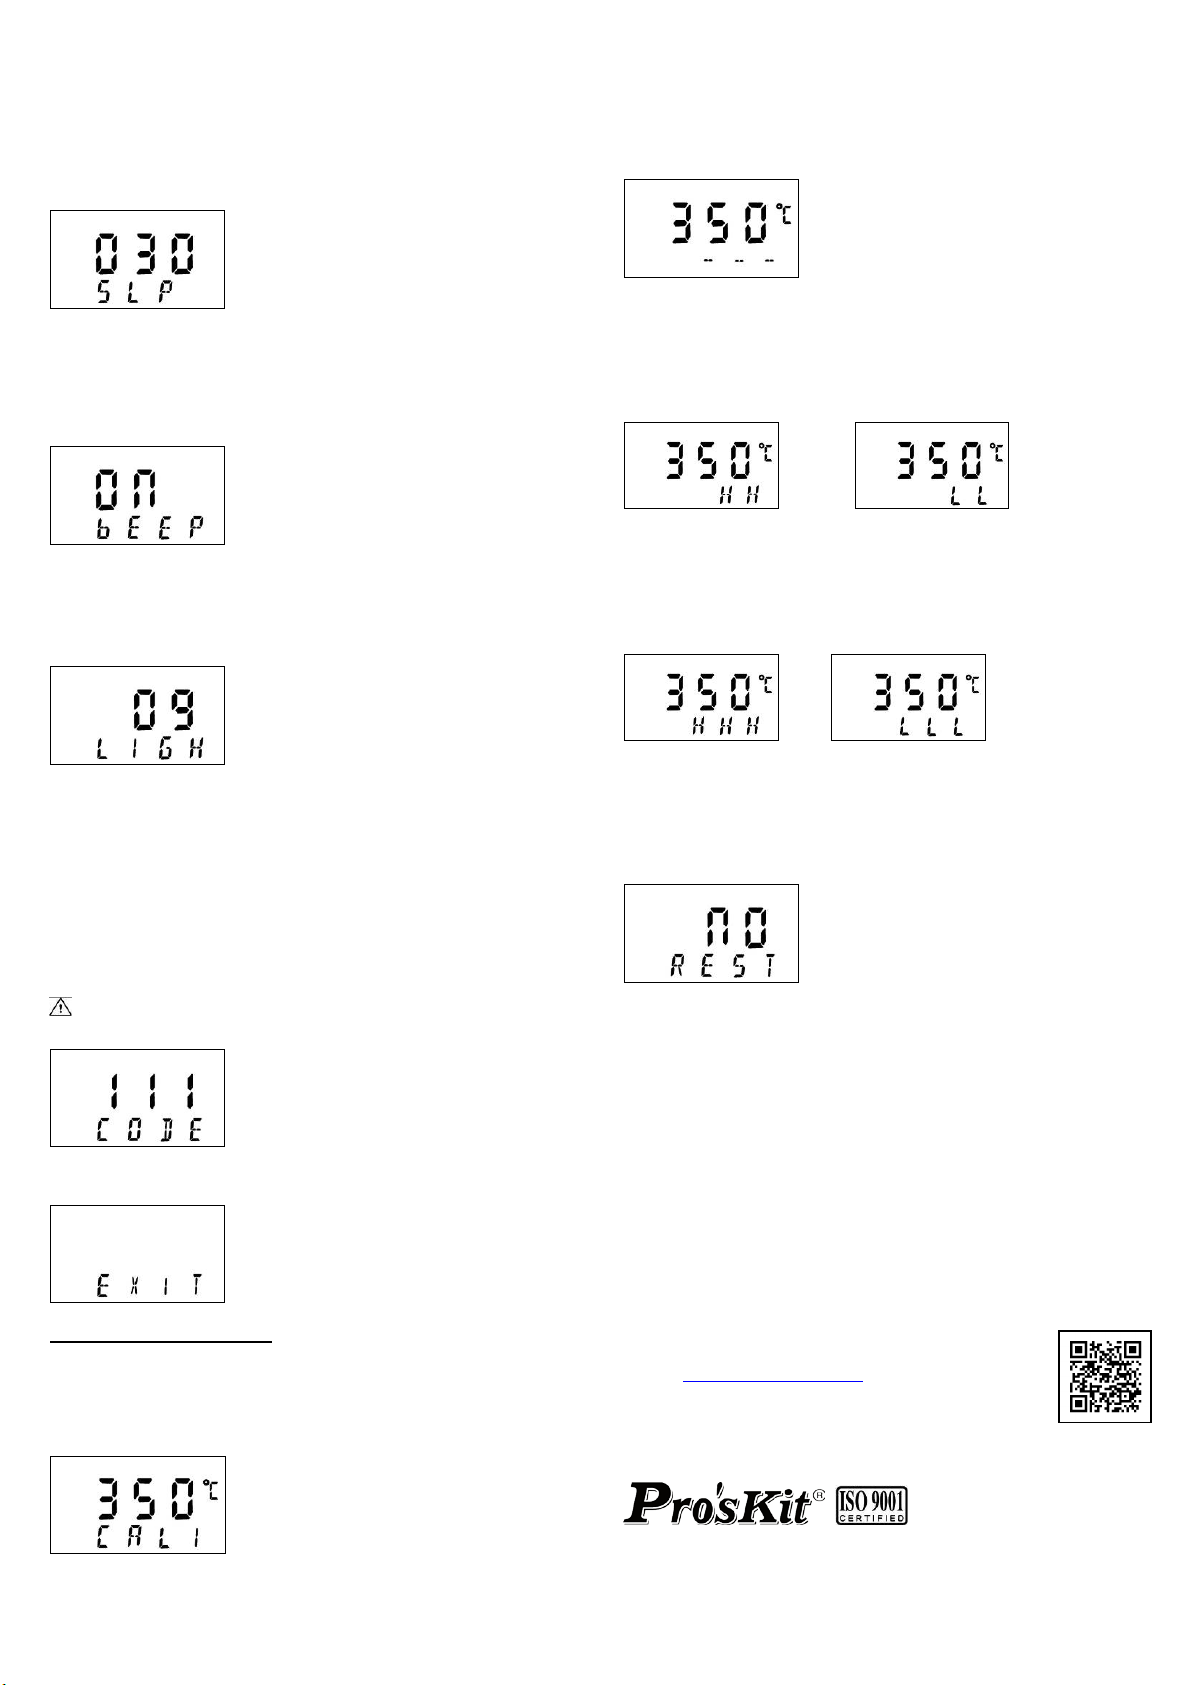
CODE: Temperature passcode setting (Fig.10)
1. Choose the “CODE” function setting. Press knob into Passcode
selection mode. rotate around the shuffle knob input the old code and new
code ,after setting ,press knob to the next menu, rotate around the shuffle
knob and choose the “ Exit” save and exit the menu.
2. In the main menu, press 3 seconds of shuffle knob, input the passcode,
into the function setting menu, now can start to do any setting.
3. Cancel passcode : In the main menu, press 3 seconds of shuffle knob,
input the passcode, into the function setting menu, follow the
procedure 1 reset new code “000” .
4. After setting, press knob to the next menu, choose the “Exit” save the
setting and exit the menu.
CAUTION: Factory initial setting is “000”, this code without lock
function.
Fig.10
EXIT:Save and Exit (Fig.11)
Fig.11
Temperature Calibration Set
The soldering iron should be recalibrated after changing the iron, or
replacing the heating element or tip.
1In the main menu, press knob for 6 seconds into the “CALI ” mode (see
Fig.12), rotate around the shuffle knob and input the real temperature.
Press knob to save the temperature and exit back to the main menu.
Fig.12
2Calibrating the iron temperature
Setting the soldering iron station temperature to 350℃, when the
temperature stabilizes, use soldering iron tip thermometer measurement
and record tip real temperature, enter the real temperature in the “CALl”
state ,soldering iron station will calculate temperature.
3 CALI. Status description
3.1. When “CALI” status display “- - -“(see Fig 13),it means temperature
have not calibration.
Fig 13
3.2. When “CALI” status display “H” or “HH” (see Fig 14.),it means “Real
Temp.” has calibrated and increase temperature.
For example :“set.Temp”is 350℃, "Real Temp.”is 320℃, after temperature
calibration as Fig 12.,temperature will rise to 350℃.
3.3.When “CALI” status display “L” or “LL” (see Fig 15.),it means “Real
Temp.” has calibrated and decrease temperature.
Fig 14 Fig 15
3.4. When “CALI” status display “HHH” (see Fig 16.),it means “Real Temp.”
has calibrated to max. temperature, can not increase anymore, but it can
decrease temperature.
3.5 When “CALI” status display “LLL” (see Fig 17.),it means “Real Temp.”
has calibrated to minimum temperature, can not decrease anymore, but it
can increase temperature.
Fig 16 Fig 17
Reset
In the main menu, press knob for 9 seconds into the “REST ” mode, initial
setting is “NO” (see Fig18), rotate around the knob , choose “YES” (see
Fig 13) and press knob confirm it, Press knob to save and exit back to the
main menu.
Fig 18
Passcode forgot and reset
If forgot passcode, turn off the power, press knob and power in the same
time,), input passcode “888” , the soldering iron station will reset passcode
become”000”.
For further more detailed information, please visit Pro’skit
website http://www.prokits.com.tw
or scan the QR code
PROKIT’S INDUSTRIES CO., LTD.
http://www.prokits.com.tw
©2020 Prokit’s Industries Co., Ltd. All rights reserved 2020001