Pro's Kit SS-979B User manual

SS-979 2 In 1 SMD Hot Air Rework Station User Manual
Thank you for purchasing the SS-979 2 In 1 SMD HotAir Rework Station. Please read this
manual before using the product and save the manual in a safe, easily accessible place for future
reference.
Packing List:
SS-979 2 In 1 SMD HotAir Rework Station (include holder) x1
Heat Gun x1
Air Nozzle x 3
Soldering Iron x1
Iron Stand (with cleaning sponge, copper cleaner) x1
Power Cord x1
User’s Manual x1
Features:
Microprocessor-controlled, closed circuit sensor design, high power and quick warm-up times
Adjustable air volume and temperature, suitable for a variety of applications.
Handle with sensor design, switching work & sleep mode for real-time operation convenience.
Auto cool-off process to prolong the life of heating element
Comes with brushless motor provides long service life, quiet in operation
Soldering iron conforms to CE, ESD safety regulations.
Heat insulation handle with ergonomic design ensures user safety and comfort.
The soldering iron adopts ceramic heating element, providing stable power and fast heating speed.
Ideal for heating shrinks, viscidity removal, lacquer removal, preheating and more.
Specification:
Model No.
SS-979B
SS-979H
Power Input
220V-240V ~50Hz
Power Consumption
760W
Soldering Power
60W
Soldering Iron Temperature
200-480℃
Hot Air Temperature
100-500℃
Soldering Iron Output Voltage
24V~
Hot Air Output Voltage
220V-240V~
Temperature Display
LED
Soldering Iron Heating Element
Alumina Ceramic Heater
Hot Air Heating Element
Metal Heating Core
Air Volume
120L/min(Max)
Equipment Noise
<45dB
Plug Type
B
H
Fuse Type
250V / 5A
Certificate
CE, RoHS, ESD
Weight
2.5Kg
Dimension (mm)
170x170x140 (include holder)
Optional replacement
Replacement Nozzle:
IC Package
Model No.
ID (mm)
9SS-969-A1
Ø 4.3
9SS-969-A2
Ø 7.4
9SS-969-A3
Ø 11.2

1
Replacement soldering iron:
Replacement heater
9SS-900N-HT
Replacement hand piece
9SS-900N-SI
Replacement tips:
Application
1. Suitable for desoldering multiple components.
2. Ideal for heating shrink, viscidity removal, lacquer removal, preheating and more.
3. Electronic maintenance and device welding operation.
Operation instruction
1. Put the rework station ready and place handle on the holder.
2. Connect the power cord to the power receptacle on the back panel of the station.
3. Set the blast nozzle (large caliber nozzle preferred).
4. Switch the power on, the screen displays last set value then display “SLP“, it represents standby
mode.(Available in microcomputer with digital LED)
5. Press “▲”or “▼”button as to set up the temperature.
6. Adjust the airflow knob to set up the required air volume.
7. Hold the handle, the equipment begins to heat. Adjust the knob of airflow in order to set proper air
volume, operate normally when temperature is stable.
8. Put the handle back on the holder after work, the SMD station switched from heating mode to
cooling - off mode automatically. When the temperature is lower than 100℃, the station switch to
standby mode.
9. Switch the power off and unplug the power cord if there has no operation for a long time.
Attention
Please set up the temperature as lower as possible in high airflow volume as to prolong heating
element service life and better IC chips protection.
Setting up temperature
1. In the power on state, press "set" key to select the conversion between air temperature and
soldering iron temperature.
2. Press “▲”or “▼”button to set up temperature, the screen displays the setting temperature.
3. Press “▲” once the temperature degree increase 1℃, and the screen displays the setting
temperature. Press “▼” once the temperature degree decrease 1℃, and the screen displays the
setting temperature. When press the “▲”or “▼” button continuously, the temperature will increase

2
or decrease rapidly; after the button is released, the screen displays setting temperature.
4. Put the handle on the bracket, then the equipment will be automatically switch to the dormancy
condition; when the temperature is reduced to 100℃, “SLP” will be displayed.
5. Temperature below 100 ℃, will display “SLP“ if not use and enter standby mode.
6. Press "▲", “▼" at the same time to start the machine and restore the factory settings.
7. Press "set" key to start the machine, and select the temperature unit ℃/ ℉.
Calibrating temperature
1. Press "set" and "▲" keys at the same time to calibrate the temperature of the air gun, and then
input the measured actual temperature value.
2. Press "set" and “▼” keys at the same time to calibrate the temperature of the soldering iron, and
input the actual temperature value for measurement at this time.
3. Press "set" to select the adjustment position and exit, press "▲",“▼” to adjust the number.
Note: Temperature for hot air measurement is located in the middle point of about 3mm inside the air
nozzle.
Explanation of symbols
A. “SLP”represents the temperature is lower than 100℃in standby mode, while the handle is put on
the bracket.
B. “S-E” represents the switch turned on but the connector of heat gun(Soldering iron) did not
connect to the station properly or the sensor of heat gun(Soldering iron) damaged; please replace
a new heat gun(Soldering iron).
Terms of use
1. The air outlet and its surrounding area may be very hot. Be cautious of scald.
2. The heat gun shall not be put on the working table or other place except its holder.
3. Please keep the air outlet unblocked.
4. Place the heat gun on its holder after the work, and keep it cool naturally and turn into standby
mode, then switch the power off.
5. The distance between the air outlet and the object shall be no less than 2mm.
6. Choose suitable nozzle in accordance with working requirements. Different nozzles may have
different temperatures.
7. When the soldering iron is not in use, please put it on the iron holder.
8. If the temperature is too high, the service life of soldering iron head will be reduced, so the suitable
working temperature should be selected.
9. Clean the iron head with cleaning sponge regularly.
10. When the soldering iron is used continuously for a long time, remove the iron tip once a week to
remove the oxide。
11. After use, the iron tip should be wiped clean and coated with a new tin layer to prevent oxidation
of the iron tip.
12. The temperature of different types of soldering iron tip may be different. The best way to adjust
the temperature is to use a special thermometer for measuring the tip. (refer to "temperature
calibration")
Fuse replacement
When fuse is blown, replace with the same type of fuse. (see below picture)
1. Unplug the power cord from the power receptacle.
2. The fuse holder is located under theAC power receptacle, use the slotted (–) screwdriver to loosen
the fuse holder
3. Replace the fuse with new one
4. Put the fuse holder back in place
WARNING

3
To avoid personal injury or equipment damage, disconnect power cord before making any servicing to
the equipment.
Please check the on-line manual for more information.

4
SS-979 二合一 SMD 柔风吹焊烙铁组操作说明书
感谢您选购 SS-979 二合一 SMD 柔风吹焊烙铁组。使用焊台前请详阅本使用说明书,
阅后请妥为收存,以备日后查阅
一、包装清单
SS-979 二合一 SMD 柔风吹焊烙铁组主机 (含热风枪挂架) x1
热风枪 x1
烙铁 x1
烙铁座(包含清洁海绵、清洁钢丝)x1
热嘴配件 x 3
电源线 x1
使用说明书 x 1
二、特点
1. 传感器闭合回路,微电脑过零触发控温,LED 显示,功率大,升温迅速,温度精确稳定,不受出风
量影响,真正实现无铅拆焊。
2. 气流量可调,风量平稳且出风柔和,温度调节方便,可以适应多种用途。
3. 手柄装有感应开关,只要手握手柄,系统即可迅速进入工作模式;手柄放回手柄架,系统便会进入
待机状态,实时操作方便。
4. 热风系统设有自动冷却功能,可延长发热体寿命及保护热风枪。
5. 采用无刷风机寿命极长,噪音极小。
6. 烙铁符合 CE、ESD 安全规范。
7. 烙铁手柄隔热效果佳,符合人体工学操作舒适。
8. 烙铁采用陶瓷发热体,功率稳定升温速度快。
三、规格
型号
SS-979B
SS-979H
输入电压
220V-240V ~50Hz
功率消耗
760W
烙铁功率
60W
烙铁温度范围
200-480℃
热风温度范围
100-500℃
烙铁工作电压
24V~
热风工作电压
220V-240V~
温度显示
LED
烙铁发热芯
氧化铝陶瓷加热器
热风发热芯
金属发热芯
风量
120L/min(Max)
噪音
<45dB
插头形状
B
H
保险丝规格
250V / 5A
证书
CE, RoHS, ESD
重量
2.5Kg
尺寸(mm)
170x170x140 (含支架)
This manual suits for next models
1
Other Pro's Kit Soldering Gun manuals
Pro's Kit
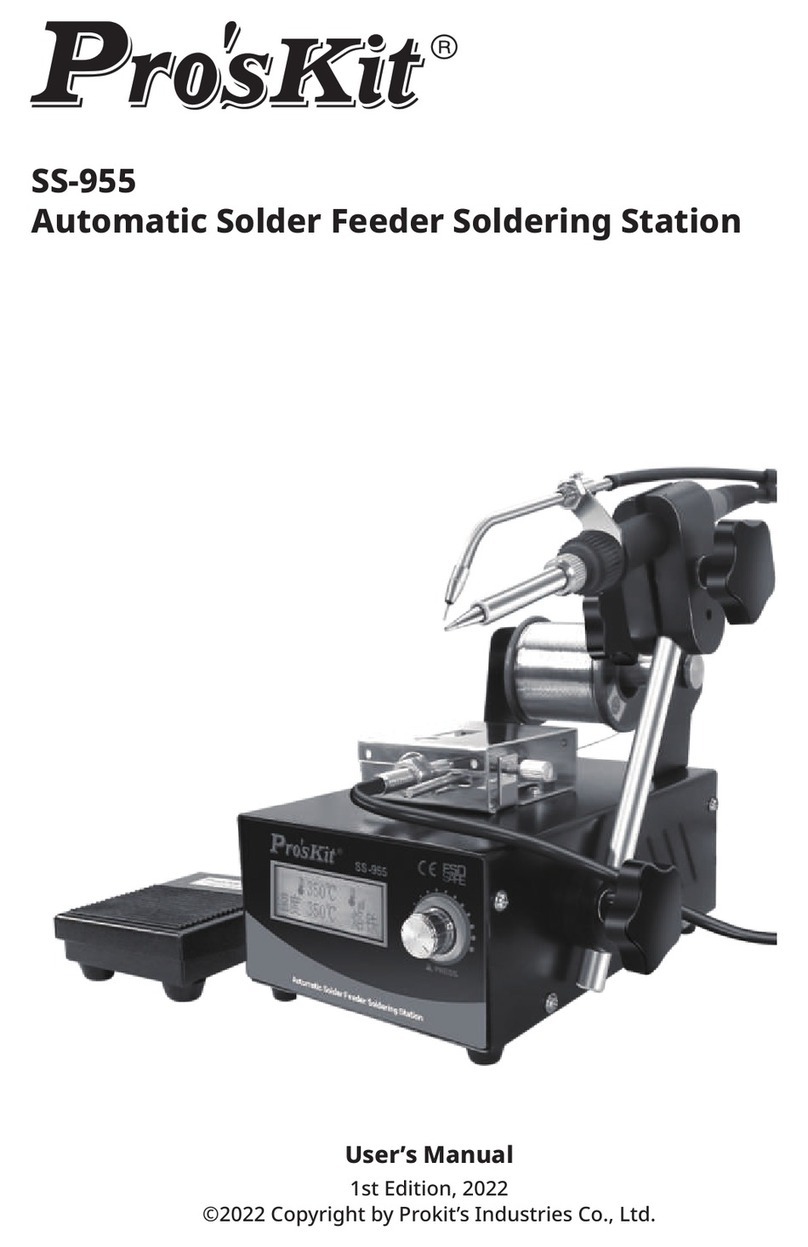
Pro's Kit SS-955 User manual

Pro's Kit
Pro's Kit SS-257 User manual
Pro's Kit
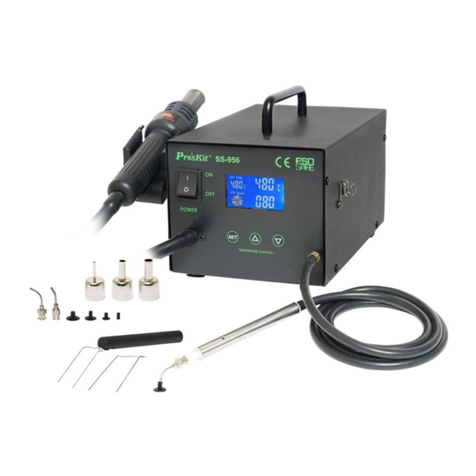
Pro's Kit SS-956 User manual
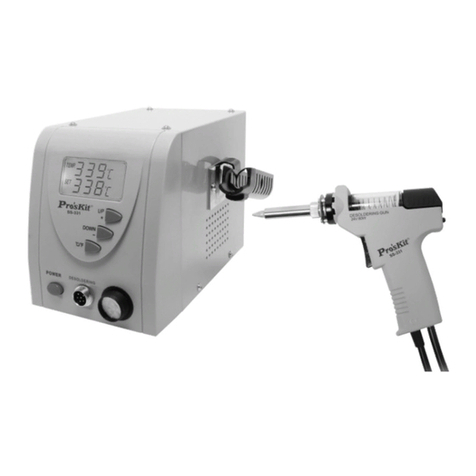
Pro's Kit
Pro's Kit SS-331 User manual
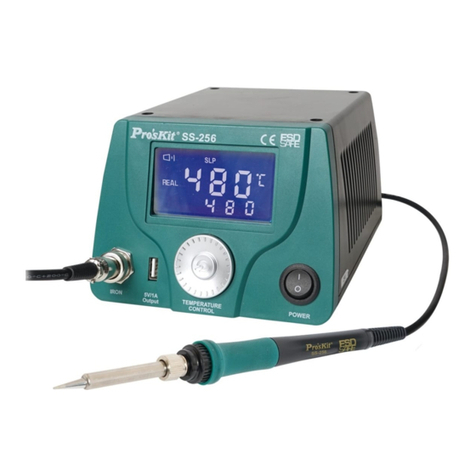
Pro's Kit
Pro's Kit SS-256E User manual
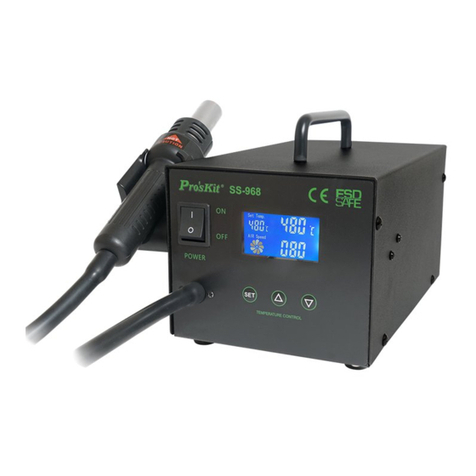
Pro's Kit
Pro's Kit SS-968 User manual
Pro's Kit
Pro's Kit SN-396 User manual
Pro's Kit
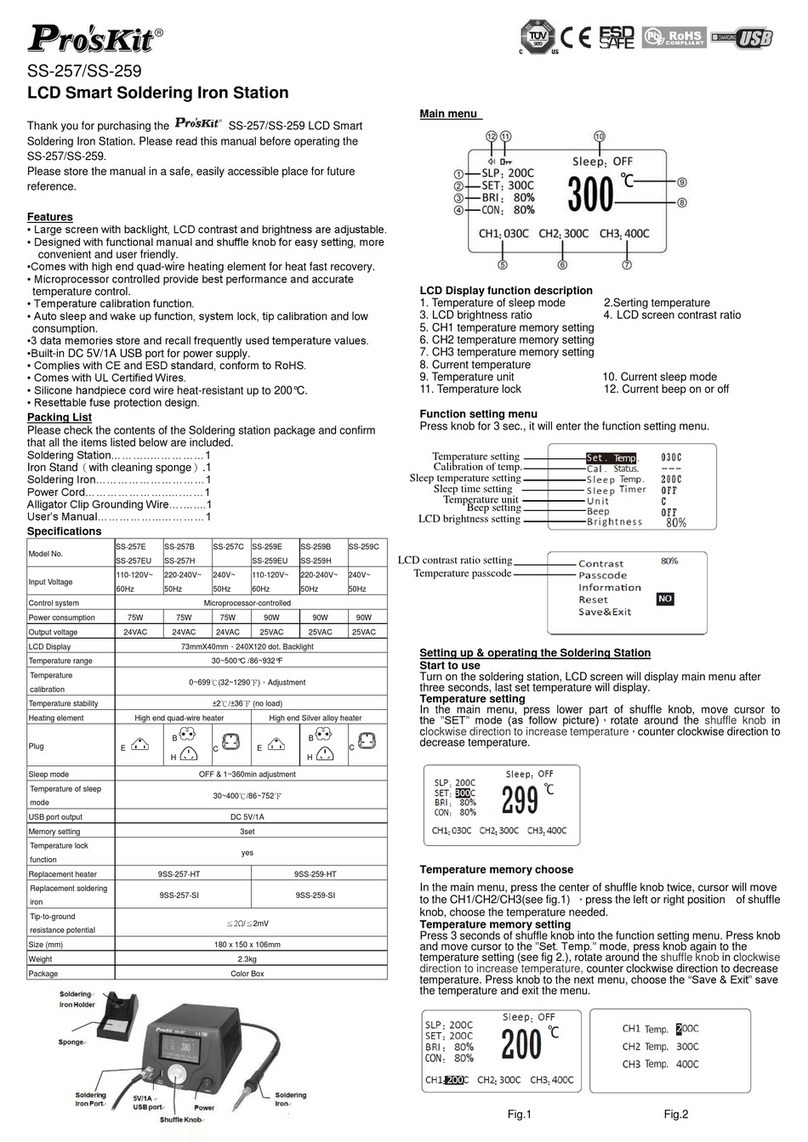
Pro's Kit SS-257 User manual
Pro's Kit
Pro's Kit SS-331B User manual
Pro's Kit
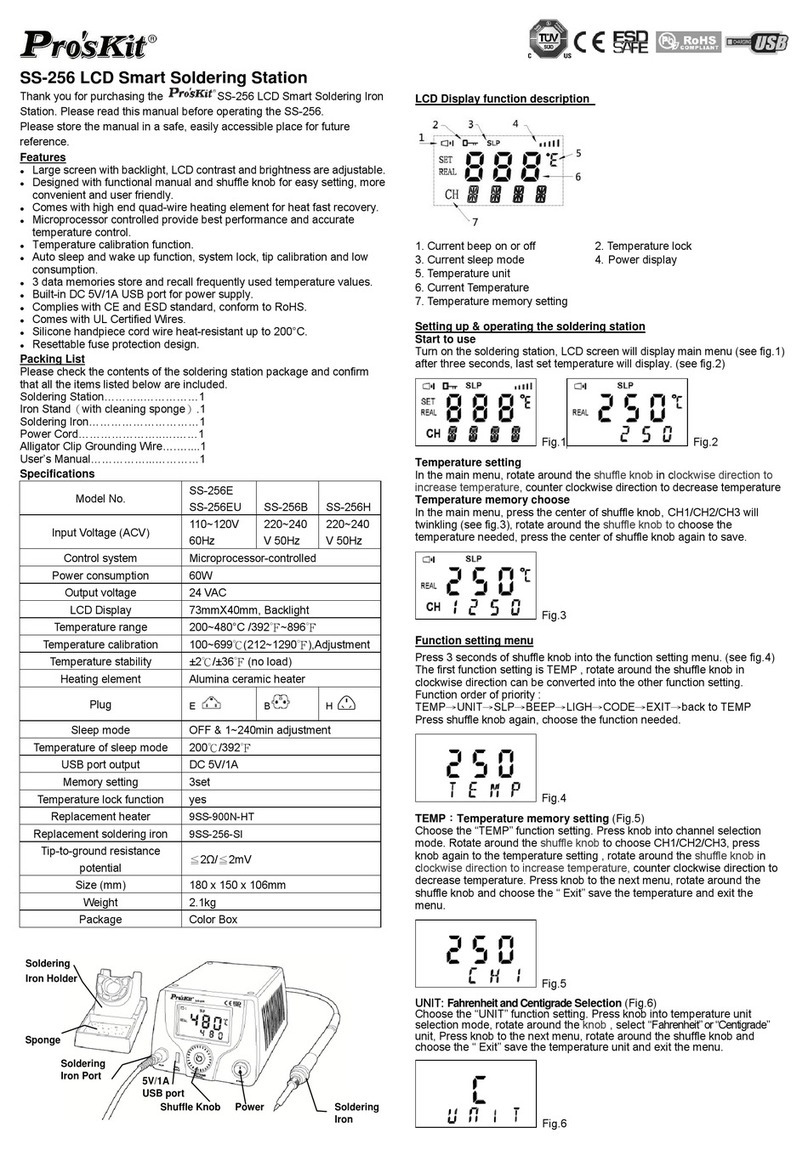
Pro's Kit SS-256 User manual
