INSTALLATION
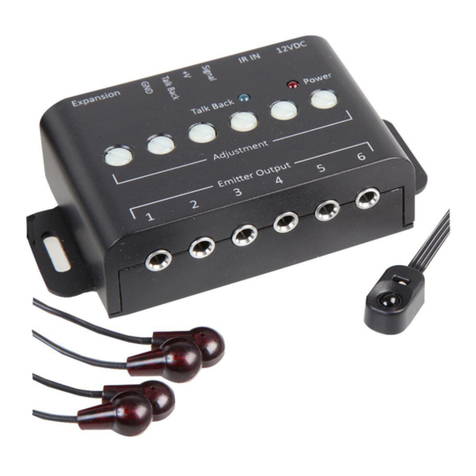
• Provides one IR receiver input and six IR emitter outputs
• Works with all major brands of Audio/Video IR remote controls
• CFL lighting friendly allows installation in most lighting environments.
• 12VDC Status input jack and LED indicator
• 3.5mm Jack sockets for receiver and emitters
• Terminal block for connecting IR receivers without 3.5mm jack plug.
• Powered by 12V, 500mA AC/DC adaptor (supplied)
OVERVIEW
• Connect the PSU 12VDC jack to the power input socket and turn on the power and
the red LED will illuminate.
• Connect the status power input to a source device 12VDC trigger output if one is
available or the 12VDC output from a mains PSU. When either the source device is
powered on or the mains is switched on the status LED will illuminate.
• Connect the IR receiver to the receiver socket and ensure it is in line of sight to the
remote control.
• When a signal is received the blue IR conrm LED will illuminate.
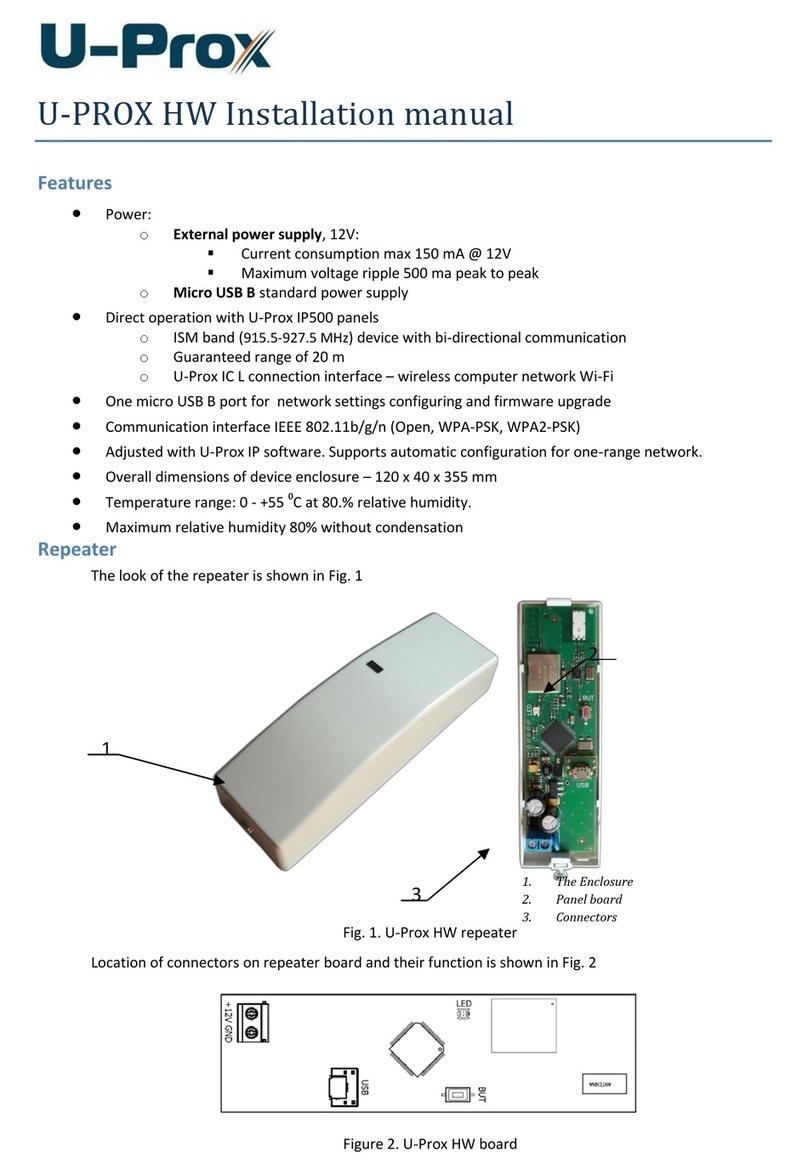
• If using a wall mounted IR receiver (not supplied) connect this to the IR connector
block (see diagram).
• Connect the IR emitters to the sockets 1 - 6 and using the self adhesive strips
on the base of the emitter, after testing the location, attach in line of sight to the
destination equipment IR receiver.
NOTE: more reliable IR transmission can be achieved by slightly increasing the distance
between IR emitter and the equipment. 5-10cm can achieve better results so experiment
before attaching the emitters permanently.
