manuals.online logo
Brands
  1. Home
  2. •
  3. Brands
  4. •
  5. PROAIM
  6. •
  7. Outdoor Cart
  8. •
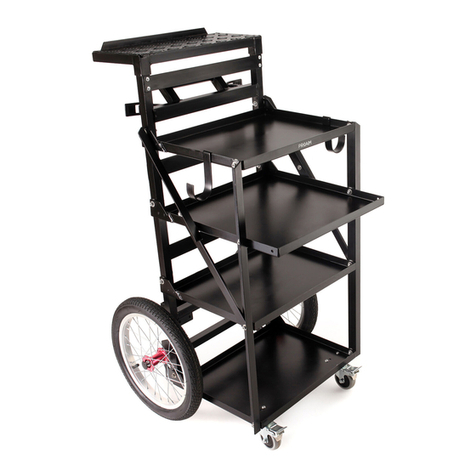
  9. PROAIM CINEMA CT-SDCF-PRO User manual

PROAIM CINEMA CT-SDCF-PRO User manual

1
What’s In The Box
Please inspect the contents of your shipped package to ensure you have received everything that are
listed below.
Soundchief Pro Cart (CT-SDCF-PRO)
Assembly Manua l
All rights reserved.
No part of this document may be reproduced, stored in a retrieval system, or transmied by any form or by any means,
electronic, mechanical, photo-copying, recording, or otherwise, except as may be expressly permied by the applicable copyright
statutes or in wring by the Publisher.
Top side panel
Boom side panel
Main secon
2
Foldable & Detachable Side Wings
Wheel axel
Cable hooks
Handles
5/8” baby pin mount
Panel connector
Countersunk bolts
Caster wheels with brakes
Boom side panel Top & Boom shelves
Wheels
Top side panel Top & Boom shelves
3
5/8” baby pin
Boom plate
• Align the boom plate with the main secon.
• Remove all the bolts of the boom plate, as
shown in the images.
Cart Setup
L– Type Allen key (5/16”)
T– Type Allen Key
(6mm, 3/16mm, 5mm, 4mm, 2.5mm)
(10-11, 17, 19) Spanner
• Loosen the bolt of the Boom Plate With The
help of 5/16”L-type a Allen key and (19)
spanner.
4
• Match the holes of the main secon with the
boom plate and insert the bolt.
• Now properly ghten the nut with the help of
(19) spanner and (5/16") L– type Allen key.
• With the help of the (5/16") L-Type Allen key,
insert the Nyloc nut by holding the bolt.
• Follow the same process for the remaining
two bolts and aach the boom plate with
the main secon.
• Remove both the wheel axle bolts manually.
• Aach the wheel axle to the side parts of the
main secon.
5
• To aach the wheel axle with the main sec-
on, Insert the Nyloc nut by inserng the
bolts manually.
• Remove the Nyloc nut from the wheel axle, as
shown in image.
• Then ghten it properly with the help of (10-
11) spanner and 3/16mm Allen key.
• Remove the Nyloc nut of both the side wheel
axles.
• Aach the wheel to the main secon and
insert it into the wheel axle, as shown in the
image.
• Secure the Nyloc nut by inserng it (19) with
the help of a spanner.
6
• 1st wheel is now aached to the main sec-
on, follow the same process for the other
side wheel.
• Remove the caster wheel bolts with the help
of a 6mm Allen key and (17) spanner key.
• Finally both the wheels are properly aached
to the Main secon.
• Remove all bolts of the caster wheels, as
shown in the image.
• Remove the bolts of both the caster wheels
properly.
• Insert the bolt matching the thread hole of
the caster wheels with the base plate.
7
• Now properly ghten them with the help of a
6mm Allen key and (17) spanner.
• Aer inserng the bolt, insert the washer and
Nyloc nut.
• Aach the panel connector to the boom
side panel with the help of a 3/16mm Allen
key.
• Apply the same process for the other Boom
side panel and aach it with the Panel
connector.
• Remove the side bolts of the boom shelves
with the help of a 2.5 mm Allen Key.
• Now both the boom side panels are ready
to use.
8
• Remove all bolts on the boom shelves.
• Insert the bolts by aaching the boom
shelves to the boom side panels.
• Tighten them with the help of a 2.5mm Allen
key.
• Follow the same process for another Boom
side panel.
• Manually remove the Rachet knobs from
both the boom side panels.
• Remove the Rachet knob by pushing the push
pin buon.
9
• Aach the boom side panels to the main
secon of the cart by aligning with it.
• Same as shown in the image.
• Insert the ratchet knob to aach the boom
side panel with the boom sleeve.
• Secure the boom side panel with boom
shelves properly with the help of the Rachet
knob.
• Remove the knob from the boom side panel
top shelves manually.
• Remove all the knobs of the boom side pan-
el top shelves.
10
• Then manually place the boom shelves of
the main secon on top of the boom side
panels.
• Tighten them properly with the help of all
three knobs.
• Aach the panel connector along the top side
panel and ghten it with a 3/16mm Allen key.
• Tighten the same panel connector on the
boom side and ghten it with a 3/16mm Al-
len key.
• Apply the same process for the Top Panel as
well.
11
• Remove the side bolts of the Top Side Panel
Top & Boom Shelves with the help of a
2.5mm Allen key.
• Then align with Top side panel.
• Align the top side panel with boom shelves
and secure them properly with a 2.5mm Allen
key by inserng the bolt.
• Remove the side ratchet knob by pushing the
buon of the push pin.
• Apply the same process for the other Top
Panel as well.
• Remove the Rachet knob on both sides.
12
• Aer aaching the Top Side Panel with Top
Boom Shelves, align with the cart manually.
• Secure it from both sides with the help of the
Rachet knob.
• Then place the top side panel on the top, as
shown in the image.
• The Top Side Panel Top & Boom Shelves are
aached to the Soundchief Cart.
• Secure the top side panel with the help of a
knob.
• Open the legs of the foldable & detachable
side wings and slide them in from the top side
panel.
13
NOTE: The side wings can be folded by pushing
the lock lever.
• Both the side wings are now properly setup,
as shown in the image.
• Remove the bolts of the 5/8" baby pin mount.
• Mount the 5/8" baby pin mount to the top of
the Soundchief cart.
• Then by inserng the bolt matching the
thread, manually insert the Nyloc nut from
the boom part.
• Tighten it with the help of a 3/16mm Allen
Key and follow the same procedure on the
other baby pin mount.
14
• Properly remove the handle bolts.
• Align the handle & insert the bolt by matching
the handle to the side threads of the main
secon of the Soundchief cart.
• Then properly ght with the help of a
3/16mm Allen key and (10-11) spanner and
follow the same process on the other side
handle.
• Loosen the larger side knob in the handle and
ghten the knob properly by inserng a 5/8"
baby pin.
• Follow the same process on anther side of
the handle.
• Properly remove the bolts of the cable hooks,
as shown in the image.
15
• Insert both the bolts of the cable hooks and
ghten them properly with the help of a
3/16mm Allen key and (10-11) spanner.
• Then insert the bolt by aaching the cable
hooks to the cart's main secon.
• Finally, both the cable hooks are properly
aached to the Soundchief cart.
• Soundchief Pro cart is nally ready.
NOTE: Two people are required to assemble the
Soundchief Pro cart.
16
Warranty: We oer one year warranty for our products from date of purchase. Within this period of me,
we will repair it without charge for labor or parts. Warranty doesn’t cover transportaon costs nor does it
cover a product subjected to misuse or accidental damage. Warranty repairs are subjected to inspecon
and evaluaon by us.
Liability: We are not liable for damage caused by products that we do not supply or from mishandling in
transit, accident, misuse, neglect, lack of care of the product, or service by anyone other than our company.
Contact Us: In case of any kind of dissasfacon, please Contact us immediately and we promise our utmost
support and care unl you use our product.
YOUR PROAIM SOUNDCHIEF PRO CART
ALL DRESSED UP AND READY TO GO!
(SHOWN WITH OPTIONAL ACCESSORIES)

Other PROAIM Outdoor Cart manuals

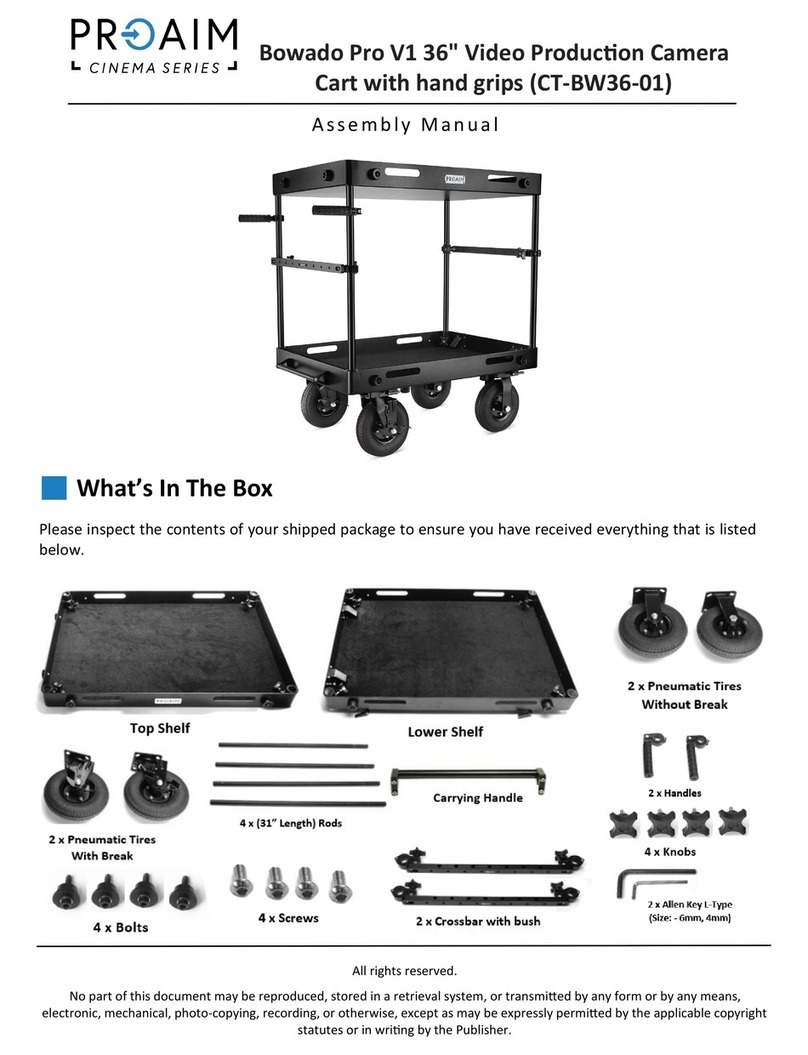
PROAIM CINEMA Series User manual

PROAIM

PROAIM CINEMA Series User manual

PROAIM CT-VNGD-UC5 User manual

PROAIM

PROAIM CT-VNGD-UC5 User manual

PROAIM CINEMA CT-SDCF-CV3 User manual

PROAIM

PROAIM CINEMA CT-SDCF-CV3 User manual

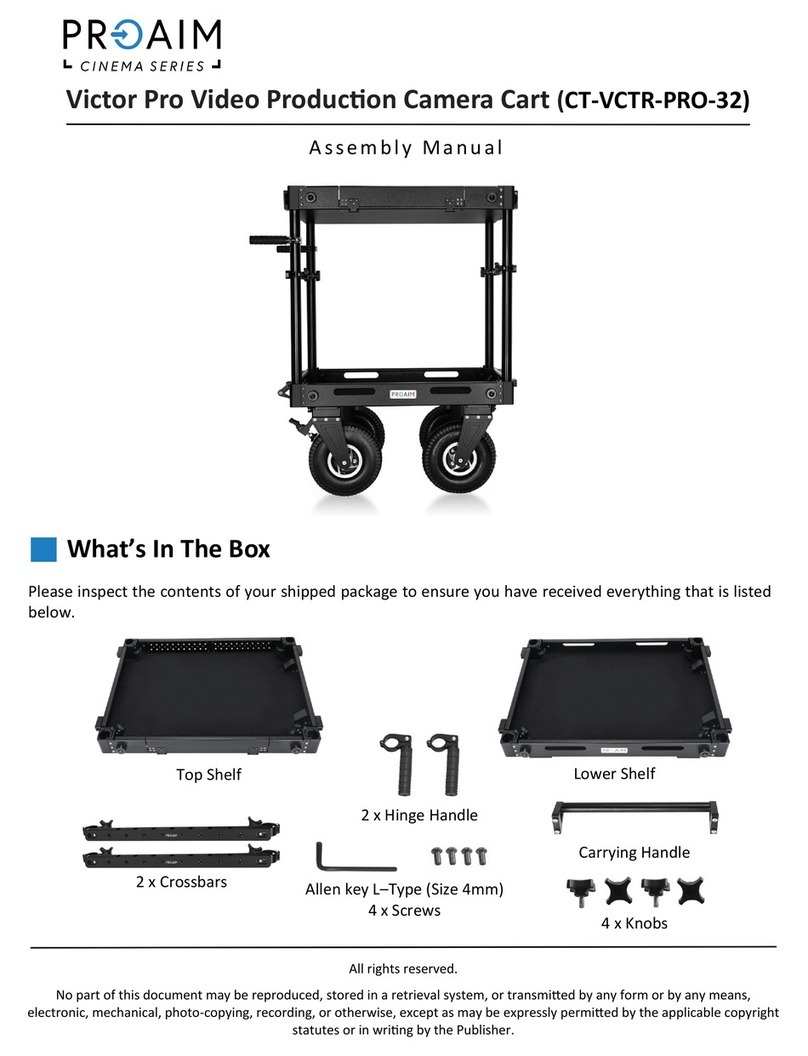
PROAIM Victor Pro CT-VCTR-PRO-32 User manual

PROAIM

PROAIM Victor Pro CT-VCTR-PRO-32 User manual

PROAIM CINEMA CT-SDCF-CV4 User manual

PROAIM

PROAIM CINEMA CT-SDCF-CV4 User manual

PROAIM CINEMA Series User manual

PROAIM

PROAIM CINEMA Series User manual

PROAIM Bowado Pro V1 User manual

PROAIM

PROAIM Bowado Pro V1 User manual

PROAIM CINEMA Series User manual

PROAIM

PROAIM CINEMA Series User manual

PROAIM CINEMA Series User manual

PROAIM

PROAIM CINEMA Series User manual

PROAIM Cinema Vanguard CT-VNGD-CS User manual

PROAIM

PROAIM Cinema Vanguard CT-VNGD-CS User manual

PROAIM CT-VNGD-UCN User manual

PROAIM

PROAIM CT-VNGD-UCN User manual

PROAIM CT-SDCF-L-01 User manual

PROAIM

PROAIM CT-SDCF-L-01 User manual
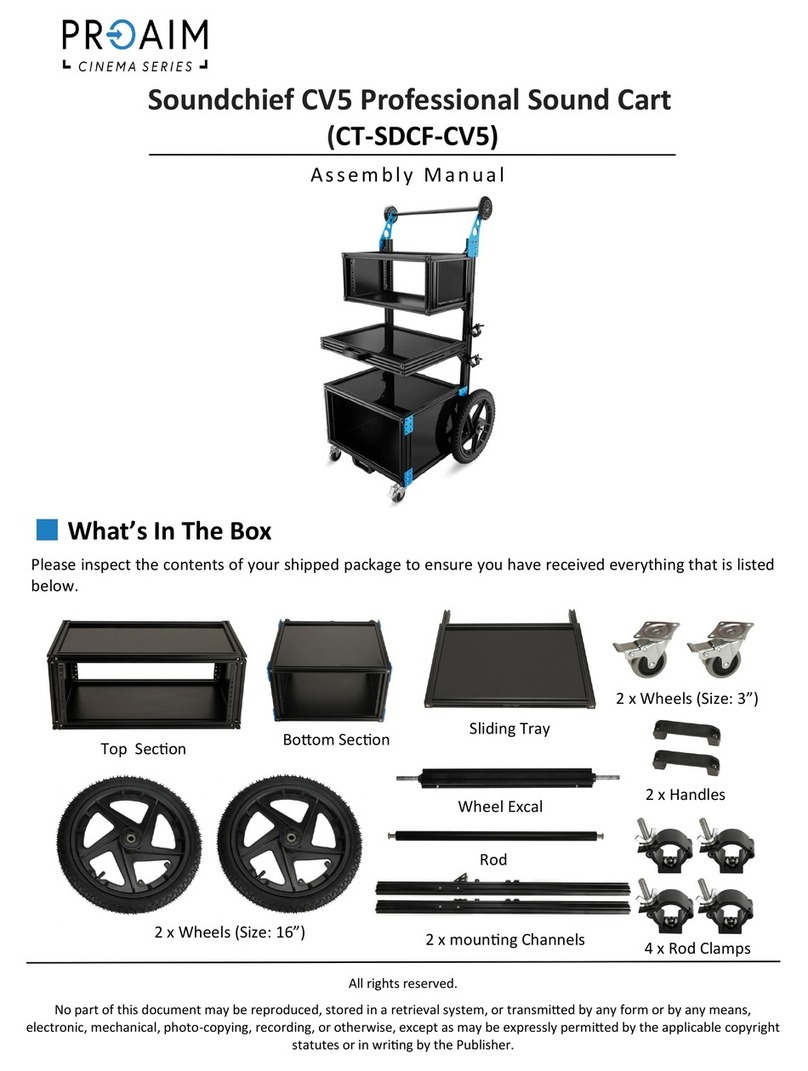
PROAIM Soundchief CV5 User manual

PROAIM

PROAIM Soundchief CV5 User manual

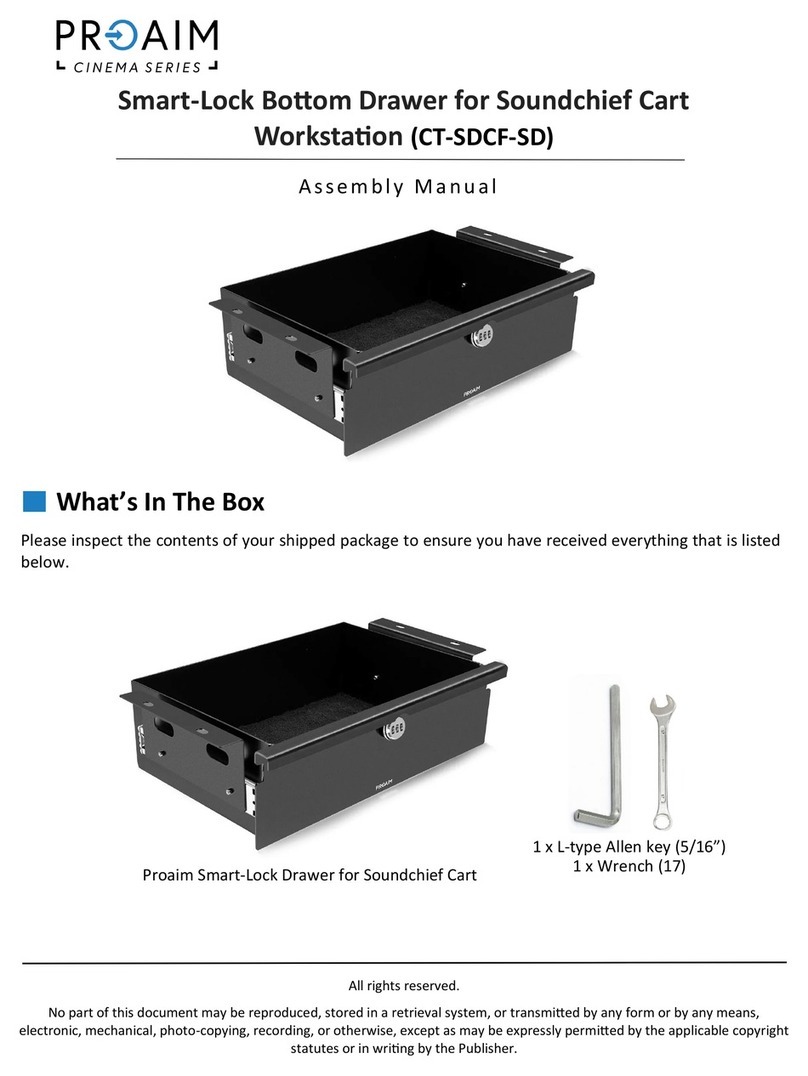
PROAIM CT-SDCF-SD User manual

PROAIM

PROAIM CT-SDCF-SD User manual
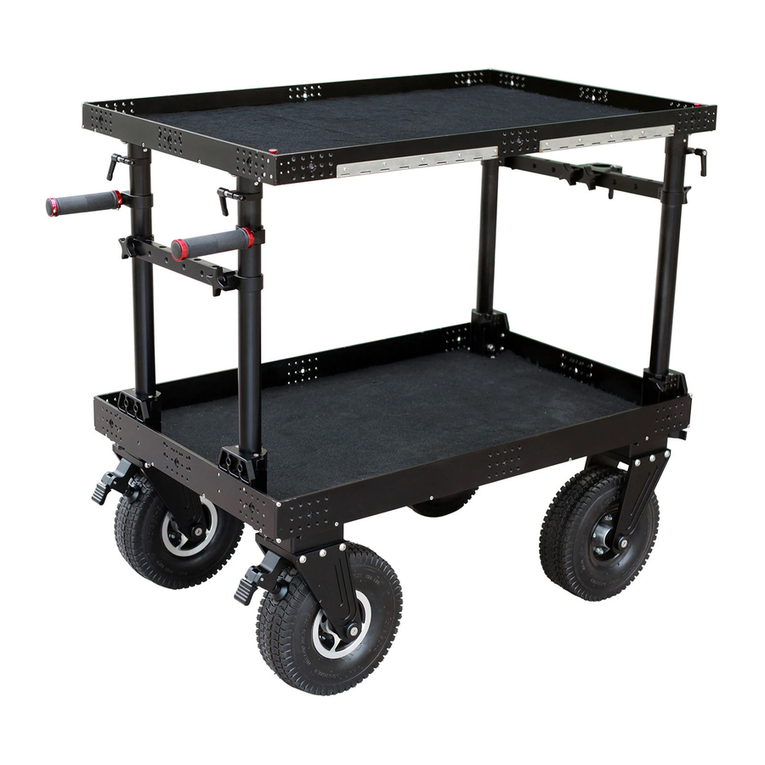
PROAIM CINEMA CT-SDCF-OG User manual

PROAIM

PROAIM CINEMA CT-SDCF-OG User manual

Popular Outdoor Cart manuals by other brands

Copernicus RC2IN1 Assembly guide

Copernicus

Copernicus RC2IN1 Assembly guide

Bretford TC15FF Assembly instructions

Bretford

Bretford TC15FF Assembly instructions

GEKA Plus RW40 manual

GEKA

GEKA Plus RW40 manual

Lifetime 80525 Assembly instructions

Lifetime

Lifetime 80525 Assembly instructions

VYPER ROBUST STEEL PRO Assembly guide

VYPER

VYPER ROBUST STEEL PRO Assembly guide

Gorilla Carts GCR-10P quick start guide

Gorilla Carts

Gorilla Carts GCR-10P quick start guide

Caddytek Explorer V2 user manual

Caddytek

Caddytek Explorer V2 user manual

Opti-Med JM025-022 user manual

Opti-Med

Opti-Med JM025-022 user manual

AKRO-MILS 30812 Assembly instructions

AKRO-MILS

AKRO-MILS 30812 Assembly instructions

Caper 2 user manual

Caper

Caper 2 user manual

Williams-Sonoma Truman Assembly instructions

Williams-Sonoma

Williams-Sonoma Truman Assembly instructions

Generac Power Systems MAC MIH400HC owner's manual

Generac Power Systems

Generac Power Systems MAC MIH400HC owner's manual

EefaCo.Store 88 5532 01 Assembly instructions

EefaCo.Store

EefaCo.Store 88 5532 01 Assembly instructions

Sherlock BBGC45 instruction manual

Sherlock

Sherlock BBGC45 instruction manual

Agri-Fab 45-0270 owner's manual

Agri-Fab

Agri-Fab 45-0270 owner's manual

peerless-AV SC560FK Installation and assembly

peerless-AV

peerless-AV SC560FK Installation and assembly

Sealey MK75 instructions

Sealey

Sealey MK75 instructions

Storz UG 130U instruction manual

Storz

Storz UG 130U instruction manual

manuals.online logo
manuals.online logoBrands
  • About & Mission
  • Contact us
  • Privacy Policy
  • Terms and Conditions

Copyright 2025 Manuals.Online. All Rights Reserved.