manuals.online logo
Brands
  1. Home
  2. •
  3. Brands
  4. •
  5. ProFlo
  6. •
  7. Plumbing Product
  8. •
  9. ProFlo PF1830GCP User manual

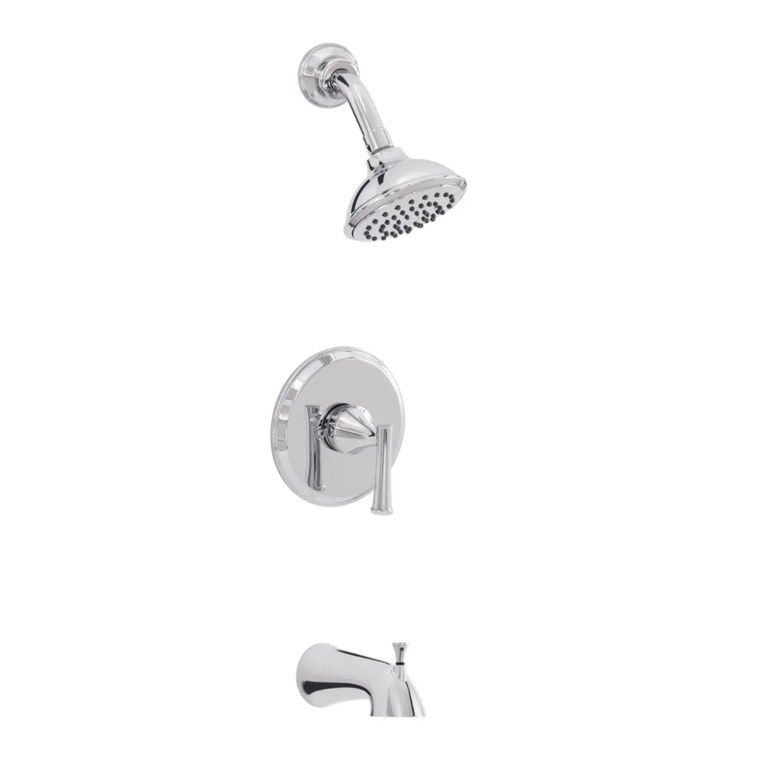
ProFlo PF1830GCP User manual

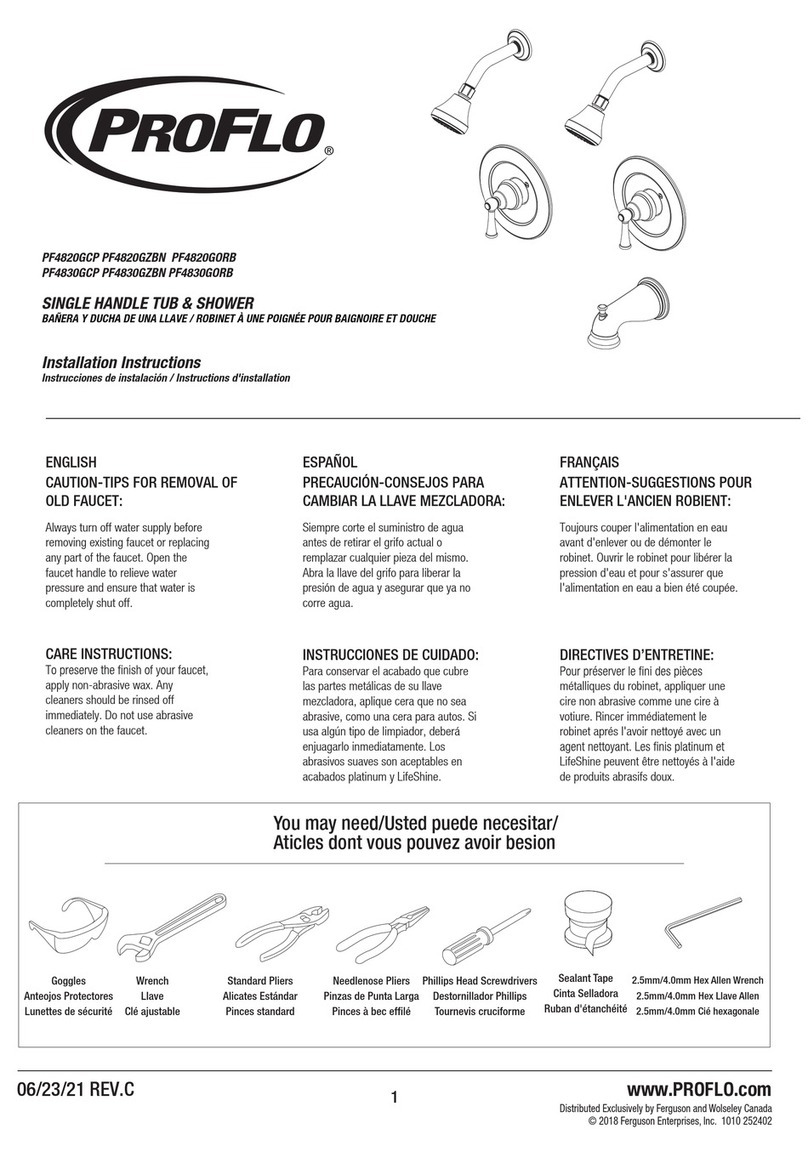
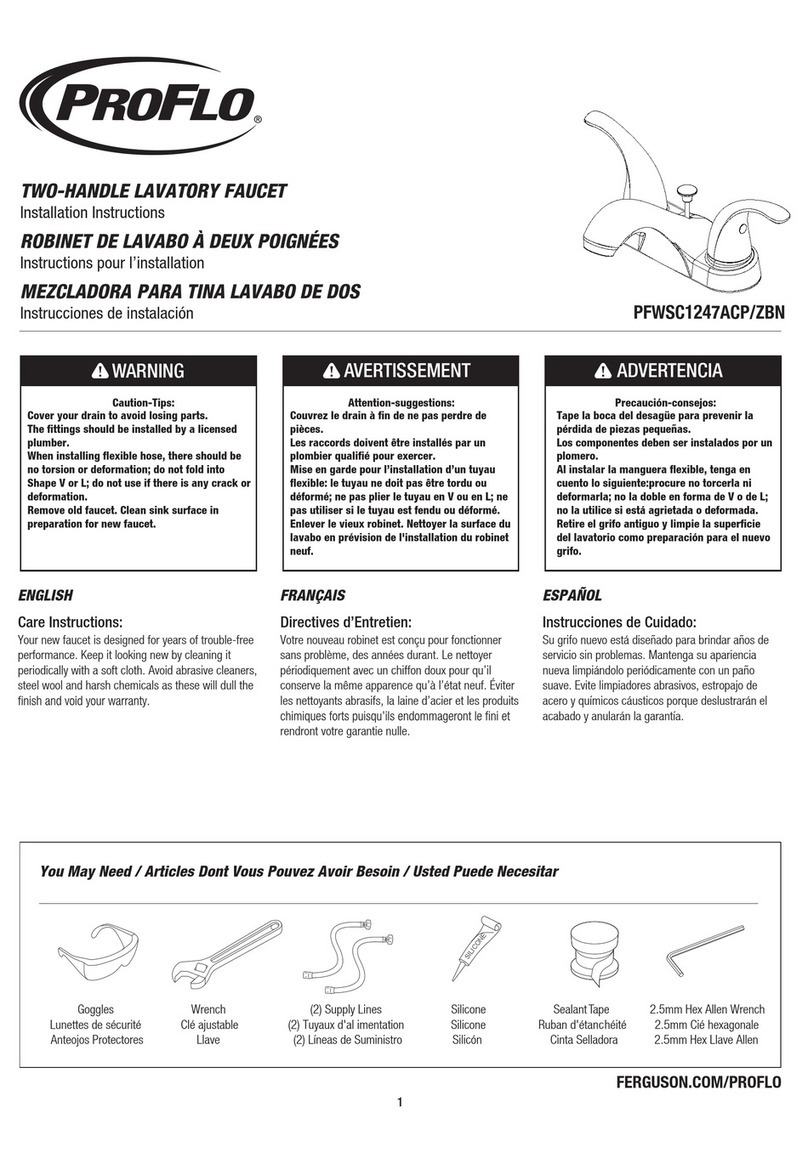
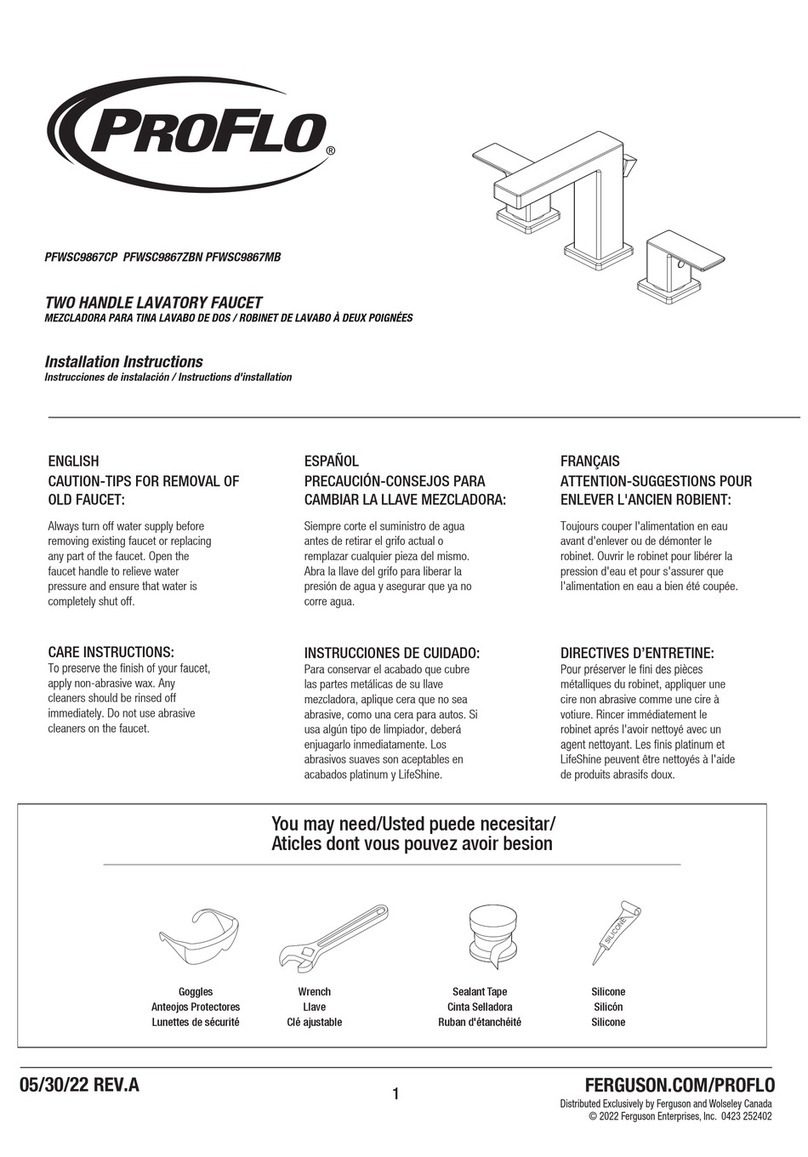
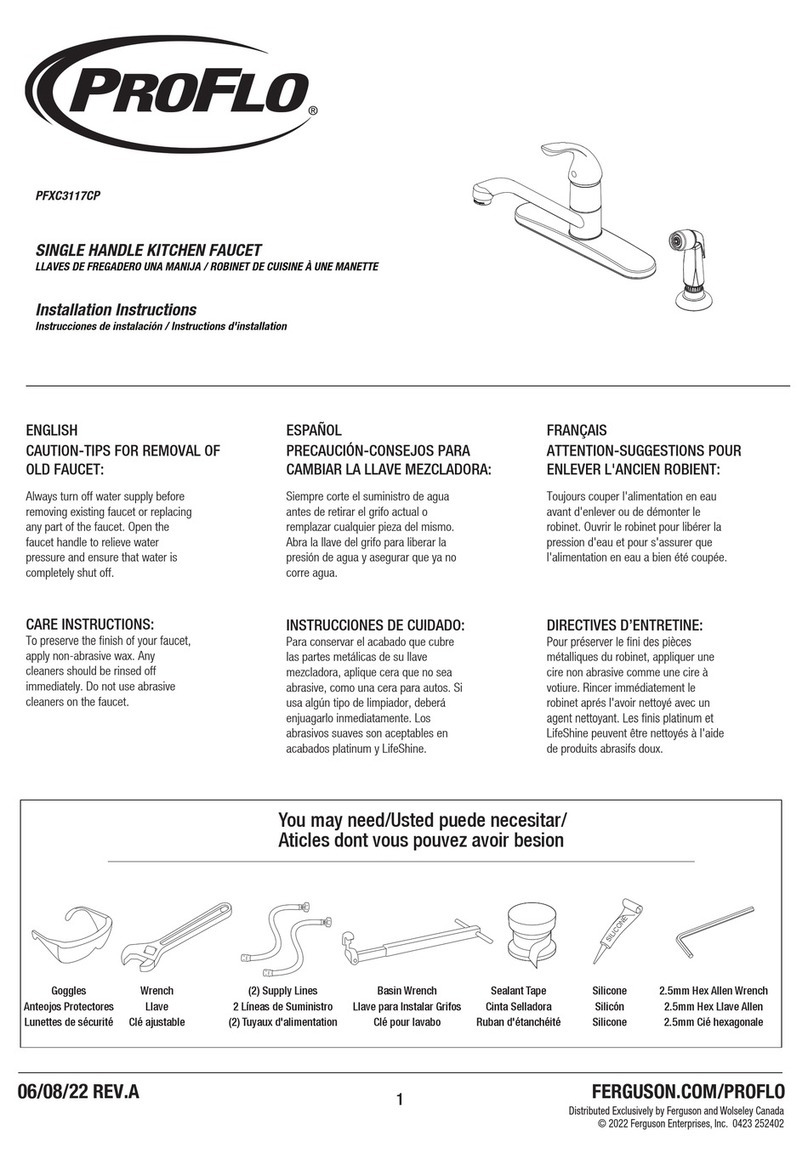
You may need
Aticles dont vous pouvez avoir besion / Usted puede necesitar
Goggles
Lunettes de sécurité
Anteojos Protectores
Wrench
Clé ajustable
Llave
Sealant Tape
Ruban d'étanchéité
Cinta Selladora
Phillips screwdriver
Tournevis Phillips
Destornillador cruiforme
Groove joint plier
Pinzas
Pince multiprise adjustable
FERGUSON.COM/PROFLO
©2020 Ferguson Enterprises, LLC 11/21 REV-A
Installation Instructions
Instrucciones de instalación / Instructions pour l’installation
ENGLISH
Caution-Tips:
FRANÇAIS
Attention-suggestionst:
ESPAÑOL
Precaución-consejos:
Care Instructions: Directives d’Entretien: Instrucciones de Cuidado:
PF1830GCP, PF1830GZBN
PF1820GCP, PF1820GZBN
PF1800CP, PF1800ZBN
Always turn off water supply before
removing existing faucet or replacing
any part of the faucet. Open the
faucet handle to relieve water
pressure and ensure that water is
completely shut off.
Siempre corte el suministro de agua
antes de retirar el grifo actual o
remplazar cualquier pieza del mismo.
Abra la llave del grifo para liberar la
presión de agua y asegurar que ya no
corre agua.
Toujours couper l'alimentation en eau
avant d'enlever ou de démonter le
robinet. Ouvrir le robinet pour libérer la
pression d'eau et pour s'assurer que
l'alimentation en eau a bien été coupée.
To preserve the finish of your faucet,
apply non-abrasive wax. Any
cleaners should be rinsed off
immediately. Do not use abrasive
cleaners on the faucet.
Para conservar el acabado que cubre
las partes metálicas de su llave
mezcladora, aplique cera que no sea
abrasive, como una cera para autos. Si
usa algún tipo de limpiador, deberá
enjuagarlo inmediatamente. Los
abrasivos suaves son aceptables en
acabados platinum y LifeShine.
Pour préserver le fini des pièces
métalliques du robinet, appliquer une
cire non abrasive comme une cire à
votiure. Rincer immédiatement le
robinet aprés l'avoir nettoyé avec un
agent nettoyant. Les finis platinum et
LifeShine peuvent être nettoyés à l'aide
de produits abrasifs doux.
1
Single Handle Tub & Shower Faucet
Robinet De Baignoire Et Douche À Une Poignée
Grifo De Una Llave Para Bañera Y Ducha
FERGUSON.COM/PROFLO
©2020 Ferguson Enterprises, LLC 11/21 REV-A 2
4
3
2
2.Before installing escutcheon, remove the plastic cap from plaster guard by
twisting cap clockwise.
2.Antes de instalar la placa, remueva la tapa plástica del base para pared,
girando la tapa en el sentido de las agujas del reloj.
2.Avant d’installer l’applique, enlever le capuchon en plastique du arrêt d'enduit en le
tournant dans le sens des aiguilles d’une montre
4.Carefully slide the escutcheon (1) onto the valve.
4.Deslice con cuidado la pieza decorativa (1) en la válvula.
4.Glisser soigneusement la bride de sol (1) sur la soupape.
1.Install nipple for spout. Stub-out pipe must be ½” copper or CPVC.
IMPORTANT: The distance from the valve to the tub spout stub out should be
between 8" and 18".
Slip-fit for extend pipe
1-3/16"(30mm)~2-15/16"(75mm)
from finished wall.
1.Instale la boquilla del grifo. El tubo de montaje debe ser de cobre o CPVC
(cloruro de polivinilo tratado con cloro) de 12 mm (½ pulg.).
IMPORTANTE: La distancia entre la válvula y la boquilla del tubo de salida debe ser
de entre 20 cm y 45 cm.
1.Installez le mamelon du bec. L’embout de tuyau doit être de ½" en cuivre ou en PVC-C.
IMPORTANT: La distance entre le robinet et la tubulure de raccordement du bec de
la baignoire devrait se situer entre 20,32cm (8po) et 45,72cm (18po).
3.Instal the sleeve (1) onto the valve body.
3.Instale el casquillo (1) en el cuerpo de la válvula.
3.Installer le manchon (1) sur le corps du robinet.
1
1
1
FERGUSON.COM/PROFLO
©2020 Ferguson Enterprises, LLC 11/21 REV-A 3
6
5
7 8
5.Use two screws (1) to secure the escutcheon in place.
5.Utilice dos tornillos (1) para asegurar la pieza decorativa en su lugar.
5.Utiliser deux vis (1) pour fixer la bride de sol en place.
6.Screw in handle assembly (1).
Adjust the hex ring (2) to be in proper position by hand. See detail a.
6.Atornille el ensamble de la manija (1).
Ajuste el anillo hexagonal (2) manualmente en la posición correcta. Ver detalle a.
6.Visser l'assemblage de manette (1).
Ajuster l'anneau hexagonal (2) manuellement à la position appropriée. Voir le détail a.
7.Install shower arm (1).
Install shower flange (2).
Install showerhead (3) and tighten with wrench.
7.Instale el brazo de ducha (1).
Instale la brida del brazo de ducha (2).
Instale la cabeza de ducha y apriete con una
llave (3). Abra el suministro de agua.
7.Installer le bras de douche (1).
I nstaller la bride de douche (2).
Installer la pomme de douche et serrer à l’aide
de la clé à molette (3). Ouvrir l’alimentation d’eau.
8.Slip on spout (1) over 1/2" copper or CPVC pipe.
Slide the spout over the pipe with the spout tight to the wall,
tighten the set screw (2) to the pipe.
8.Deslice la boquilla (1) por la tubería de cobre o CPVC de 1/2".
Deslice la boquilla por la tubería, con la boquilla adherida a la pared, y ajuste el
tornillo de sujeción (2) a la tubería.
8.Glisser sur le bec verseur (1) sur un tuyau en cuivre ou CPVC de 13mm (1/2po).
Glisser le bec verseur sur le tuyau avec le bec verseur adossé au mur, puis serrer
la vis (2) au tuyau.
1
1a
2
1
2
3
12
1
2
3
Showerhead
No.
1 Cabezal de ducha Pomme de douche
Ensamble de la manija Assemblage de manette
2
3Ensamble de la boquilla Assemblage de bec verseur
Part Part Number
*
Especifíque el Acabado
*
Specify Finish
*
Précisez le Fini
PFSH320G**
OBPF75Y0262200**
Handle assembly
PFTS34**
Spout assembly
FERGUSON.COM/PROFLO
©2020 Ferguson Enterprises, LLC 11/21 REV-A
10.Pull up on the lift knob of the tub spout. Check the diverter function.
10.Suba la perilla de la boquilla de la bañera. Verifique el funcionamiento del desviador.
10.Tirer sur le bouton de levage du bec de la baignoire. Vérifier la fonction de l'organe
de dérivation.
10
4
9.Turn on the handle and check the function of the tub spout.
9.Active la manija y verifique el funcionamiento de la boquilla de la bañera.
9.Tourner la manette et vérifier le fonctionnement du bec de la baignoire.
9

This manual suits for next models

5

Other ProFlo Plumbing Product manuals

ProFlo PFWSC6897CP User manual

ProFlo

ProFlo PFWSC6897CP User manual

ProFlo PFWSC1840CP User manual

ProFlo

ProFlo PFWSC1840CP User manual

ProFlo PFWSCM1M108 User manual

ProFlo

ProFlo PFWSCM1M108 User manual

ProFlo PFXCM1M7202 User manual

ProFlo

ProFlo PFXCM1M7202 User manual

ProFlo PFX122CP User manual

ProFlo

ProFlo PFX122CP User manual

ProFlo PF4820GCP User manual

ProFlo

ProFlo PF4820GCP User manual
ProFlo PFX3045 User manual

ProFlo

ProFlo PFX3045 User manual
ProFlo PFWSCM1M103 User manual

ProFlo

ProFlo PFWSCM1M103 User manual

ProFlo PFXC1187CP User manual

ProFlo

ProFlo PFXC1187CP User manual

ProFlo PFWSC5260CP User manual

ProFlo

ProFlo PFWSC5260CP User manual

ProFlo PFWSC4867CP User manual

ProFlo

ProFlo PFWSC4867CP User manual

ProFlo PFWSCM1M1157 User manual

ProFlo

ProFlo PFWSCM1M1157 User manual

ProFlo PFWSCM1M313 User manual

ProFlo

ProFlo PFWSCM1M313 User manual

ProFlo PFX3085 User manual

ProFlo

ProFlo PFX3085 User manual

ProFlo PFWSCM1M104 User manual

ProFlo

ProFlo PFWSCM1M104 User manual

ProFlo PFXC1080LSCP User manual

ProFlo

ProFlo PFXC1080LSCP User manual
ProFlo PFXC5150CP User manual

ProFlo

ProFlo PFXC5150CP User manual

ProFlo PFWSCM1M108 User manual

ProFlo

ProFlo PFWSCM1M108 User manual
ProFlo PFWSC6857CP User manual

ProFlo

ProFlo PFWSC6857CP User manual

ProFlo PF3800CP User manual

ProFlo

ProFlo PF3800CP User manual

ProFlo PFWSC1240A CP User manual

ProFlo

ProFlo PFWSC1240A CP User manual

ProFlo PFXC5017CP User manual

ProFlo

ProFlo PFXC5017CP User manual

ProFlo PFLT2522D User manual

ProFlo

ProFlo PFLT2522D User manual

ProFlo PFTS38CP User manual

ProFlo

ProFlo PFTS38CP User manual

Popular Plumbing Product manuals by other brands

CDA TC75 installation instructions

CDA

CDA TC75 installation instructions

Axor 37030XX parts list

Axor

Axor 37030XX parts list

Maxxus MX-M356-01 instruction manual

Maxxus

Maxxus MX-M356-01 instruction manual

KWC F4LT1016 Installation and operating instructions

KWC

KWC F4LT1016 Installation and operating instructions

bathstore FORGE 20004010565 quick start guide

bathstore

bathstore FORGE 20004010565 quick start guide

Watts Radiant ASTM F1960 Instructions for installing

Watts

Watts Radiant ASTM F1960 Instructions for installing

Luxart Serendipity SE411TO Installation

Luxart

Luxart Serendipity SE411TO Installation

VIGO VG08008 manual

VIGO

VIGO VG08008 manual

Thetford Aqua-Magic 33186 manual

Thetford

Thetford Aqua-Magic 33186 manual

Hans Grohe Focus 31967 Series Instructions for use/assembly instructions

Hans Grohe

Hans Grohe Focus 31967 Series Instructions for use/assembly instructions

Toto Vivian TS220EV Installation and owner's manual

Toto

Toto Vivian TS220EV Installation and owner's manual

Kalia KAVIAR KF1691 Installation instructions / warranty

Kalia

Kalia KAVIAR KF1691 Installation instructions / warranty

Aqua Environment Inc 1120 Operation and maintenance manual

Aqua Environment Inc

Aqua Environment Inc 1120 Operation and maintenance manual

Hans Grohe Vivenis 250 75040 Series Instructions for use/assembly instructions

Hans Grohe

Hans Grohe Vivenis 250 75040 Series Instructions for use/assembly instructions

Grohe Eurocube 31 255 manual

Grohe

Grohe Eurocube 31 255 manual

Moen TS964 quick start guide

Moen

Moen TS964 quick start guide

ZURN AQUASPEC Z82600 SERIES installation instructions

ZURN

ZURN AQUASPEC Z82600 SERIES installation instructions

Gessi OXYGENE 13331 manual

Gessi

Gessi OXYGENE 13331 manual

manuals.online logo
manuals.online logoBrands
  • About & Mission
  • Contact us
  • Privacy Policy
  • Terms and Conditions

Copyright 2025 Manuals.Online. All Rights Reserved.