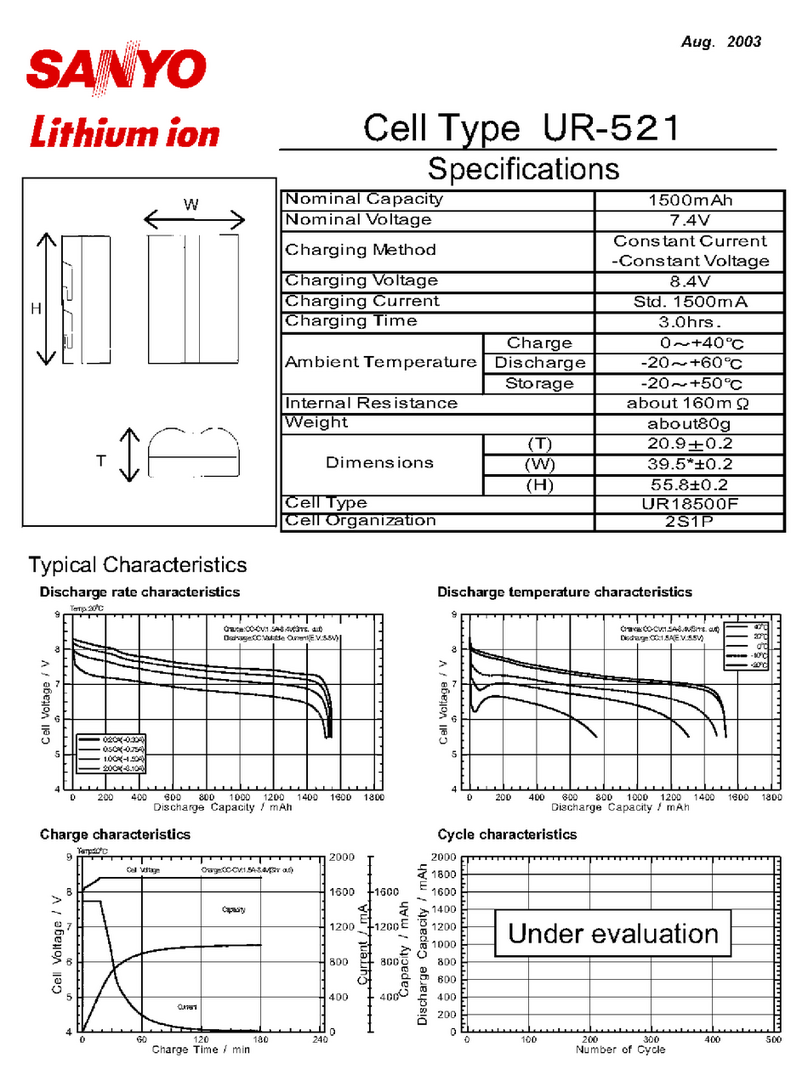
Profoto Cine Reflector User manual


Table of contents
Other Profoto Camera Accessories manuals

Profoto
Profoto Collapsible Reflector User manual

Profoto
Profoto AcuteB2 600 AirS User manual
Profoto
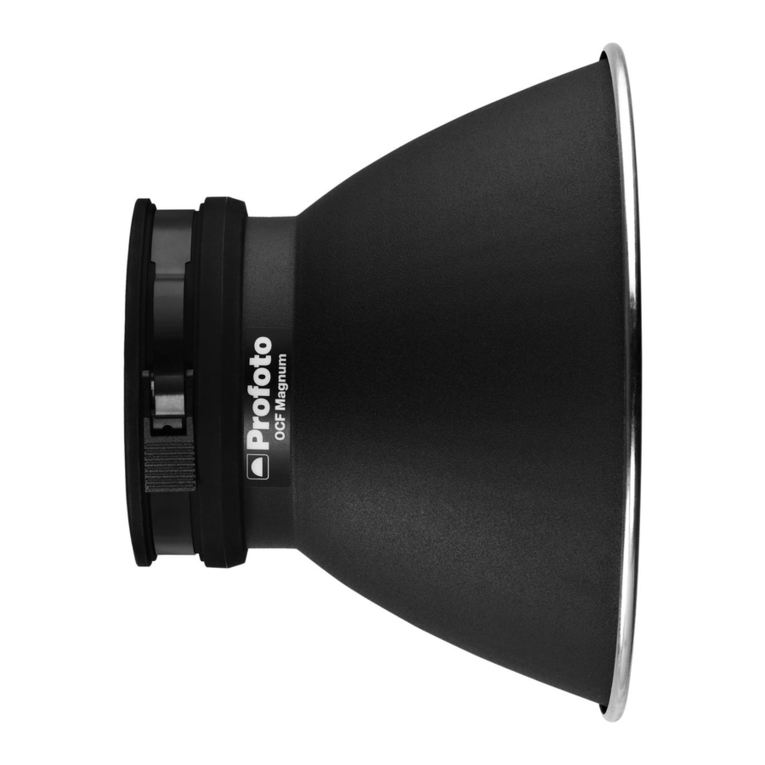
Profoto OCF Magnum Reflector User guide
Profoto
Profoto Pro-7 ring User manual

Profoto
Profoto Acute/D4 head User manual

Profoto
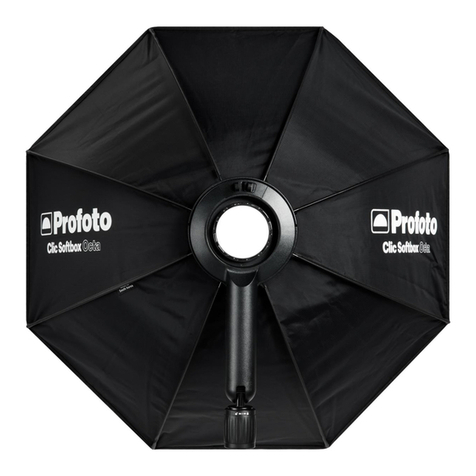
Profoto AcuteB Head User manual
Profoto
Profoto Clic Softbox Octa User manual

Profoto
Profoto OCF Gel User guide
Profoto
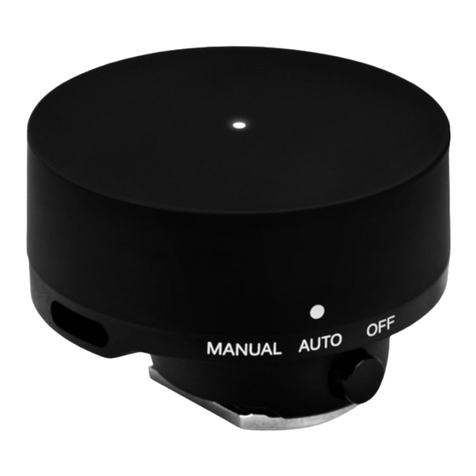
Profoto Connect User manual

Profoto
Profoto ProHead User manual

Profoto
Profoto D1 500 Air User manual

Profoto
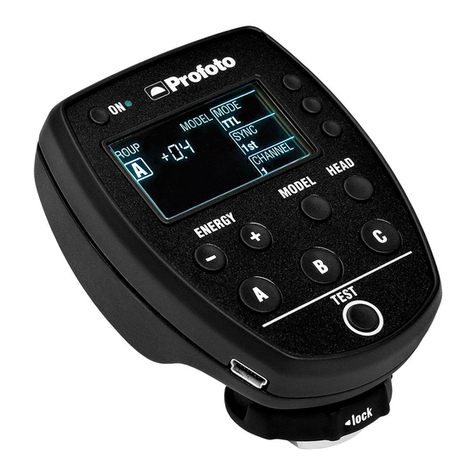
Profoto B2 250 AirTTL User manual
Profoto
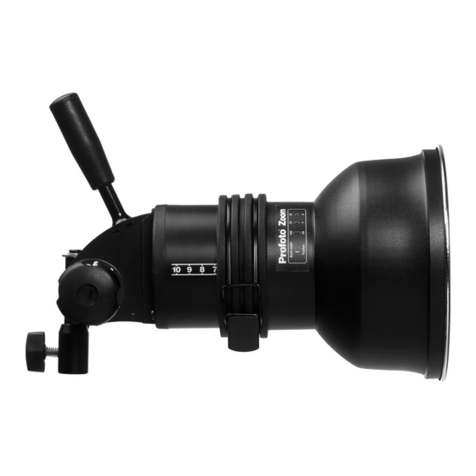
Profoto AirRemote TTL-C User manual
Profoto
Profoto 250 W Manual

Profoto
Profoto C1 User manual

Profoto
Profoto D4 1200 Air User manual

Profoto
Profoto OCF Zoom Reflector User guide
Profoto
Profoto B1 500 AirTTL User manual
Profoto
Profoto C1 Plus User manual

Profoto
Profoto Striplight S User manual

