GREMSY GPORT User manual

-1-
GPORT USER MANUAL
Release date: May 19th, 2021
Revision Number: 1.0.2

-2-
Index
OVERVIEW......................................................................................................................................5
Overview ..........................................................................................................................................................................5
Supported Gimbal & Camera .......................................................................................................................................5
Supported Aircraft.........................................................................................................................................................5
Specification .................................................................................................................................................................6
FEATURES......................................................................................................................................7
Capturing and live streaming video from DJI drone system......................................................................................7
Gathering data from the Drone and Gimbal to tag your pictures ..............................................................................7
Controlling and configuring the Gimbal.......................................................................................................................7
Controlling and configuring the Camera......................................................................................................................7
FLIR Duo Pro R............................................................................................................................................................7
Workswell Wiris Camera ..............................................................................................................................................8
WHAT’S IN THE BOX? ...................................................................................................................9
LET’S GET STARTED! .................................................................................................................10
1. Mounting the gPort to M300 ...............................................................................................................................10
2. Mounting the gPort and Gimbal Camera...........................................................................................................11
GPORT FOR A SPECIFIC CAMERA............................................................................................12
SoM (System-on-Modules)...........................................................................................................................................12
Configure HDMI Camera Input Resolution.................................................................................................................12
Upgrading new firmware for SoM...............................................................................................................................13
gPort firmware upgrade by ST-Link Utility.................................................................................................................15
gPort firmware upgrade by DJI Assistant 2 ...............................................................................................................16
Flir Duo Pro R ................................................................................................................................................................17
Checking Camera Operation......................................................................................................................................17
Firmware Upgrade Version: V01.03.03 or above..................................................................................................17
Led Indicator..........................................................................................................................................................17
Configure Mavlink Connection ...................................................................................................................................18
Step 1: Install FLIR UAS App ................................................................................................................................18
Step 2: To (re)enable Bluetooth ............................................................................................................................18
Step 3: Set Serial Protocol and Serial Data Rate..................................................................................................18
Camera View..............................................................................................................................................................19

-3-
[1]. Floating Window..............................................................................................................................................19
[2]. Gimbal Orientation Adjustment........................................................................................................................19
[3]. Beacon.............................................................................................................................................................19
[4]. View Mode.......................................................................................................................................................19
[5]. FFC..................................................................................................................................................................19
[6]. MSX.................................................................................................................................................................19
[7]. MSX Length.....................................................................................................................................................19
[8]. Zoom Settings..................................................................................................................................................20
[9]. Payload Settings..............................................................................................................................................20
[10]. Camera Settings............................................................................................................................................20
[11]. T: Zoom Tele .................................................................................................................................................20
[12]. Photo / Video Toggle.....................................................................................................................................20
[13]. Shutter / Record Button.................................................................................................................................20
[14]. W: Zoom Wide...............................................................................................................................................20
[15]. R: Zoom Resets.............................................................................................................................................20
Payload Settings.........................................................................................................................................................20
Workswell Wiris Security .............................................................................................................................................22
Firmware Version: V1.5.4 or above............................................................................................................................22
Camera View..............................................................................................................................................................22
[1]. Floating Window..............................................................................................................................................22
[2]. Gimbal Orientation Adjustment........................................................................................................................22
[3]. Beacon.............................................................................................................................................................22
[4]. Layouts ............................................................................................................................................................22
[5]. Main Camera ...................................................................................................................................................23
[6]. Thermal Camera Transparency.......................................................................................................................23
[7]. Zoom Settings..................................................................................................................................................23
[8]. Payload Settings..............................................................................................................................................23
[9]. Camera Settings..............................................................................................................................................23
[10]. T: Zoom Tele .................................................................................................................................................23
[11]. Photo / Video Toggle.....................................................................................................................................23
[12]. Shutter / Record Button.................................................................................................................................23
[13]. W: Zoom Wide...............................................................................................................................................24
[14]. R: Zoom Resets.............................................................................................................................................24
Payload Settings.........................................................................................................................................................24
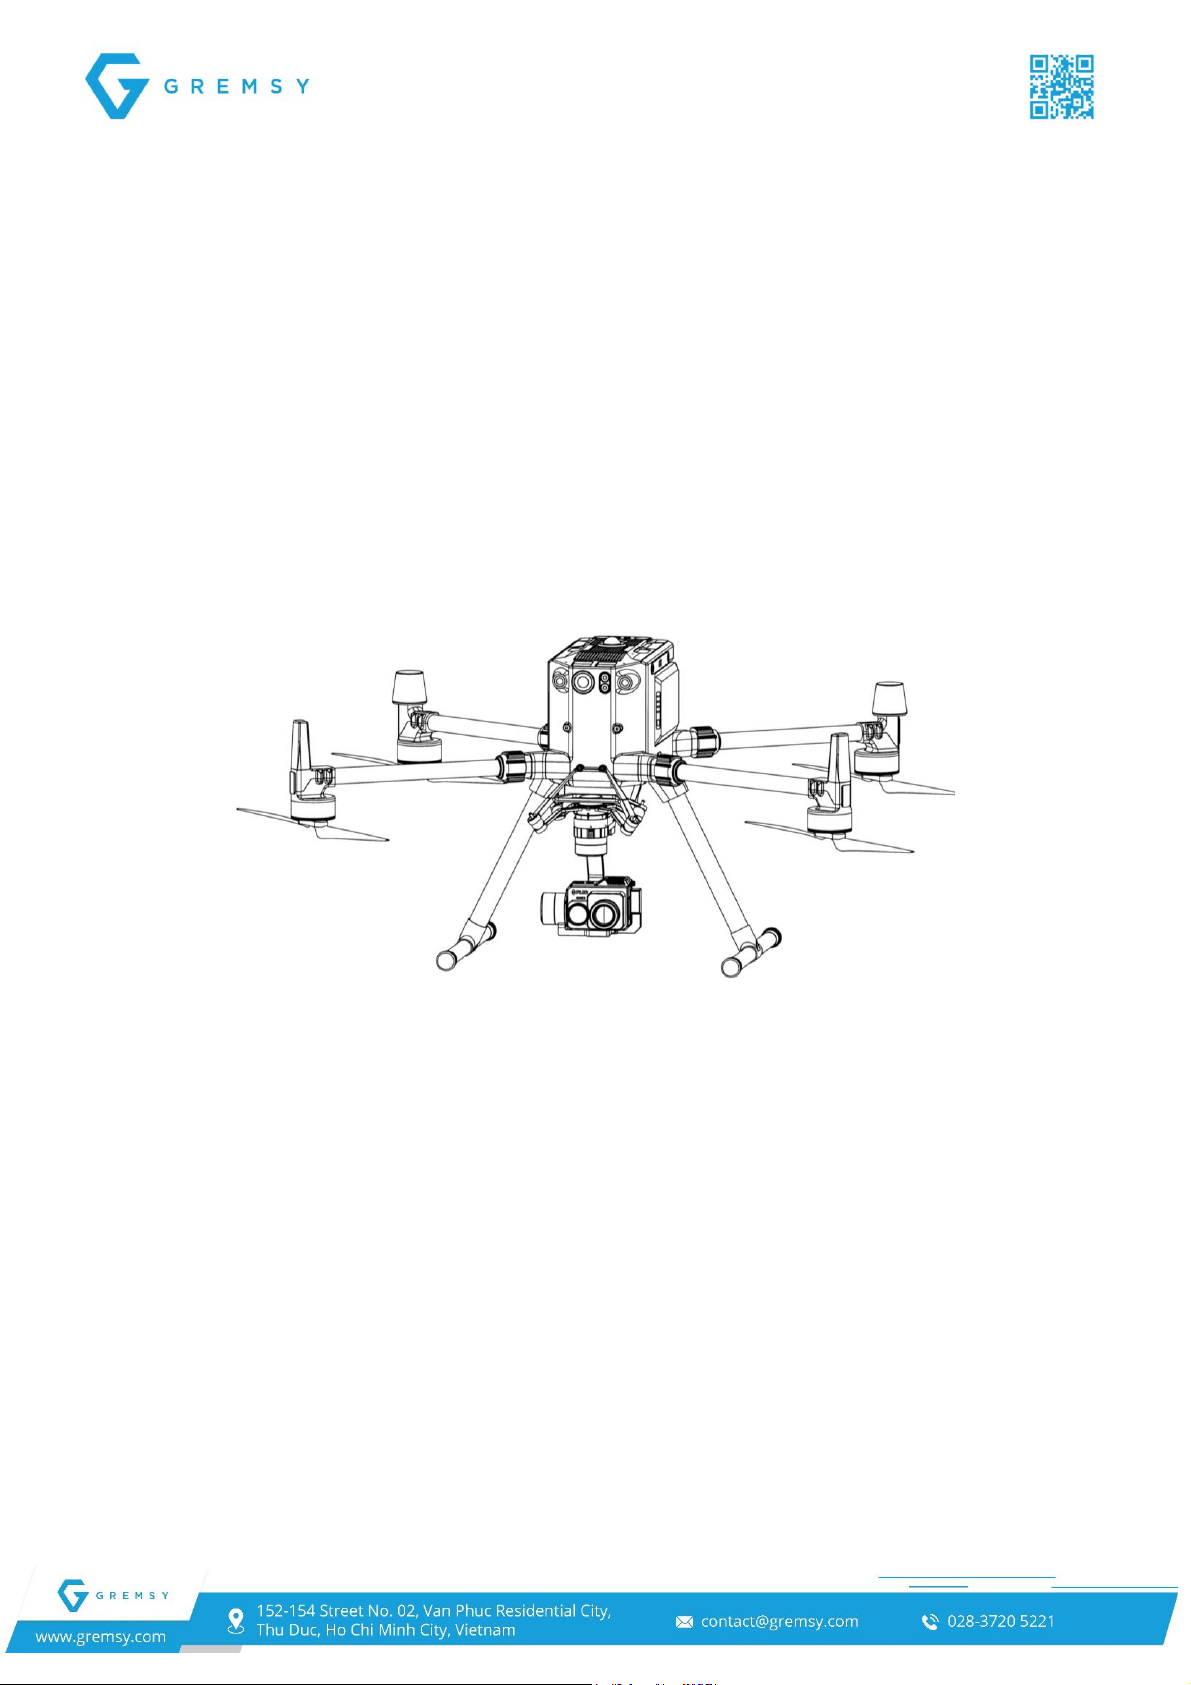
GIMBAL.........................................................................................................................................26
Operating the Gimbal....................................................................................................................................................26
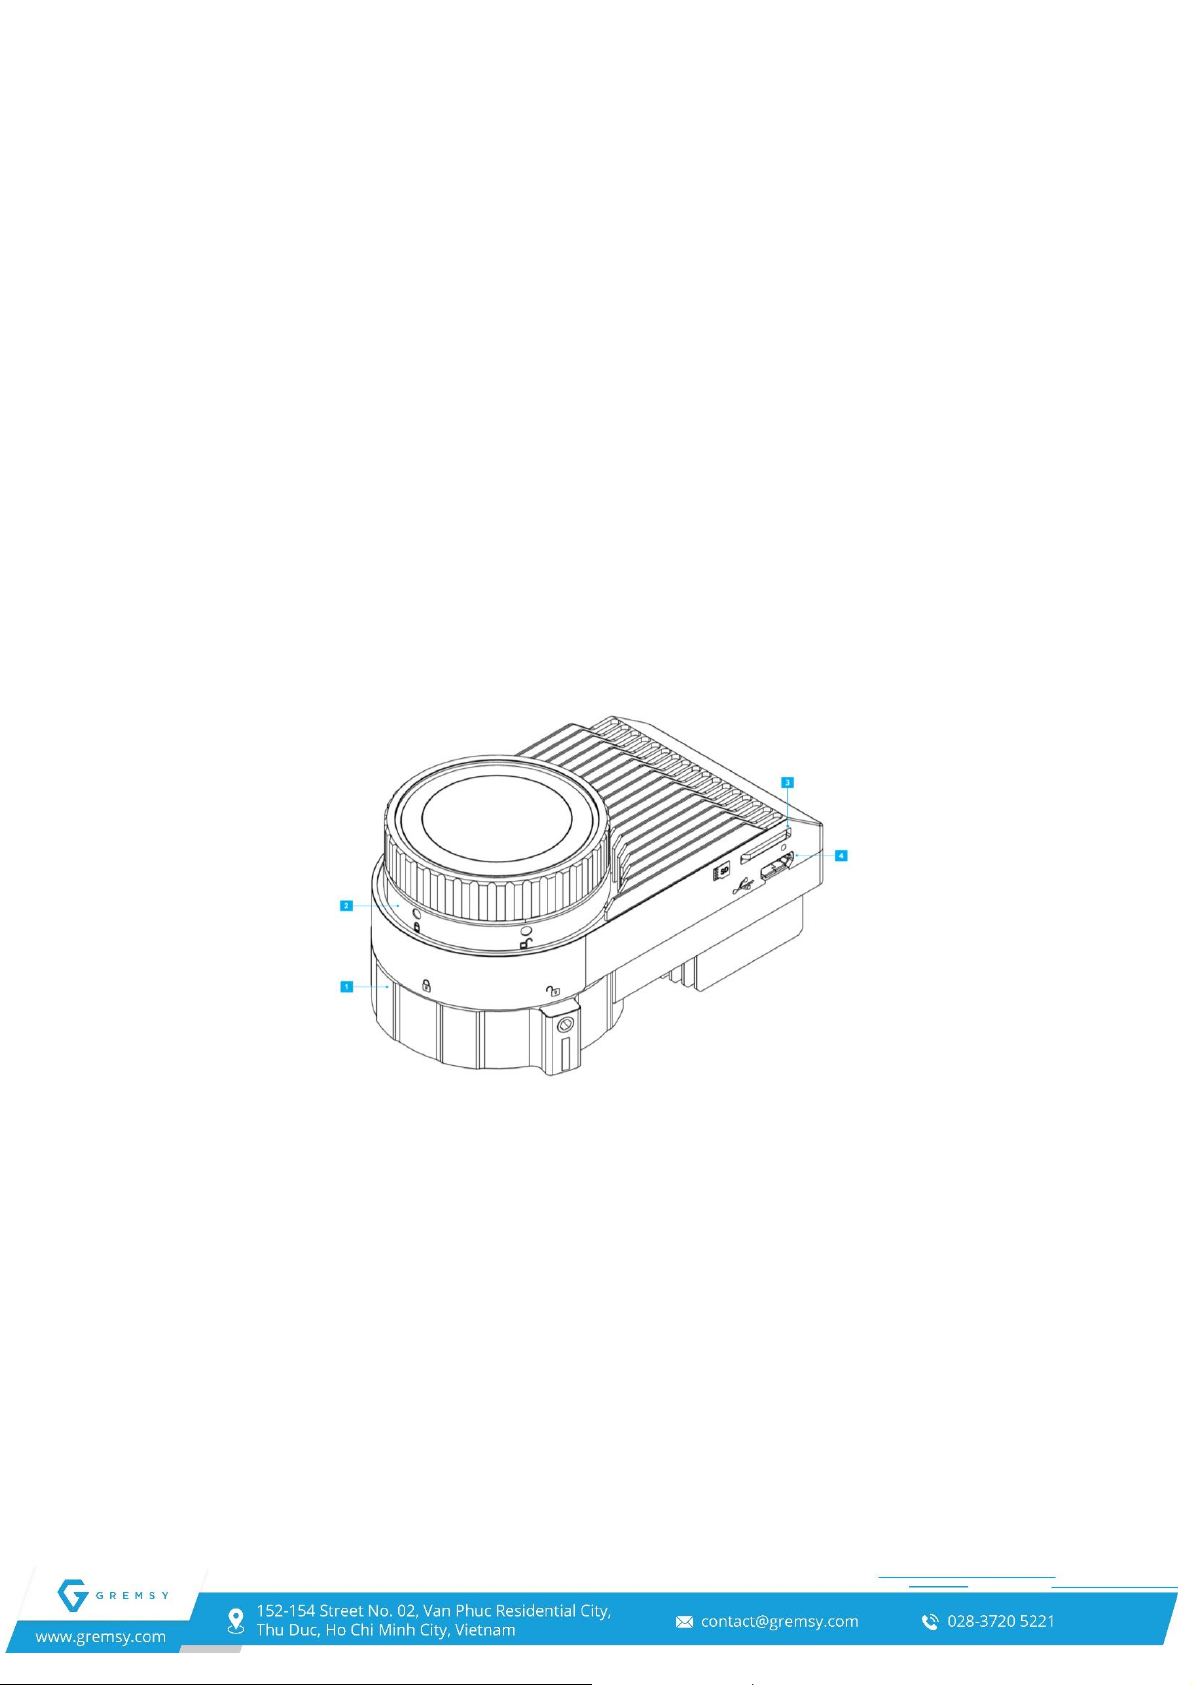
Gimbal Settings.............................................................................................................................................................27
Gimbal Mode ..............................................................................................................................................................27
Gimbal Pitch Smooth Start/Stop.................................................................................................................................28

-4-
Max Gimbal Pitch Speed............................................................................................................................................28
Gimbal Yaw Smooth Start/Stop..................................................................................................................................28
Max Gimbal Yaw Speed.............................................................................................................................................28
Gimbal Advanced settings...........................................................................................................................................28
Axis Setting.................................................................................................................................................................28
Stiffness......................................................................................................................................................................29
General Method.....................................................................................................................................................29
Hold Strength..............................................................................................................................................................29
Gyro Filter...................................................................................................................................................................29
Output Filter................................................................................................................................................................29
Vibration.................................................................................................................................................................29
Oscillation or rocking .............................................................................................................................................30
Upgrading Firmware .....................................................................................................................................................30
How to Upgrade.............................................................................................................................................................30
TROUBLESHOOTING ..................................................................................................................32
Status LED Indicator.....................................................................................................................................................32
Display Real-time Data .................................................................................................................................................32
No Video Stream ...........................................................................................................................................................33

-5-
Overview
Developed based on PSDK and a high-performance embedded computer, gPort is an add-on
accessory enabling users to integrate Gremsy gimbals with DJI’s enterprise drone platforms, adding
a new level of efficiency to commercial missions.
This guide shows you how to mount, connect, configure and control Gremsy gimbals (Pixy F, Pixy
WS) to collect images & videos on M300/M200 V2 series using gPort. It also covers steps to set up
your application with DJI’s Drones.
Overview
[1]. Hyper Quick Release
[2]. Skyport V2 Connector
[3]. Micro SD Card Slots
[4]. Micro USB
Supported Gimbal & Camera
Pixy F (Flir Duo Pro R camera)
Pixy WS (Wiris Security camera)
Supported Aircraft
Matrice 300
Matrice 200 V2 Series

-6-
Specification
Name
gPort
Weight
Approx. 116 gram
Dimensions
83 x 45 x 36 mm
SDCard
Up to 256 GB
I/O
Reserved: For debugging upgrades (gPort)
USB
Micro USB x 1: For debugging upgrades (Gimbal)
Power
Approx. 5 - 25W
Power Supply
13.6 –17V
Operating Temperature
32° F ~ 122° F (0° C ~ 50° C)
Supported Video Format
Wiris Security: 720p50fps
Flir Duo Pro R: 1080p60fps

-7-
Features
Capturing and live streaming video from DJI drone system
gPort lets your payload (including camera & Gremsy gimbal) communicate with DJI drone's
transmission system to capture and live stream video in real-time as well as provides high quality
video with efficient H.264 encoding.
Gathering data from the Drone and Gimbal to tag your pictures
Controlling and configuring the Gimbal
gPort allows users to control gimbal from remote controller and set gimbal parameters through
the DJI Pilot app during the flight.
Controlling and configuring the Camera
FLIR Duo Pro R
Full alternative for the FLIR UAS App. This allows users to adjust the MSX, IR Color Palette,
Display Video Mode (Visible stream only, thermal infrared IR stream only and a Picture-In-Picture
stream), and advanced settings:
Recalibrate: To maintain optimum performance
Digital Display Format
Recorded Video
IR Format
Still File Type

-8-
Radiometry
And more…
Please refer to FLIR DUO PRO R User Guide.
Workswell Wiris Camera
Taking advantage of Wiris protocol supported for Wiris Security and Wiris Pro. Using DJI app
can eliminate the keyboard and display for setting and configuring parameters for the WIRIS camera.
CANBus & UART SDK gives the user option to control WIRIS PRO, WIRIS PRO SC, or
WIRIS Security with simple widgets on the DJI Pilot App.
Record/capture
Muli-camera modes (Ful screen mode, IR only, VIS only, Picture-In-Picture)
Set palette
Set camera zoom
And more…

-9-
What’s in the box?
1. gPort module
2. Interface module for gPort
3. gPort cap
4. Interface cable for gPort
5. Micro USB Cable

-10-
Let’s get started!
1. Mounting the gPort to M300
*Note: If you use Pixy WS gimbal, please purchase the damping extension and follow this
Guide to custom the DJI standard damping before mounting gPort to M300.
STEP 1:Remove the cover of the gPort
STEP 2: Align the white and insert the gPort
STEP 3: Rotate the gPort lock to the locked position.

-11-
STEP 4: Check the locked position
2. Mounting the gPort and Gimbal Camera
STEP 1: The marks on the top part and bottom part must be aligned. The mark on the ring
should be aligned with the unlocked icon as shown in the first picture.
STEP 2:Keep everything aligned and attach the bottom part to the top part.

-12-
STEP 3:Rotate the ring clockwise until the mark on the ring aligned with the locked icon.
gPort for a specific Camera
gPort is used for mounting a variety of cameras like Pixy F (Flir Duo Pro R camera), Pixy WS
(Workswell Wiris Security) on M300/M200 V2 series. Users need to configure and flash the firmware
again if using gPort for another camera.
Preconditions: Follow the instructions above to mount the gPort and Gimbal.
SoM (System-on-Modules)
Configure HDMI Camera Input Resolution
1. Download extract the GremsyFlashTools_v1.0.0. (Web-Link)
2. Plug the interface cable for gPort into the USB port of the PC. Reserved Port connects to
gPort. (Note: Switch the button to S)
3. Power on the Aircraft.
4. Start the GremsyFlashTools. In the MainWindow. Select the COM port, then press
Connect.
5. Press Login button (1) Select HDMI resolution (4) then press Set Video Input (5)
press Reboot button (6).

-13-
NOTE: The HDMI resolution is set to gPort. It must be the same with the camera
HDMI setting.
Upgrading new firmware for SoM
1. Copy the firmware file 'upgrade’ in the HDIM_Ethernet_M300 folder to SD card.
2. Insert SD card and power on the aircraft.
3. Plug the interface cable for gPort into the USB port of the PC and Reserved Port connects
to gPort. (Note: Switch the button to S)
4. Power on the Aircraft.
5. Start the GremsyFlashTools. In the MainWindow. Select the COM port then press
Connect.
6. Press Login button (1) Press Flash button (2). Waiting for process Press Factory
Setup (3) press Reboot button (6).

-14-

-15-
gPort firmware upgrade by ST-Link Utility
1. Mounting gPort to the Aircraft
2. Power on the aircraft. Connect the gPort to a PC with the interface cable for gPort.
3. Run the STM32 ST-Link Utility (Web-Link).
Download the STM32 ST-Link Utility from Web-Link and install it on your machine.
(This is the recommended option for Windows users).
4. Download the firmware for your camera (Web-Link)
Firmware Name: PixyF_V02.01.00.04 or above
Firmware Name: PixyWS_V02.01.00.04 or above
5. Launch the ST-Link Utility that you’ve just installed and connect to the gPort with a Debug
Module.
Load the firmware file and hit the “Program and Verify button” (CTRL + P)
Set Start Address: 0x08010000
Press Start button and wait a second
4. Disconnect when upgrading completely.

-16-
gPort firmware upgrade by DJI Assistant 2
NOTE: Only Matrice 300 RTK
1. Mounting gPort to the Aircraft.
2. Power on the aircraft. Connect the aircraft to a PC with a Type-C USB cable
3. Download the firmware for your camera (Web-Link)
Firmware Name: PixyF_V02.01.00.05 or above
Firmware Name: PixyWS_V02.01.00.05 or above
4. Run the DJI Assistant 2. Click your gimbal device. Choose the new firmware and press the
upgrade button.
NOTE: Choose the new firmware upgrade to the gPORT with the specific camera.

-17-
Flir Duo Pro R
Checking Camera Operation
Firmware Upgrade Version: V01.03.03 or above
Led Indicator
When power is applied to the camera, the Status LED blinks red for approximately 15
seconds, then changes to solid blue.
When this happens, Bluetooth becomes enabled. FLIR Duo Pro R beeps three times and
the Record LED goes from off to solid green. (If the FLIR Duo Pro R is connected to a
computer, or if no SD card is inserted, the Record LED blinks yellow.)
Camera Status and Record LED Description
Status LED at power-up
Blinking RED
Record LED at power-up
OFF
Status LED at ready
Solid BLUE, Bluetooth is enabled;
Solid GREEN, Bluetooth disabled
Record LED at ready
Solid GREEN
Record LED
Blinking RED during recording
Blinking YELLOW if recording alert
(microSD card not present, is full, or
is in use by PC)
Status LED during firmware update
Blinking PURPLE
Press the Record button to initiate
recording
The Record LED will blink RED
when recording video or still imagery

-18-
Configure Mavlink Connection
The Duo Pro R can be configured to use the MAvlink serial protocol by using the UAS.
Interfacing with gPort, FLIR uses this bus to capture available telemetry data provided by gPort like
(GPS, Altimeter, Gimbal Data, …). Suggested mapping application.
The FLIR UAS App is the primary control interface available for the Duo Pro R camera. It is
compatible with many mobile devices equipped with Bluetooth LE running iOS 9.0 or later and
Android v4.3 or above.
The Duo Pro R can be configured to capture available telemetry data provided by GPS,
altimeter, accelerometers, etc.
Step 1: Install FLIR UAS App
IOS APP store (Web Link)
Android APP store (Web Link)
Android APK file direct DL (Web Link)
Step 2: To (re)enable Bluetooth
Press the Bluetooth button on the top of the camera
Step 3: Set Serial Protocol and Serial Data Rate

-19-
Camera View
[1]. Floating Window
Display the status of the gPort system (Including Camera and Gimbal)
[2]. Gimbal Orientation Adjustment
Tab to select the Gimbal Orientation Adjustment as Gimbal Recenter, Recenter Gimbal
Yaw, Gimbal Yaw Downward or Gimbal Downward.
[3]. Beacon
Tab to turn on/off the beacons, then the Discreet Mode icon will change.
[4]. View Mode
Select Video Mode: Selection of the display video mode toggles between a Visible
stream only, thermal infrared (IR) stream only, and a Picture-In-Picture (Pip) stream that shows
a full-screen visible stream with a thermal stream display in an inset window.
[5]. FFC
To maintain optimum performance, thermal imaging cameras occasionally must
perform an internal calibration of Flat Field correction (FFC). During re-calibration, an audible
“click” can be heard and live video is momentarily frozen.
[6]. MSX
Multi-Spectral Dynamic Imaging (MSX). It provides extraordinary detail in real-time
thermal images by embossing visible camera image information onto thermal video and stills.
[7]. MSX Length
Select the degree of fusion

-20-
[8]. Zoom Settings
[9]. Payload Settings
FLIR DUO PRO Camera Parameters
Gimbal Tuning
[10]. Camera Settings
[11]. T: Zoom Tele
Tab to zoom increases
[12]. Photo / Video Toggle
Tab to switch between photo and video recording modes.
[13]. Shutter / Record Button
Tab to shoot photos or start/stop recording. Users can also press the Shutter or Record
button on the remote controller to shoot photos or record video.
[14]. W: Zoom Wide
Tab to zoom decreases
[15]. R: Zoom Resets
Payload Settings
Thermal Palette:
The Duo Pro R detects and images long-wave infrared radiation.
Scene
Each Scene preset provides a combination of automatic gain control (AGC) settings
optimized by FLIR system to provide the best image for a specific application.
Table of contents
Other GREMSY Camera Accessories manuals
Popular Camera Accessories manuals by other brands

Philips
Philips LR14EB4A Specification sheet

Slide Kamera
Slide Kamera ROAD JIB user manual

Photogenic Professional Lighting
Photogenic Professional Lighting PM400 Operator's manual

ProMediaGear
ProMediaGear Rosette Adapter BLS1 instructions

Lenovo
Lenovo IdeaPad S9/S10 3-cell Li-Ion Battery user guide

Ikelite
Ikelite Olympus D-230 Instructional manual