About the Alarm
Contents:
1 x Panic alarm complete with 1.5ft ripcord
1 x Panic alarm cradle
3 x Screws and wall plugs
1 x Instruction leaflet
Introduction
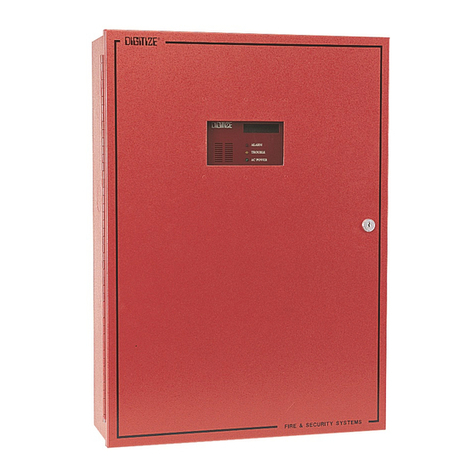
The Red Shield Wall Mounting Panic alarm is a convenient highly visible security device
which is ideal for use in the home or office. Its powerful 120dB siren and bright flashing red
light are immediately activated when the ripcord is pulled, and it can easily be deactivated
using the switch on the side of the unit.
Setting up
Battery installation:
The Wall Mounted Panic Alarm requires 2 x AAA alkaline batteries (not included)
Installing Batteries
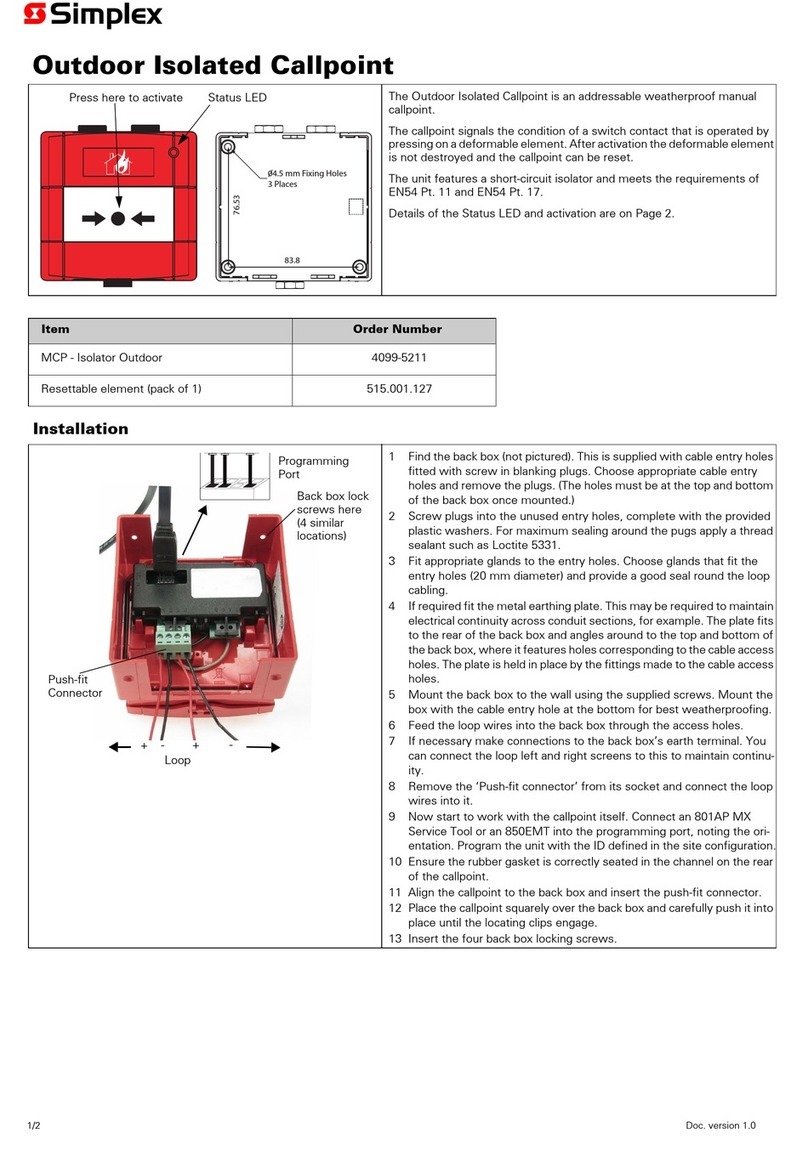
• Unscrew the battery compartment cover and remove (See Fig.1)
• Insert 2 x AAA alkaline batteries (see Fig. 2).
•Replace the cover and screw closed.
IMPORTANT:
• Remove batteries if storing the alarm for long periods of time.
Batteries corrode over time and may cause permanent
damage to the unit.
• Different types of batteries or new and old batteries
should not be mixed.
• Depleted batteries should be removed from the unit and
disposed of properly.
Battery testing
• It is recommended that the alarm power is regularly tested by pressing the battery test button
on the front of the alarm or by activating the alarm.
•When the alarm siren weakens, this indicates that the batteries need to be replaced
Installation
Mounting the alarm to the wall
•Select the location where you wish the panic alarm to be fixed.
• Use the panic alarm cradle to mark the position of the 3 screws to be used
•Drill holes in the 3 marked positions and insert wall plugs provided
• Place the cradle on the wall and secure into place with the screws and wall plugs
• Place the alarm unit in the cradle, ensuring the ripcord is accessible through the hole at the
base.
Fig 1
Fig 2
