Proteus VR Labs Ltd GLIDE VR User manual
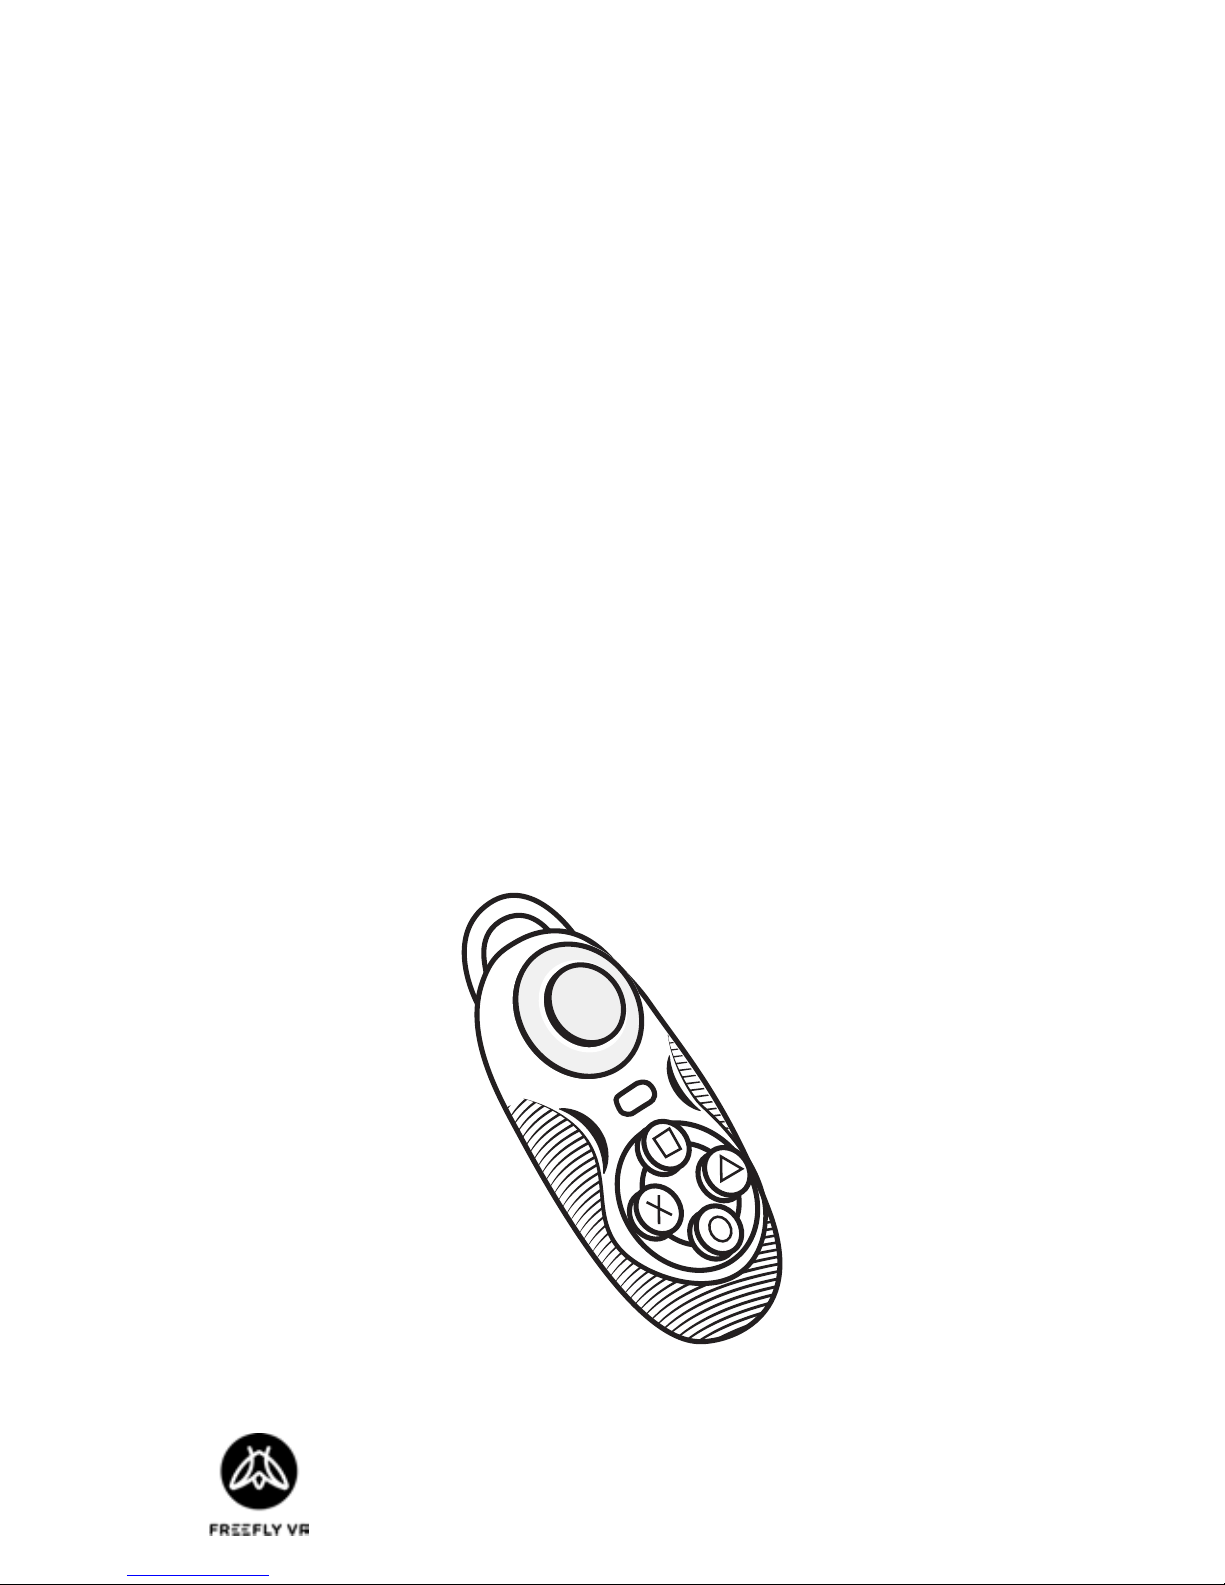
GLIDE VR INSTRUCTION MANUAL
CONTENTS:
Customer Support
support@proteusvr.com
Proteus VR Labs Ltd.
Studio 5, Unit 13
Elizabeth Tower
Juno Way
London
SE14 5RW
United Kingdom
Page 2-5 Health & Safety Warnings
Page 6-9 Seng Up Your Glide VR
Page 10-13 Frequent Controls
Page 14-15 Troubleshoong
English. Rev. 0
Page 2 of 16 Page 3 of 16
HEALTH & SAFETY WARNINGS: HEALTH & SAFETY WARNINGS:
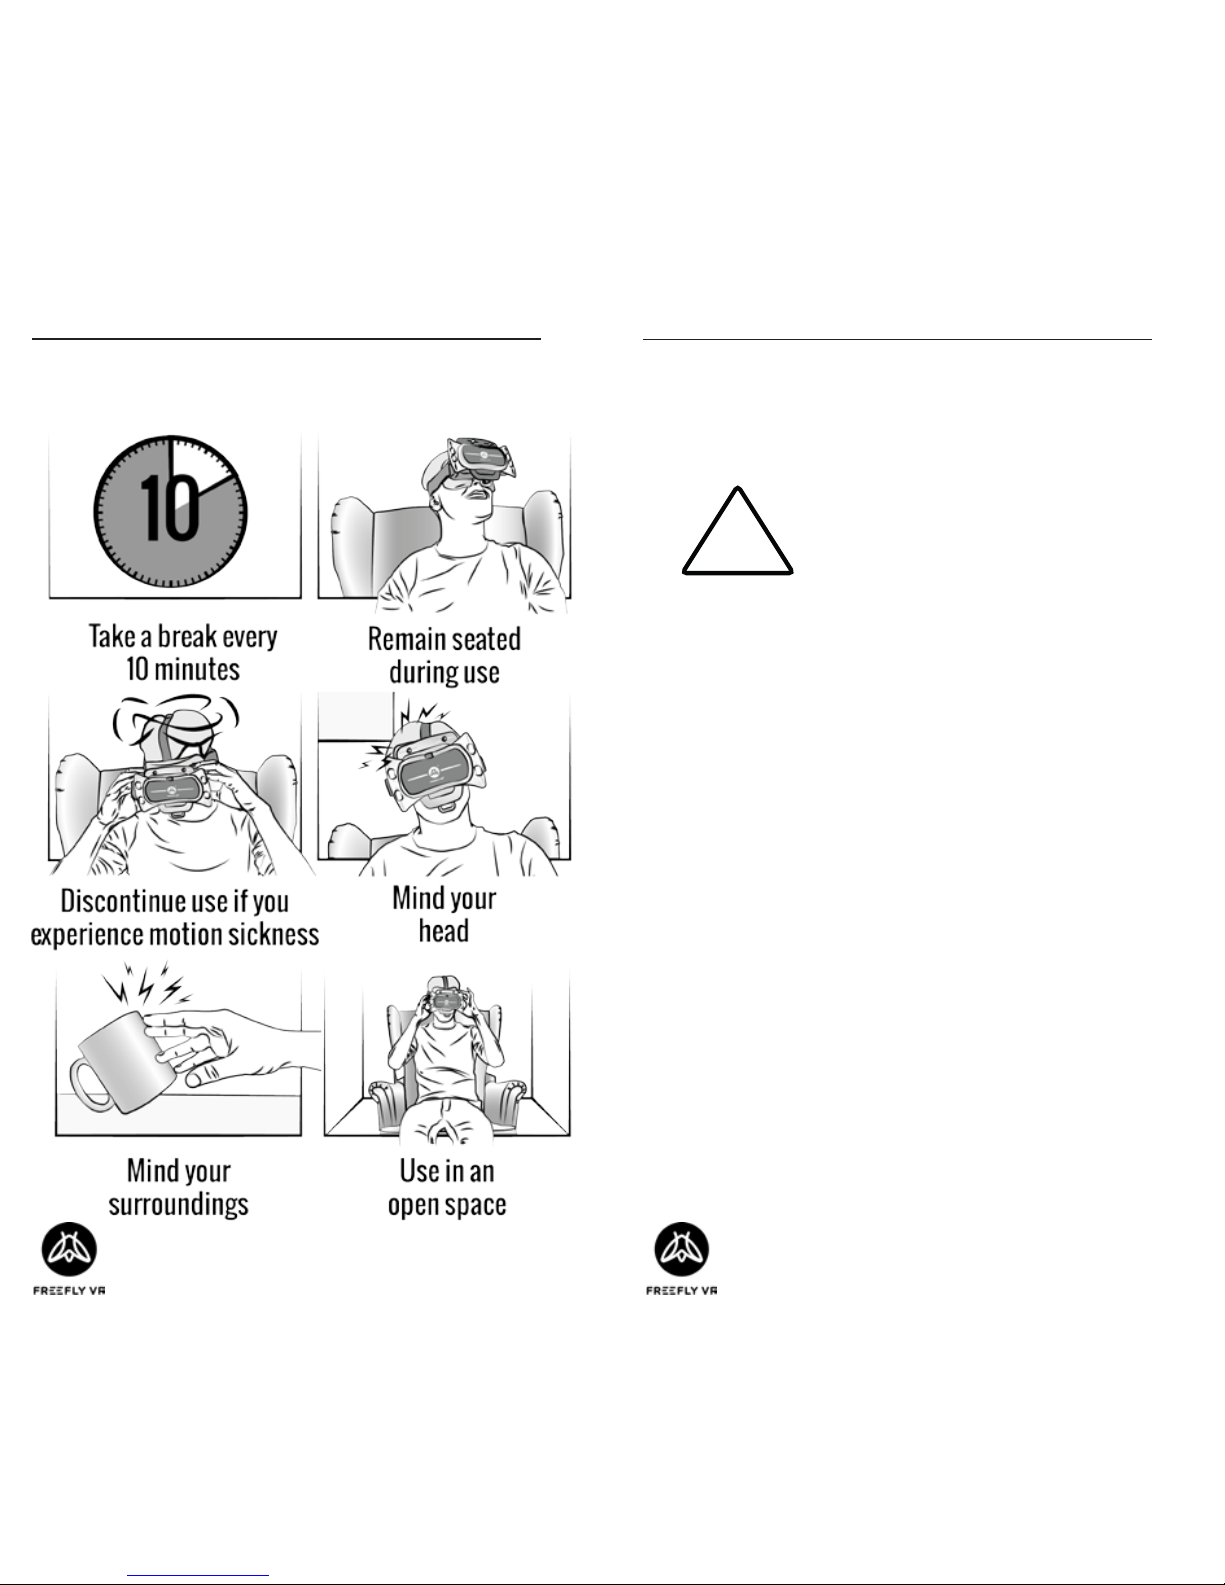
Safe Use Summary
WARNING: All users of the Freey VR head
set and
Glide VR
gamepad
should read these instrucons
carefully before using the head
set. Failure to follow these
instrucons may result in serious
injury.
Save these instrucons.
Thank you for purchasing the
Glide VR
Bluetooth
controller; begin your virtual reality experience to
jump to the next level.
Suitability
Virtual reality is not suitable for everyone. Use of
virtual reality equipment can cause dizziness, dis-
orientaon and other symptoms. If you have any
doubt whether it is safe for you to use virtual reality
products, please consult your doctor.
The user should NOT take the product apart and
we bear no responsibility for liability nor product
guarantee.
!

Page 4 of 16 Page 5 of 16
HEALTH & SAFETY WARNINGS: HEALTH & SAFETY WARNINGS:
Suitability (cont.) Damage or Repairs
User should not aempt to repair or modify con-
troller. This could result in product malfuncon or
eected game play and we bear no responsibility
for liability therein.
If the product is damaged, broken or malfuncon-
ing, user should contact suppliers for replacement
or repairs.
Usage on Aircraft
Before boarding ensure the controller is fully
switched o and only acvated the allowed on
ight. The products Bluetooth signal could interfere
with aircras whilst on take-o and landing.
Do not give the
Glide VR
to small children. Keep out
of reach of children, when the device is not in use.
Storage
The
Glide VR
can be stored in the Freey case along
with the Freey VR headset.
Store the
Glide VR
controller in a dry, room temper-
ature area, out of the way of direct sunlight.
Disposal and Waste Recycling
Controller should not be disposed of in general
waste. Device can be taken to your local recycling
centre or returned to supplier.
Internal baery is rechargeable, replacing or dis-
posing is not required. If the product fails to charge,
the supplier should be contacted for repairs or re-
placement.

Page 6 of 16 Page 7 of 16
SETTING UP YOUR GLIDE VR: SETTING UP YOUR GLIDE VR:
Modes Modes (cont.)
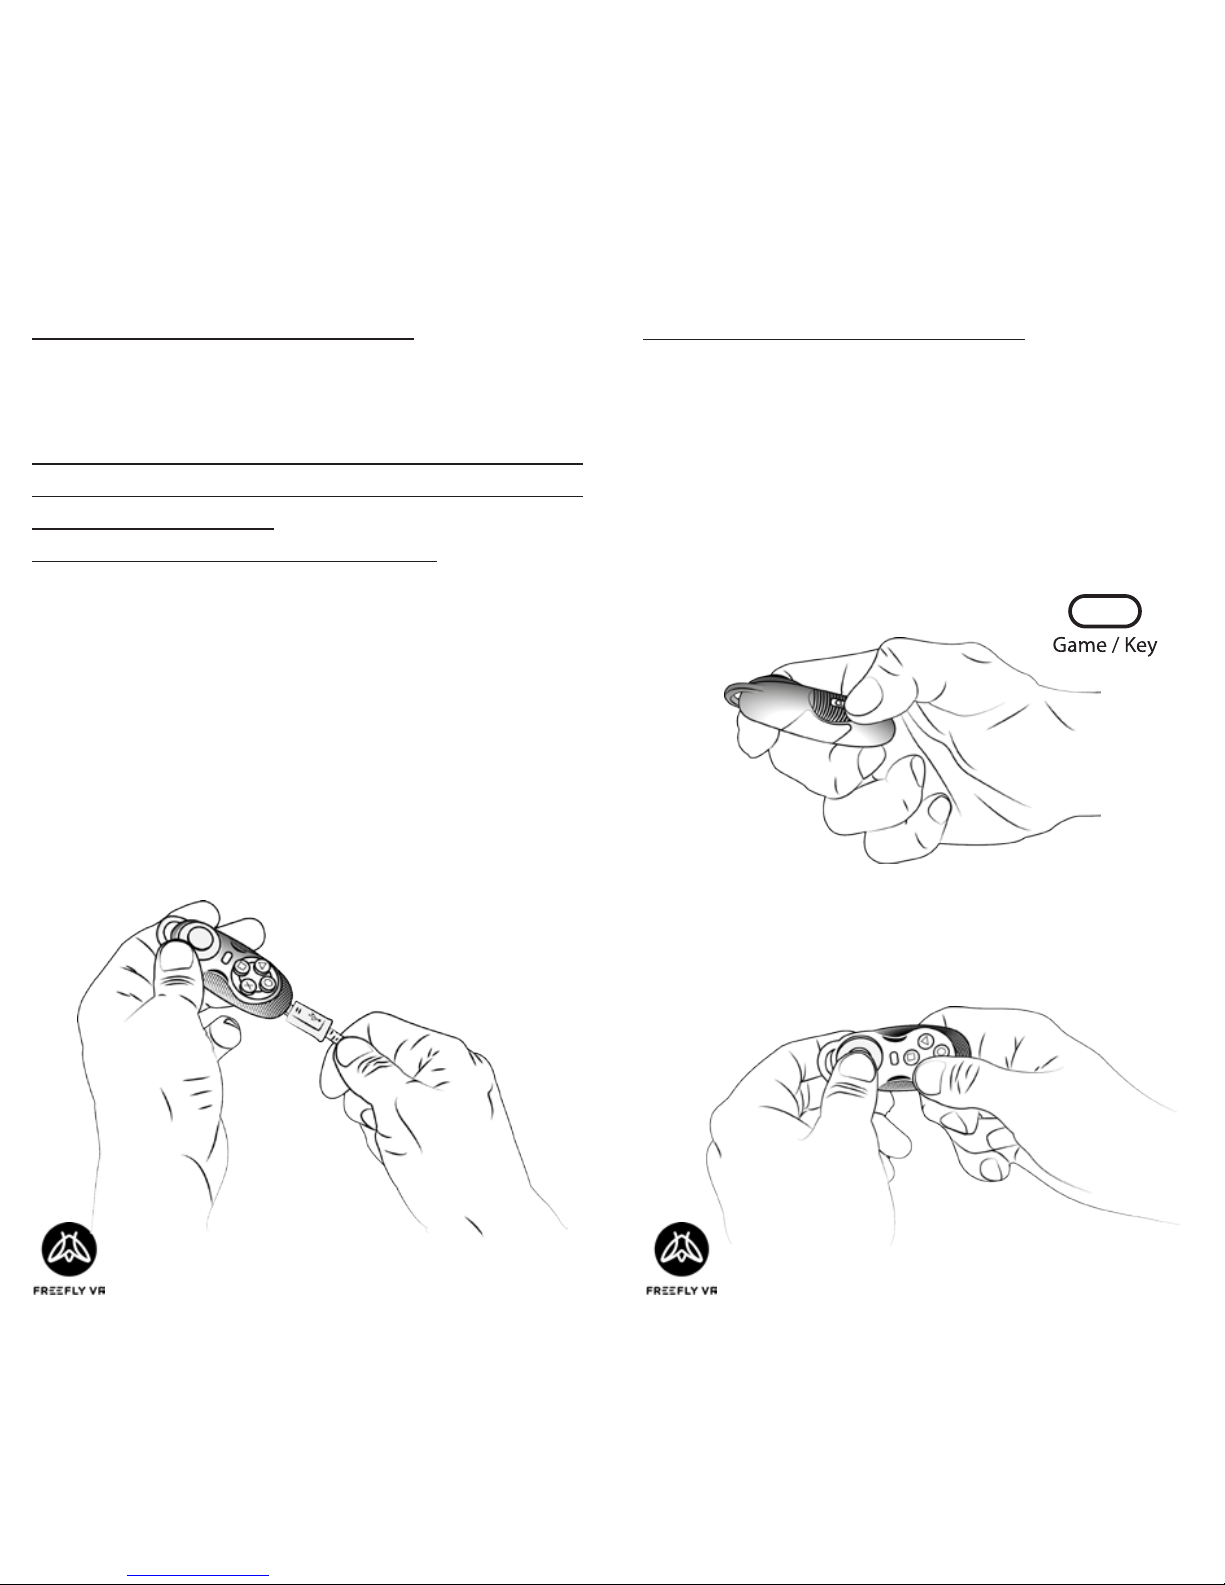
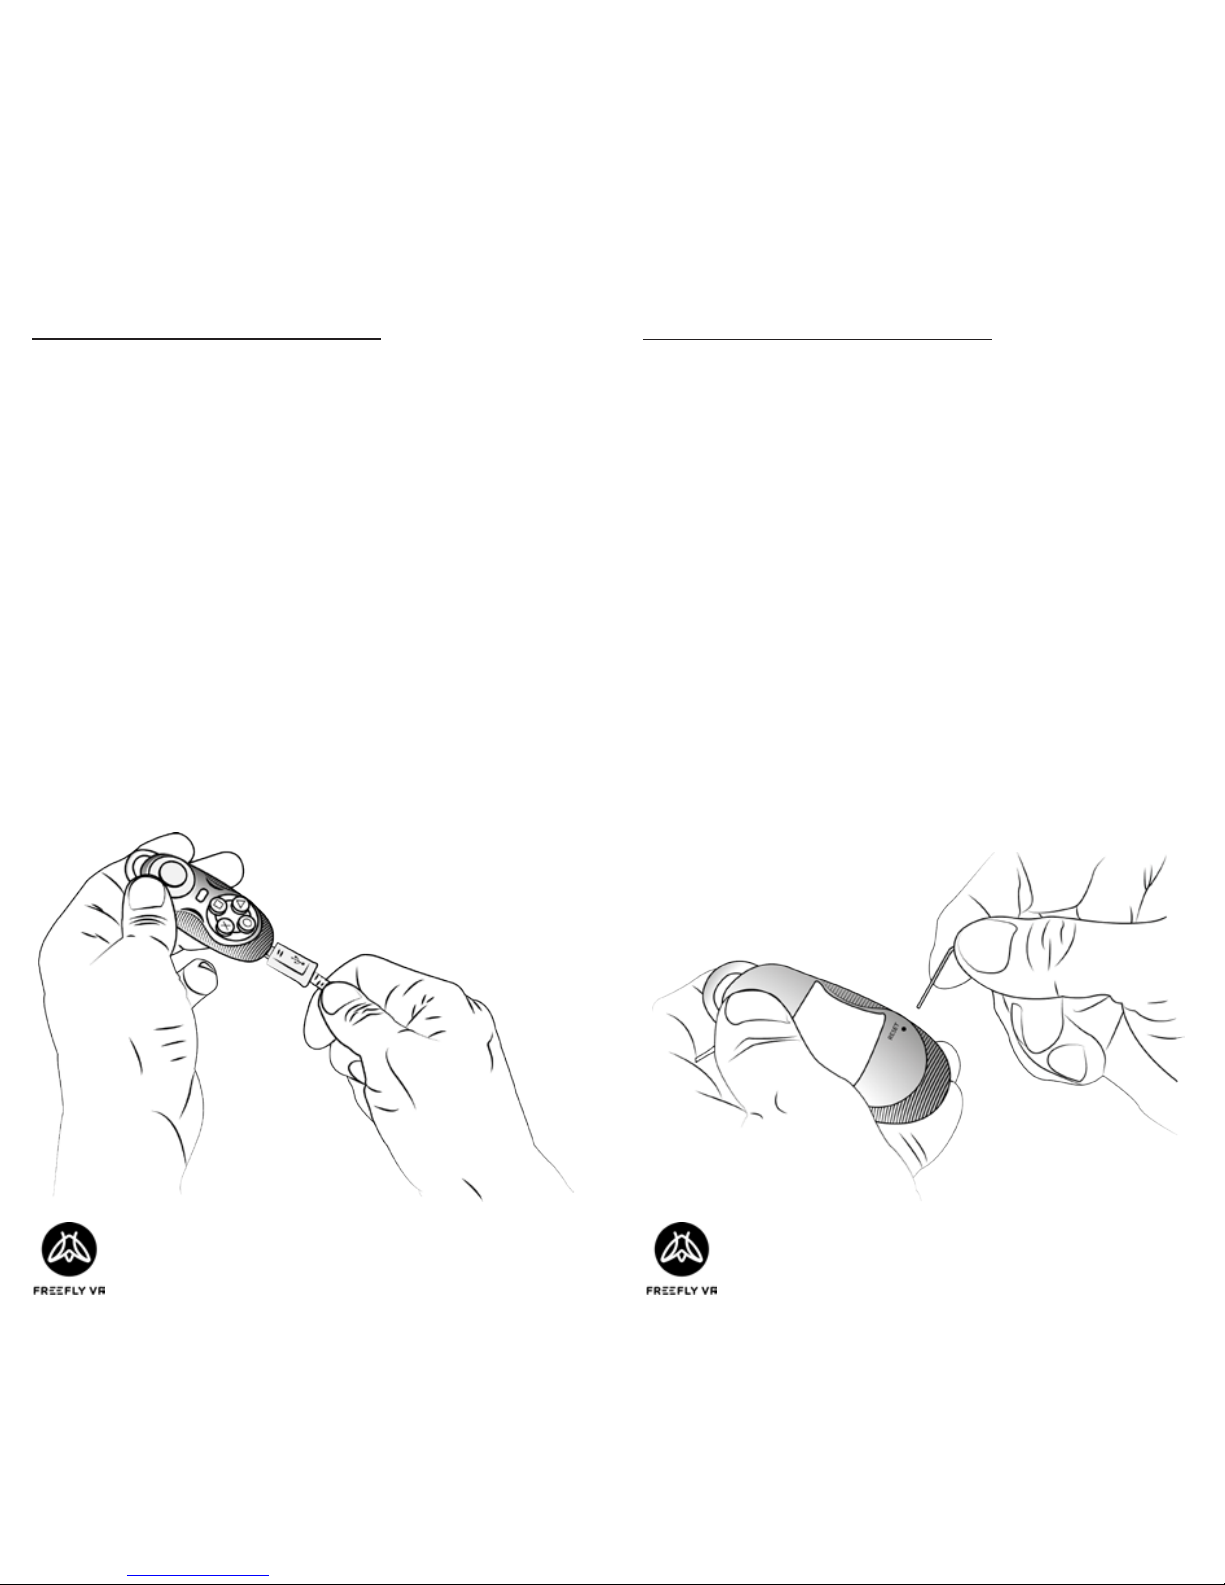
Charging
To charge the
Glide VR
connect it via a USB cable
to suitable charging point. The front facing LED
will ash from red to magenta to indicate that
the device is charging and a solid red to indicate
full charge.
As each app and Smartphone is programmed dier-
ently. The
Glide VR
buon setup can vary between
devices and apps.
VR is an emerging technology; there are no indus-
try standards and Freey VR cannot control these
dierences.
Some trial and error may be required.
For virtual reality applicaons, ‘Game’ mode will
need to be selected. In this mode the
Glide VR
will
behave as any console controller would. Any cus-
tom buon mapping will be accessible within the
game’s sengs.
If you want to use the
Glide VR
for other features
not within virtual reality games, ‘Key’ mode will
need to be selected.
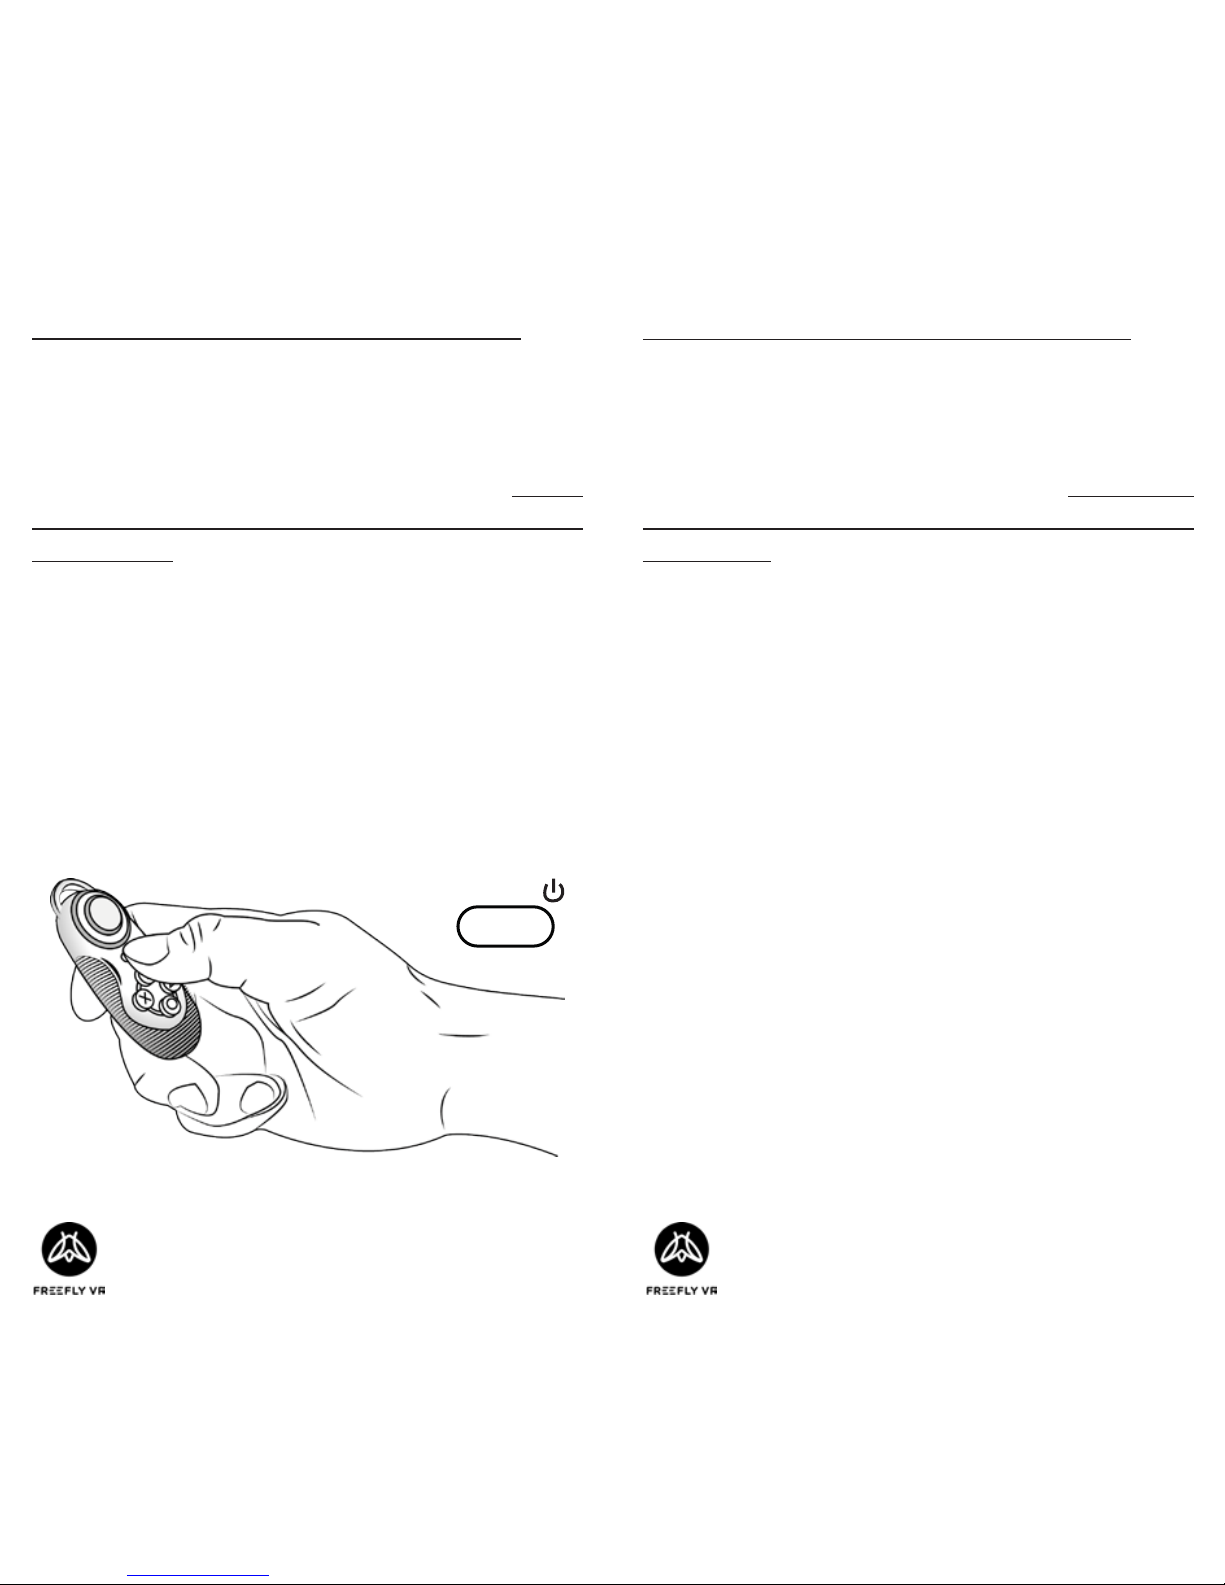
For game play the controller can be held in the
horizontal posion and be held with both hands
if user desires. This will give opmal game play
experience, allowing the user to control the joy
pad with one hand and the command buons with
the other.
Page 8 of 16 Page 9 of 16
SETTING UP YOUR GLIDE VR: SETTING UP YOUR GLIDE VR:
Step 1: Smartphone Requirements
The
Glide VR
is compable with iOS and Android
smartphones with Bluetooth compability. For an
up-to-date list of recommended smartphones visit
freeyvr.com;
Step 2: Turn on your Glide VR
Hold down Start buon unl the blue light comes
on;
Step 3: Enable Bluetooth
AFTER the light starts ashing, enable Bluetooth on
your smartphone and scan for devices. TIP: turning
the controller on rst will ensure a much quicker
connecon;
Step 4: Search for ‘Freey VR Glide’
The controller should be detected within 10 sec-
onds and will have the name: ‘Freey VR Glide’
followed by 4 characters;
Step 5: Pair to ‘Freey VR Glide’
Tap the name of the controller to connect it to
your phone.
START /
Page 10 of 16 Page 11 of 16
FREQUENT CONTROLS: FREQUENT CONTROLS:
NB: Disclaimer
Reminder: VR is an emerging technology; there are
no industry standards and Freey VR cannot con-
trol these dierences.
Some trial and error may be required.
These instrucons are for Android for iOS instruc-
ons, go to freeyvr.com.
Step 1: Charging
Ensure the Glide VR has sucient charge before
use. The device will have some charge on delivery,
but may require addional charging;
Step 3: Landscape
In ‘Game’ mode, you must hold the
Glide VR
two-handed horizontally;
Step 2: Game Mode
The
Glide VR
has two funcon modes, ‘Key’ and
‘Game’. Most VR games will use the ‘Game’ func-
on, so switch it to that mode now. To do this, turn
the switch on the le hand side of the
Glide VR
to
‘Game’ mode;
Page 12 of 16 Page 13 of 16
FREQUENT CONTROLS: FREQUENT CONTROLS:
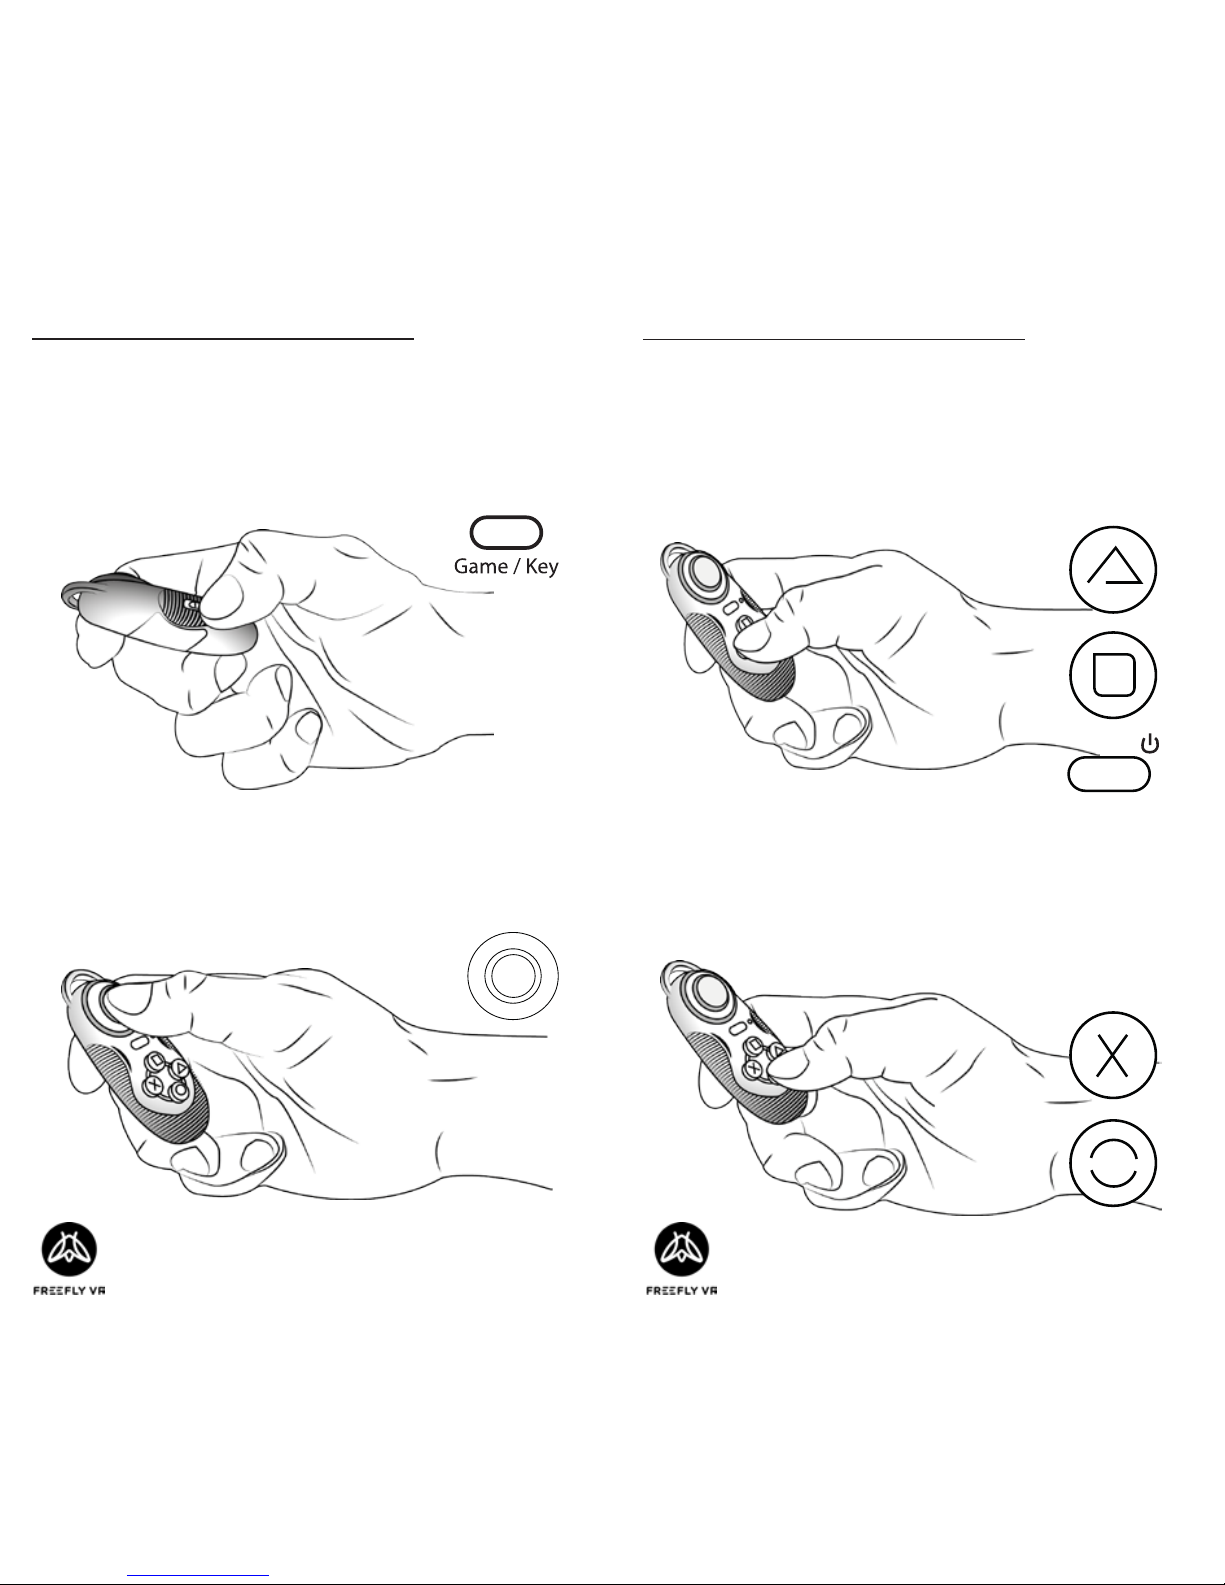
Back (Game)
The X and Circle buons all work as
back
most of
the me in Game mode
.
Joypad (Game)
The Joypad works as direconal in Game mode.
Accept (Game)
The Start, Square and Triangle buons all work as
accept
most of the me in Game mode
.
Game/Key
Choose Game mode for VR, and Key mode for oth-
er Smartphone funcons.
START /
Page 14 of 16 Page 15 of 16
TROUBLESHOOTING:
This is a development kit controller, so there are
issues that need some iniave or experimentaon
to solve. If you nd a soluon, or would like aid
in nding a soluon, contact support@proteusvr.
com. Thankyou in advance for your understanding
and help!
Ensure the device has charge before use. Charge
the device before use. This gives the controller the
full amount of power required for game play.
TROUBLESHOOTING:
If the controller isn’t discovered, turn o your
smartphone’s Bluetooth and turn it on again.
To turn o the controller, simply hold down the
start buon unl the light goes out. This will hap-
pen automacally aer 5 minutes if not connected
to a Bluetooth device, or 10 minutes of inacvity if
connected to a Bluetooth.
If the device becomes unresponsive there is a pin-
hole reset on the rear of the device. Use an extend-
ed paperclip and depress this buon.

Page 16 of 16
CONTROLS:
This is a dev kit, so there are no fully dened con-
trols. Use this page to note down what controls you
nd work, or even program.
Other manuals for GLIDE VR
1
Table of contents
Other Proteus VR Labs Ltd Cell Phone Accessories manuals


