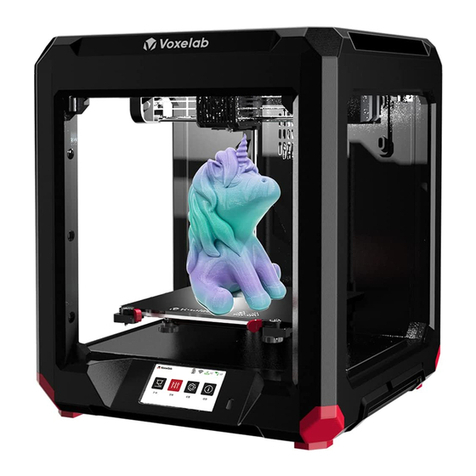
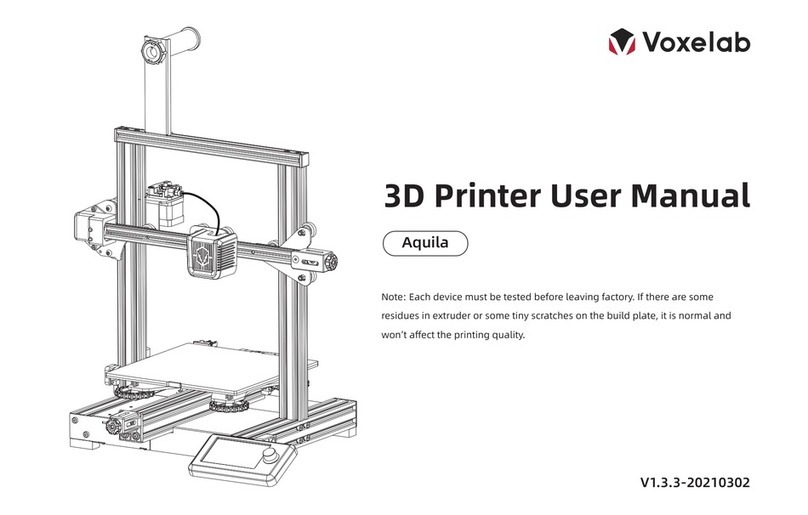
Voxelab Aries User manual

This manual is only applicable to Voxelab Aries 3D printer
Aries
3D Printer User Manual
V1.1.2 20210721
WARNING Each printer must be tested before leaving factory. If there are some
residues in extruder or some tiny scratches on the build plate, it is
normal and won’t affect the printing quality.
01 02
03 04 05 06
07 08 09 10
11 12 13 14
15 16 17 18
2019 21 22

Foreword
Thank you for choosing and using the products of Voxelab Technology. For your conve-
nience, please read this manual carefully before use and follow the manual strictly. The
Voxelab team is always ready to provide you with the perfect service. Please contact us
by email listed, if you have any problems.
Email:support@voxelab3dp.com
You can also get operational knowledge of the equipment from the following way:
Voxelab website: www.voxelab3dp.com
Users can get the software, firmware, device maintenance and relevant contact informa-
tion via Voxelab website.
01 02
03 04 05 06
07 08 09 10
11 12 13 14
15 16 17 18
2019 21 22

01 02
03 04 05 06
07 08 09 10
11 12 13 14
15 16 17 18
2019
Unpacking
Remove the foam.Open the box, take out the user manual,
the USB flash disk and the platform.
1.
3.
2.
4.Lift the printer and put it on the desk, then
take Aries out of the plastic bag.
Remove the top foam, there should be a
power cable included.
5. 6.Take out the foam under nozzle as
showed in the image.
Hold the platform and lift it carefully to
remove the foam below it.
21 22

01 02
03 04 05 06
07 08 09 10
11 12 13 14
15 16 17 18
2019
Cut four white cable ties that used to hold
the rods in place.
7.
9.
Double check the foam, it should contain:
filament, material rack, nozzle, remove
tool, needle, wrenches and screwdrivers.
8. Cut the three black cable ties: one for
fixing X-axis synchronous belt, two for
fixing Y-axis synchronous belts on both
sides.
10.
11.
Discard the blue protective tapes all
around.
Congratulations! You’ve unpacked your
printer. Please keep the kit and packing
for future use.
21 22

Notes
Do not make any modifications to the printer. To avoid personal injury or property
damage please ensure your operation followed by the Manual.
Dress properly. Do not wear loose clothing or jewelry. Keeping your hair, clothing and
gloves away from moving parts.
Do not directly touch the nozzle and build plate to avoid high-temperature burn.
Do not expose the printer in flammable liquid, gas or dust environment (The high
temperature generated by operating printer may react with dust,
liquid, and flammable gas in the air and cause fire).
Do not put the printer on a shaking place. It may affect the printing quality.
Children and untrained personnel are not allowed to operate the printer alone.
Operate the printer in a well-ventilated environment. Some materials may emit odors
during the printing process.
Do not manually move the nozzle or printing platform while booting up, lest printer
damage.
Never use the printer for illegal activities.
Never use the printer to make any food storage.
Never put the printed model into mouth.
Lower the build plate before loading/unloading filament. The distance between the
nozzle and build plate should be at least 50 mm.
Ensure regular maintenance for the printer; use dry cloth to remove dust and
adhered residues.
1.
2.
3.
4.
5.
6.
7.
8.
9.
10.
11.
12.
13.
01 02
03 04 05 06
07 08 09 10
11 12 13 14
15 16 17 18
2019 21 22

Kit Contents
3D Printer Power Cable
Material Rack Nozzle
Needle
Wrenches and
Screwdrivers
Filament User Manual
USB Flash Disk
Remove Tool
Glass Build Plate
01 02
03 04 05 06
07 08 09 10
11 12 13 14
15 16 17 18
Thisguide is only applicable to Voxelab Aries 3D printer
Aries
3D Printer User Manual
V1.0 20210401
WARNING Eachdevice must be tested before leaving factory.If there are some
residuesin extruder or some tiny scratches on the build plate, it is
normal and won’t affect the printing quality.
2019 21 22

Equipment Parameters
Model
Print size
Forming technology
Number of nozzle
Layer thickness
Nozzle diameter
XY axis precision
Filament
File format
Working mode
Slicing software
Power specification
Total power
Hotbed temperature
Nozzle temperature
Resume printing function
Filament sensor
Screen
Language switch
Computer operating system
Print speed
Voxelab Aries
200*200*200 mm
FDM
1
0.05 mm - 0.4 mm
Standard 0.4 mm
±0.2 mm
φ1.75 mm PLA / ABS / PETG
stl / obj / amf /3mf / fpp / bmp /png / jpg / jpeg
Internal memory printing / USB stick printing
/ WIFI connection printing
VoxelMaker / Cura / Simplify 3D
Input:AC 115/230V 50/60Hz Output:DC 24V
350W
≤110℃
≤250℃
Yes
Yes
4.3'' colorful touchscreen
Chinese/English
Windows 7/10 / Mac OS
≤180 mm/s,50-80 mm/s normally
Position precision
Output file
Z-axis 0.0025 mm,X/Y-axis ±0.011 mm
.gx / .g / .gcode
01 02
03 04 05 06
07 08 09 10
11 12 13 14
15 16 17 18
2019 21 22

Y-axis Guide Rod
Clip
USB Stick Input
Turbofan Baffle
Drive assembly
X-axis Guide Rod
Limit position assembly
Power Voltage Switch
Power Switch
Z-axis Guide Rod
Nut
LED Light
Power Input
Build Plate
Touch Screen
Nozzle
Spool installation port
1.
5.
9.
13.
1 7.
2.
6.
10.
14.
3.
7.
11.
15.
4.
8.
12.
16.
Product Introduction
01 02
03 04 05 06
07 08 09 10
11 12 13 14
15 16 17 18
1
2
3
6
10
9
8
4
7
5
11
12 13
14 15 16
17
2019 21 22

Hardware Assembly
2. Install the material rack on the back of printer.
1.
Glass Build Plate
Unlocked
Rotate 180° to the outside
Put the glass build plate on the heating platform and insert it into the limit position
assembly, then locked by clips. The four edges of glass build plate need to be aligned
with the platform.
Locked
Rotate 180° to the inside
01 02
03 04 05 06
07 08 09 10
11 12 13 14
15 16 17 18
2019 21 22

01 02
03 04 05 06
07 08 09 10
11 12 13 14
15 16 17 18
3.
Follow the filament loading direct strictly(as showed) and insert the filament into the
intake. It needs to press the handle to push filament into filament feeding roller until
certain resistance is sensed.
Note:Please ensure the filament direct is the same as the picture showed, or it will
cause the print failure.
Power On
Plug in the power cord and toggle the switch to turn on the power. Do not disconnect
the cables when Aries is powered on.
Attention
· Damage might occur if voltage setting is
incorrect. Make sure the current input
voltage matches to your local power
supply (115/230V).
· Plug in power cord and turn power
switch to 1 to turn it on.
2019 21 22

How to use the nuts
Rotate the nuts clockwise
Raise the build plate to reduce the distance
between the nozzle and build plate.
Lower the build plate to increase the distance
between the nozzle and build plate.
Rotate the nuts Anticlockwise
Build plate goes up Build plate goes down
Leveling Build Plate
1. Put a piece of A4 paper on the build plate, tap the touchscreen [Control] - [Level] and
wait for the extruder moving to the first leveling point.
Before leveling, let's learn the function of nuts.
2.
01 02
03 04 05 06
07 08 09 10
11 12 13 14
15 16 17 18
Lightly pull the A4 paper and feel the friction. If the friction is too big to move, tap [↓] to increase
the distance of nozzle and build plate; if the friction is too small, tap [↑] to reduce the distance of
nozzle and build plate. It is better that pulling the paper and feel the significant frictional
resistance until the slight scratches appear without damage. Tap [Next] to do the second level
point.
2019
Click the arrow to adjust the platform
so that it just touches the nozzle
Z axis offset: 1.5
Back
Next
21 22

3.
4.
01 02
03 04 05 06
07 08 09 10
11 12 13 14
15 16 17 18
When the extruder move to the second point, pull the A4 paper to feel the friction resistance. If the
friction is too big to move, rotate nut anticlockwise to increase the distance of nozzle and build
plate; if the friction is too small, rotate nut clockwise to reduce the distance of nozzle and build
plate. It is better that pulling the paper and feel the significant frictional resistance until the slight
scratches appear without damage. Tap [Next] to do the third level point.
The third leveling point repeats the second point leveling operation until the three-point leveling is
completed.
2019 21 22

2. Tap [Load].1. Tap [Control].
3. The extruder is heating to the targeted temperature automatically.
4.
Loading Filament
01 02
03 04 05 06
07 08 09 10
11 12 13 14
15 16 17 18
The auto-load is start to load the filament when
the targeted temperature reached. Do not stop
loading when the nozzle extrudes the filament.
It is suggested that load the filament evenly
then tap [OK].
5. Tap [OK] to back to the homepage.
2019 21 22

First Print
1. Tap [Build]. 2. Tap [Disk].
4. Tap [Build] icon.3. Select model.
1. Ensure that the build plate has been leveled before printing.
2. Ensure that the filament has been loaded in an appropriate approach.
3. Please clean extruder before printing (Load the filament for a while to extrude all the melted
filament you printed last time out of the extruder).
4. Do not leave the printer unattended during operation.
01 02
03 04 05 06
07 08 09 10
11 12 13 14
15 16 17 18
Suggestions
2019 21 22
Decompressed the slicing software package in
the USB flash drive and install it to your
computer. Open the software, load the stl file
for slicing, then saved the sliced file to the USB
flash drive.
Insert the USB flash drive, tap [Print],
select a file to print.

1. Tap [Control].
Please follow steps below if you need to unload filament in daily use.
2. Tap [Unload].
3. When the filament unload out of the filament feeding port, the unload operation is finished.
Note: After unload completed then load again, it can finish the filament replacement.
Unloading Filament
01 02
03 04 05 06
07 08 09 10
11 12 13 14
15 16 17 18
2019 21 22

01 02
03 04 05 06
07 08 09 10
11 12 13 14
15 16 17 18
1. Tap [Settings] - [WIFI], open the WIFI function.
2. Choose the Internet and save the password.
WIFI Connection
2019 21 22

01 02
03 04 05 06
07 08 09 10
11 12 13 14
15 16 17 18
1. After the WIFI connected successfully, tap [Info] and check the IP Address.
Connect Printer by WIFI
2. Open the VoxelMaker, click [Print] - [Connect Machine], input the IP address and click the
connect.
2019 21 22
3. There is a connect icon when it connected successfully.

01 02
03 04 05 06
07 08 09 10
11 12 13 14
15 16 17 18
Method 1:
1. Copy the firmware into the blank USB flash disk.
2. Plug in the USB flash disk into the USB port of printer and reboot the printer, waiting for the
upgrade process finished.
3. Plug out the USB flash disk after hearing three buzzes, reboot printer again.
4. After the upgrade completed, please delete the firmware file in the USB flash disk to avoid
upgrading repeatedly next time.
Get the firmware files: Enter the official website <www.voxelab3dp.com> and download
them at <Download Center>.
Method 2:
1. Connect the WIFI successfully.
2. Tap [Settings] - [Upgrade], check the latest firmware; if there is a new firmware need to
be upgraded, please tap [Yes] to upgrade.
Firmware Upgrade
2019 21 22

Slicing Software
Load the STL file.
Enter the support setting mode.
Enter the slicing setting mode.
Observe the STL file in different views
mode.
Move the STL file in the X or Y axis directly,
it can be moved in Z -axis directly by long
pressing shift and the mouse.
Rotate the STL file.
Scale the STL file.
Cut the STL file in different angles.
1.
2.
3.
4.
5.
6.
7.
8.
1 2 3
4
5
6
7
8
01 02
03 04 05 06
07 08 09 10
11 12 13 14
15 16 17 18
2019 21 22

Wiring connection
01 02
03 04 05 06
07 08 09 10
11 12 13 14
15 16 17 18
PCB cooling
fan port
Hotbed wire port
Nozzle wire port
X-axis sensor port
Platform temperature
detection port
Z-axis sensor
port
Screen port
Reserved port
Reserved
port
Fuse
Power port
Y-axis
motor port
Z-axis
motor port
Y-axis
sensor
Filament sensor port
Debug port
X-axis
motor port
Extrusion
motor port
2019 21 22
Other manuals for Aries
1
Table of contents
Other Voxelab 3D Printer manuals

Voxelab
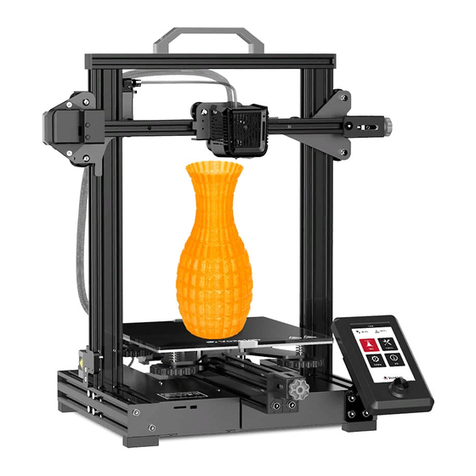
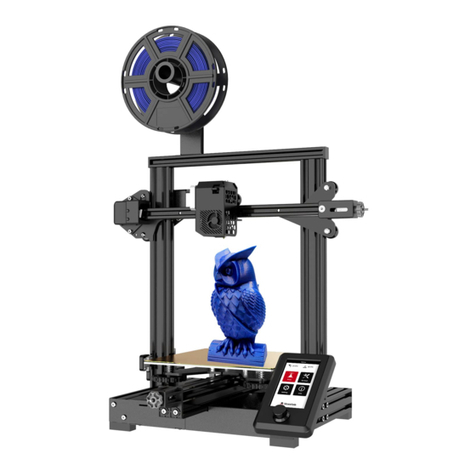
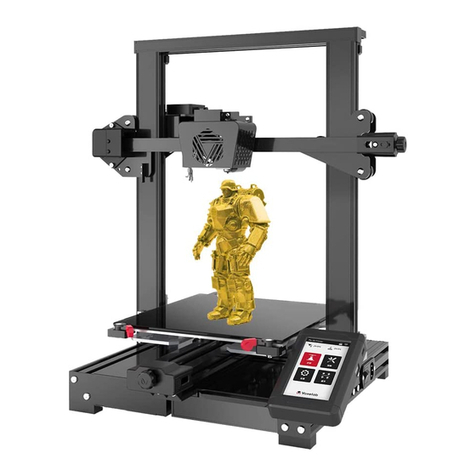
Voxelab Proxima 8.9 User manual

Voxelab
Voxelab Aquila S2 User manual

Voxelab
Voxelab Aquila Pro User manual

Voxelab
Voxelab Proxima 6.0 User manual

Voxelab
Voxelab Aquila C2 User manual

Voxelab
Voxelab Aquila X2 User manual
Voxelab
Voxelab Aquila X2 User manual

Voxelab
Voxelab Aries User manual

Voxelab
Voxelab Polaris User manual

Voxelab
Voxelab Aquila User manual
Popular 3D Printer manuals by other brands

Flashforge
Flashforge Finder 3 user guide

Bondtech
Bondtech ULTIMAKER 2.85 installation guide

Make Mendel
Make Mendel RapidBot Mega User information

ATOMSTACK
ATOMSTACK E285 Replacement instructions

iFactory3D
iFactory3D One Extension quick start guide

Prusa Research
Prusa Research PRUSA MMU3 Printing handbook