1 YEAR LIMITED WARRANTY
PERFORMANCE TOOL® extends only the following warranties, and only to original retail purchasers. These warranties give specific legal
rights. Except where prohibited by local law, the law of the State of Washington governs all warranties and all exclusions and limitations of
warranties and remedies. There may be other rights which vary from state to state.
PERFORMANCE TOOL® warrants the product to be free from defects in materials and workmanship under normal use and service. A
defective product may be returned for a free replacement within 90 days from the date of purchase, provided that product is returned to
place of purchase immediately after discovery of defect. After 90 days and up to one year from date of purchase, PERFORMANCE TOOL®
will replace at no charge any parts which our examination shall disclose to be defective and under warranty.
These warranties exclude blades, bits, punches, dies, bulbs, fuses, hoses, and other consumables which must be replaced under normal
use and service. These warranties shall not apply to any product or part which is used for a purpose for which it is not designed, or which
has been repaired or altered in any way so as to affect adversely its performance or reliability, nor shall these warranties apply to any
product or part which has been subject to misuse, neglect, accident or wear and tear incident to normal use and service.
PERFORMANCE TOOL® does not authorize any other person to make any warranty or to assume any liability in connection with its
products.
Except for warranties of title and the limited express warranties set forth above, PERFORMANCE TOOL® makes no express or implied
warranties of any kind with respect to its products. In particular, PERFORMANCE TOOL® makes no implied warranty of merchantability
and no implied warranty of fitness for any particular purpose, except that for goods purchased primarily for personal, family or household
use and not for commercial or business use, PERFORMANCE TOOL® makes an implied warranty of merchantability (and, if otherwise
applicable, an implied warranty of fitness for a particular purpose), but only for the particular qualities or characteristics, and for the
duration, expressly warranted above. The laws on limitation of implied warranties may differ from state to state, so the above limitations
may not apply in all cases.
PERFORMANCE TOOL® shall not be liable for consequential, incidental or special damages resulting from or in any manner related to
any product, or to the design, use, or any inability to use the product. The sole and exclusive remedy for a defective product or part shall be
the repair, or replacement thereof as provided above. The laws on limitation of remedies or on consequential, incidental or special
damages may vary from state to state, so the above limitations may not apply in all cases.
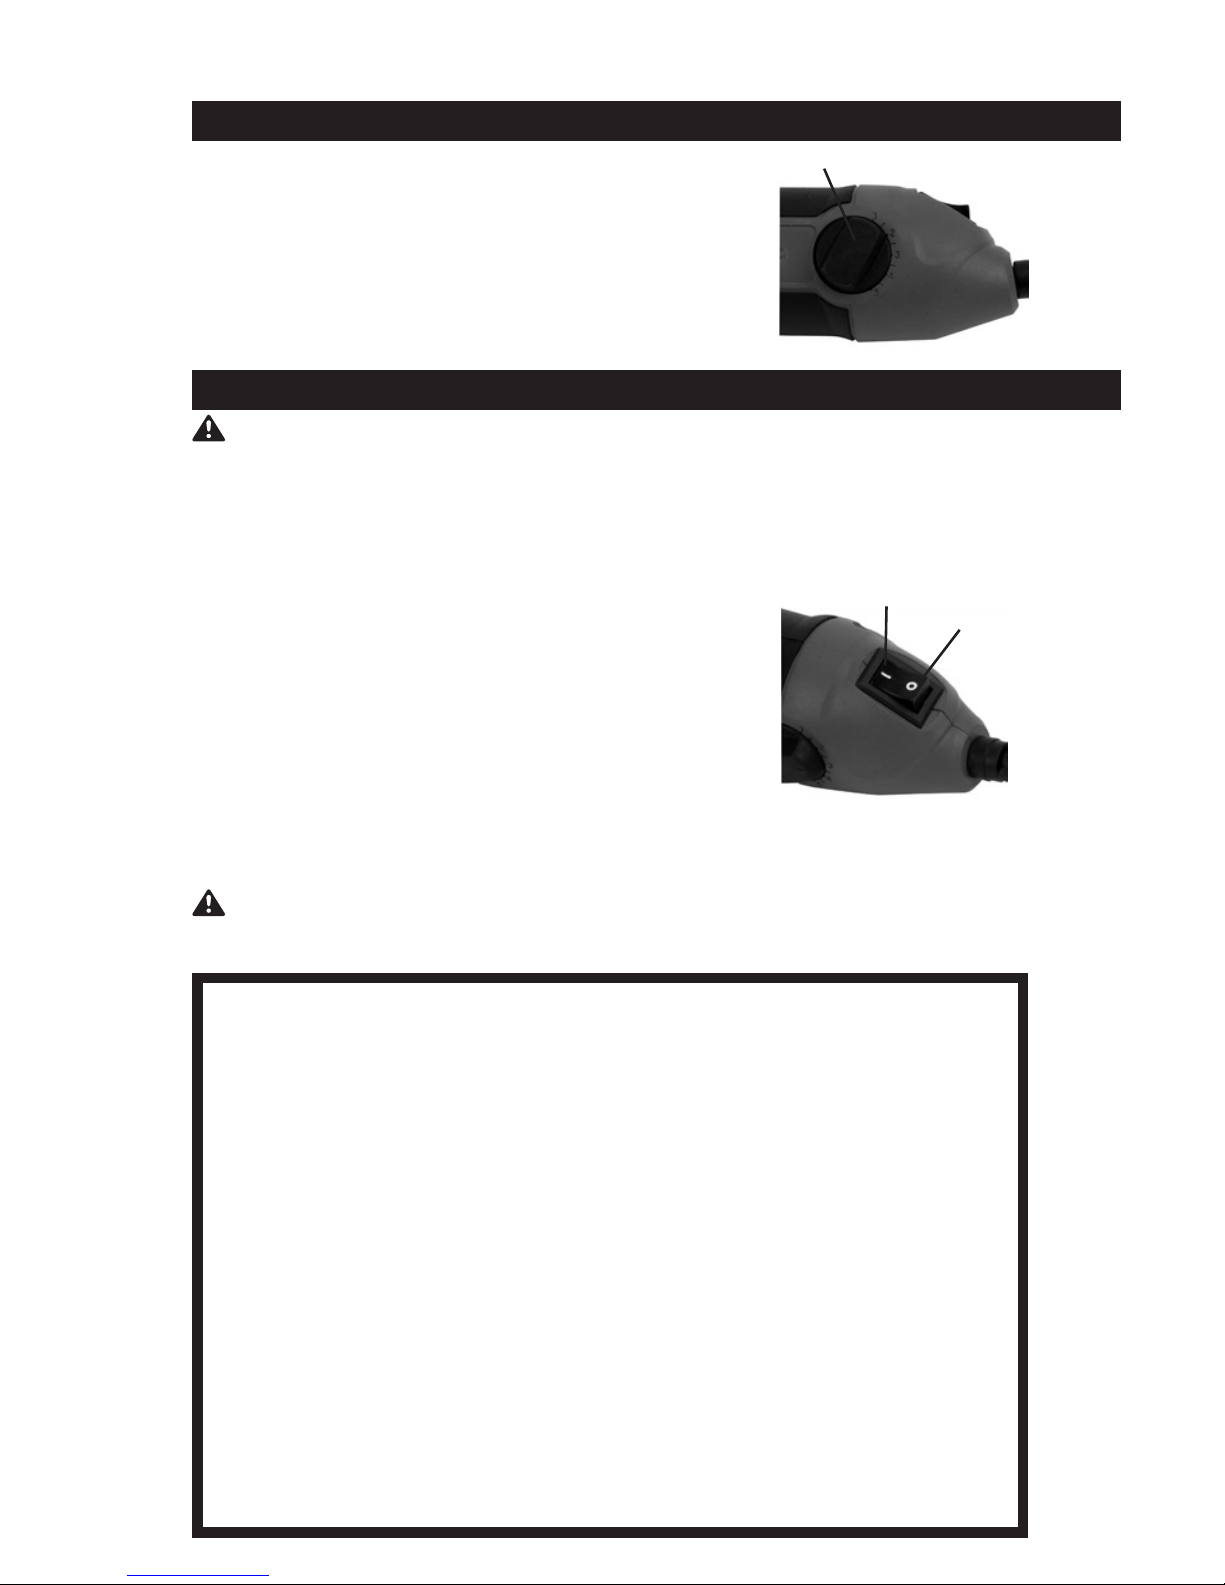
SETTING THE DEPTH CONTROL
The engraving depth can be adjusted to suit the type of surface
being engraved.
To engrave a shallow marking, set the depth control knob (1) to “1”
(Fig. 2). To engrave a deep marking, set the depth control knob to “5”.
NOTE: Softer materials will require settings of “1 to 3”. Hard materials
will require settings of “3 to 5”. Always test the depth control setting on
a scrap workpiece of the same material as the good workpiece to be
sure the depth control is set correctly and will engrave the workpiece correctly.
OPERATING THE ENGRAVING TOOL
WARNING: Always use safety glasses, ear protection and a dust mask when operating the engraving
tool. Using these safety items will protect you against flying particles during the engraving process.
The engraving tool can be used to engrave many different types of materials, including metal, glass,
plastic, wood, ceramics etc.
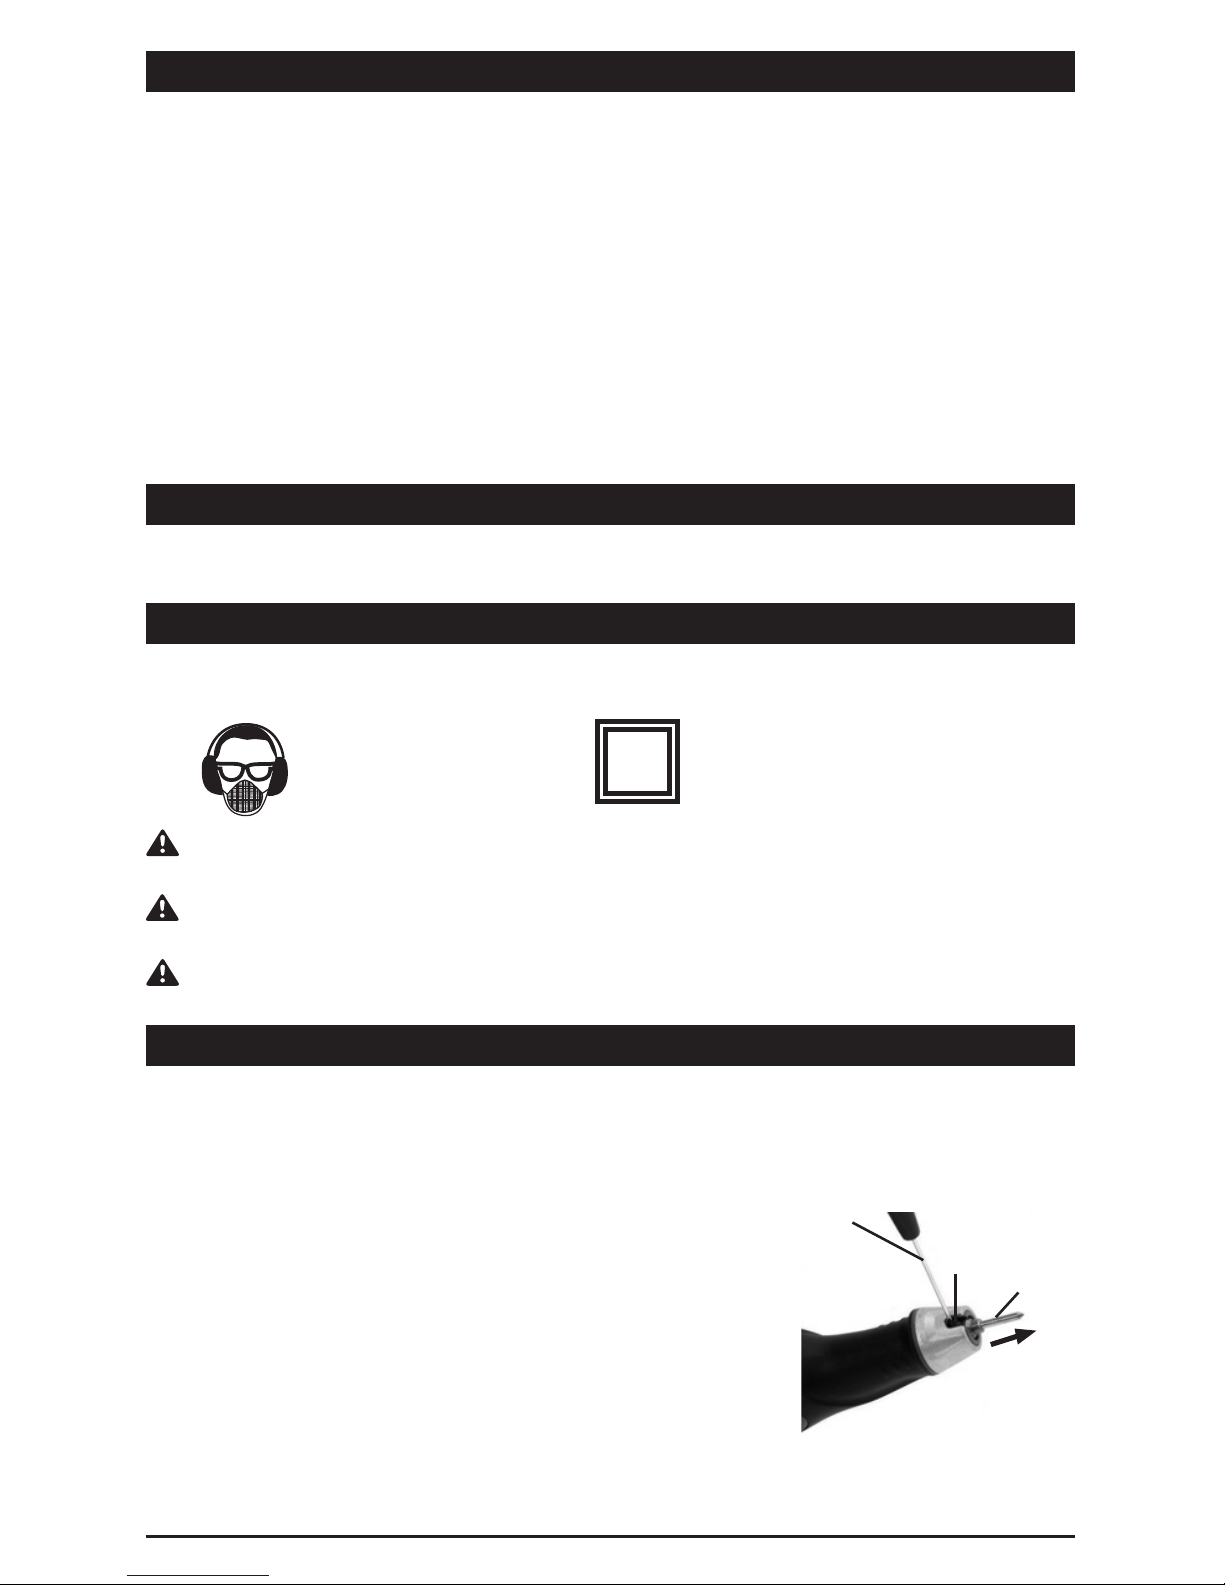
1. Check to make sure the engraving tip is in good condition and is properly installed in the tool (Fig. 1).
2. Set the depth control knob (Fig. 2).
3. Plug the power cord into the power source.
4. Turn the tool ON, by pressing the top of the ON/OFF
switch (1) (Fig. 3). To turn the tool OFF, press the bottom
part of the ON/OFF switch (2).
5. Hold the engraving tool at an angle to the workpiece as
you would hold a pen and begin engraving.
NOTE: Do not press down too hard while engraving. Use only light pressure while guiding the engraving
point on the workpiece. Always use consistent pressure on the engraving tip and move the tool on the
workpiece at a consistent speed to produce consistent engraving results.
WARNING: The engraver will build up heat during continuous operation. Do not operate the engraver
continuously for more than 5 minutes at a time. After 5 minutes of continuous operation, the tool must be
turned OFF and allowed to cool down for at least 5 minutes.
SETTING THE DEPTH CONTROL
Fig. 2
1
OPERATING THE ENGRAVING TOOL
Fig. 3
12
Check out the collection of power tools we offer.