Model 14 Sound Level Meter User Manual
Takin Measurements
Takin MeasurementsTakin Measurements
Takin Measurements
Before taking measurements, ensure the instrument has a new or highly charged
battery fitted. The instrument is supplied with a battery but it is not fitted for transit.
See page 9 for details of fitting and changing the battery.
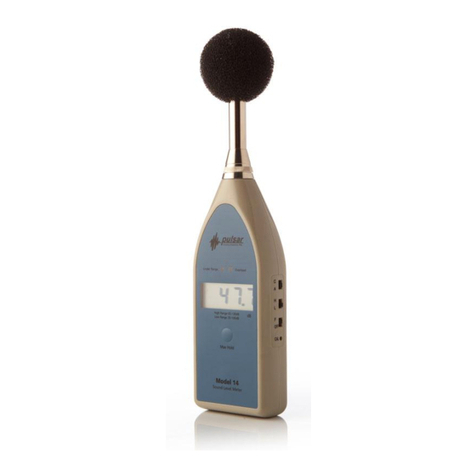
Turn the instrument on by moving the OFF/F slide switch to the F position:
> OFF = Instrument is powered off.
> F = Fast Time Weighting
Allow the instrument to settle for 10 seconds before calibrating or taking
measurements.
Ensure the instrument is calibrated (see page 10 for details of calibration)
Select the required Frequency Weighting using the A/ slide switch:
> A = A-Weighting or dB(A)
> = -Weighting or dB( )
Select the most appropriate range for the acoustic environment using the H/L slide
switch:
> L = Low Range (suitable for levels up to 100dBA)
> H = High Range (suitable for levels over 65dBA)
If you need to capture the maximum noise level measured then press the MAX HOLD
button for at least ½ second.
Once released the text HOLD is illuminated in the top left of the instrument display. In
this mode the highest measured sound pressure level is displayed.
To turn off the maximum hold facility either press the MAX HOLD button again or turn
the unit off.
Fundamental precautions
Fundamental precautionsFundamental precautions
Fundamental precautions
This section contains some simple points that should be considered when using the
Model 14 instrument:
a) Allow the instrument to settle for 10 seconds after switching on before calibrating
or taking measurements.
b) Always check the battery before and after each measurement. The Model 14
monitors the battery continuously while operating.
c) Ensure that the white MAX HOLD function is turned off when not required. If this
is not done, the display will freeze the last reading and the word HOLD will be
displayed on the top left of the L D.
Model 14 Sound Level Meter User Manual
d) Wherever possible, always check the instrument calibration before and after each
measurement.
e) Whenever the instrument is not to be used for a long period of time (> one
month) then remove the battery completely. This action will prevent leakage
damage.
Display and Indicat
Display and IndicatDisplay and Indicat
Display and Indicators
orsors
ors
Display
Display Display
Display
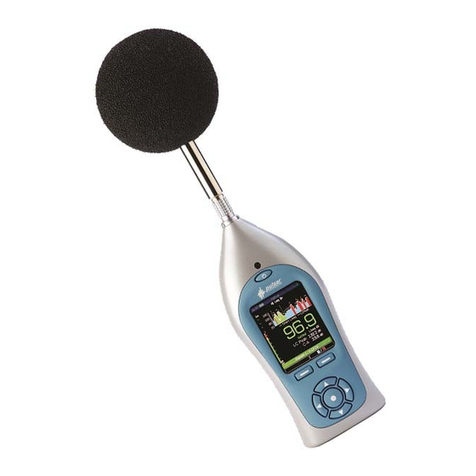
The L D display of the Model 14 is scaled in decibels, either 'A' or ' ' weighted,
depending on the position of the A/ slide switch.
There are indicators in the display as follows:-
Function Indicator Cause and Possible Action
Low Battery LOWBAT Battery capacity low, replace battery
Maximum Hold MAX HOLD The display is MAX, push MAX HOLD to reset
Indicat
IndicatIndicat
Indicator
oror
or
There are also two status indications above the instrument display, these have the
following functions:
Function Indication Cause and Possible Action
Under Range Green Light The sound level is below the current
measurement range. Move the L/H slide to the L
position.
Overload Red Light The sound level is above the current
measurement range. Move the L/H slide switch
to the H position.
