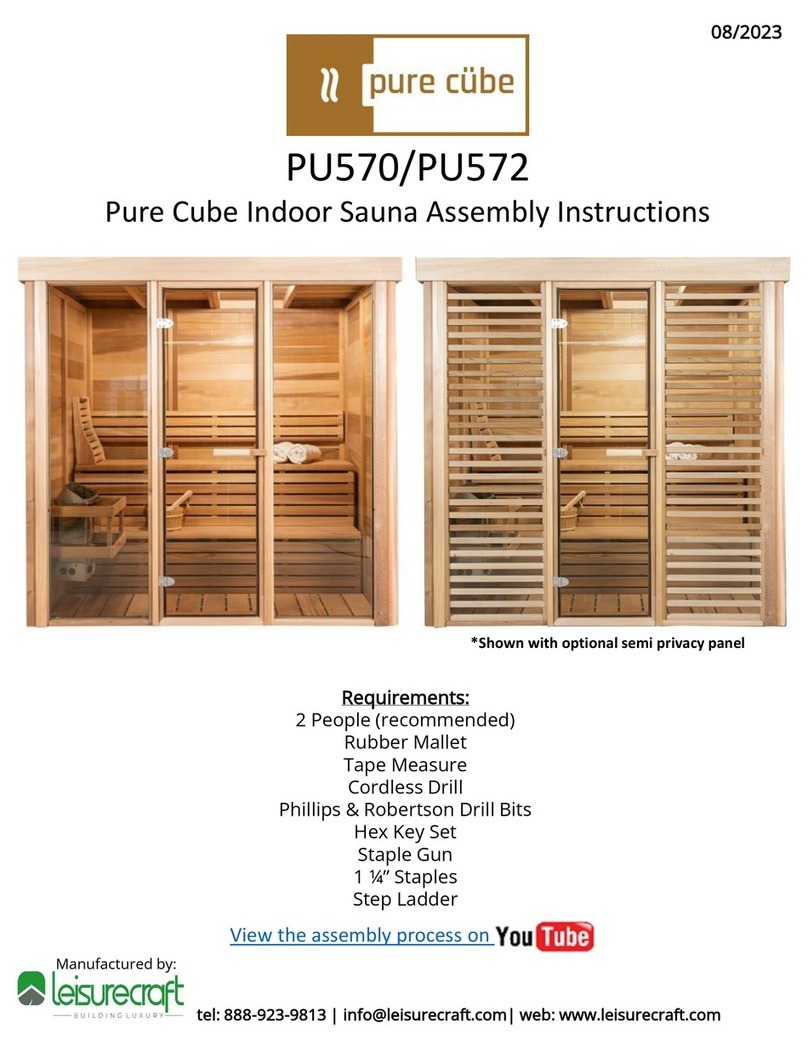
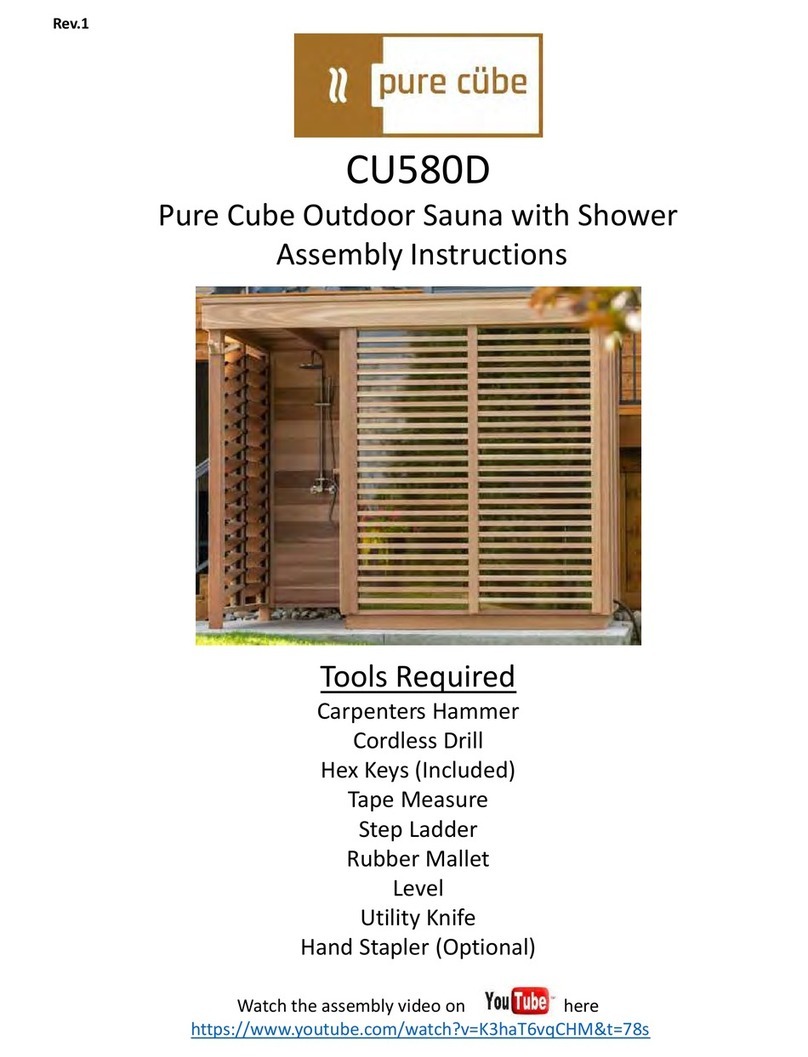
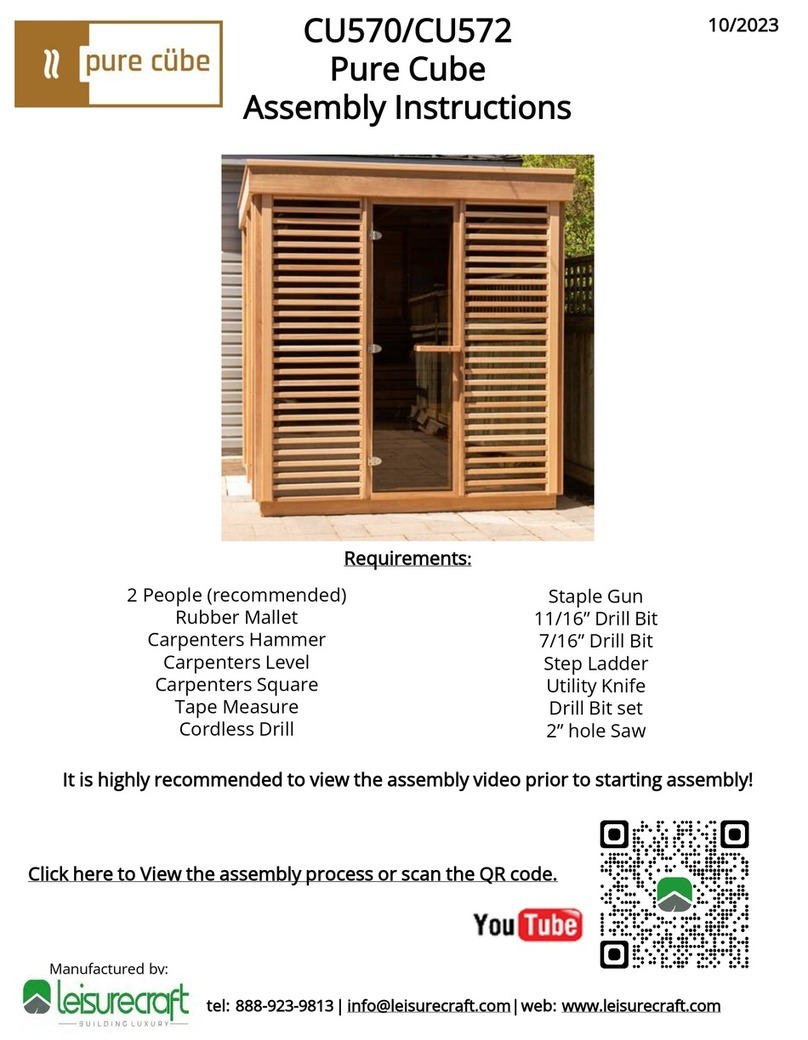
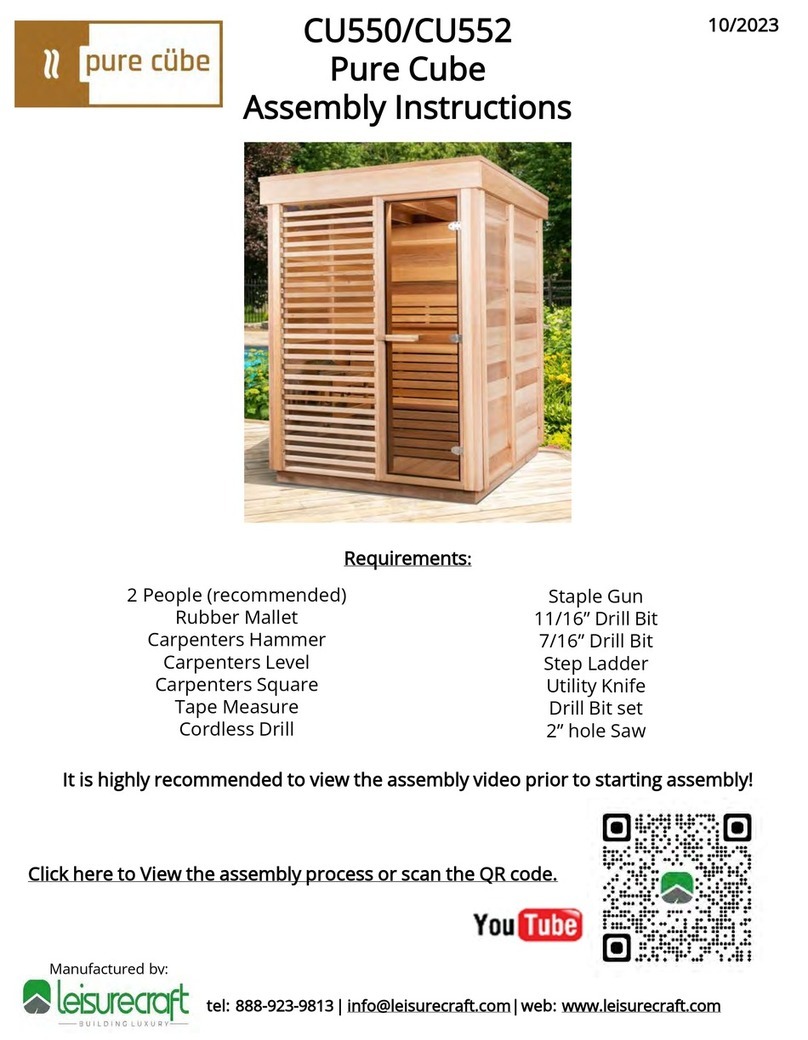
pure cube CU580 User manual

tel: 888-923-9813| info@leisurecraft.com|web: www.leisurecraft.com
Manufactured by:
10/2023
CU580/CU582
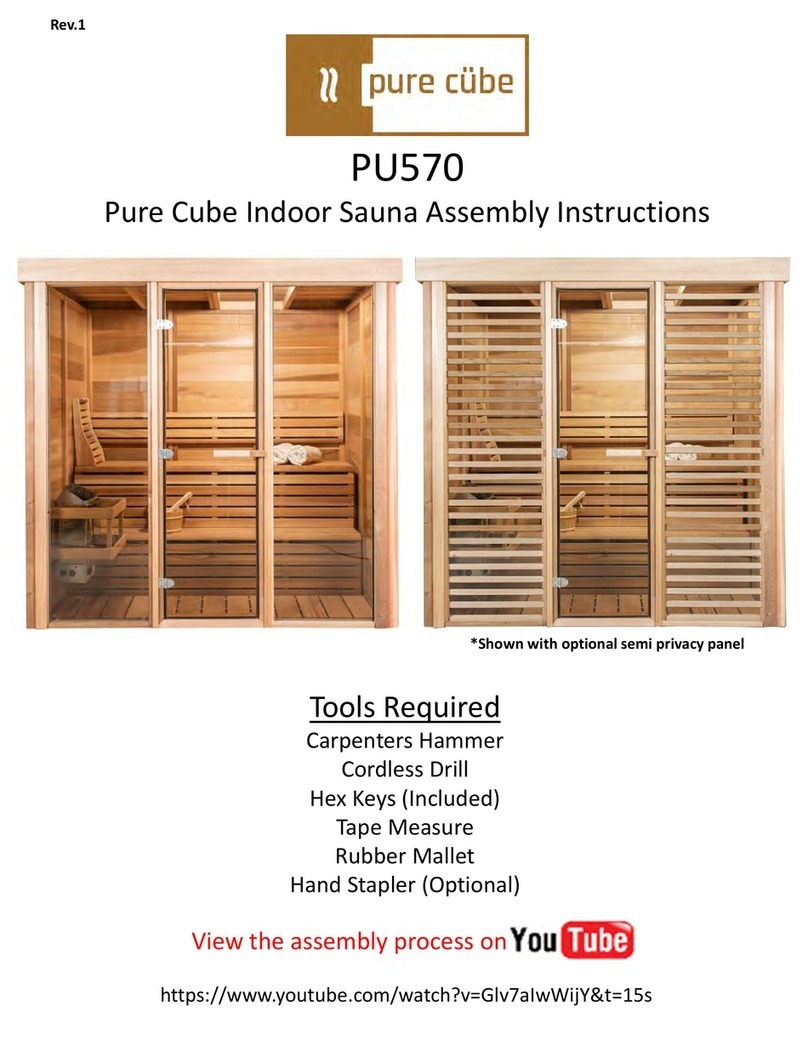
Pure Cube
Assembly Instructions
Requirements:
It is highly recommended to view the assembly video prior to starting assembly!
Click here to View the assembly process or scan the QR code.
2 People (recommended)
Rubber Mallet
Carpenters Hammer
Carpenters Level
Carpenters Square
Tape Measure
Cordless Drill
Staple Gun
11/16” Drill Bit
7/16” Drill Bit
Step Ladder
Utility Knife
Drill Bit set
2” hole Saw

Index
Base Preparation
Sauna Assembly
Bench Assembly
Electric Heater Installation
Vent Kit Installation
Care &Maintenance
Warranty
tel: 888-923-9813 | info@leisurecraft.com| web: www.leisurecraft.com
Manufactured by:
2
Before you begin the installation of your Pure Cube Sauna,
Please read these instructions completely.
CU580/CU582
Pure Cube
Assembly Instructions

Sauna Base Preparation
Make sure the base for your sauna is level with a slight slope to the back for drainage.
A solid base for your sauna is recommended and can be made from any of the following.
Concrete Pad Wood Deck
Crushed Stone Patio Stone/Paver Blocks
It is recommended to build a base larger than required to provide a sitting area for cooling
off during your sauna session.
tel: 888-923-9813 | info@leisurecraft.com| web: www.leisurecraft.com
Manufactured by:
3
CU580/CU582 Pure Cube
Outdoor Sauna Assembly Instructions

tel: 888-923-9813 | info@leisurecraft.com| web: www.leisurecraft.com
Manufactured by:
4
Organize the pieces of your Pure Cube sauna.
Start the assembly by laying out the floor supports.
Secure the corners of the floor supports together
using 2 ½” (64mm) screws.
Repeat for all 4 corners.
Using a tape measure, space out the floor joists
evenly.
Once the floor joists are spaced out evenly, secure
them through the predrilled holes using 2 ½” (64mm)
screws.
Sauna Assembly
CU580/CU582 Pure Cube
Outdoor Sauna Assembly Instructions

tel: 888-923-9813 | info@leisurecraft.com| web: www.leisurecraft.com
Manufactured by:
5
Gather your tongue and groove floorboards.
Start with the floorboard with a straight edge on the
back
Insert the floorboards into the frame ensuring that
they are tight by tapping them together with a rubber
mallet.
Fasten the floorboards into the outer floor joists with
1 ½” (38mm) screws.
For aesthetic purposes, don’t secure the floorboards
to the first inner joist from the front of the sauna.
The benches will not cover the first 2 rows of screws.
Continue adding the floorboards in the same manner.
Place your last floorboard into place.
You may use the rubber mallet to gently finesse the
last board into place.
Sauna Assembly
CU580/CU582 Pure Cube
Outdoor Sauna Assembly Instructions

tel: 888-923-9813 | info@leisurecraft.com| web: www.leisurecraft.com
Manufactured by:
6
To start the assembly of the walls, place a wide panel
onto a 4”x4” post and ensure it is flush to the ends
and sides.
Secure the panel to the post using the provided 2 ¾”
(70mm) Connector Lag Bolts.
Note that the walls should be assembled so the
screws and bolts should be on the outside of the
sauna.
Secure a wide panel to the corner post in the same
manner to make the sauna corner.
Connect the 3 narrow wall panels together using the
2 ¾” (70mm)connector bolts and a connector cap nut.
Sauna Assembly
CU580/CU582 Pure Cube
Outdoor Sauna Assembly Instructions

tel: 888-923-9813 | info@leisurecraft.com| web: www.leisurecraft.com
Manufactured by:
7
Secure another corner post to the other end of the
assembled narrow panels using the 2 ¾” (70mm)
connector lag screws through the predrilled holes.
.
Secure a wide panel to the corner post using the
provided 2 ¾” (70mm) Connector Lag Bolts.
Using a tape measure, ensure that the walls stick out
1 ½” past the base of the sauna on the back and sides.
You can use a rubber mallet to tap into the correct
place.
Sauna Assembly
Using the provided hex keys, snug up all the bolts.
CU580/CU582 Pure Cube
Outdoor Sauna Assembly Instructions

tel: 888-923-9813 | info@leisurecraft.com| web: www.leisurecraft.com
Manufactured by:
8
Assemble the narrow panel and wide panel together
using the 2 ¾” (70mm) connector bolts and connector
cap nuts.
Repeat on opposite side
Secure a corner post to the narrow panel using the
provided 2 ¾” (70mm) connector Lag Bolts.
Repeat on opposite side.
Bring in one of the glass panels to start the assembly
of your front wall.
This will be either a full glass panel or semi privacy
panel depending on what was ordered.
With the panel flush to the post, secure the panel to
the post using the 2 ¾” (70mm) connector lag bolts in
the predrilled holes.
Repeat for the second glass panel on the other side.
Sauna Assembly
CU580/CU582 Pure Cube
Outdoor Sauna Assembly Instructions

tel: 888-923-9813 | info@leisurecraft.com| web: www.leisurecraft.com
Manufactured by:
9
Place the glass door between the front panels.
Secure the panels together post using the 2 ¾”
(70mm) connector lag bolts in the predrilled holes.
Repeat on opposite side of door.
Place the 2 roof panels on top of the sauna.
The overhang on the panel goes to the back of the
sauna.
Ensure the roof panels are flush with the wall panels.
To make the next steps easier, line the panels up as
close as possible to each other.
Sauna Assembly
CU580/CU582 Pure Cube
Outdoor Sauna Assembly Instructions

tel: 888-923-9813 | info@leisurecraft.com| web: www.leisurecraft.com
Manufactured by:
10
Inside , line up the holes and fasten the roof panels
together with 2 ¾” (70mm) connector bolts and
connector cap nuts.
When you have the roof panels connected, tighten up
the bolts with a drill and hex key.
Place the front trim pieces so that it sits ¾” (19mm)
below the joint of the roof and the wall panels.
The trim should overhang evenly on both sides 1 ½”
(38mm).
Secure the front trim piece from the inside of the
sauna using the 2 ¾” (70mm) connector lag bolts
through the predrilled holes.
Repeat the process for the side trim on both sides of
the sauna in the same manner.
Sauna Assembly
CU580/CU582 Pure Cube
Outdoor Sauna Assembly Instructions

tel: 888-923-9813 | info@leisurecraft.com| web: www.leisurecraft.com
Manufactured by:
11
On the outside, with the sides and front of roof panels
flush to the wall panels, secure the wall panels to the
roof panels using two 2 ½” screws in each wall panel.
Lay out the EPMD Membrane over the roof panels.
Once the membrane is laid out evenly, tuck it along
the trim and staple it to the top of the fascia trim.
Continue to staple the membrane down on the 3
sides that have the trim installed.
Use a utility knife to cut the excess rubber close to the
edge of the front trim piece.
Repeat for both sides.
Sauna Assembly
CU580/CU582 Pure Cube
Outdoor Sauna Assembly Instructions

tel: 888-923-9813 | info@leisurecraft.com| web: www.leisurecraft.com
Manufactured by:
12
Cut off just enough to tuck the membrane
underneath the roof panel.
If needed, you can tack the membrane in place with a
finishing nail or screw.
Place the roof caps snugly over the trim pieces.
Secure the roof caps using 1 ½” (38mm) screws.
Use a utility knife to cut the excess rubber in the
corners of the back of the sauna.
Sauna Assembly
CU580/CU582 Pure Cube
Outdoor Sauna Assembly Instructions

tel: 888-923-9813 | info@leisurecraft.com| web: www.leisurecraft.com
Manufactured by:
13
Ensure the outer handle lines up with the magnetic
catch on the door frame and then tighten the lag
screws completely.
Place the back trim snug under the lip of the roof and
secure with a 2 ½” screw on each end.
Secure the back trim piece from the inside of the
sauna using the 2 ¾” (70mm) connector lag bolts
through the predrilled holes.
Install the door handle by placing the provided
2” (50mm) lag screws through the inner handle (short)
into the outer handle (longer)
Use the hex key to snug up, do not tighten all the way.
Sauna Assembly
CU580/CU582 Pure Cube
Outdoor Sauna Assembly Instructions

tel: 888-923-9813 | info@leisurecraft.com| web: www.leisurecraft.com
Manufactured by:
14
On the inside of the sauna, secure the wall panels to
the floor using 2 - 2 ½” screws in each wall panel.
Secure all of the wall panels to the floor.
.
Sauna Assembly
Secure the 2 door trim pieces (narrow trim) over the
seams beside the door using staples or finishing nails.
Repeat the process with the wall trim pieces (wide
trim) over the rest of the seams around the sauna.
CU580/CU582 Pure Cube
Outdoor Sauna Assembly Instructions

tel: 888-923-9813 | info@leisurecraft.com| web: www.leisurecraft.com
Manufactured by:
15
Bench Assembly
Bring in your bench supports and place 1 support at
either end of the back wall.
Ensure the bench supports are tight to the side and
back walls, then secure the supports to the walls and
floor using 2 ½” (64mm) screws.
Repeat on opposite end.
Bring in the top bench and place it on top of the
bench supports.
Line up the remaining bench supports with the braces
on the bottom of the top bench.
CU580/CU582 Pure Cube
Outdoor Sauna Assembly Instructions

tel: 888-923-9813 | info@leisurecraft.com| web: www.leisurecraft.com
Manufactured by:
16
Bench Assembly
Make sure the supports are square then secure them
to the floor with 2 ½” (64mm) screws.
Secure the bench supports to the top bench from
underneath using 2 ½” (64mm) screws.
Position the bottom bench on top of the lower section
of the bench supports.
The braces on the bottom of the bench should be
aligned with the bench supports.
Secure the bench supports to the bottom bench from
underneath using 2 ½” (64mm) screws.
CU580/CU582 Pure Cube
Outdoor Sauna Assembly Instructions

tel: 888-923-9813 | info@leisurecraft.com| web: www.leisurecraft.com
Manufactured by:
17
Bench Assembly
Line up the top bench front enclosure with the bench
supports.
Secure the top bench enclosure to the bench
supports between the slats using 2 ½” (64mm) screws.
Before putting on the lower bench enclosure, slide
the backrest supports behind the top bench.
Ensure they align flush behind the bench supports
and secure with 2 ½” (64mm) screws.
CU580/CU582 Pure Cube
Outdoor Sauna Assembly Instructions

tel: 888-923-9813 | info@leisurecraft.com| web: www.leisurecraft.com
Manufactured by:
18
Bench Assembly
Ensure the backrest is level on the backrest supports
and secure the backrest by screwing it in between the
slats using 2 ¾” (64mm) screws.
You can now secure the lower front bench enclosure
to the bench supports by screwing between the slats
using 2 ½” (64mm) screws.
CU580/CU582 Pure Cube
Outdoor Sauna Assembly Instructions

To start the installation of the electric heater,
measure the width of the stove mounting holes.
tel: 888-923-9813 | info@leisurecraft.com| web: www.leisurecraft.com
Manufactured by:
Measure the height of the mounting holes and add 6”
(152mm).
Transfer the measurements to the side wall of the
sauna where the heater will be placed.
Install the supplied support screws into your marks as
shown.
Screw them in until they are about ¼” (6mm) out of
the wall.
19
Electric Heater Installation (Optional)
CU580/CU582 Pure Cube
Outdoor Sauna Assembly Instructions

Hang the electric heater on the screws.
Screw 2 more screws in the bottom holes of the
heater and once the heater is level, you can tighten
up all 4 screws.
Place Rocks in heater as per heater instructions.
tel: 888-923-9813 | info@leisurecraft.com| web: www.leisurecraft.com
Manufactured by:
20
Electric Heater Installation (Optional)
Locate the pieces for your heater guard.
Stand the 2 Assembled side pieces of the heater
guard on edge with pre-drilled holes on the bottom.
Screw heater guard support to either side using
(2) –1 ½” (38mm) screws per side.
Repeat for the bottom heater guard support.
Place 2- 2 ½” (64mm) screws into the pre-drilled holes
on either side of heater guard to prepare for
mounting.
CU580/CU582 Pure Cube
Outdoor Sauna Assembly Instructions
This manual suits for next models
1
Table of contents
Other pure cube Plumbing Product manuals
Popular Plumbing Product manuals by other brands

Sanela
Sanela SLW 10NK Instructions for use

ZURN
ZURN ZN1201 installation instructions

MAPA Products
MAPA Products MPH-24-FP:24/9 Installation instructions & parts list

Glacier bay
Glacier bay 873-W427H2 quick start guide

Hans Grohe
Hans Grohe Metris 14820 1 Series Installation and user instructions

Peerless Faucet
Peerless Faucet P299696LF manual