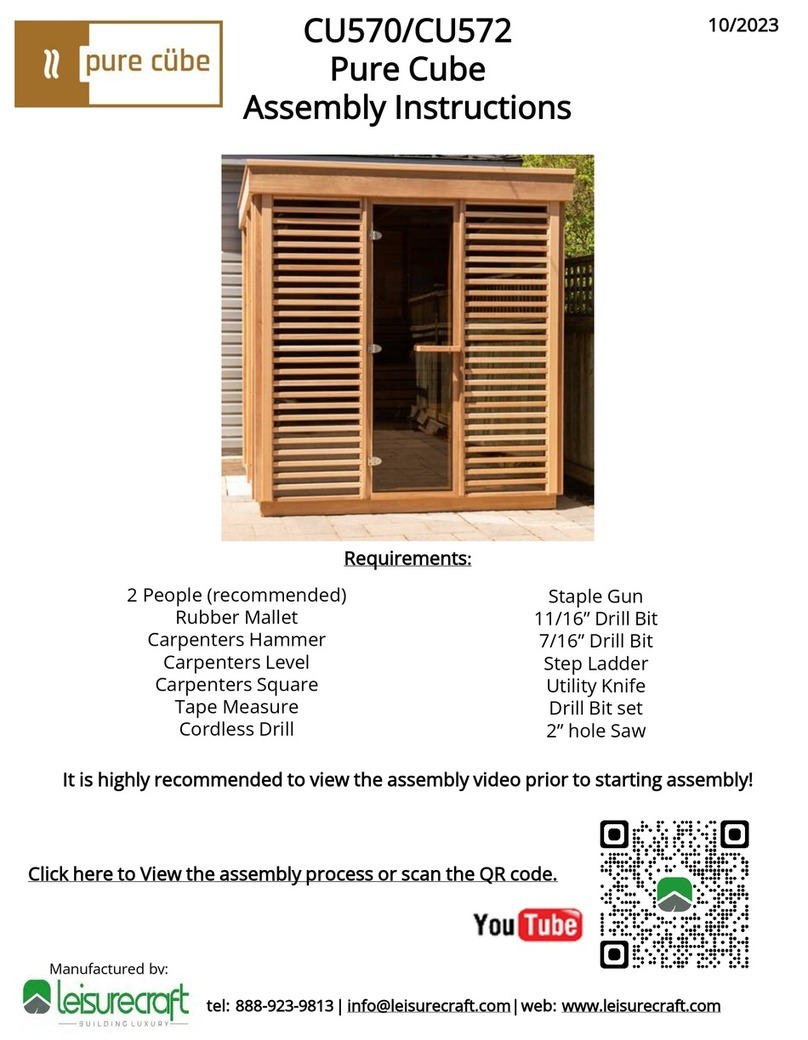
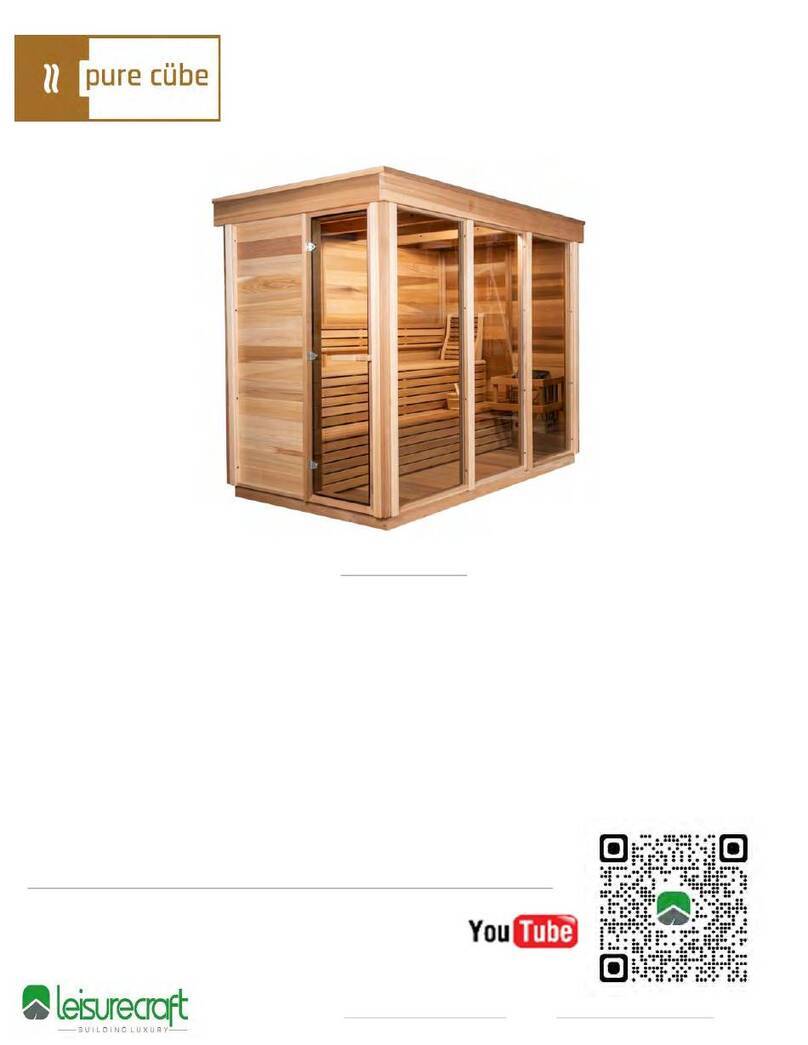
pure cube CU580D User manual

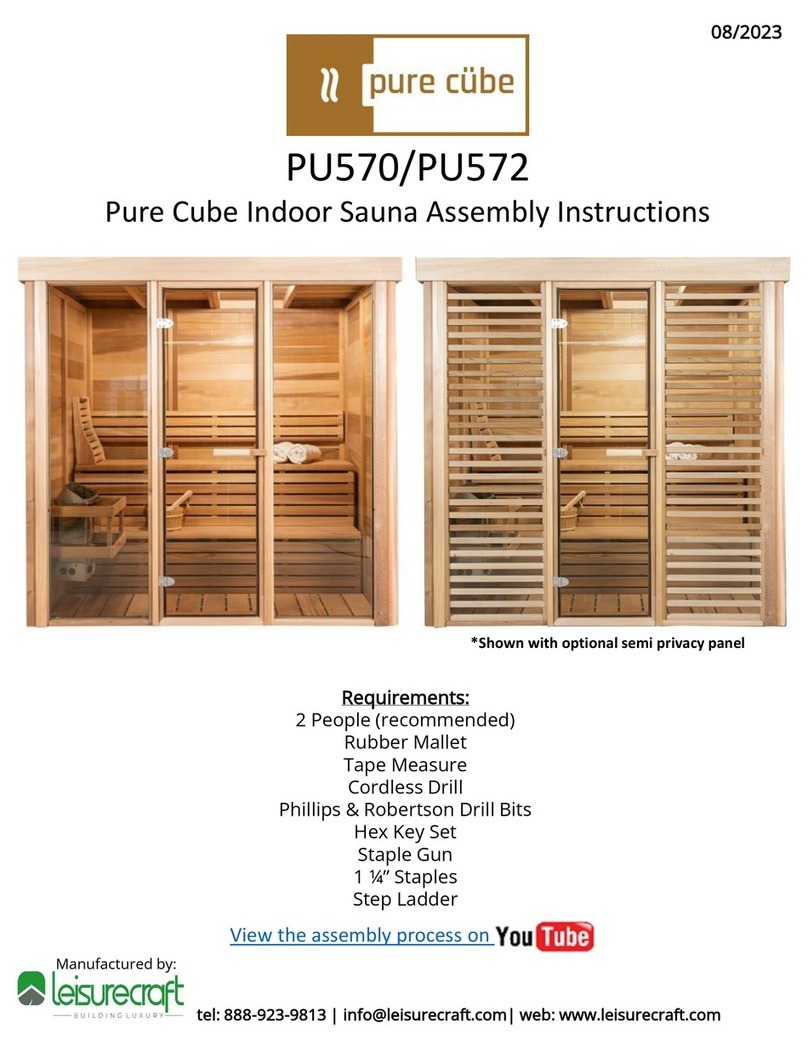
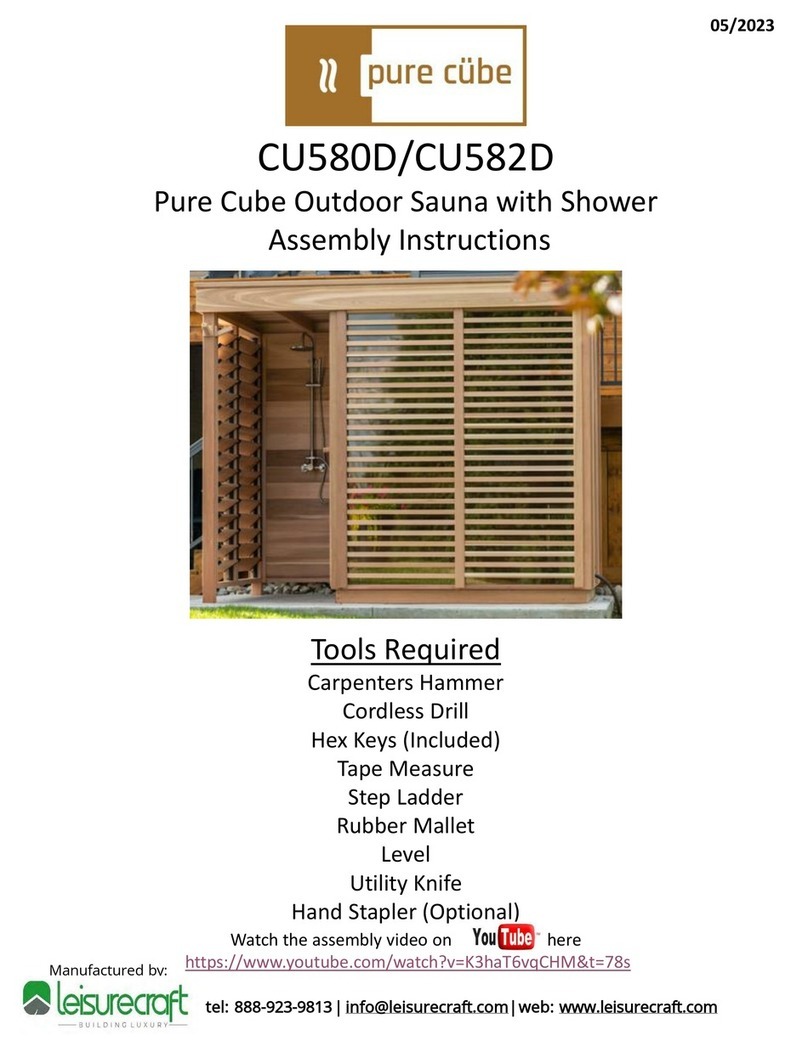
CU580D
Pure Cube Outdoor Sauna with Shower
Assembly Instructions
Tools Required
Carpenters Hammer
Cordless Drill
Hex Keys (Included)
Tape Measure
Step Ladder
Rubber Mallet
Level
Utility Knife
Hand Stapler (Optional)
Rev.1
Watch the assembly video on here
https://www.youtube.com/watch?v=K3haT6vqCHM&t=78s

ph: 519-923-9813 | [email protected]| web: www.dundalkleisurecraft.com
Before you begin the installation of your Pure Cube Sauna, Please read these instructions completely.
Make sure the placement for your sauna is level and on a solid base.
Fig 2a
Fig 2b
*Always ensure that you have the correct screw length so that there will be enough thread to hold, and especially, so
that the screw does not go all the way through the material and come out the other side.
Parts Identification
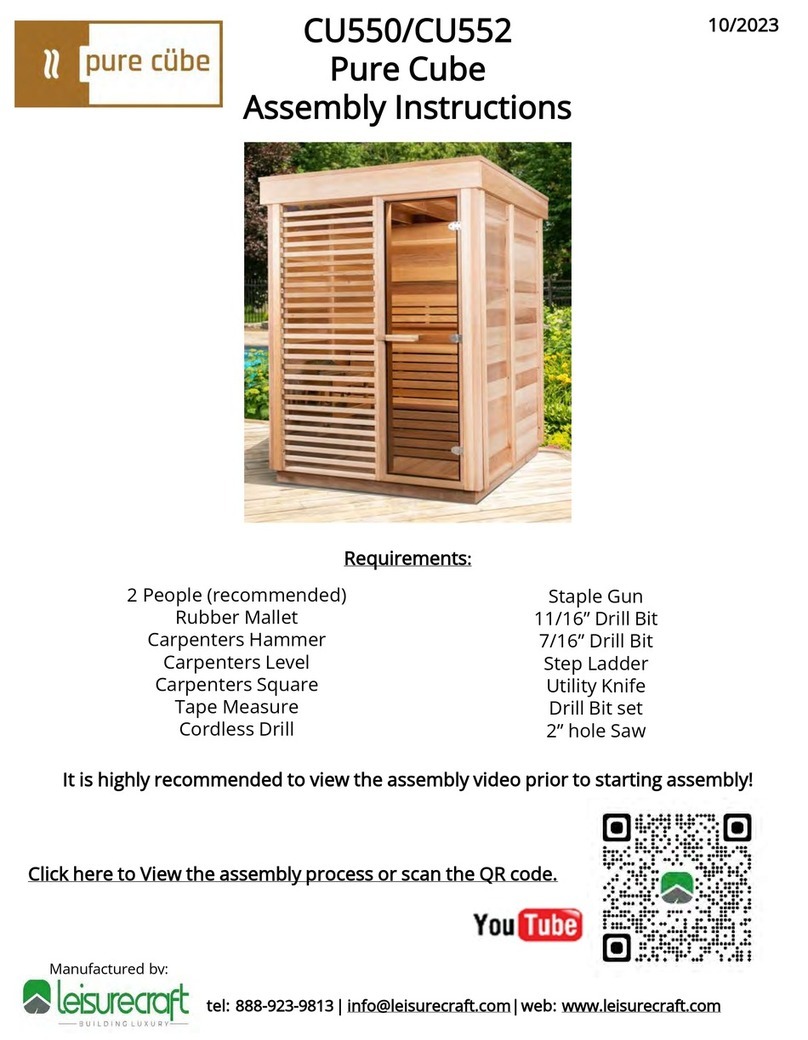
The CU580D Pure Cube Sauna consists of 2 different sizes of wall panels that are available in either;
•Solid Cedar (privacy)
•Glass
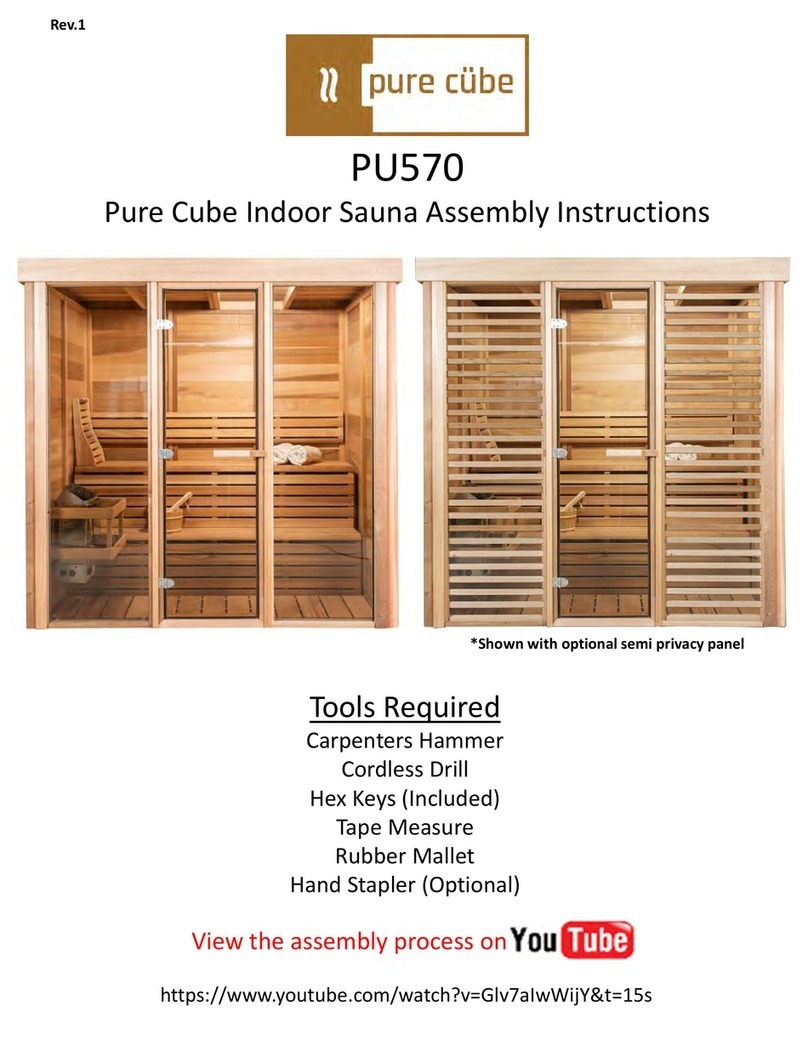
•Wood/Glass (semi-privacy)
(2)- Glass panels Semi-privacy panel
(optional)
1
CU580D Pure Cube
Outdoor Sauna with Shower Assembly Instructions
Fully Assembled
Glass Door
Privacy panels
(4) 33 ½” Large Panels
(1) 25 ¾” Small Panel
(1) 30” Shower Wall Panel
Louver Panels
(1)- 33 ½” Large Panel
(1) 25 ¾” Small Panel
(3) Roof Panels
(overhang on back)
Corner & Wall Trim
(4)-Corner Posts
(2)-Shower Corner Posts

ph: 519-923-9813 | [email protected]| web: www.dundalkleisurecraft.com
Fig 2a
Fig 2b
Parts Identification (Cont..)
Floor Joists
(2)- Ends
(2)- Sides
(3)- Middle Joists
(13) Full Floor Boards
(1) Thinner Floor Board
Backrest
2
Bench Seats Bench Front Enclosures
Top
Bench
Bottom
Bench
(4)-Bench Brackets
2 ½” (63mm)
Finishing Nails
Hardware
2 ½” (63mm)
Wood Screws
2 ¾” (70mm)
Connector Bolts
2 ¾” (70mm)
Connector Lag Bolts
Threaded Cap
Nuts
EMPD Membrane
Premium Shower Hardware
(Hot & Cold)
(optional)
Economy Shower Hardware
(Cold only)
(optional)
Electric Heater & Guard
(optional)
Wood Stove
(optional)
CU580D Pure Cube
Outdoor Sauna with Shower Assembly Instructions

ph: 519-923-9813 | [email protected]| web: www.dundalkleisurecraft.com
Fig 2a
Fig 2b
Organize the pieces of your Pure Cube outdoor sauna.
Start the assembly by laying out the floor supports.
3
Secure the corners of the floor supports together using
2 ½” (64mm) screws.
Repeat for all 4 corners.
Use a measuring tape to space out the floor joists evenly.
Once the floor joists are spaced out evenly, secure them
through the pre drilled pocket holes using
2” (51mm) screws.
CU580D Pure Cube
Outdoor Sauna with Shower Assembly Instructions

ph: 519-923-9813 | [email protected]| web: www.dundalkleisurecraft.com
Fig 2a
Fig 2b
Gather your tongue and groove floor boards.
Insert the floor boards into the frame ensuring that they
are tight by tapping them together with a rubber mallet.
4
Fasten the floor boards into the floor joists and the inner
floor joists with 1 ½” (38mm) screws.
For aesthetic purposes, don’t secure the floor boards to
the first inner joist from the front of the sauna.
The benches will later cover the first 2 rows of screws.
Continue adding and securing the floor boards to the
floor joists.
CU580D Pure Cube
Outdoor Sauna with Shower Assembly Instructions

ph: 519-923-9813 | [email protected]| web: www.dundalkleisurecraft.com
Fig 2a
Fig 2b
To start the assembly of the walls, bring in a 33 ½” solid
privacy panel and 1 corner post.
5
Line up the corner post to the back corner of the solid
privacy panel.
Secure the corner post to the panel using the provided
2 ¾” (70mm) Connector Lag Bolts.
* Note that the walls should be assembled so the screws and
bolts should be on the outside of the sauna.
Fasten a 33 ½” solid privacy panel to the corner post.
Fasten the panel and post together in the same manner
as the previous step.
CU580D Pure Cube
Outdoor Sauna with Shower Assembly Instructions

ph: 519-923-9813 | [email protected]| web: www.dundalkleisurecraft.com
Fig 2a
Fig 2b
Attach a 25 ¾” panel to the larger side wall panel using
using the 2 ¾” (70mm) Connector bolt and nut through
the pre drilled holes.
6
Secure the second 33 ½” solid privacy panel to the
previous back wall panel using 2 ¾” (70mm) Connector
bolt and nuts through the pre drilled holes in the same
method as the previous step.
Attach a corner post to the back wall using the provided
2 ¾” (70mm) Connector Lag Bolts and then secure a
33 ½” solid wall panel to the post.
Bring in your glass panel to start the assembly of your
front wall.
*This will be either a full glass panel or semi privacy panel.
CU580D Pure Cube
Outdoor Sauna with Shower Assembly Instructions

ph: 519-923-9813 | [email protected]| web: www.dundalkleisurecraft.com
Fig 2a
Fig 2b
Line the panel up flush to the post.
Secure the glass panel to the post using the provided
2 ¾” (70mm) Connector Lag Bolts.
7
Bring in the second glass panel and attach the panels
together using the 2 ¾” (70mm) Connector bolt and nut
through the pre drilled holes.
Attach a corner post to the glass panel in the same
method as previous steps.
Place the glass door flush to the corner post and wall
panel and secure with 2 ¾” (70mm) Connector Lag Bolts.
CU580D Pure Cube
Outdoor Sauna with Shower Assembly Instructions

ph: 519-923-9813 | [email protected]| web: www.dundalkleisurecraft.com
Fig 2a
Fig 2b
Install the door handle by placing the provided 2”
(50mm) lag screws through the inner handle (short)into
the outer handle (longer)
Use the hex key to snug up, do not tighten all the way.
8
Ensure the outer handle lines up with the magnetic catch
on the door frame and then tighten the lag screws
completely.
Bring in the 30” wide shower wall panel and secure it to
the corner post using the provided 2 ¾” (70mm)
Connector Lag Bolts.
Attach a shower corner post to the wall panel with the
2 ¾” (70mm) Connector lag screws through the
pre drilled holes.
CU580D Pure Cube
Outdoor Sauna with Shower Assembly Instructions

ph: 519-923-9813 | [email protected]| web: www.dundalkleisurecraft.com
Fig 2a
Fig 2b
9
Line up the 33 ½” (large) louver panel to the shower post
using the 2 ¾” (70mm) Connector lag screws through the
pre drilled holes.
Attach the smaller louver panel to the large panel using
the 2 ¾” (70mm) Connector bolt and nut through the pre
drilled holes.
Attach the last shower corner post to the louver panel.
Using a tape measure, ensure that the walls stick out
1 ½” past the base of the sauna on the front and back
and both sides.
You can use a rubber mallet to tap into the correct place.
CU580D Pure Cube
Outdoor Sauna with Shower Assembly Instructions

ph: 519-923-9813 | [email protected]| web: www.dundalkleisurecraft.com
Fig 2a
Fig 2b
10
Lay the 3 roof panels on top of the sauna.
The overhang on the panel goes to the back of the sauna.
Ensure the panels are flush on the front and sides.
To make the next steps easier, line the panels up as close
as possible to each other.
Inside , line up the holes and fasten the roof panels
together with 2 ¾” (70mm) connector bolts and nuts.
When you have the roof panels connected, tighten up
the bolts with a drill and hex key.
On the outside, with the sides and front of roof panels
flush to the wall panels, secure the wall panels to the
roof panels using two 2 ½” screws in each wall panel.
CU580D Pure Cube
Outdoor Sauna with Shower Assembly Instructions

ph: 519-923-9813 | [email protected]| web: www.dundalkleisurecraft.com
Fig 2a
Fig 2b
11
On the inside of the sauna, secure the wall panels to the
floor using two 2 ½” screws in each wall panel.
Continue securing all the wall panels to the floor.
Place 1 of the side trim pieces so that it sits ¾” below the
joint of the roof and the wall panel.
Secure the side trim piece from the inside of the sauna
using the 2 ¾” (70mm) Connector Lag Bolts through the
pre drilled holes.
CU580D Pure Cube
Outdoor Sauna with Shower Assembly Instructions

ph: 519-923-9813 | [email protected]| web: www.dundalkleisurecraft.com
Fig 2a
Fig 2b
12
Repeat the process with the trim above the front
windows and the remaining side in the same manner
ensuring that the trim is ¾” below the joint of the roof
and wall panels.
Lay out the EPMD Membrane evenly over the roof
panels.
Once the membrane is laid out evenly, tuck it along the
trim and staple it to the top of the fascia trim.
Continue to staple the membrane down on the 3 sides
that have the trim installed.
CU580D Pure Cube
Outdoor Sauna with Shower Assembly Instructions

ph: 519-923-9813 | [email protected]| web: www.dundalkleisurecraft.com
Fig 2a
Fig 2b
13
Use a utility knife to cut the excess rubber close to the
edge of the front trim piece.
Repeat for both sides.
Place the front roof cap atop the trim on the front of the
sauna.
Nail the roof cap to the trim using the provided
2 ½” (63mm) finishing nails.
Repeat for the 2 side roof caps.
Place the back trim snug under the lip of the roof and
secure with a 2 ½” screw on each end.
CU580D Pure Cube
Outdoor Sauna with Shower Assembly Instructions

Ensure the bench supports are tight to the side and back
walls, then secure the supports to the walls and floor
using 2 ½” (64mm) screws.
Repeat on other end.
Bring in 2 more bench brackets and place them centered
in between the outer brackets.
ph: 519-923-9813 | [email protected]| web: www.dundalkleisurecraft.com
Fig 2a
14
Secure the back trim piece from the inside of the sauna
using the 2 ¾” (70mm) Connector Lag Bolts through the
pre drilled holes.
Secure the wall trim pieces over the seams of the wall
panels with a staple gun or finishing nails.
*Ensure they are flush before fastening.
CU580D Pure Cube
Outdoor Sauna with Shower Assembly Instructions
To start the assembly of the benches, bring in 2 of the
bench supports and place at both ends of the sauna.

Repeat the same process to attach the bottom bench.
Line the inner bench supports up to the slat supports on
the top bench and secure with 2 ½” screws.
Ensure the bench support is square and then fasten to
the floor.
Secure the top bench to the outer bench supports from
underneath using 2 ½” screws
Place the top bench on top of the bench supports.
* This is the wider bench
ph: 519-923-9813 | [email protected]| web: www.dundalkleisurecraft.com
Fig 2a
Fig 2b
15
CU580D Pure Cube
Outdoor Sauna with Shower Assembly Instructions

Secure the Front bench enclosure to the bench supports
between the slats using 2 ½” (64mm) screws.
Repeat for the lower front enclosure.
Place 1 of the bench enclosures in between the benches.
* You can use a rubber mallet to gently tap into place.
Ensure they align flush behind the bench supports and
secure with 2 ½” (64mm) screws.
Fasten inner bench supports to the floor.
Before putting on the bench enclosures, slide the
backrest supports behind the top bench.
ph: 519-923-9813 | [email protected]| web: www.dundalkleisurecraft.com
Fig 2a
Fig 2b
16
CU580D Pure Cube
Outdoor Sauna with Shower Assembly Instructions

ph: 519-923-9813 | [email protected]| web: www.dundalkleisurecraft.com
Fig 2a
Fig 2b
17
Bring in the backrest.
Ensure the backrest is level on the backrest supports and
secure the backrest by screwing it in between the slats
using 2 ¾” (64mm) screws.
CU580D Pure Cube
Outdoor Sauna with Shower Assembly Instructions

Electric Heater Installation (Option)
ph: 519-923-9813 | [email protected]| web: www.dundalkleisurecraft.com
Fig 2a
Fig 2b
If you have ordered a harvia wood heater, skip
past these next 2 pages.
To install the electric heater, measure out where
the supports will go. These are usually 14 ¾”
(37cm) high and 14 ¾” (37cm) centered between
the bench and the front wall.
Install the supplied support screws into your
marks as shown. Screw them in until they are
about ¼” (6mm) out of the wall.
Hang the electric heater on the screws.
Screw 2 more screws in the bottom holes of the
heater and once the heater is level, you can
tighten up all 4 screws.
Place Rocks in heater as per heater instructions.
18
CU580D Pure Cube
Outdoor Sauna with Shower Assembly Instructions

Electric Heater Installation (Option)
ph: 519-923-9813 | [email protected]| web: www.dundalkleisurecraft.com
Fig 2a
Fig 2b
Locate the pieces for your heater guard.
They consist of the following:
(A) 2 - Assembled side pieces
(B) 2 - heater guard support
4 – 2 ½” (64mm) screws
8 – 1 ½” (38mm) screws
AA
B
B
Stand the 2 Assembled side pieces (A) of the
heater guard on edge with pre-drilled holes on
the bottom.
Screw heater guard support (B) to either side
using (2) – 1 ½” (38mm) screws per side.
Assemble remaining heater guard support (B) to
the 2 ends in the same manner as previous step.
Place assembled heater guard around electric
heater and screw to wall using (4) 2 ½” (64mm)
screws.
*Make sure heater guard is level before securing.
19
CU580D Pure Cube
Outdoor Sauna with Shower Assembly Instructions
Other manuals for CU580D
1
Table of contents
Other pure cube Plumbing Product manuals
Popular Plumbing Product manuals by other brands

Haws
Haws 8320Axion Installation, operation & maintenance instructions

Hans Grohe
Hans Grohe Novus 71140000 Instructions for use/assembly instructions

Hans Grohe
Hans Grohe Picta 13045000 Instructions for use/assembly instructions

Hans Grohe
Hans Grohe Raindance Select S Showerpipe 240 1jet PowderRain... Instructions for use/assembly instructions

Heritage Bathrooms
Heritage Bathrooms CPC00 installation guide

Glacier bay
Glacier bay 14-028-W Use and care guide